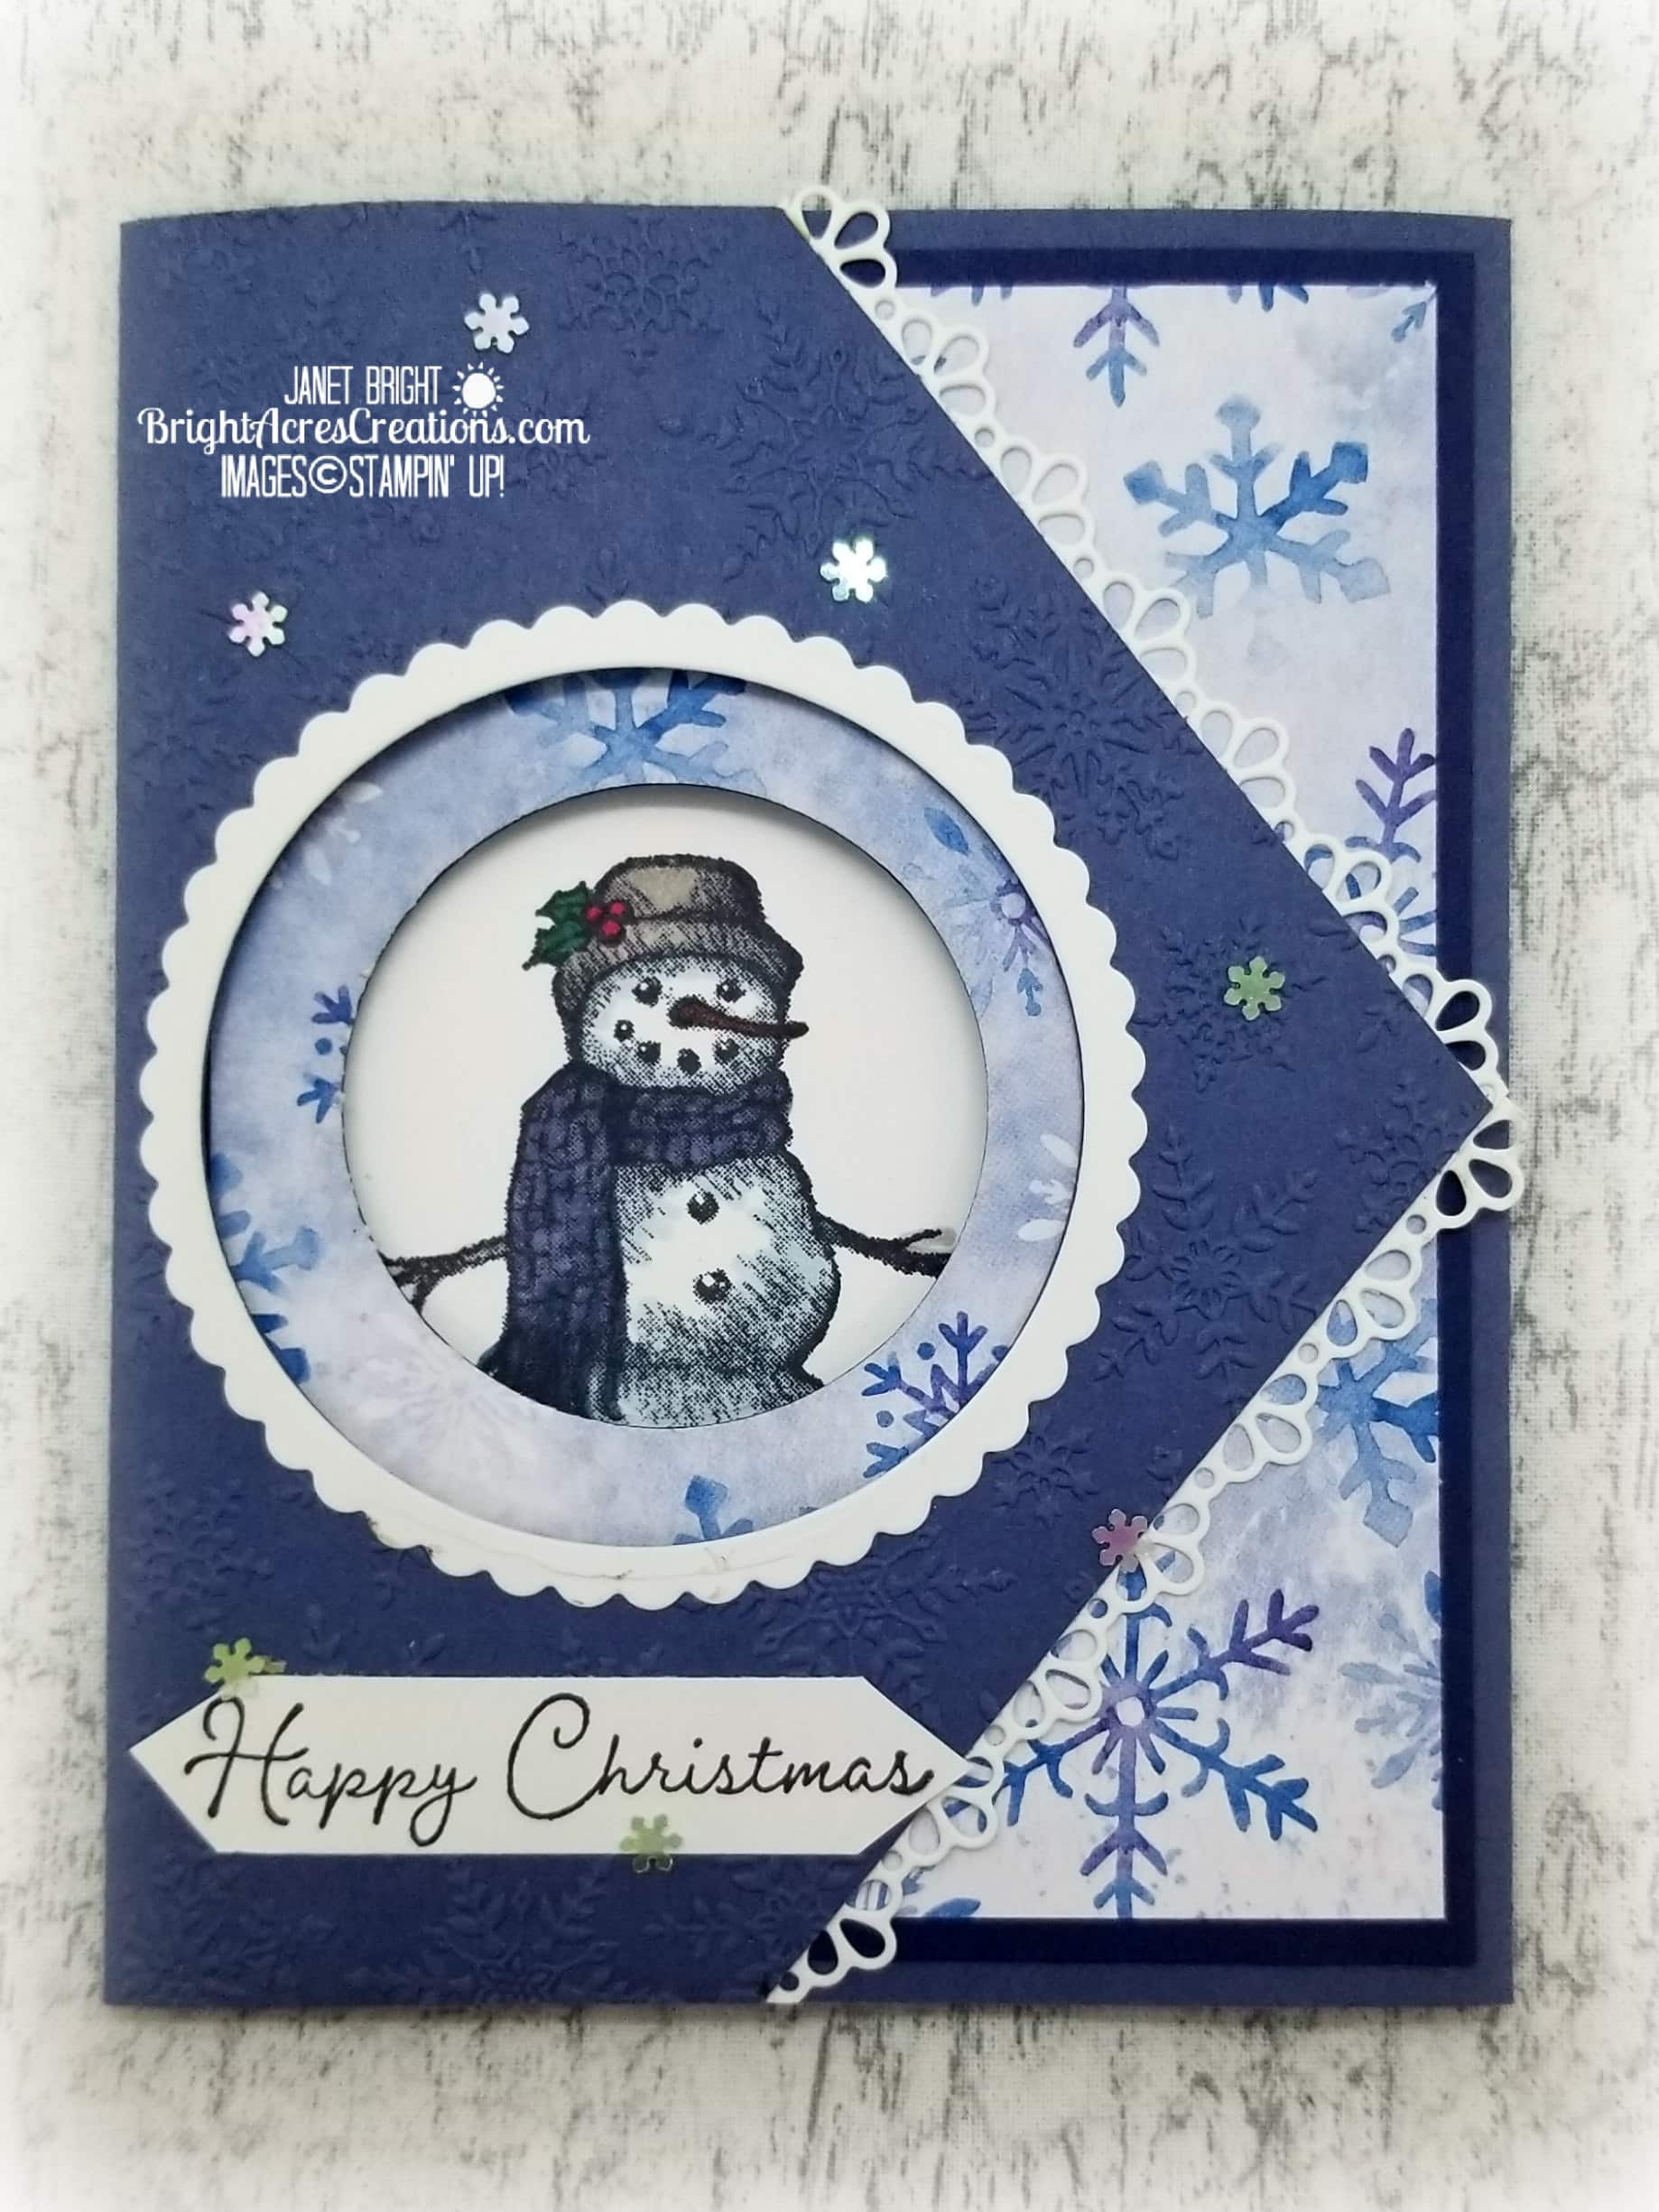
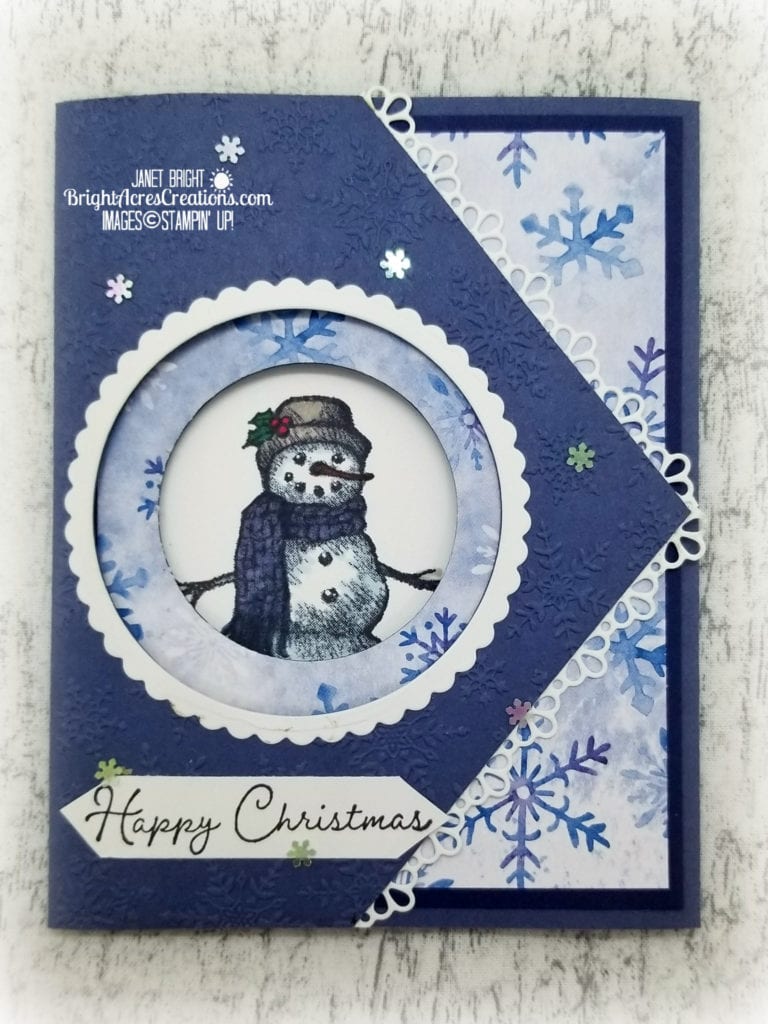
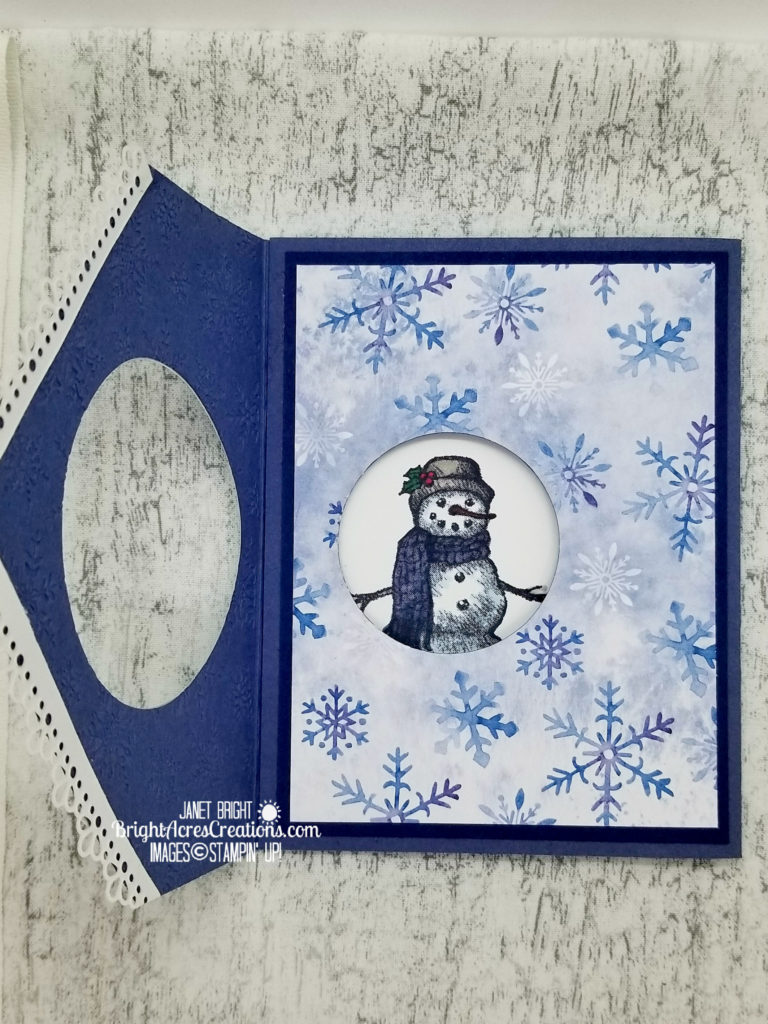
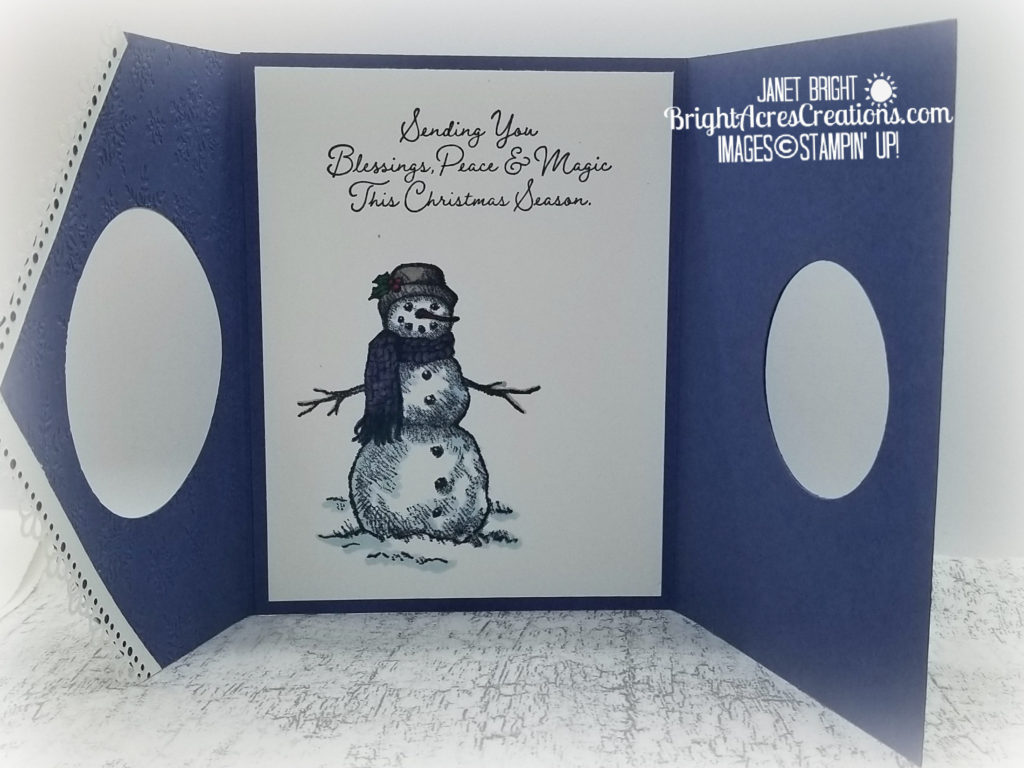
Snow Wonder Tri-Fold Peek-A-Boo Card

Hello Friends!

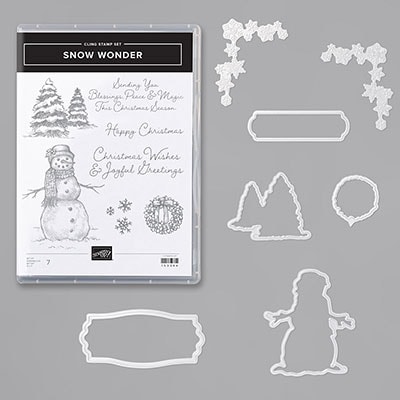
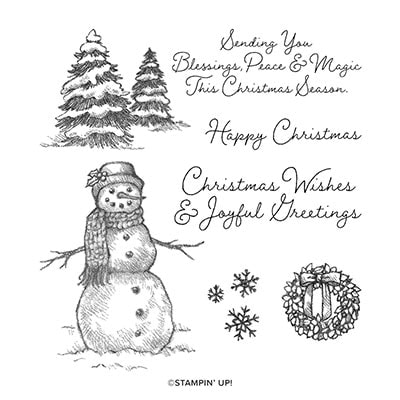
Today I will be showing you how to make a tri-fold peek-a-boo card featuring Snow Wonder from the Stampin’ Up August-December Mini Catalog (otherwise known as the holiday catalog)!  I am so in love with this little snowman!  He has so much personality and seemed like a perfect fit to peek through our little window.

Before we get started, however, I would like to thank Susan Levasseur of WOWNolaCreations.com for sharing this fancy fold on her blogsite some time ago.  I saw it there first and have CASE’d it several times since!  I think this is my favorite fancy fold ever!  So, a huge thank you to Susan!  I actually shop for and buy stamps that will work specifically with this fold I like it so much!

I’ve put together a video below to walk you through step-by-step how to make this card.   I’m still new at making these videos and for whatever reason, it rattles me just a little bit knowing I’m being recorded!  I guess you could say I’m camera-shy (always have been)! One definitely learns one’s nervous habits quickly through this process!  I’ll keep working on it, however, and be a pro in short order! (hopefully!!!)

I’ve also included a written tutorial that you can refer to.

So, with no further ado, LET’S GET INKY!


Materials:

Paper:

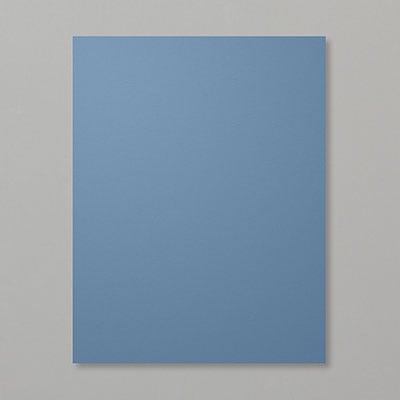
  • Misty Moonlight cardstock (CS) for card base – 5 1/2 x 8 1/2 inches; score at 4 1/4 inches and fold in half.
  • Misty Moonlight CS for “flap” – 5 x 5 1/2 inches.
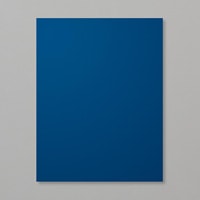
  • Night of Navy CS for mat under DSP – 5 1/4 x 4 inches.
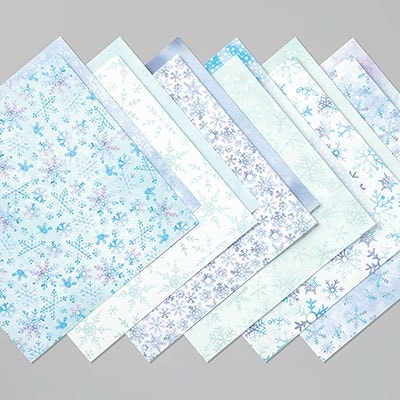
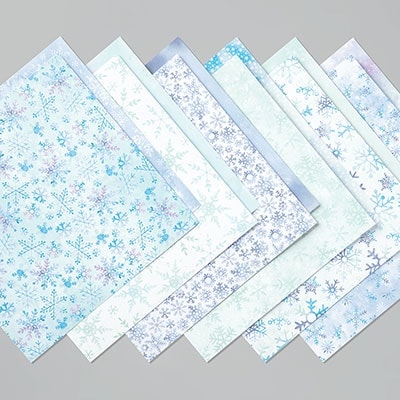
  • Snowflake Splendor DSP 5 x 3 3/4 inches.
  • Whisper White for inside panel 5 1/4 x 4 inches; for “lace trim” on triangular piece (2) 1/2 x 5 1/2 inches; for scallop trim around circle 3 1/2 x 3 1/2 inches; for front tag 1/2 x 2 3/4 inches.

Stamps:

  • Snow Wonder

Ink:

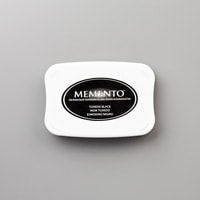
  • Tuxedo Black Memento

Accessories:

  • Winter Snow Embossing Folder
  • Layering Circles Dies (largest scalloped and 2nd largest circle)
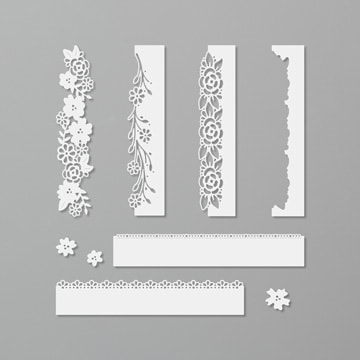
  • Ornate Borders Dies
  • 2″ circle punch
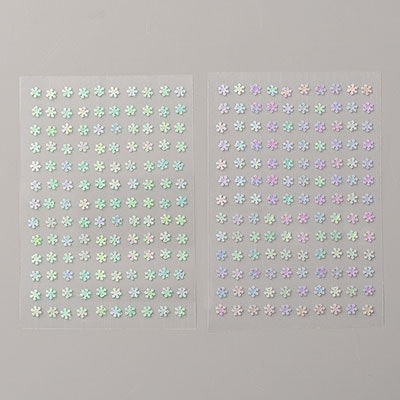
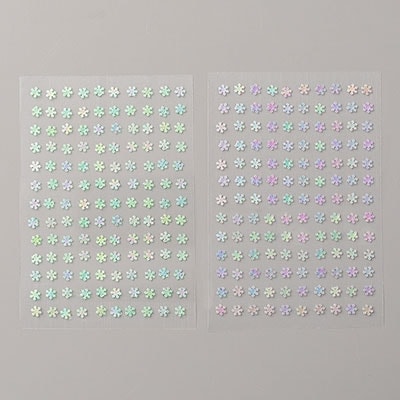
  • Adhesive-backed snowflakes
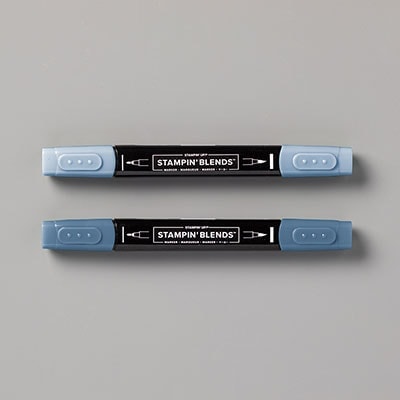
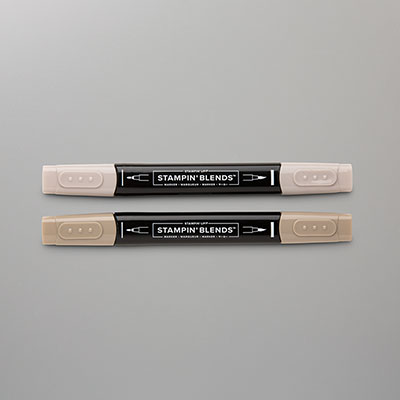
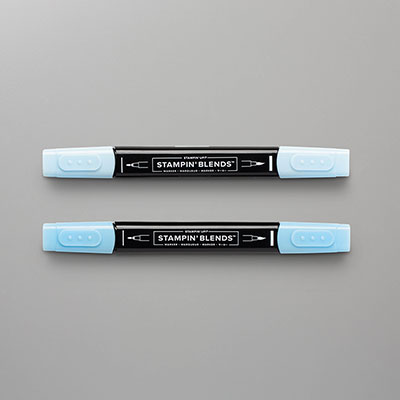
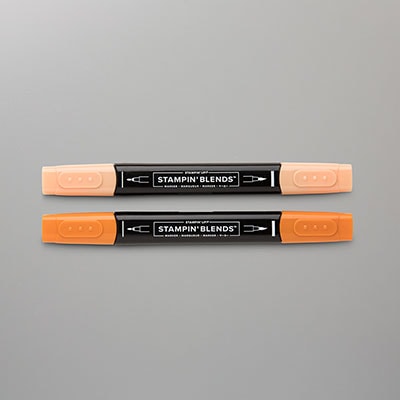
  • Stampin’ Blends:  Crumb Cake Combo, Misty Moonlight Combo, Light Balmy Blue, Dark Real Red, Dark Shaded Spruce

PUTTING IT TOGETHER!

  1.  Fold cardbase in half and set aside.
  2. Adhere the DSP to the Night of Navy mat and set aside to dry.
  3. Using the 5 1/2 x 5 inch piece of Misty Moonlight, score the 5 1/2 -inch side at 3/4″.
  4. On the non-scored sides of that piece of cardstock, measure to 2 3/4″ and mark lightly with pencil.
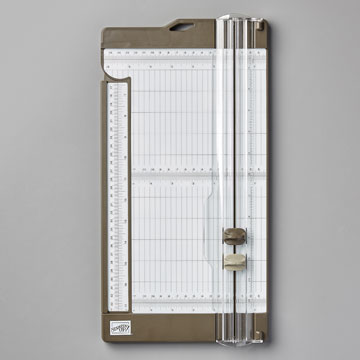
  5. Use a paper trimmer to connect the pencil dots, to create the triangular flap.
  6. Use the 2nd largest (plain) circle from Layering Circles Dies, and cut the hole in the center of the “flap”.
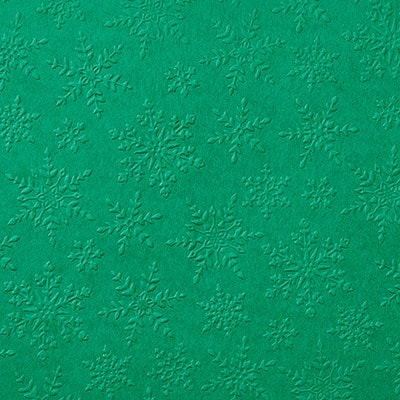
  7. Emboss the flap using the Winter Snow Embossing Folder.
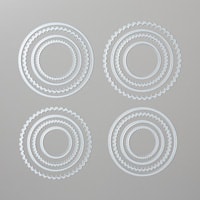
  8. Use the largest scalloped circle die and the 2nd largest plain circle die from Layering Circles Dies to cut the scalloped “ring” to go around the hole on the front of the card flap.  Adhere this ring to flap front around hole.
  9. Using the border die from Ornate Borders Dies, cut two strips of “lace” for the triangle edges of the flap.  Adhere to edges and trim off excess.
  10. Now bring in your card base… THE CREASE WILL BE ON THE RIGHT FOR THIS CARD (it opens backwards).
  11. Crease the flap on your score line and insert the card base with open side into the crease of the flap. (Remember – your card base will be backwards from usual, i.e. open side on left/crease on right).  Make sure the top and bottom of both flap and card base are even.
  12. Punch a circle from a Post-It note using the 2″ circle punch, making sure the adhesive edge of the Post-It note is on the punched circle (so it will stay in place).
  13. Lay the punched circle in the center of the hole on the flap (will be on the front of the card base) to guide where the hole needs to be punched for the “peek-a-boo” hole.
  14. Remove the flap piece and place the card front, with the Post-It Note circle attached, in the 2″ punch with the Post-It Note circle aligned with the punch and punch your hole.
  15. Now when you lay the flap back over the card base, your holes should center up.
  16. Place the Whisper White inside panel in the card base with even borders (where it will be glued down, but don’t glue it yet!), close the card and lightly trace the circle onto the white panel with a pencil. (This marks where to stamp your snowman!)
  17. Remove the Whisper White inside panel and stamp the snowman from Snow Wonder with his head close to the top of the pencil-lined circle.  Stamp the sentiment above the snowman.  Color with markers as desired.
  18. Now lay the DSP with Night of Navy mat (that you glued earlier) on the card base front.  Hold it in place and carefully open the card keeping the DSP stack in place.  Lay the 2″ circle Post-It Note in the center of the circle again, lift the cardbase off, and punch the hole in the DSP stack.
  19. Adhere the DSP mat to the card front, lining up the holes.
  20. Adhere the inside (white w/snowman) panel to the card base.
  21. Apply some adhesive to the straight edge of the flap (behind the score line) and apply to the back of the card so that the flap folds over the open edges of the card base.
  22. Stamp the front sentiment on the small piece of Whisper White and hand trim the ends into a banner.
  23. Apply to front of card with dimensionals.
  24. Scatter some Adhesive-backed snowflakes on front.

DONE!

I’ve got so many other ideas for this “Snow Wonder” snowman that I can’t wait to put some of them together to share with all of you!  I will, however, try to intersperse them with other products as well!  I feel like a kid in a candy store right now!  I ordered so much from the holiday catalog, I don’t know where to start! (Terrible problem to have, right?!)

Please don’t hesitate to reach out to me if you have comments or questions!  Just click the “contact” tab at the top of this page and I’ll be happy to get back to you as soon as I can!

Until next time, I hope you get INKY!

Janet

Product List

Paper Snips

$10.00

“Glisten” versus “Sparkle”

Hello Friends,

I’m sure you’ve all heard the phrase, “Women don’t sweat, they glisten!”  Well, with these temperatures, I’m surely glistening when working outside!

After taking care of my horses this morning, I showered the “glisten” off and decided to create a little sparkle in my craftroom!

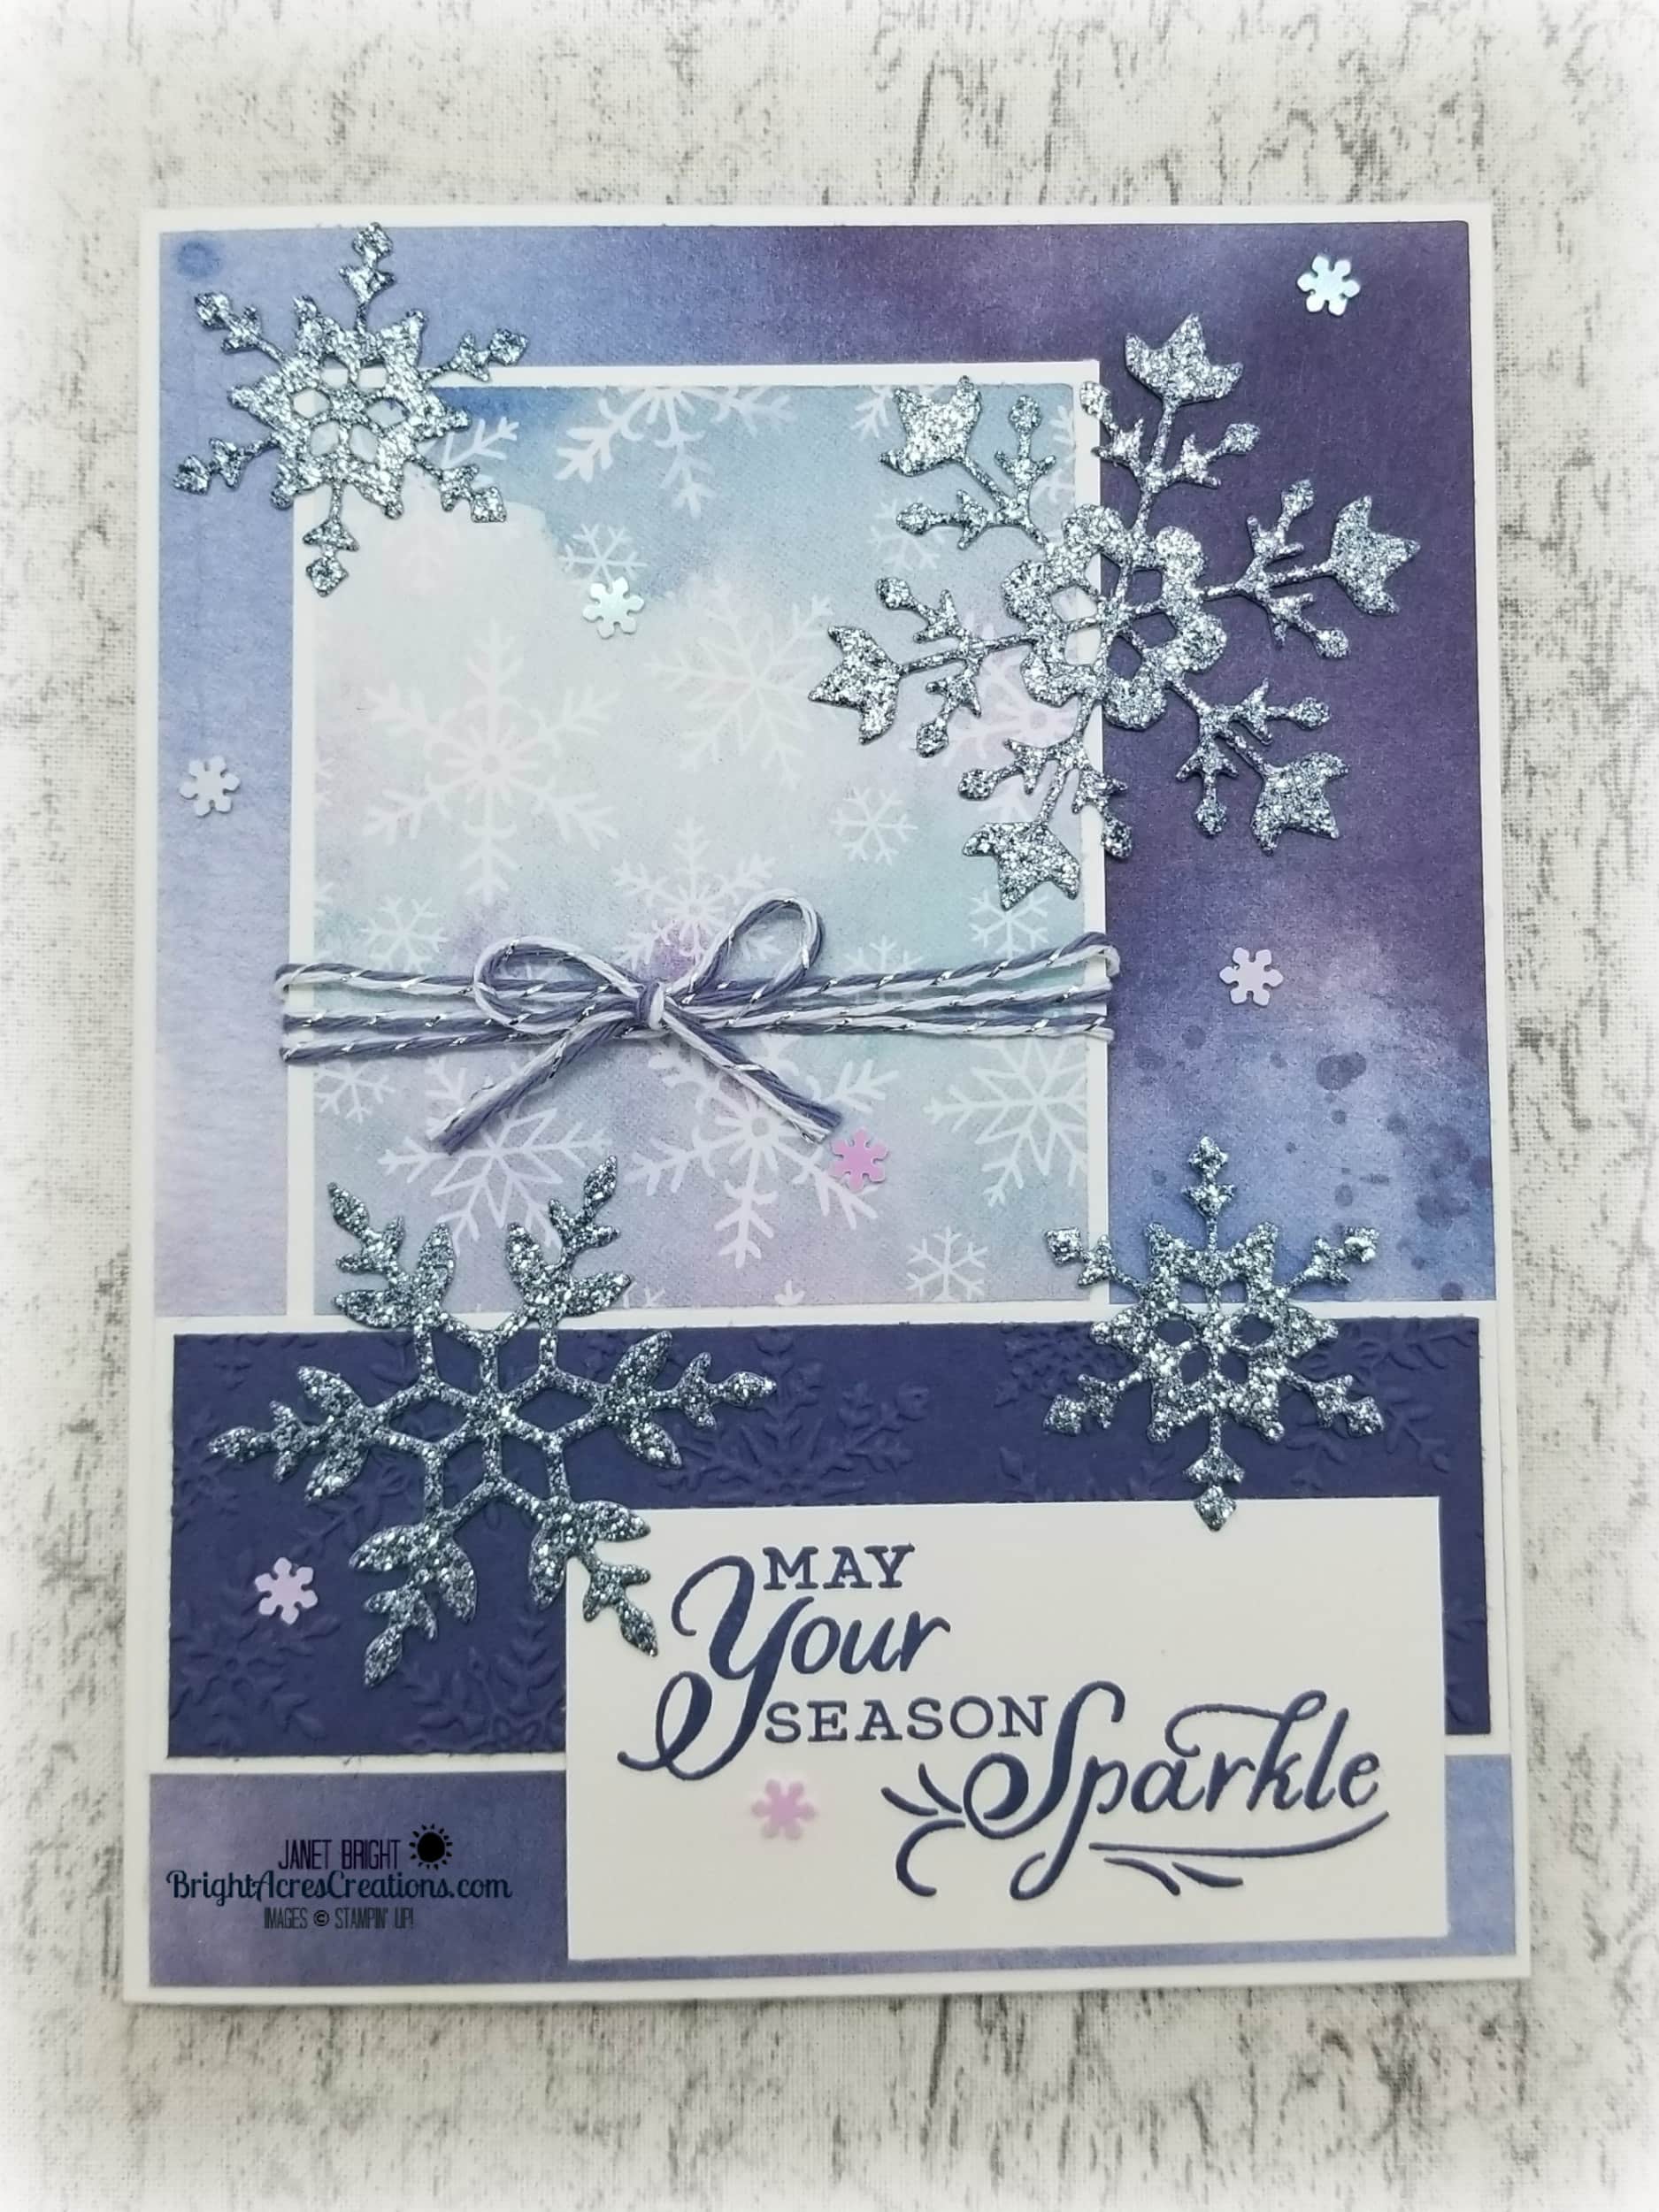
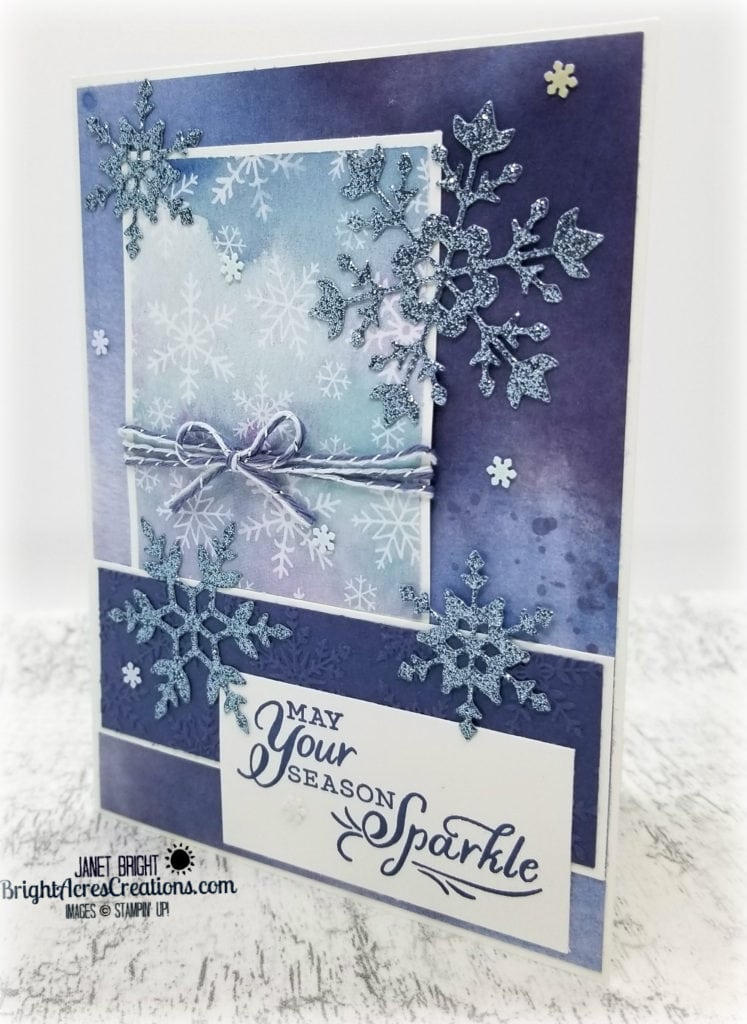
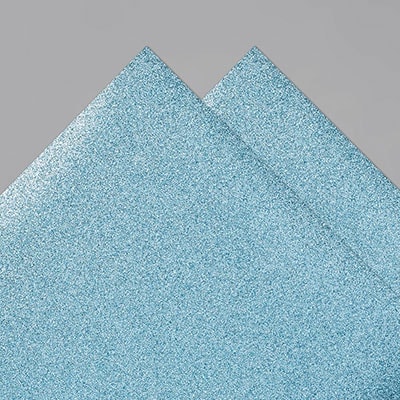
I’m completely in love with the Balmy Blue Glimmer Paper!  I love sparkle and bling and this Balmy Blue Glimmer Paper shimmers and shines so beautifully.

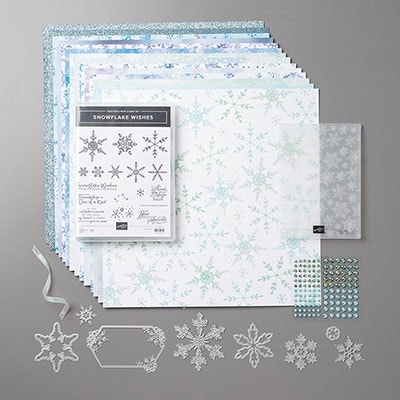
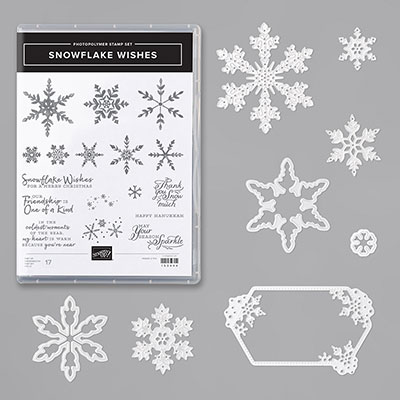
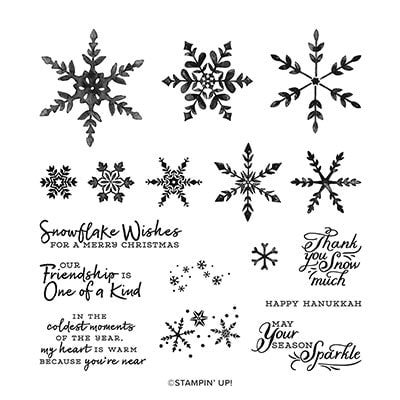
It pairs so well with  the Snowflake Wishes bundle that I chose to let the glimmer paper and DSP do all the work today!  Stampin’ Up always comes up with such beautiful designer series papers, and the quality is so much better than the big-box stores! (personal opinion, of course!)  The cool blues and purples with the lovely watercolor effect…Snowflake Splendor DSP is gorgeous!  So, why not feature it and let it speak for itself?!

LET’S GET INKY!

Materials Used:

Paper:

  • Whisper White: card base – 8 1/2″ x 5 1/2″; mat 2 – 3″ x 2 1/2″; mat 3 – 4 1/8″ x 1 3/8″; front sentiment panel – 2 5/8″ x 1 1/2″; inside sentiment panel – 5 1/4″ x 4″
  • Snowflake Splendor DSP: mat 1 – 5 3/8″ x 4 1/8″; featured panel – 2 3/8″ x 2 7/8″
  • Misty Moonlight: front embossed panel – 1 1/4″ x 4″; inside mat – 5 3/8″ x 4 1/8″
  • Balmy Blue Glimmer Paper:  2″ x 6″ – Use So Many Snowflakes Dies to cut 1 large, 1 medium, and 2 small snowflakes

Stamp Sets Used:

  • Snowflake Wishes (front sentiment)
  • Wrapped In Christmas (inside sentiment)

Ink:

  • Misty Moonlight
  • Balmy Blue

Accessories:

  • So Many Snowflakes Dies
  • Winter Snow Embossing Folder
  • Adhesive-Backed Snowflakes
  • Misty Moonlight/Silver Baker’s Twine (Flowers For Every Season Ribbon Combo)

PUTTING IT TOGETHER:

  1.  Adhere mat 1 (DSP) to card base.
  2. Adhere DSP to mat 2 and wrap Baker’s Twine 3 times around panel, securing with tape on the back of panel. Tie small bow with the Baker’s Twine and apply with glue dot.
  3. Run Misty Moonlight 1 1/4″ x 4″ piece through Stampin’ Cut & Emboss Machine in the Winter Snow Embossing Folder.
  4. Adhere embossed piece to mat 3.
  5. Cut 1 large, 1 medium, and 2 small snowflakes from Balmy Blue Glimmer Paper using So Many Snowflakes Dies.
  6. Stamp sentiment on 2 5/8″ x 1 1/2″ Whisper White piece using Misty Moonlight ink.
  7. Adhere DSP panel to left upper corner of card front.
  8. Adhere embossed Misty Moonlight panel across bottom of DSP panel.
  9. Adhere sentiment tag to bottom right card front over Misty Moonlight panel.
  10. Adhere glimmer paper snowflakes on card front and then scatter the Adhesive-Backed Snowflakes randomly to fill in the gaps!
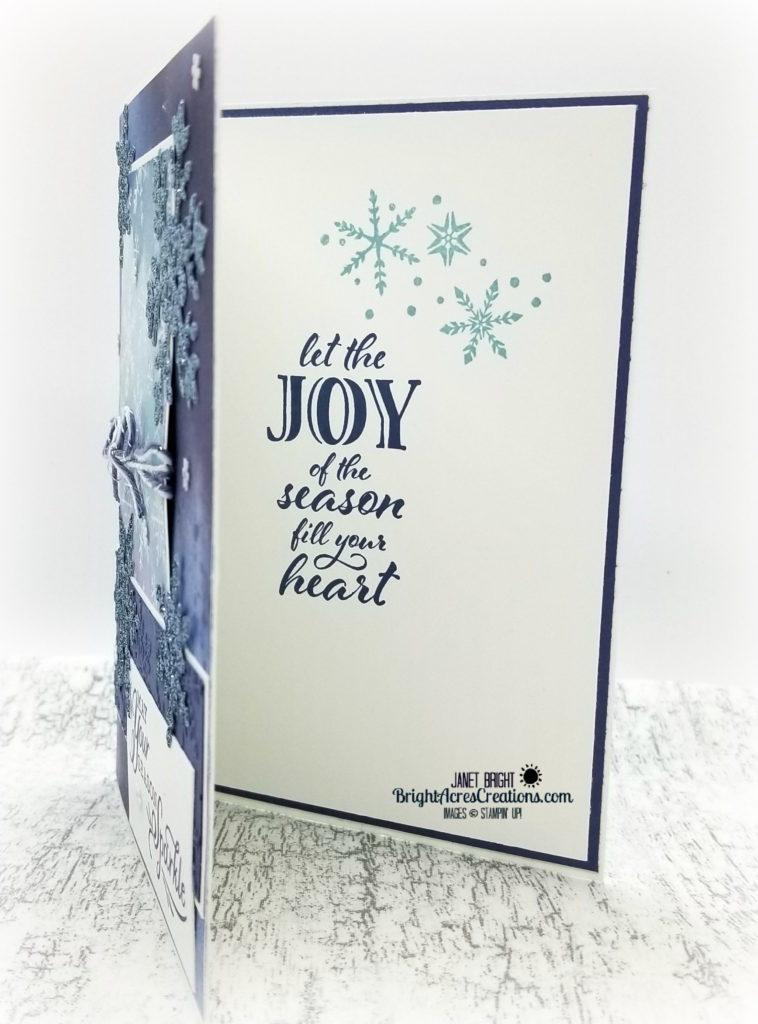
  11. For the inside of the card, stamp the sentiment from Wrapped In Christmas in Misty Moonlight (on Whisper White panel), and then stamp snowflakes (Snowflake Wishes) in Balmy Blue.
  12. Adhere that white panel to the Misty Moonlight mat and adhere all to card inside.

DONE!

So, which camp are you in?  Do you like the summertime “glisten”, or the wintertime holiday “sparkle”?  I guess I’m somewhere in-between!  I love summertime if I can lounge by a pool or on a beach somewhere – somewhere to rinse off the “glisten”.  And, I love wintertime if I can cozy up next to the fire with a good book!  Being cozy by the fire, and the Christmas season definitely puts a sparkle in my mood!

I hope you’re allowing yourself some time to get INKY and getting ahead of the holiday rush!  If you’ve purchased Stampin’ Up products from me, my biggest wish is that you USE THEM!!!  Take these hot days and spend some time making cards to give to those you love!  It’s good for the heart and mind!!!

Until next time… I hope you get INKY!

Janet

Product List

Peace On Earth For The Holidays (Please?)

Hello Friends!

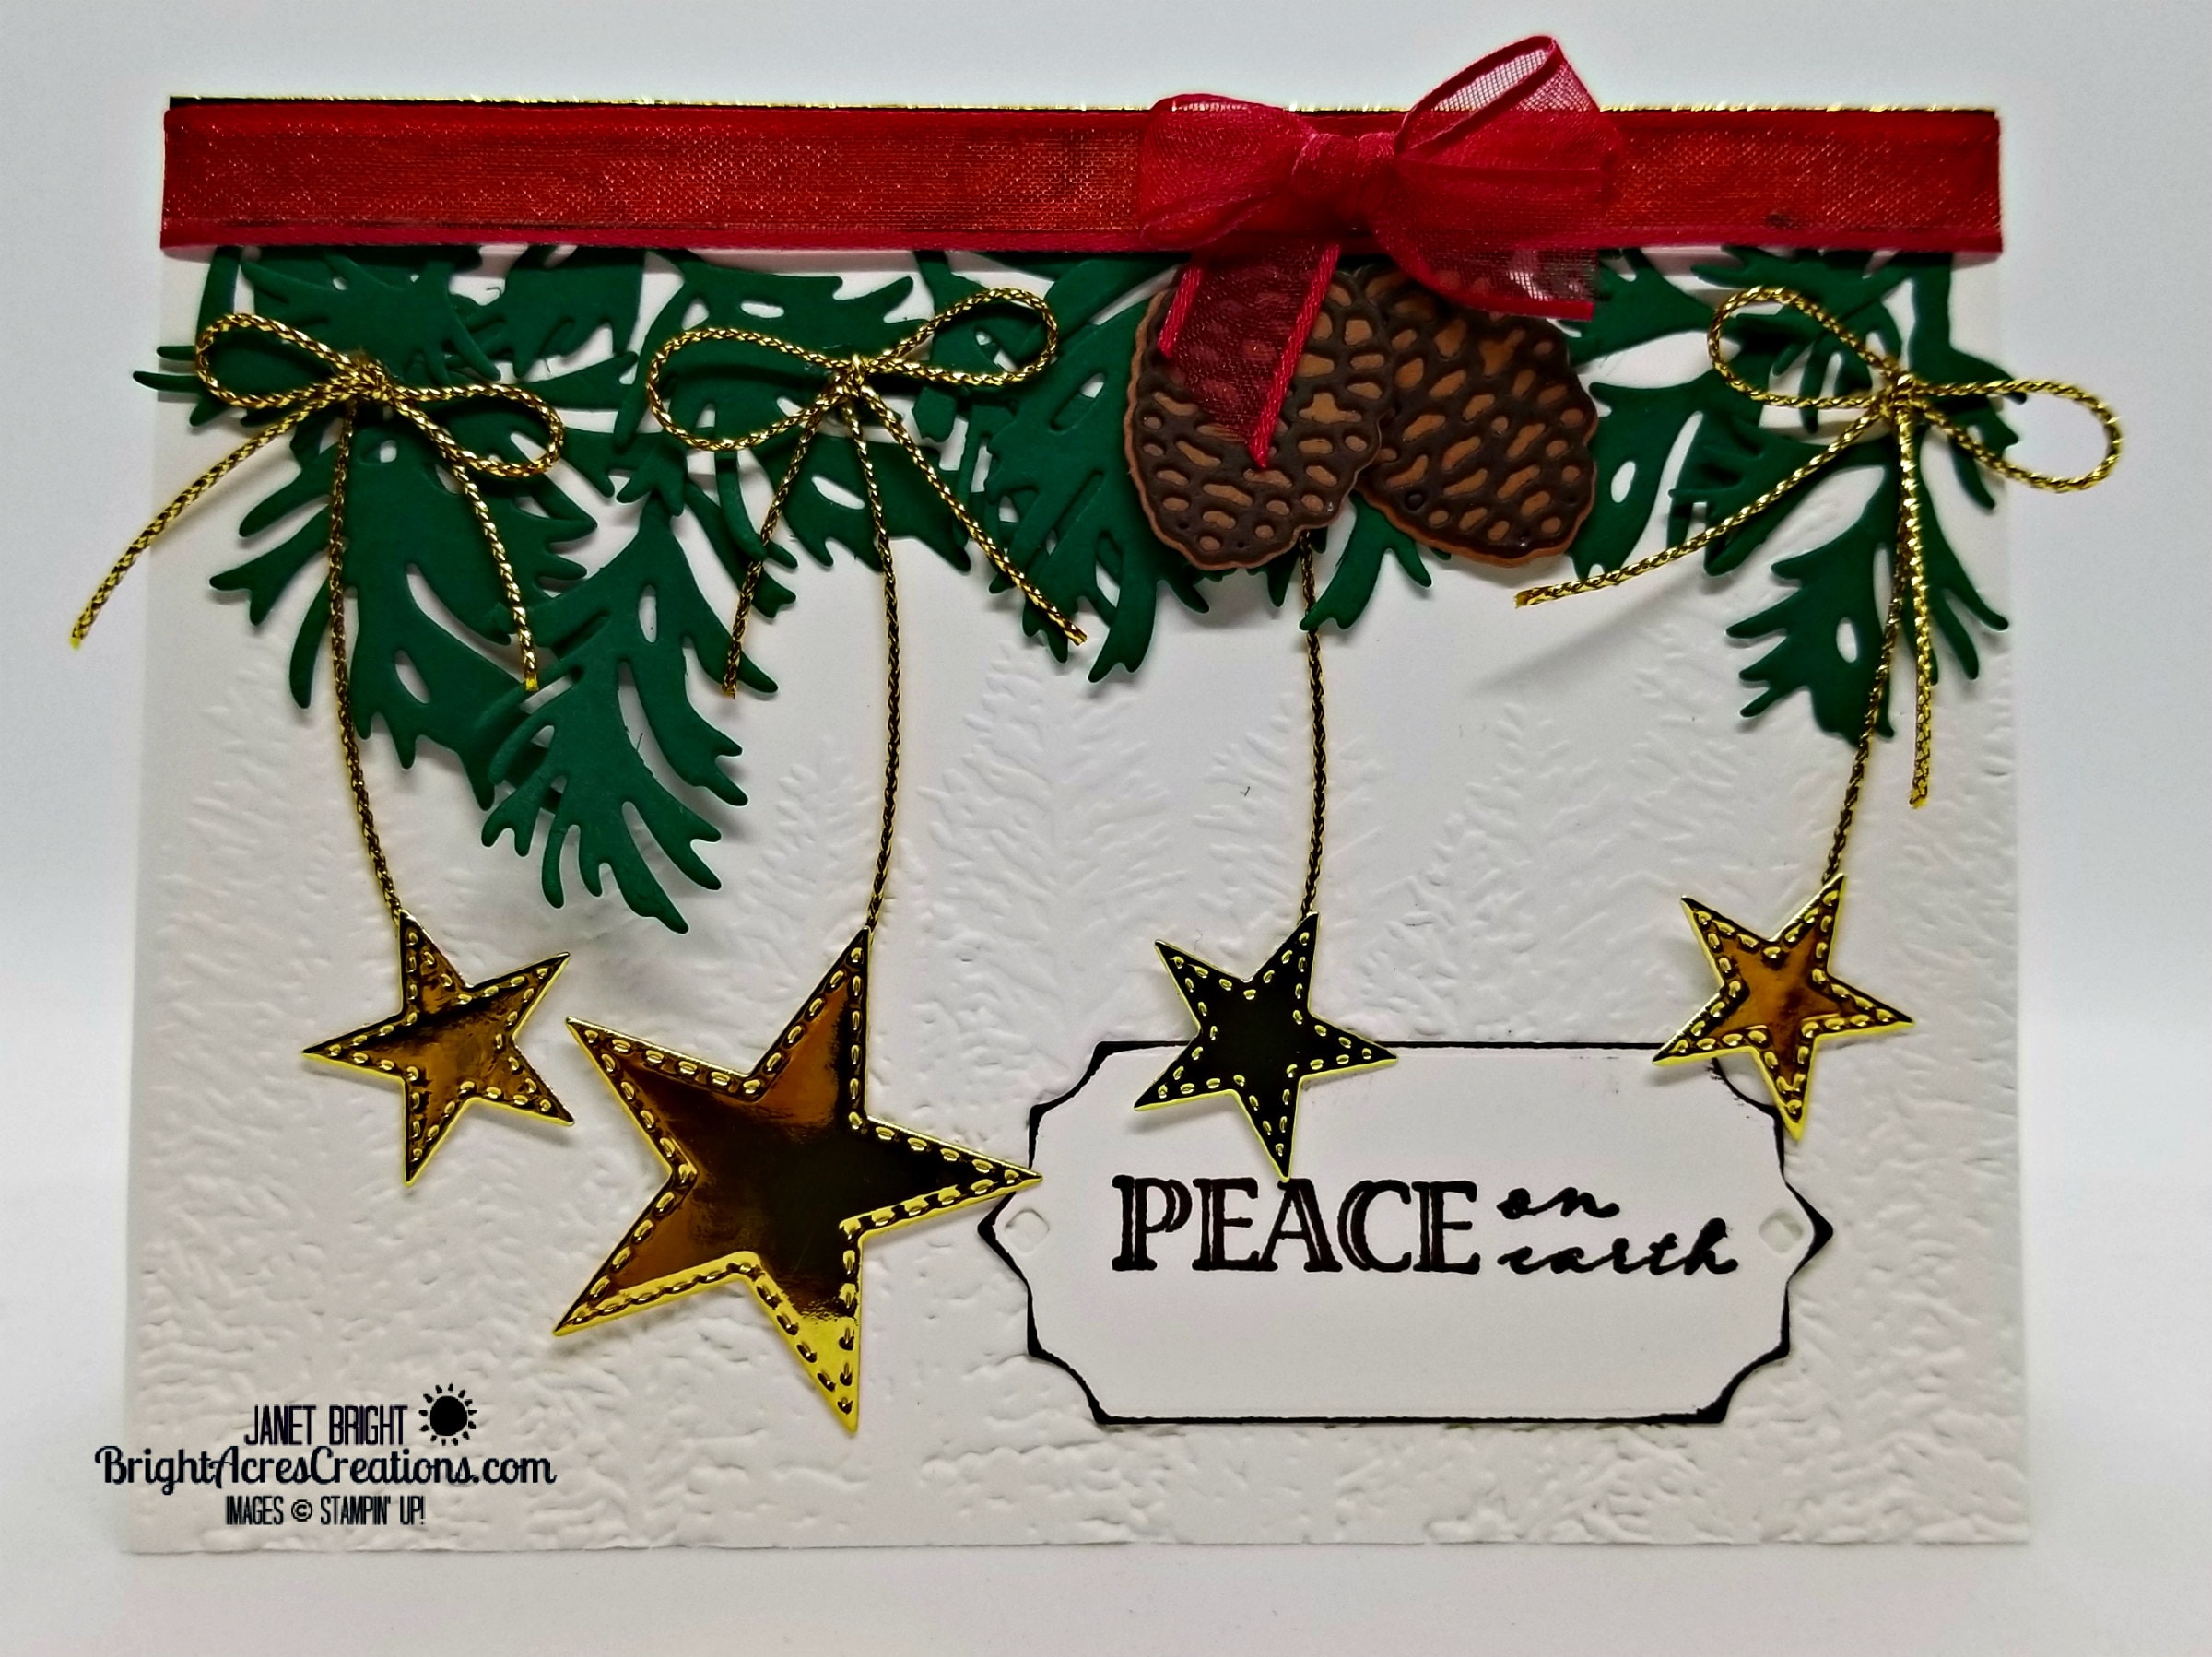
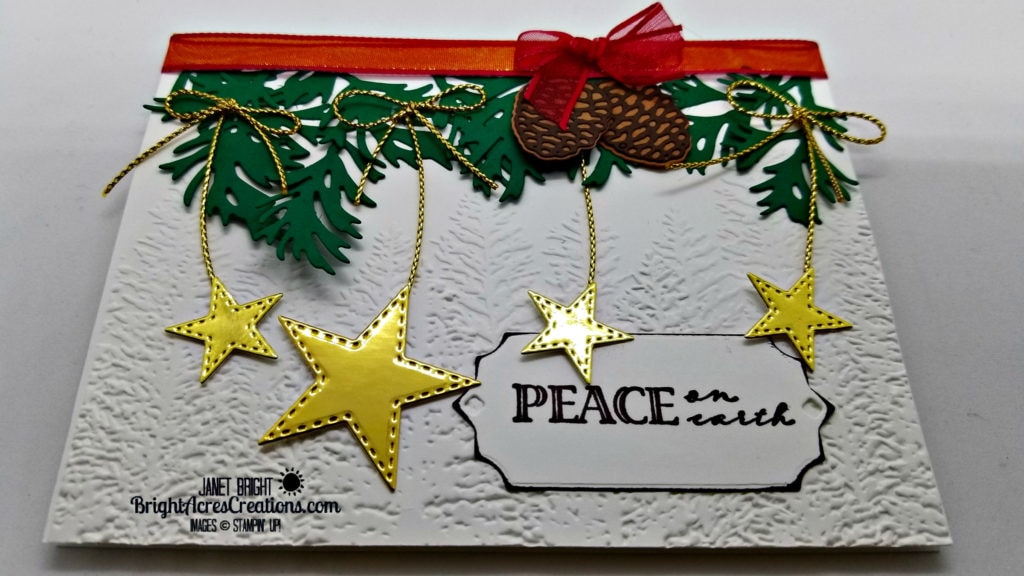
Today I’m taking a break from the hot temperatures and Fall cards with a mish-mash of Christmas inspired products.  Some are old, some are new, but all are current and orderable in the catalogs.  Over the past couple of posts, I’ve let you all in on the fact that I love being in the middle of a quiet forest.  With all that’s going on in this world, it’s a place to experience nothing but peace and quiet.  A place where one can just relax and breathe in the earthy, natural smells and bask in the gloriousness of God’s creation!

As I pondered the holiday season this year, I wondered if, by some chance, folks would put aside their differences and simply allow “Peace On Earth” (please?)…  Oh what a wonderful world that would be, right?

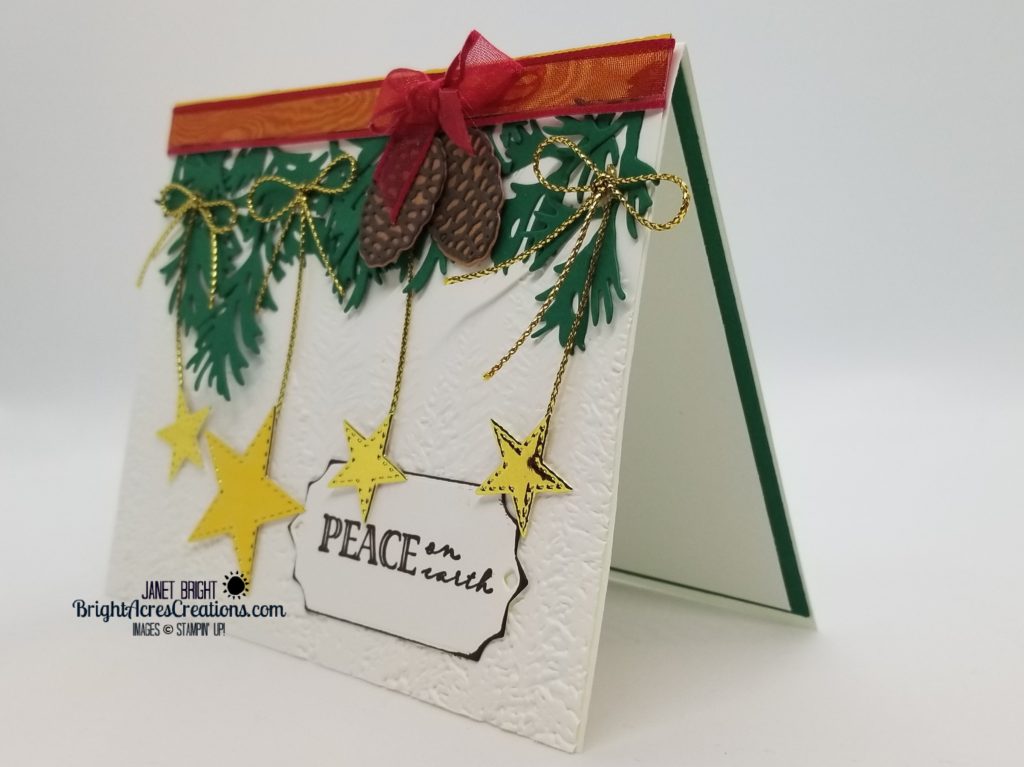
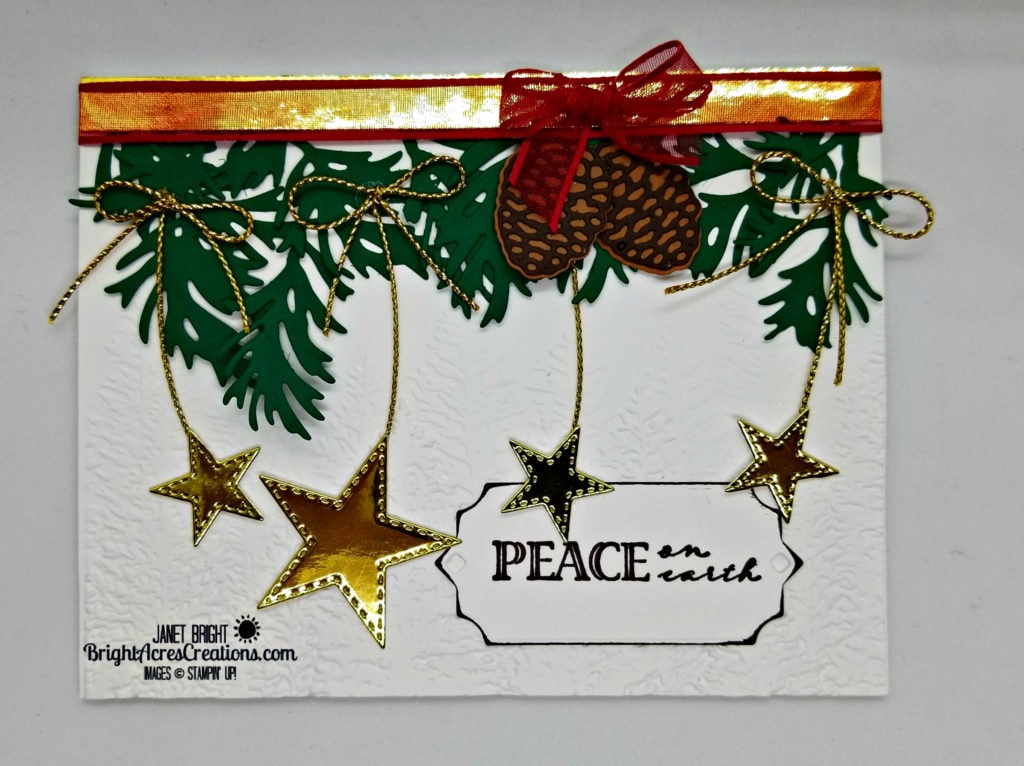
This card today was inspired by my love of forests and my prayer for God’s peace for every living soul on this earth!


LET’S GET INKY!

Materials Used:

Paper: 

  • Stampin’ Up (SU) Whisper White Cardstock for card base – 8 1/2″ x 5 1/2″; score and fold in half at 4 1/4″.
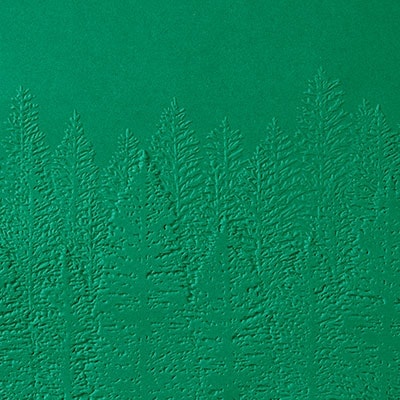
  • I chose to use a second Whisper White panel the same size as the card base front (5 1/2″ x 4 1/4″) on which to build my scene, to give the card more substance after embossing with the Evergreen Forest 3D embossing folder.  Also a scrap for the sentiment tag on card front.
  • Shaded Spruce – approximately half a sheet (8 1/2″ x 5 1/2″) to crop fur boughs from.
  • Cinnamon Cider – scrap for pinecones.
  • Early Espresso – scrap for pinecones.
  • Gold Foil Paper – scrap for stars and 1/4″ x 5 1/2″ strip.
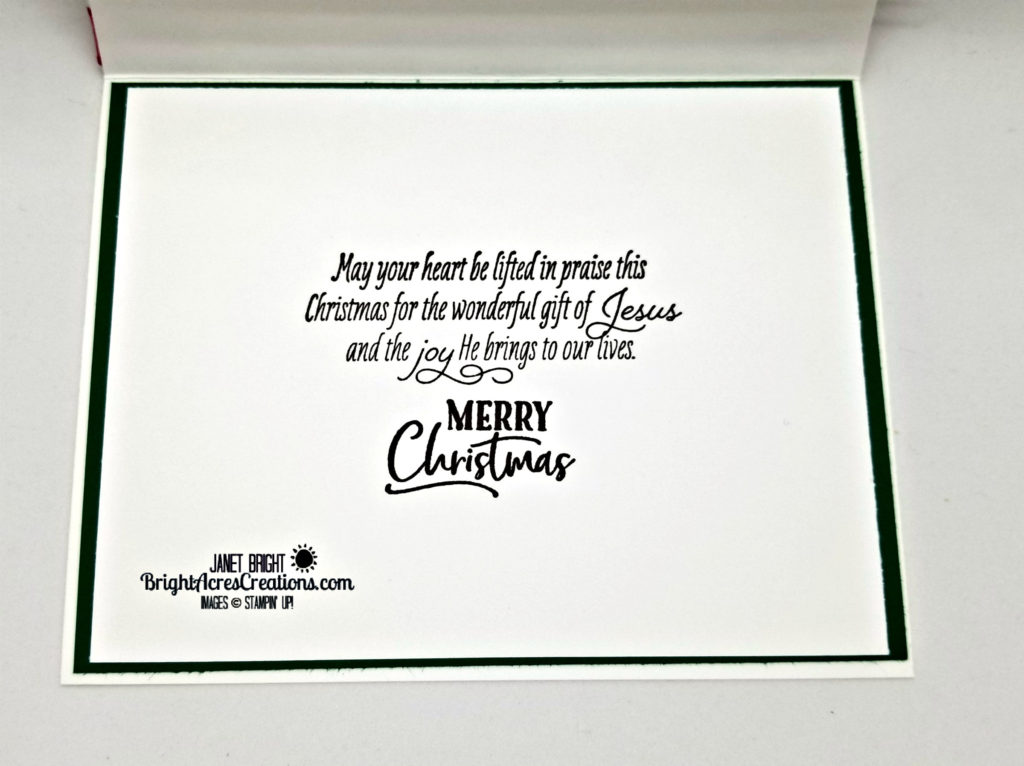
  • For the card inside, you will need a Shaded Spruce panel 5 3/8″ x 4 1/8″, and a Whisper White panel 5 1/4″ x 4″.

Stamp Sets Used:

  • Wrapped In Christmas (front sentiment)
  • For Unto Us (inside sentiment)

Ink:

  • Early Espresso

Accessories:

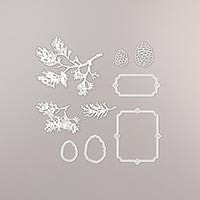
  • Beautiful Boughs Dies
  • Stitched Stars Dies
  • Evergreen Forest 3D Embossing Folder
  • Gold cord – Wonder Of The Season Ribbon Combo
  • Real Red 3/8″ Sheer Ribbon
  • Mini Glue-dots

Putting It Together:

  1. Emboss the Whisper White 5 1/2″ x 4 1/4″ panel using the Evergreen Forest 3D embossing folder.  (If you choose to omit this panel, then emboss the front of the card base and build upon that.)
  2. Using the Beautiful Boughs Dies and Shaded Spruce CS, crop out 3 of the larger branches, and 2 of the smaller branches.
  3. Use Snips (scissors) to cut the branches apart into separate boughs.
  4. Arrange these across the top of your card panel and adhere down.
  5. Adhere the 1/4″ x 5 1/2″ strip of Gold Foil Paper across the top, over the top of the bough ends to hide them.
  6. Crop out the pinecones using the small pinecone dies in Beautiful Boughs.  The bottom layer is Cinnamon Cider, top layer is Early Espresso. (Cut 2 of each)
  7. Apply a 6 1/4″ piece of Real Red Sheer Ribbon over the top of the Gold Foil Paper, attaching the ends to the back of the panel with glue dots or tape.  (Layering over the gold foil gives a pretty sheen under the sheer ribbon)
  8. Adhere the pinecones in a “cluster” just right of center.
  9. Tie a small bow with a piece of the Real Red Sheer Ribbon and place over the top of the pinecones.
  10. Stamp the “Peace on earth” sentiment from “Wrapped In Christmas” in Early Espresso ink on a scrap of Whisper White CS.
  11. Crop the sentiment out using the tag die in the Beautiful Boughs Dies.
  12. Ink the edges of the tag with Early Espresso ink and a sponge.
  13. Apply tag to front panel.
  14. Crop three small stars and one medium sized star from Gold Foil Paper using Stitched Stars Dies.
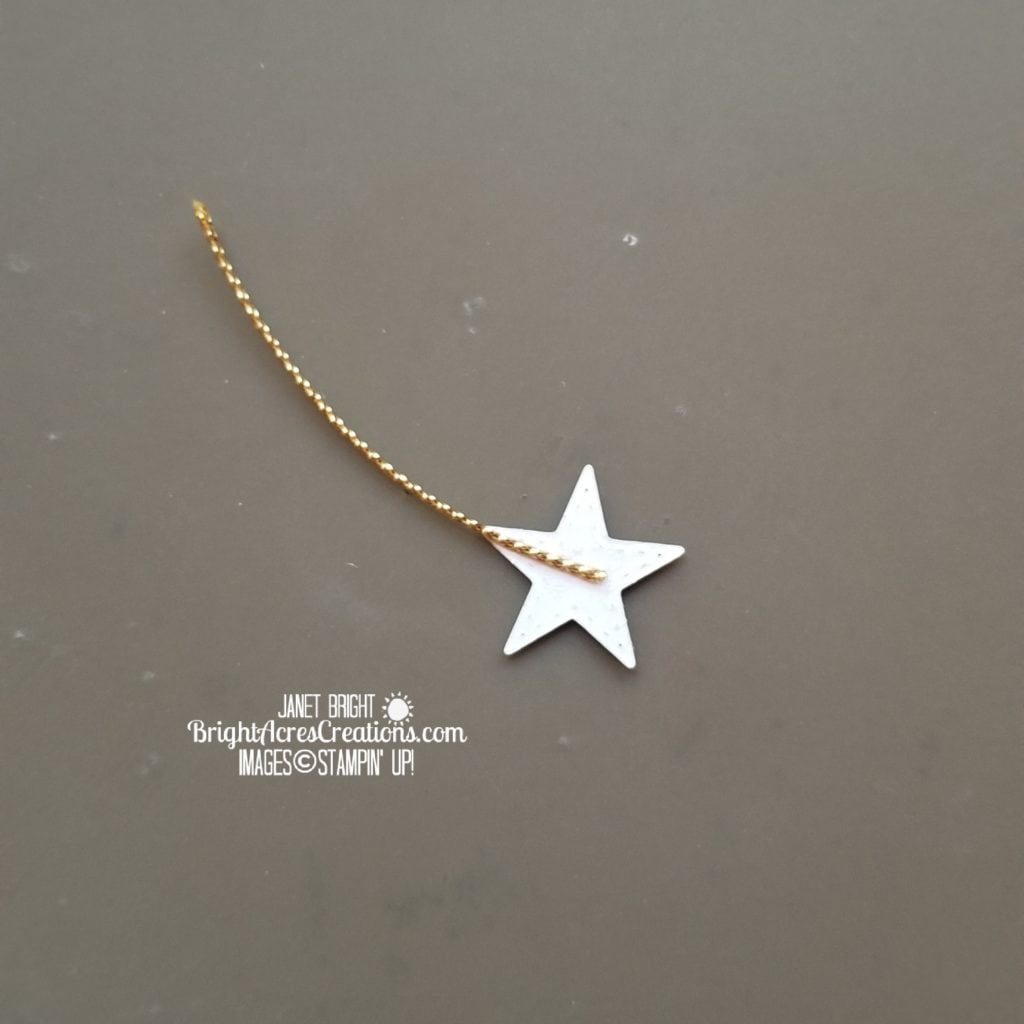
  15. Cut 4 short pieces (approx. 2″) of the Gold Cord and using a glue dot or liquid glue, attach to the back of each star.
  16. Use Mini Glue Dots to adhere ends of cords up amongst the fir boughs.
  17. Cut 3 more pieces of the Gold Cord, approx 3 – 4″, and tie three small bows.  Trim ends as needed.
  18. Use Mini Glue Dots to adhere the bows to the tops of the strings suspending the stars. (I tucked one of the strings up under the pinecones, thus the need for only 3 bows!)
  19. Use a fine-tip glue bottle or Mini Glue Dots to adhere the stars to the card front.
  20. Adhere the 5 1/2″ x 4 1/4″ now fully embellished panel to the cardbase front.
  21. For the card inside, stamp the sentiment from “For Unto Us” in Early Espresso on the Whisper White panel.
  22. Adhere to the Shaded Spruce mat and adhere that to the cardbase inside.

Done!!

This card is a little bit labor-intensive with all of the die-cutting and glue-dotting of the strings, bows and stars, but I’m pleased with the end-result!  Let me know what you think!

And, if you’re a praying person, let’s all join in praying for peace on earth!!!

Until next time, I hope you get INKY!

Janet

Product List

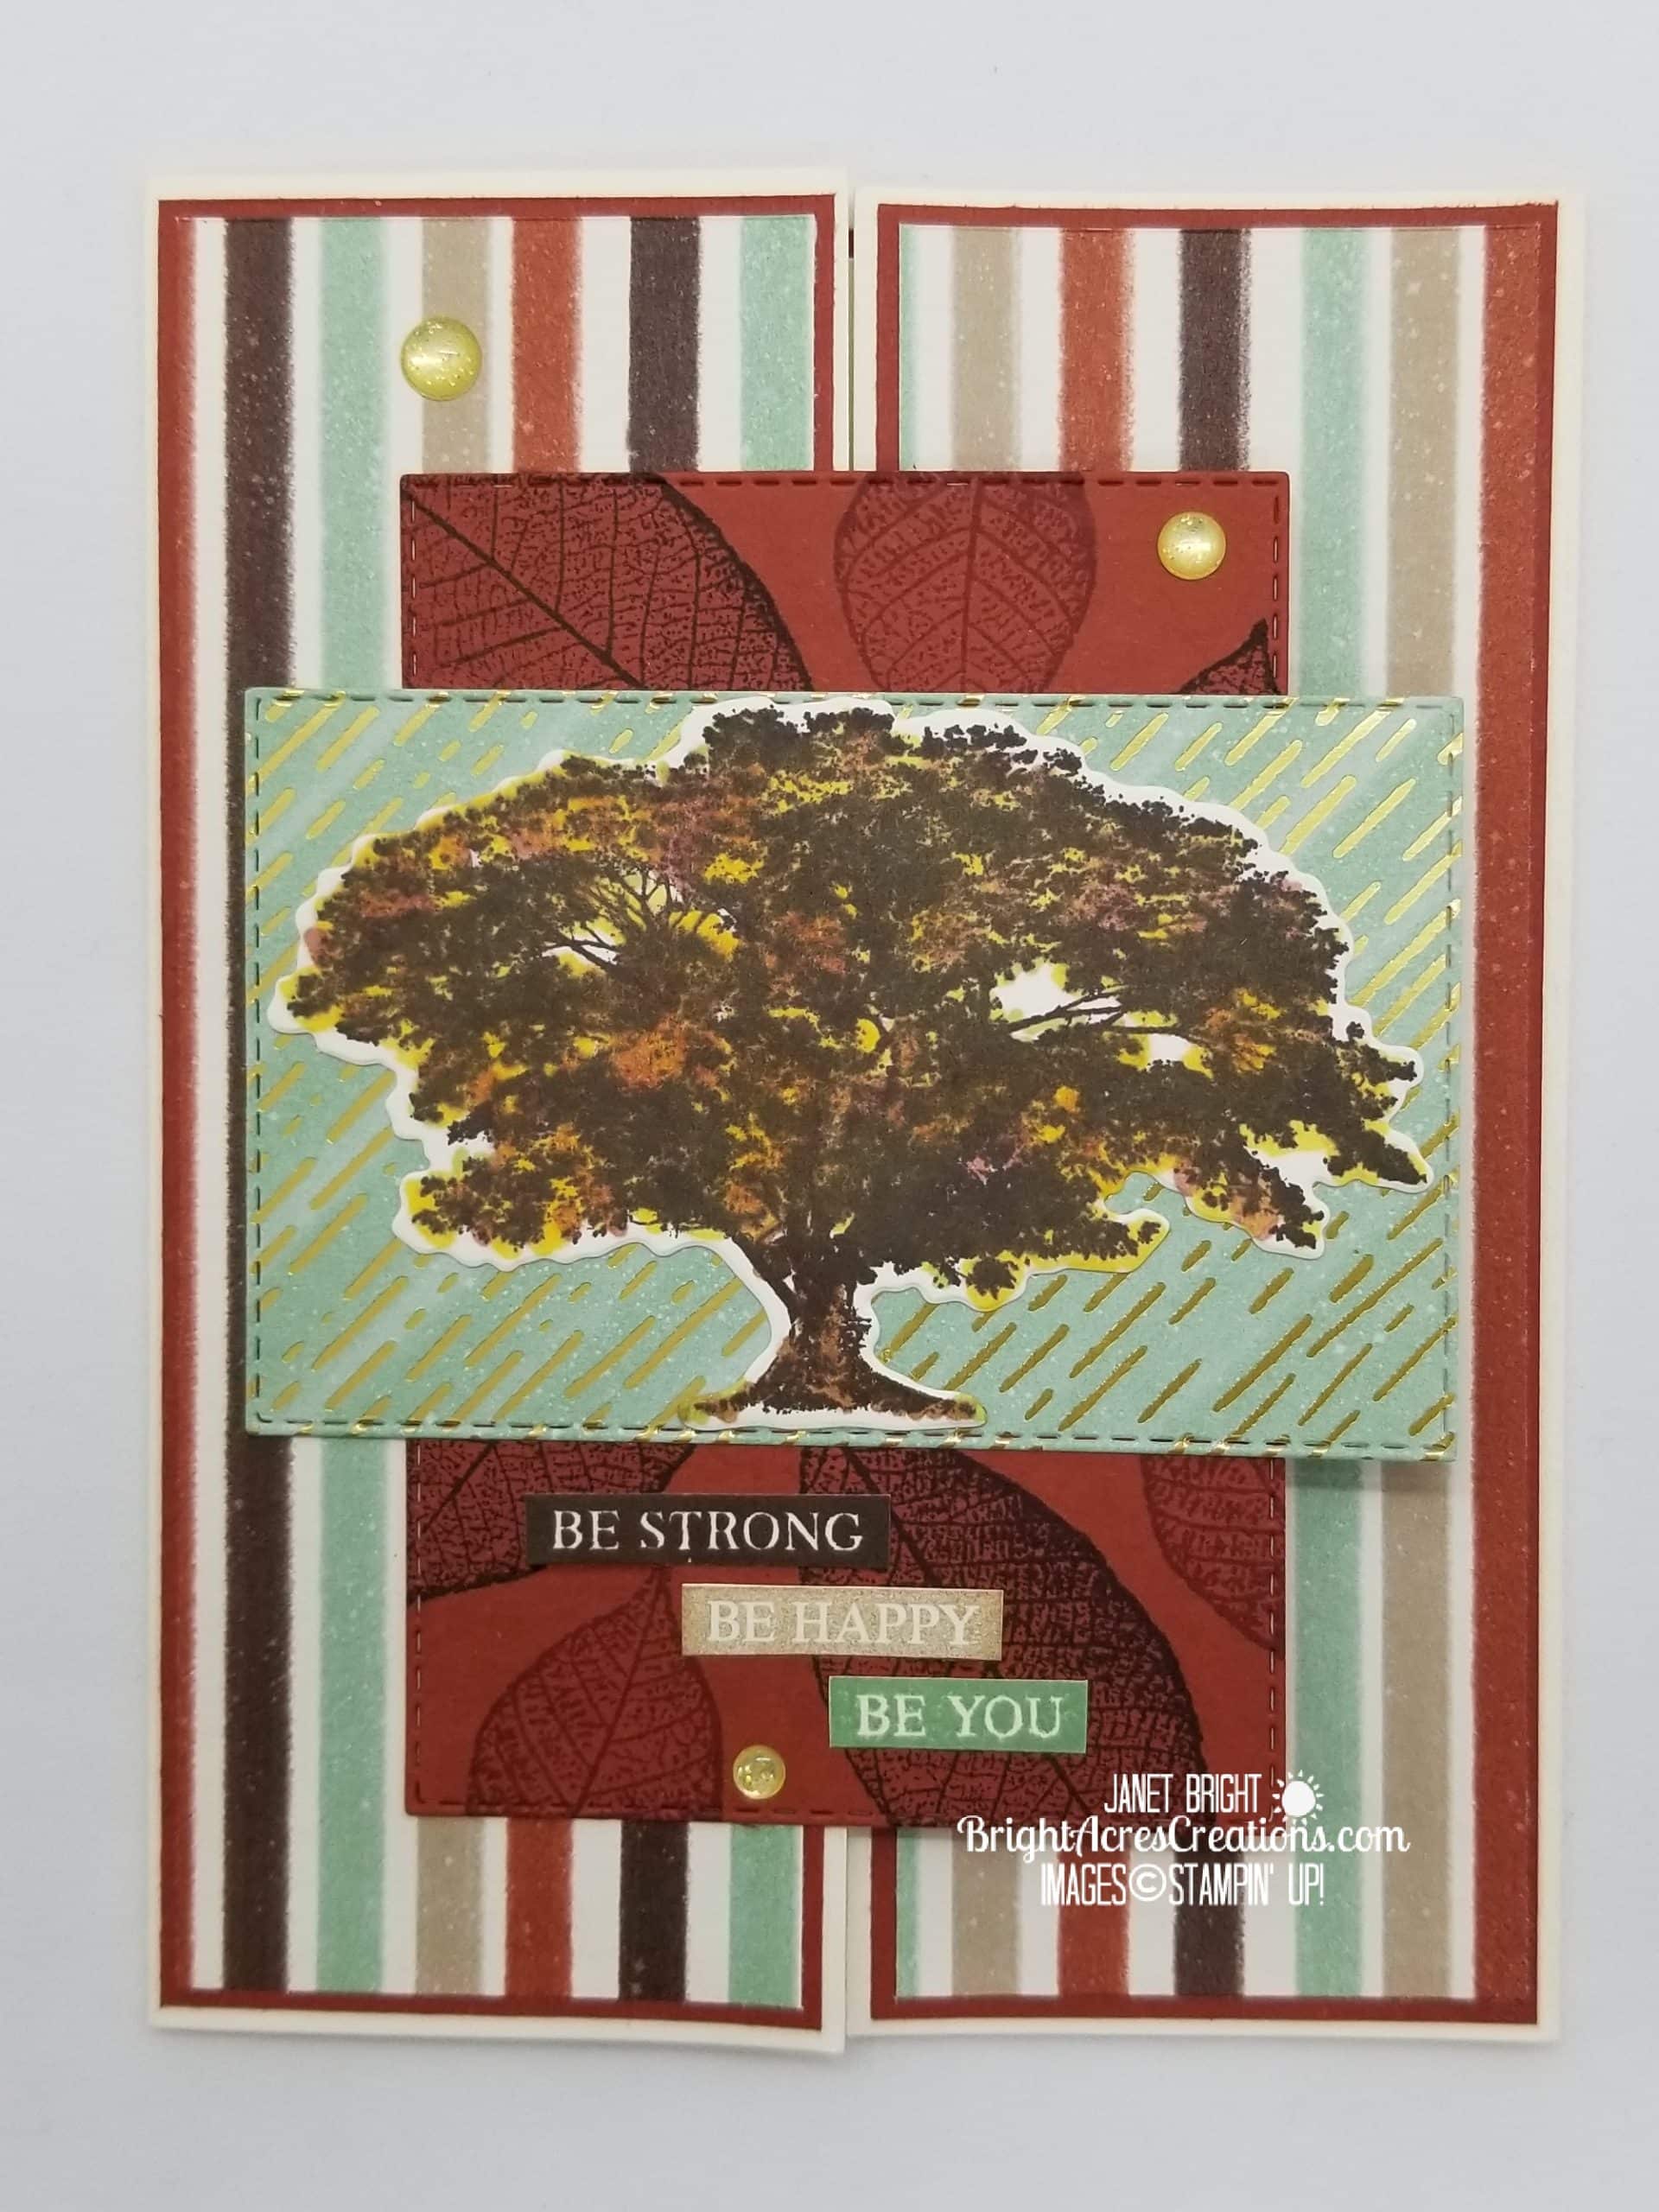
Another Masculine Card For Fall Mixing Old With New

Hello Friends!

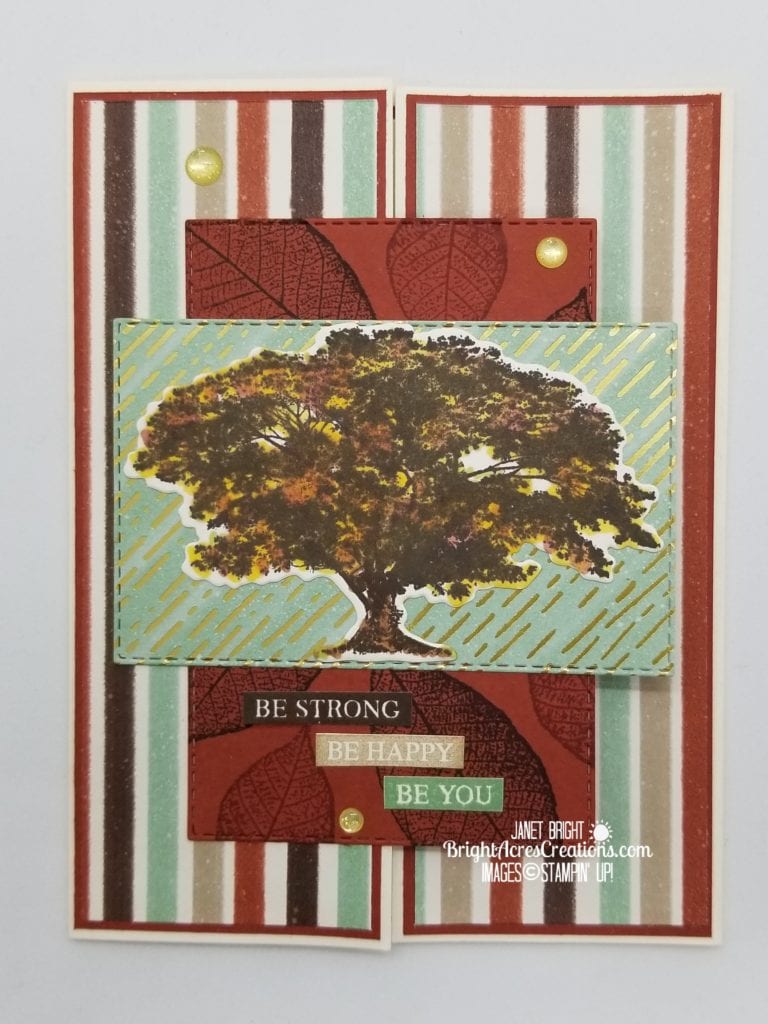
I had so much fun working with one of my old favorites, Rooted In Nature, that I chose to use it again for another masculine card.  This time, I paired this older stamp set with some of the new DSP, Gilded Autumn.  I LOVE this paper!  I’m a paper freak anyway, but…. this…paper!!!  The rich, earthy tones in these papers are so ME!  You could look around at the decor in my home and say, “Yep…she got her inspiration from Gilded Autumn DSP!”  Actually, I’m pretty sure that Stampin’ Up got inside my home and took their inspiration from me! LOL!

At any rate, with these blazing hot temperatures we’ve been having, I think I’m pretty much ready for the Fall season.  I’m looking forward to that first rain…Mmmm, I love the outside smells after it rains for the first time after a dry spell.  Some rain, a cool breeze, and a hike through the woods… I can hardly wait!!!

Speaking of a hike through the woods… I mentioned some of my favorite places on our property in my last post, so I thought I’d share a few pictures that I took after writing that post.  It was hot inside and out, and a shady spot in the forest with an ice-cold beverage sounded like a good idea.  As it was too hot to hike (my opinion – not Dean’s), we jumped on a four-wheeler and took a ride to some of my favorite places on the ranch that evening, to sit in the shade and soak up those earthy-good smells!

The pictures truly don’t do it justice, as I’m unable to factor in the smells and sounds of the forest with these pictures.  You’ll just have to trust me on this one… God blessed us with a beautiful place to call home!

Another reason I can’t wait for cooler temperatures is that I love riding my horses through these areas.  I know Adam, my cowboy son, would scoff at me, but if it’s too hot for me to hike, I can barely ask my horses to hike with me on their back!  Yes, they’re a little bit spoiled!

But let’s get on to today’s card!

LET’S GET INKY!

Materials Used:

Papers:

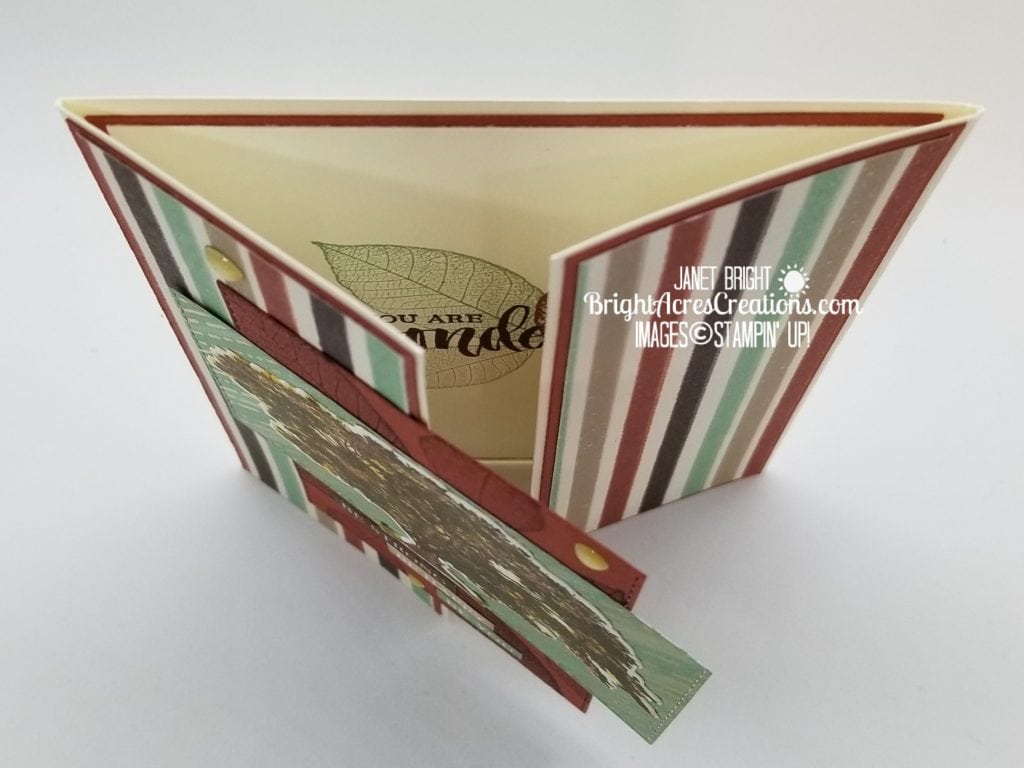
  • Card base – Very Vanilla cut at 5 1/2″ x 8 1/2″ and scored at 2 1/8″ and 6 3/8″ for a double gate fold.
  • Front mats 1 – Cajun Craze cut (2) at 2″ x 5 3/8″
  • Front mats 2 – Gilded Autumn DSP cut (2) at 1 7/8″ x 5 1/4″
  • Image panel mats – Cajun Craze cropped with Stitched Rectangles Dies (2 5/8″ x 4″)

Gilded Autumn DSP (green) cropped with Stitched Rectangles Dies (2 1/8″ x 3 1/2″)

  • Inside mat – Cajun Craze 5 1/4″ x 4″
  • Inside sentiment panel – Very Vanilla 5 1/8″ x 3 7/8″

Stamp Sets Used:

  • Rooted In Nature

Metal Dies Used:

  • Nature’s Roots
  • Stitched Rectangles

Ink:

  • Early Espresso
  • Crumb Cake
  • Cajun Craze
  • Mint Macaron

Accessories:

  • Gold Glitter Enamel Dots
  • Stampin’ Blends:  Cajun Craze, Mango Melody, Cinnamon Cider, Old Olive

Putting It Together!

  1. Adhere front mats (Cajun Craze & DSP) to card flaps.
  2. Stamp large leaf in Early Espresso and Small leaf in Cajun Craze randomly on the Cajun Craze image panel mat.
  3. Stamp tree image on Very Vanilla cardstock.
  4. Color image with Stampin’ Blends.  I used Cajun Craze, Mango Melody, Cinnamon Cider and light Old Olive.  I just dotted the various colors on fairly randomly, allowing them to blend into each other to look like the turning leaves of Autumn.  The tree trunk is Dark Cinnamon Cider.
  5. Crop the tree image out using the die from Nature’s Roots.
  6. Adhere tree image to DSP rectangle.
  7. Adhere that panel now to the stamped Cajun Craze Panel.
  8. Stamp the “Be Strong Be Happy Be You” sentiment from Rooted in Nature three times, once each in Early Espresso, Crumb Cake and Mint Macaron.
  9. Fussy cut one of each block of the sentiment out using snips so that the whole sentiment is tri-colored.
  10. Adhere to stamped Cajun Craze panel, under the image panel, in a staggered fashion.
  11. Place glue only on left half of the Cajun Craze panel and adhere to left front panel.
  12. Randomly apply Gold Glitter Enamel Dots to card front.
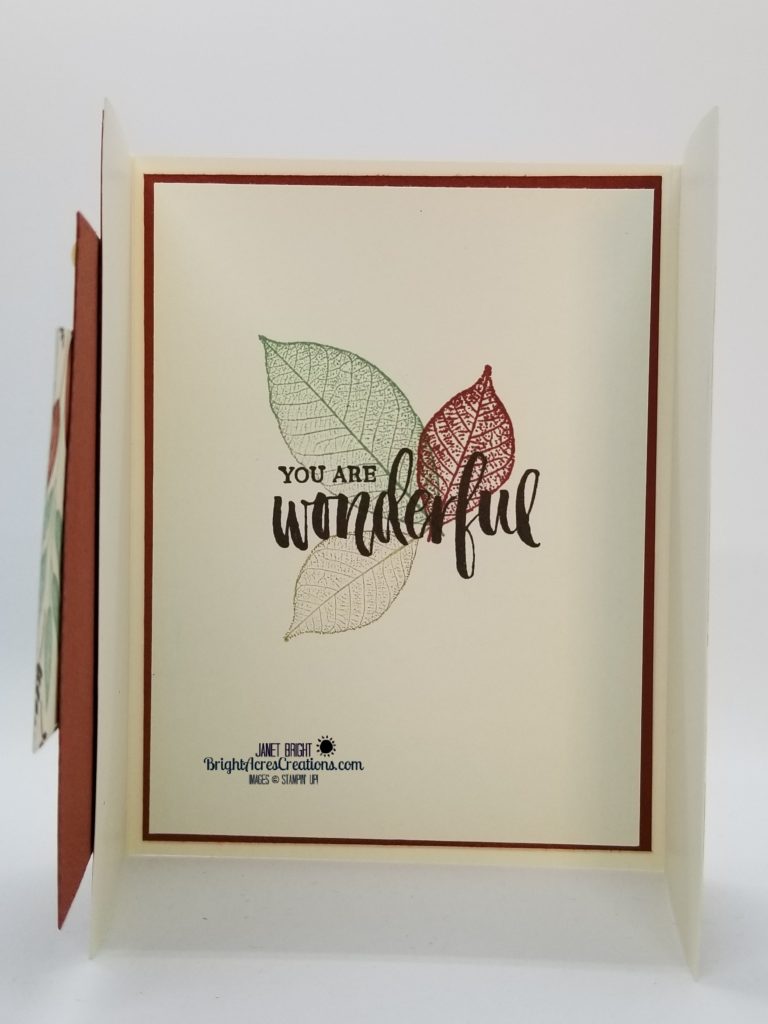
  13. On the inside of the card, stamp one large leaf in Mint Macaron in the center of the Very Vanilla panel.  Stamp two smaller leaves, one in Crumb Cake and one in Cajun Craze.
  14. Stamp the sentiment in Early Espresso over the top of the stamped leaves.
  15. Adhere Very Vanilla sentiment panel to Cajun Craze mat, and adhere to center of card inside.

I think that this card exudes the sentiment “BE STRONG   BE HAPPY   BE YOU”  and is appropriate for male or female.  And, of course, who doesn’t want a card from a family member or friend reminding them how wonderful you think they are!  Send this to someone who needs a little encouragement!

Stay cool out there my friends!  In fact, stay in and STAMP!

Until next time,

Janet

Product List

Paper Snips

$10.00


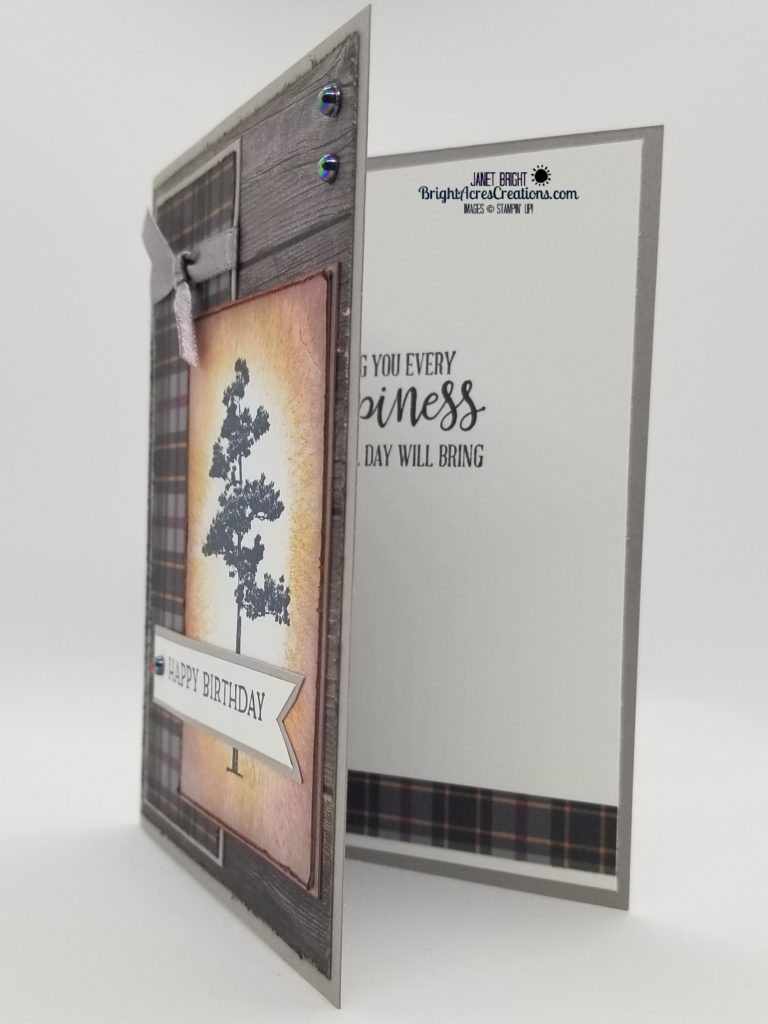
Masculine Rooted In Nature Birthday Card

Rooted In Nature – Masculine For Fall

Hello Friends!

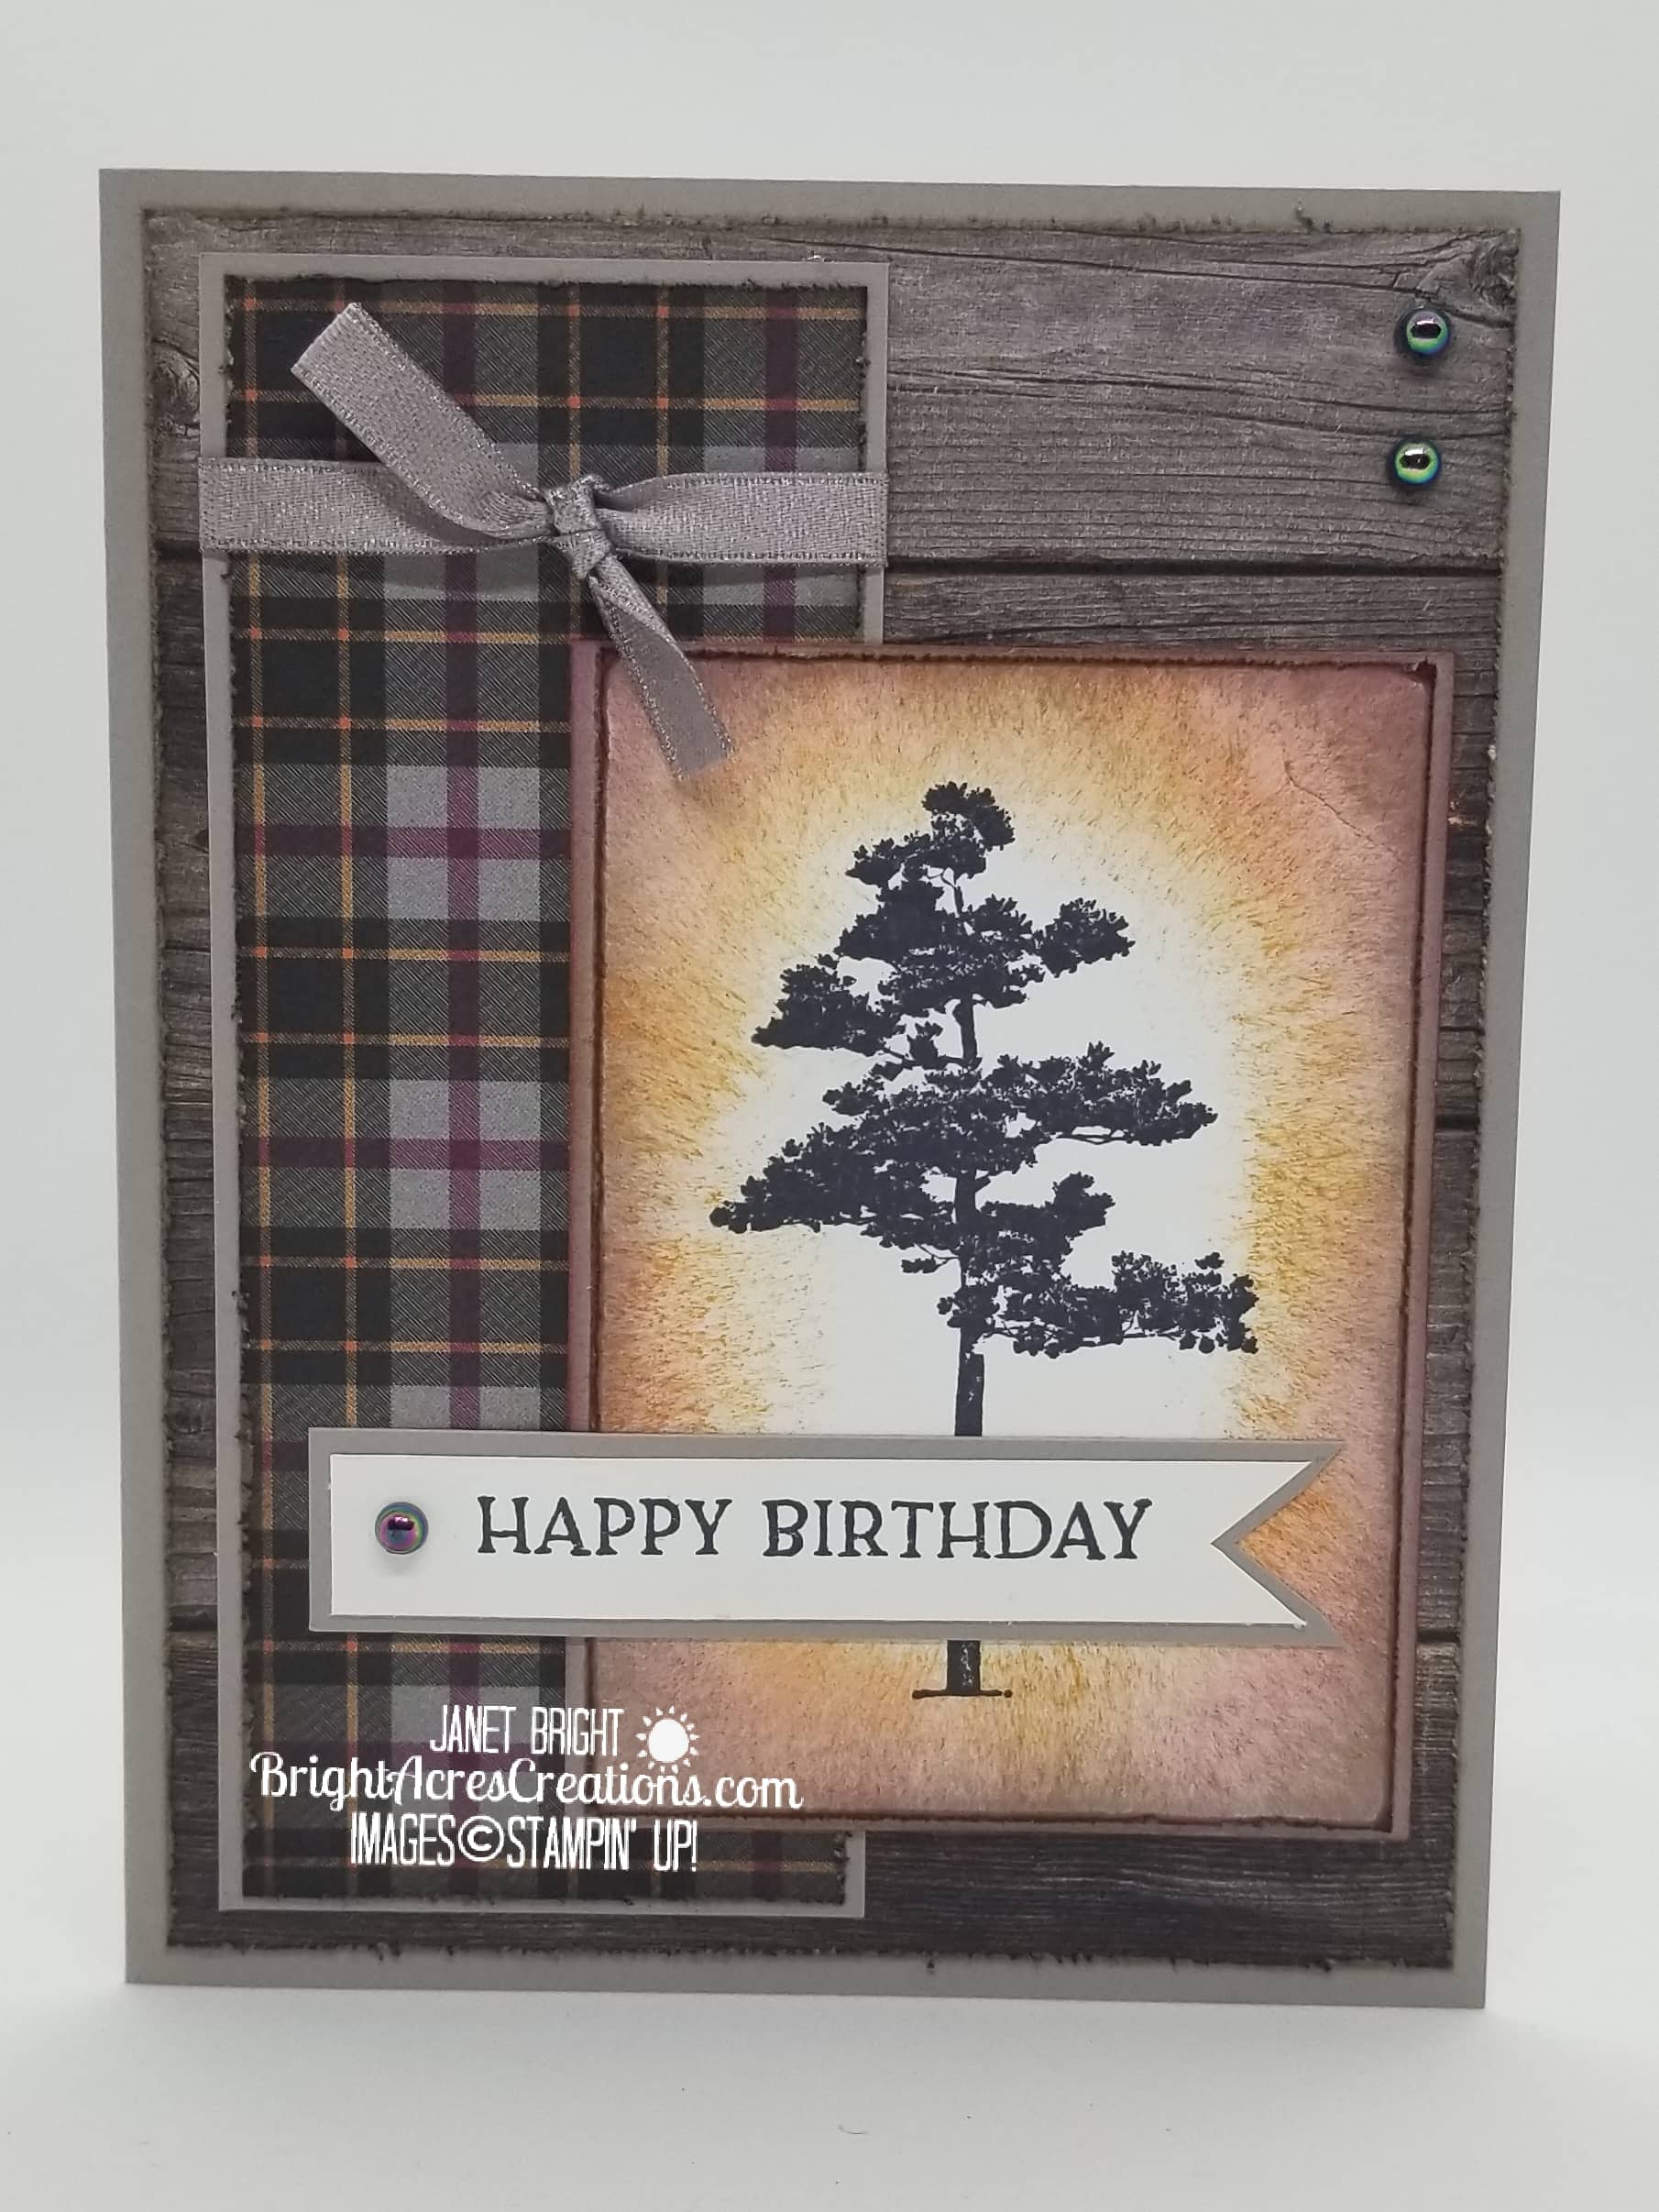
Did I mention we have a lot of summer birthdays in our family?  Oh my!  This time I needed a masculine card and so turned to an oldie but goodie.

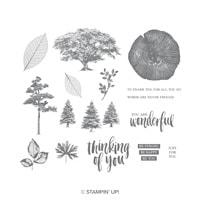
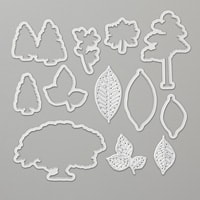
If you don’t own Rooted In Nature, I would encourage you take another look!  This stamp set is so classic and so easy to adapt to many different occasions!  Of course, living in the Pacific Northwest, trees and forests abound, so this set is just a natural for me and I love it!  There are dies to go along with the Rooted In Nature stamp set (Nature’s Roots metal dies), though today I didn’t use them.

Much of our property is forested and one of my favorite places on our ranch is a spot along the creek where the fir trees have grown to such heights that they block the sunlight and thus there’s little undergrowth, leaving a beautiful, open but shady landscape throughout the tall timber.  The natural smells are spectacular, especially on a warm day.  When I need to just get away for a bit to think, to pray, that’s the spot I head for.  It’s so peaceful, so quiet.  It’s easy to escape from life’s stressors in that place.  A place to let go and let God.

I’m a country girl through and through and oh, how I love this life!  Forests and trees are definitely one of my happy places!

And that brings me back to today’s project!

LET’S GET INKY!

Materials Used:

Paper:

  • Gray Granite Cardstock for card base:  8 1/2″ x 5 1/2″ – score and fold at 4 1/4″
  • In Good Taste DSP (wood) Mat 1:  5 1/4″ x 4″
  • Gray Granite Mat 2 (under plaid):  2″ x 5″
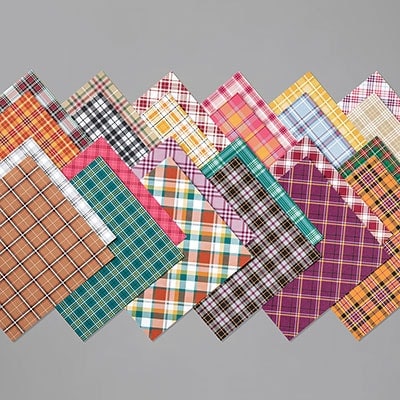
  • Plaid Tidings DSP:  1 7/8″x 4 7/8″
  • Gray Granite Mat 3 (under image):  2 5/8″ x 3 5/8″
  • Whisper White (image panel):  2 1/2″ x 3 1/2″
  • Gray Granite Sentiment Mat: 3 1/8″ x 5/8″
  • Whisper White sentiment tag:  3″ x 1/2″
  • Whisper White (inside card):  5 1/4″ x 4″
  • Plaid Tidings (inside card accent)  4″ x 1/2″

Stamp Sets Used: 

  • Rooted In Nature (tree image)
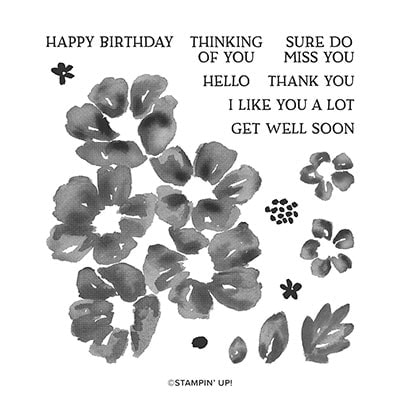
  • Blossoms in Bloom (“Happy Birthday”)
  • Peaceful Moments (inside sentiment)

Ink:

  • Tuxedo Black Memento
  • Gray Granite
  • Cherry Cobbler
  • Pumpkin Pie

Accessories:

  • Granite Gray Shimmer Ribbon
  • Iridescent Pearls
  • Snips
  • Sponge

Directions:

  1. Using edge of snips blade, distress both pieces of DSP and Whisper White image panel (run blade of scissors over edges to give rough texture).
  2. Adhere In Good Taste DSP (wood grain) to Gray Granite card base.
  3. Adhere Plaid Tidings DSP to Gray Granite  Mat 2.
  4. Stamp tree image from Rooted In Nature in Tuxedo Black Memento ink on Whisper White cardstock (2 1/2″ x 3 1/2″).
  5. Ink edges of image panel, with a sponge, first with Pumpkin Pie, then a little shallower with Cherry Cobbler, and finally around the edges with Gray Granite.
  6. Ink just the very edge of the Gray Granite Mat 3 (under image panel) with Cherry Cobbler ink.
  7. Adhere image panel to Mat 3.
  8. Wrap a small piece of Gray Granite Shimmer Ribbon around the top of the plaid panel, adhering ends to back of panel with tape or glue dots.
  9. Use a second small piece of ribbon to tie in a knot around first ribbon.
  10. Adhere plaid panel to left side of card front.
  11. Adhere image panel to right side of card front.
  12. Stamp “Happy Birthday” with Tuxedo Black Memento ink on 3″ x 1/2″ scrap of Whisper White CS and hand-cut banner end.
  13. Layer sentiment onto 3 1/8″ x 5/8″ scrap of Gray Granite CS and hand-cut banner end.
  14. Adhere sentiment banner overlapping image panel.
  15. Apply Iridescent Pearls, one on left end of tag and two in the upper right corner of card.
  16. Stamp inside sentiment in Tuxedo Black Memento ink on Whisper White panel.
  17. Adhere 1/2″ x 4″ plaid DSP strip across bottom for accent.
  18. Adhere panel to inside of card.

Done!

A masculine card perfect for a late-summer or fall birthday!

I hope you take some time this weekend to unwind and maybe escape to your happy place!

Until next time, I hope you get a little INKY!

Janet


Product List

Paper Snips

$10.00


How To Make An Eye-Catching Double Z-Fold Card

Hello Friends!

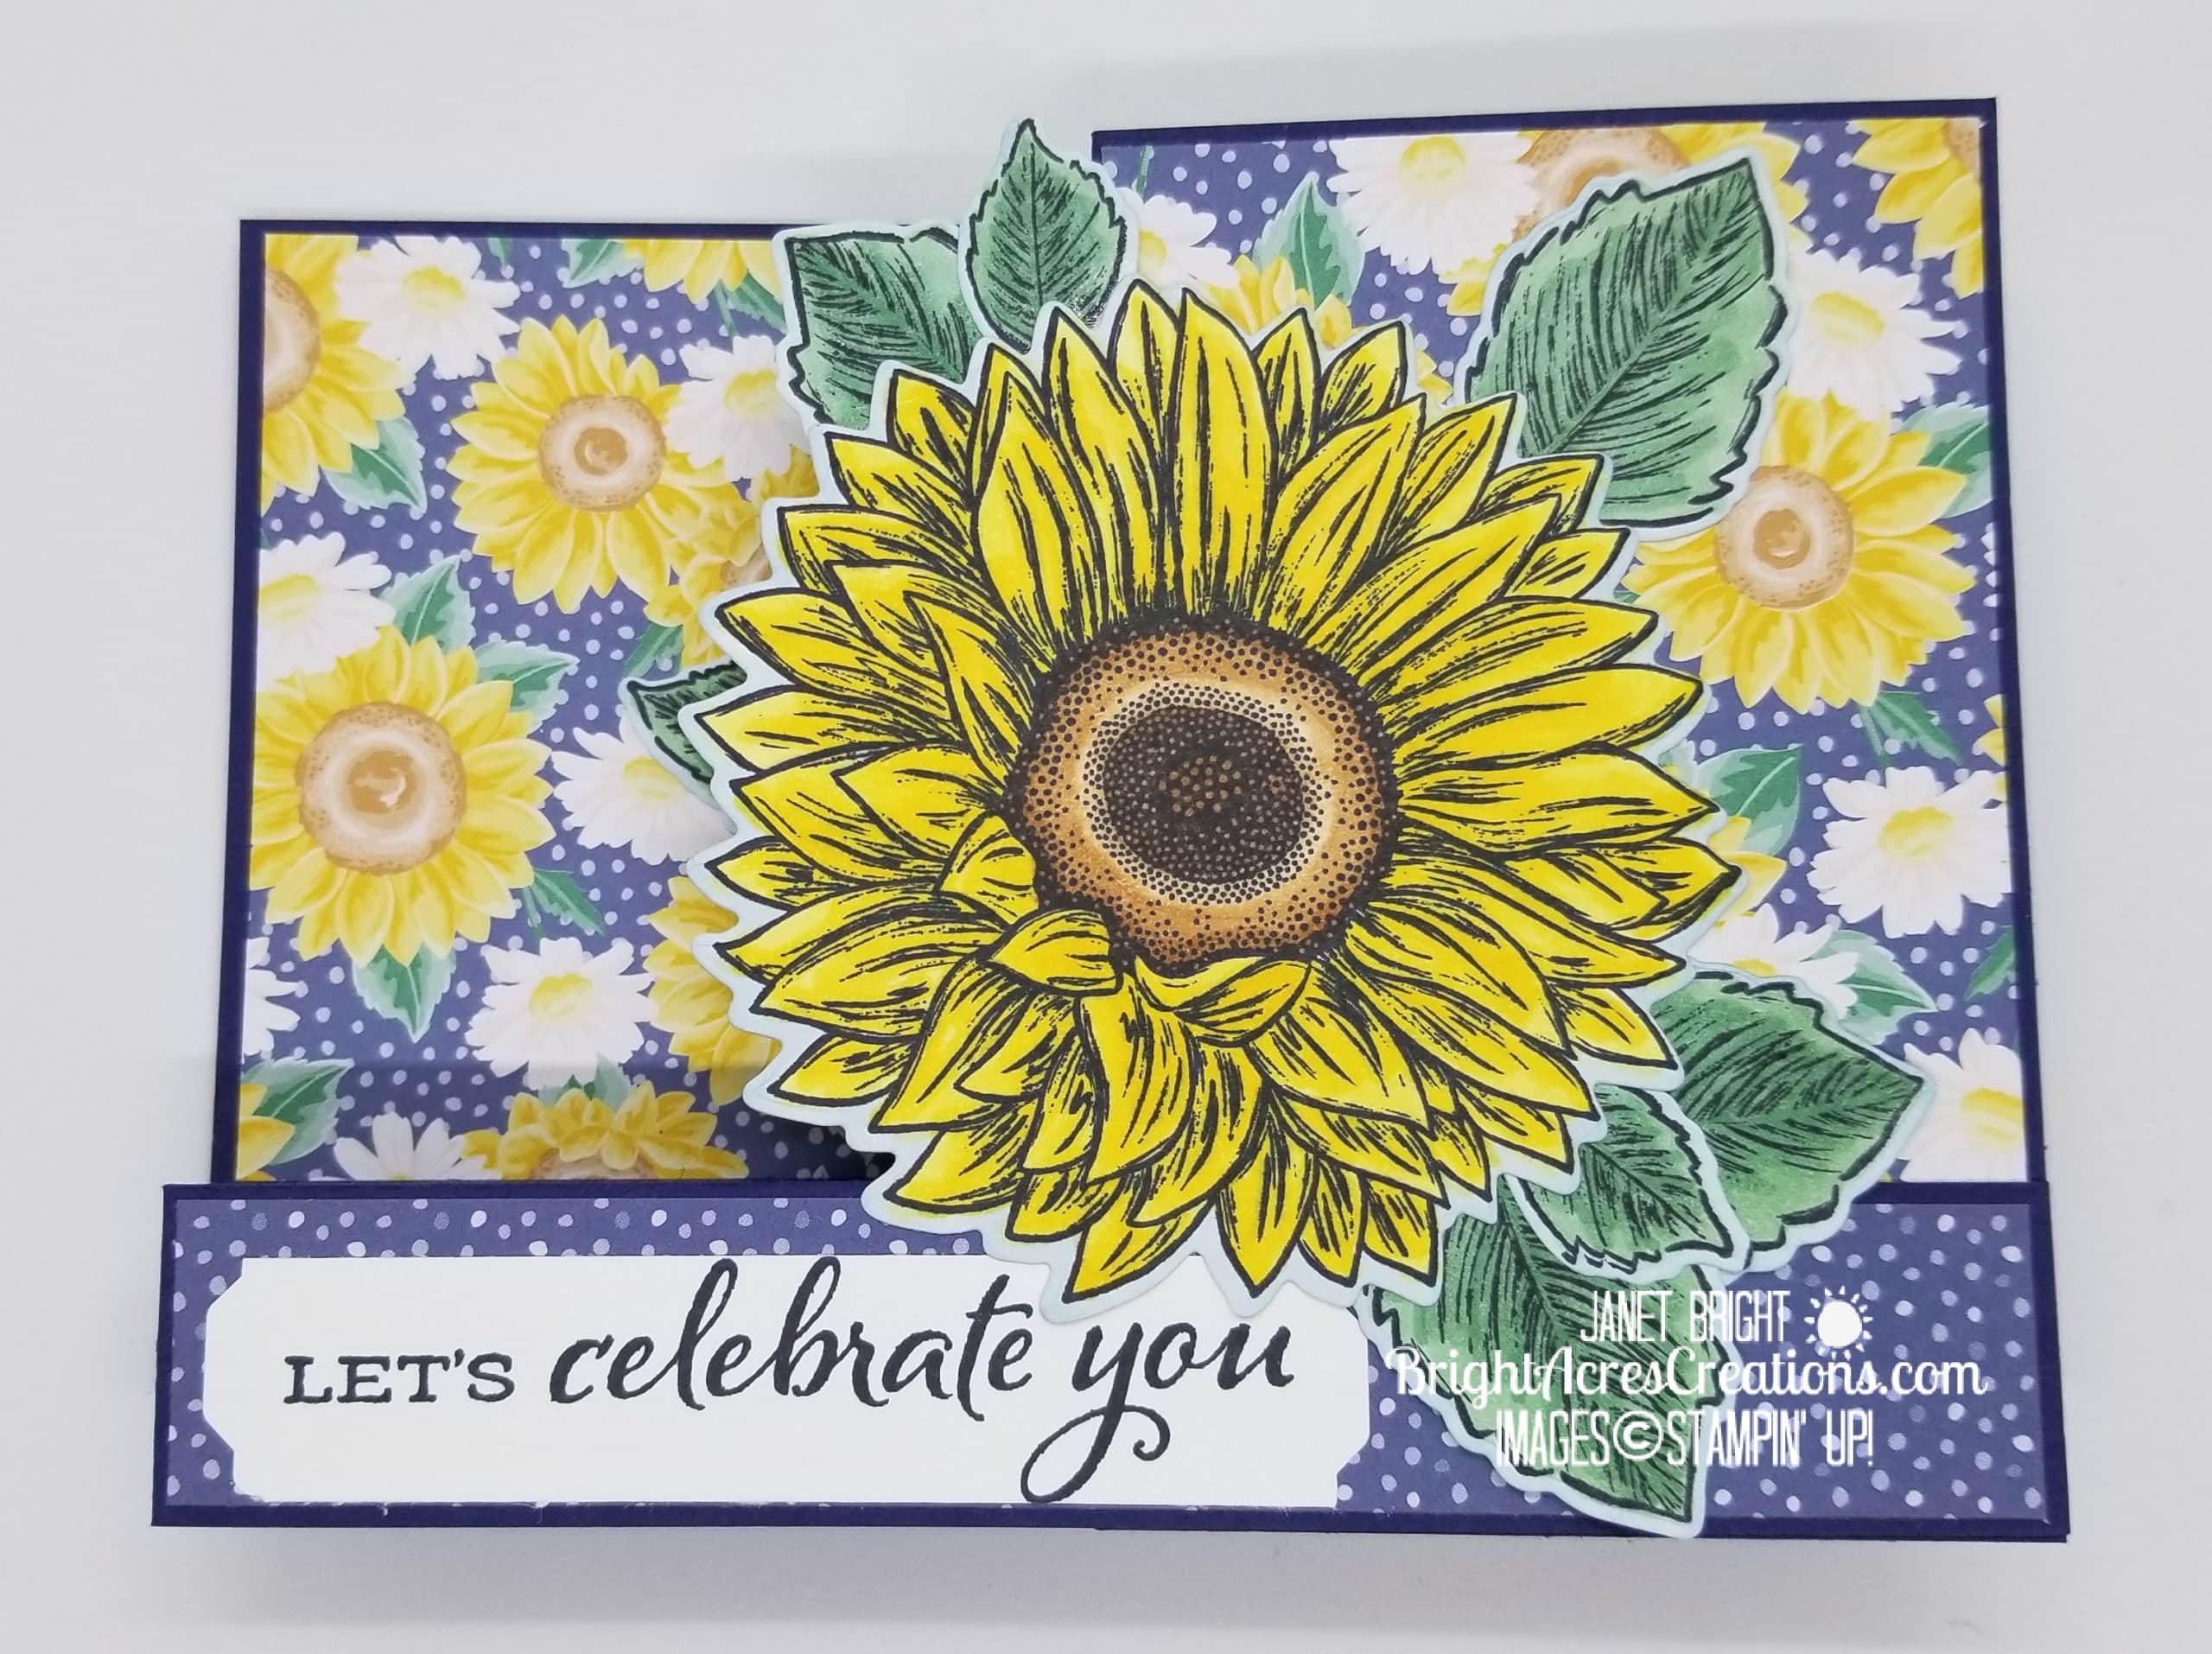
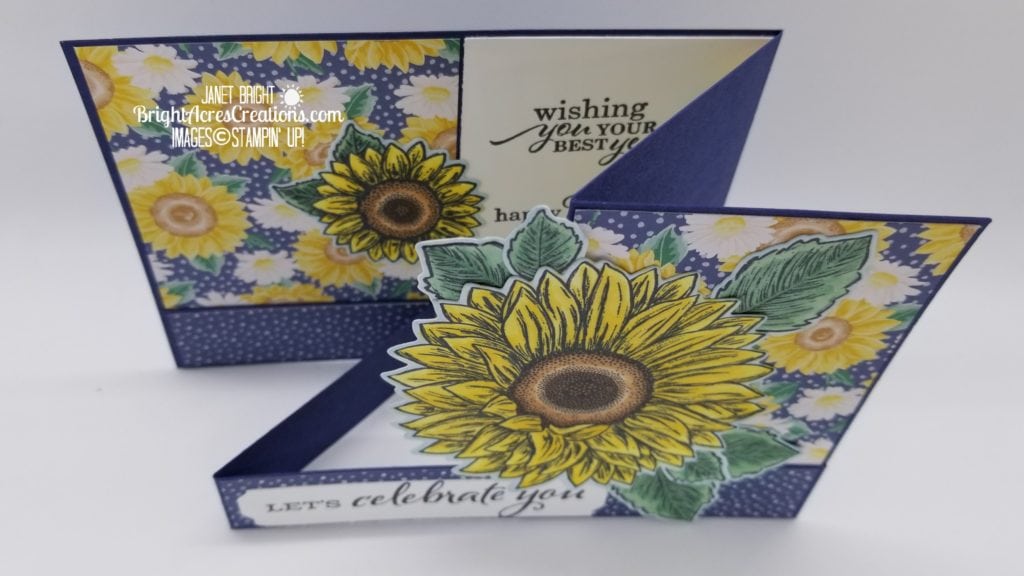
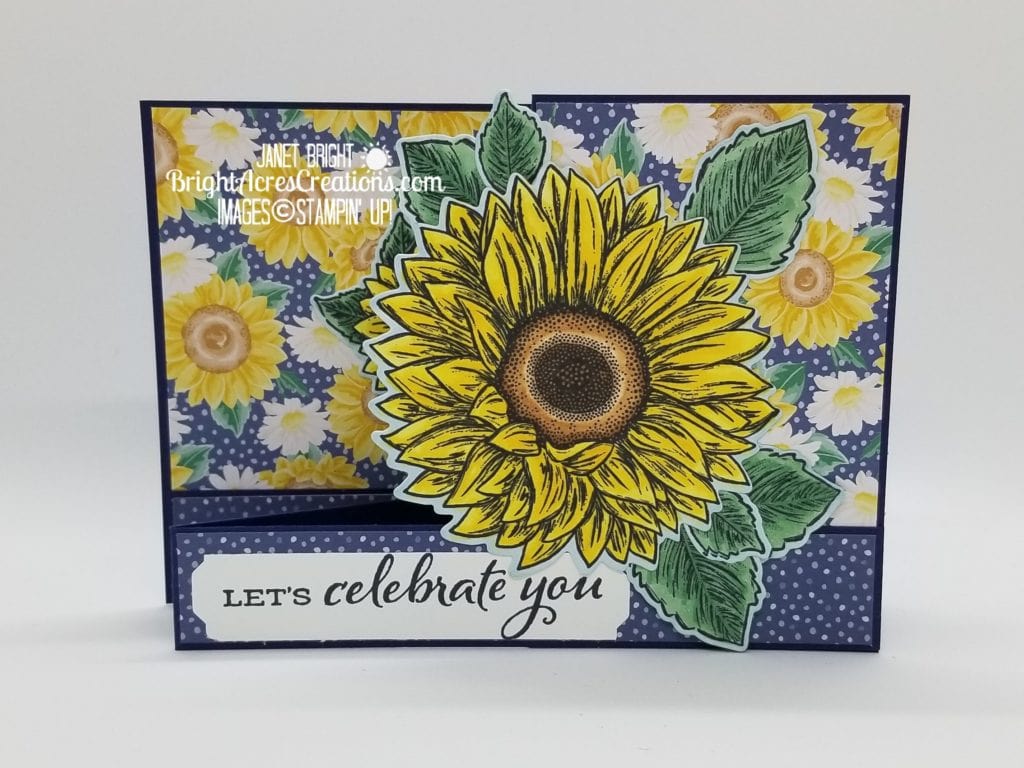
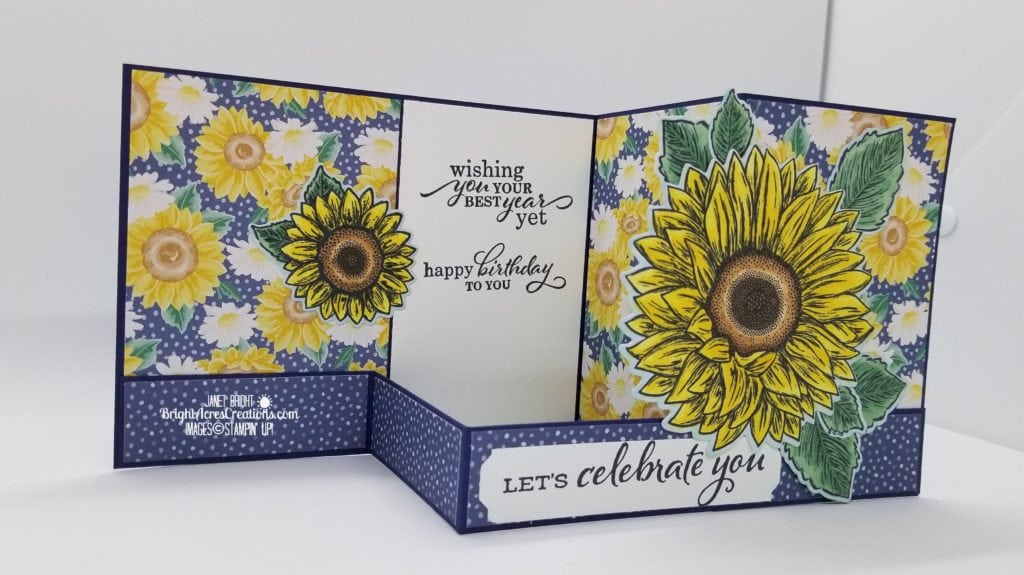
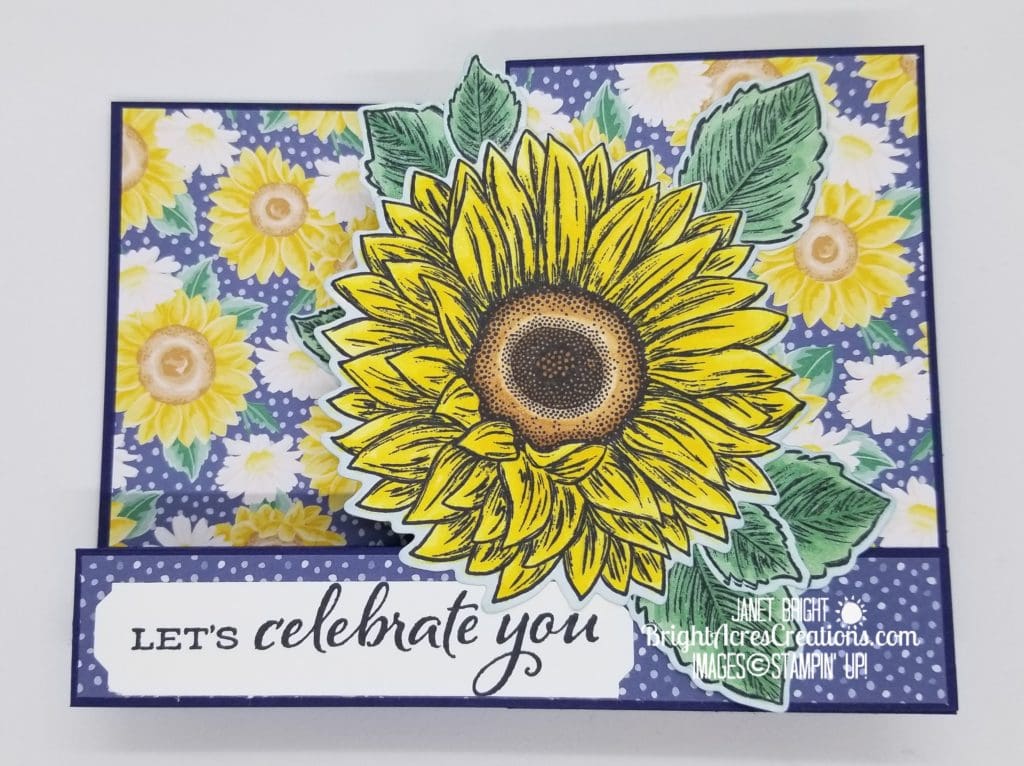
Today we’re back to Summer/Fall with Celebrate Sunflowers and an eye-catching Double Z-Fold fancy fold card.

I’m having so much fun with all of my new products from the August-December Mini Catalog, but needing a birthday card, I returned to Celebrate Sunflowers from the Annual Catalog.  This is fast becoming one of my “go-to” sets.  I love big statement-making stamps!  This super large sunflower along with the bright, cheery designer series paper (DSP), Flowers For Every Season, makes for a card with lots of Wow-Factor!

This is one of those cards that turned out so pretty, I kind of want to keep it!  But then again, it’s so pretty that I can’t wait to give it away!  It’s a good thing I ordered extra of this DSP, and thankfully this stamp set will last, and last, and last – even longer than the Energizer Bunny! I think it’s safe to say, I’ll be making more of these cards!

I’ve created a PDF file with all the specifics for this card, including step-by-step instructions.  You can download it and even print it for future use if you’d like!

Just click here for the free file!


I’ll be back SOON with another fun-fold using one of my favorites from the holiday catalog, Snow Wonder!

I hope you get INKY! Until next time…

Janet
Product List

Stamparatus

$49.00

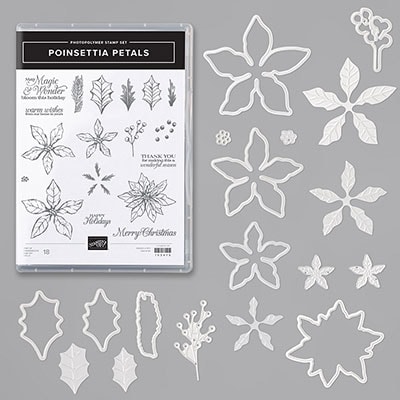
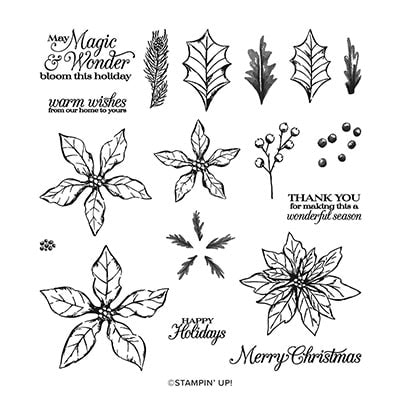
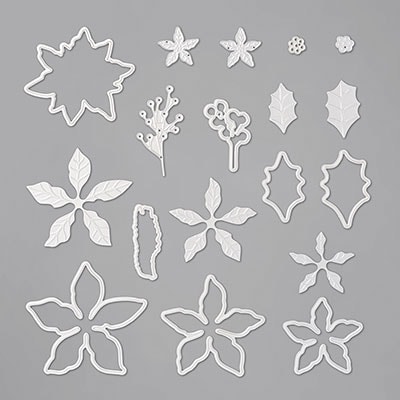
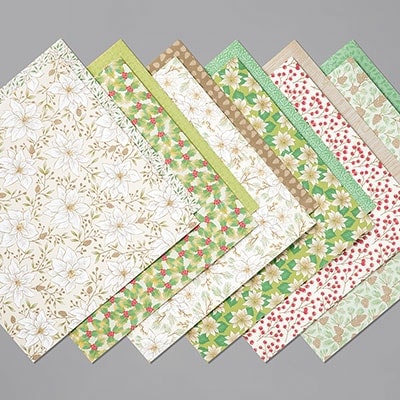
Stampin Up Poinsettia Petals With Free PDF instructions

Lots Of Layers With Poinsettia Petals

Hello Friends!

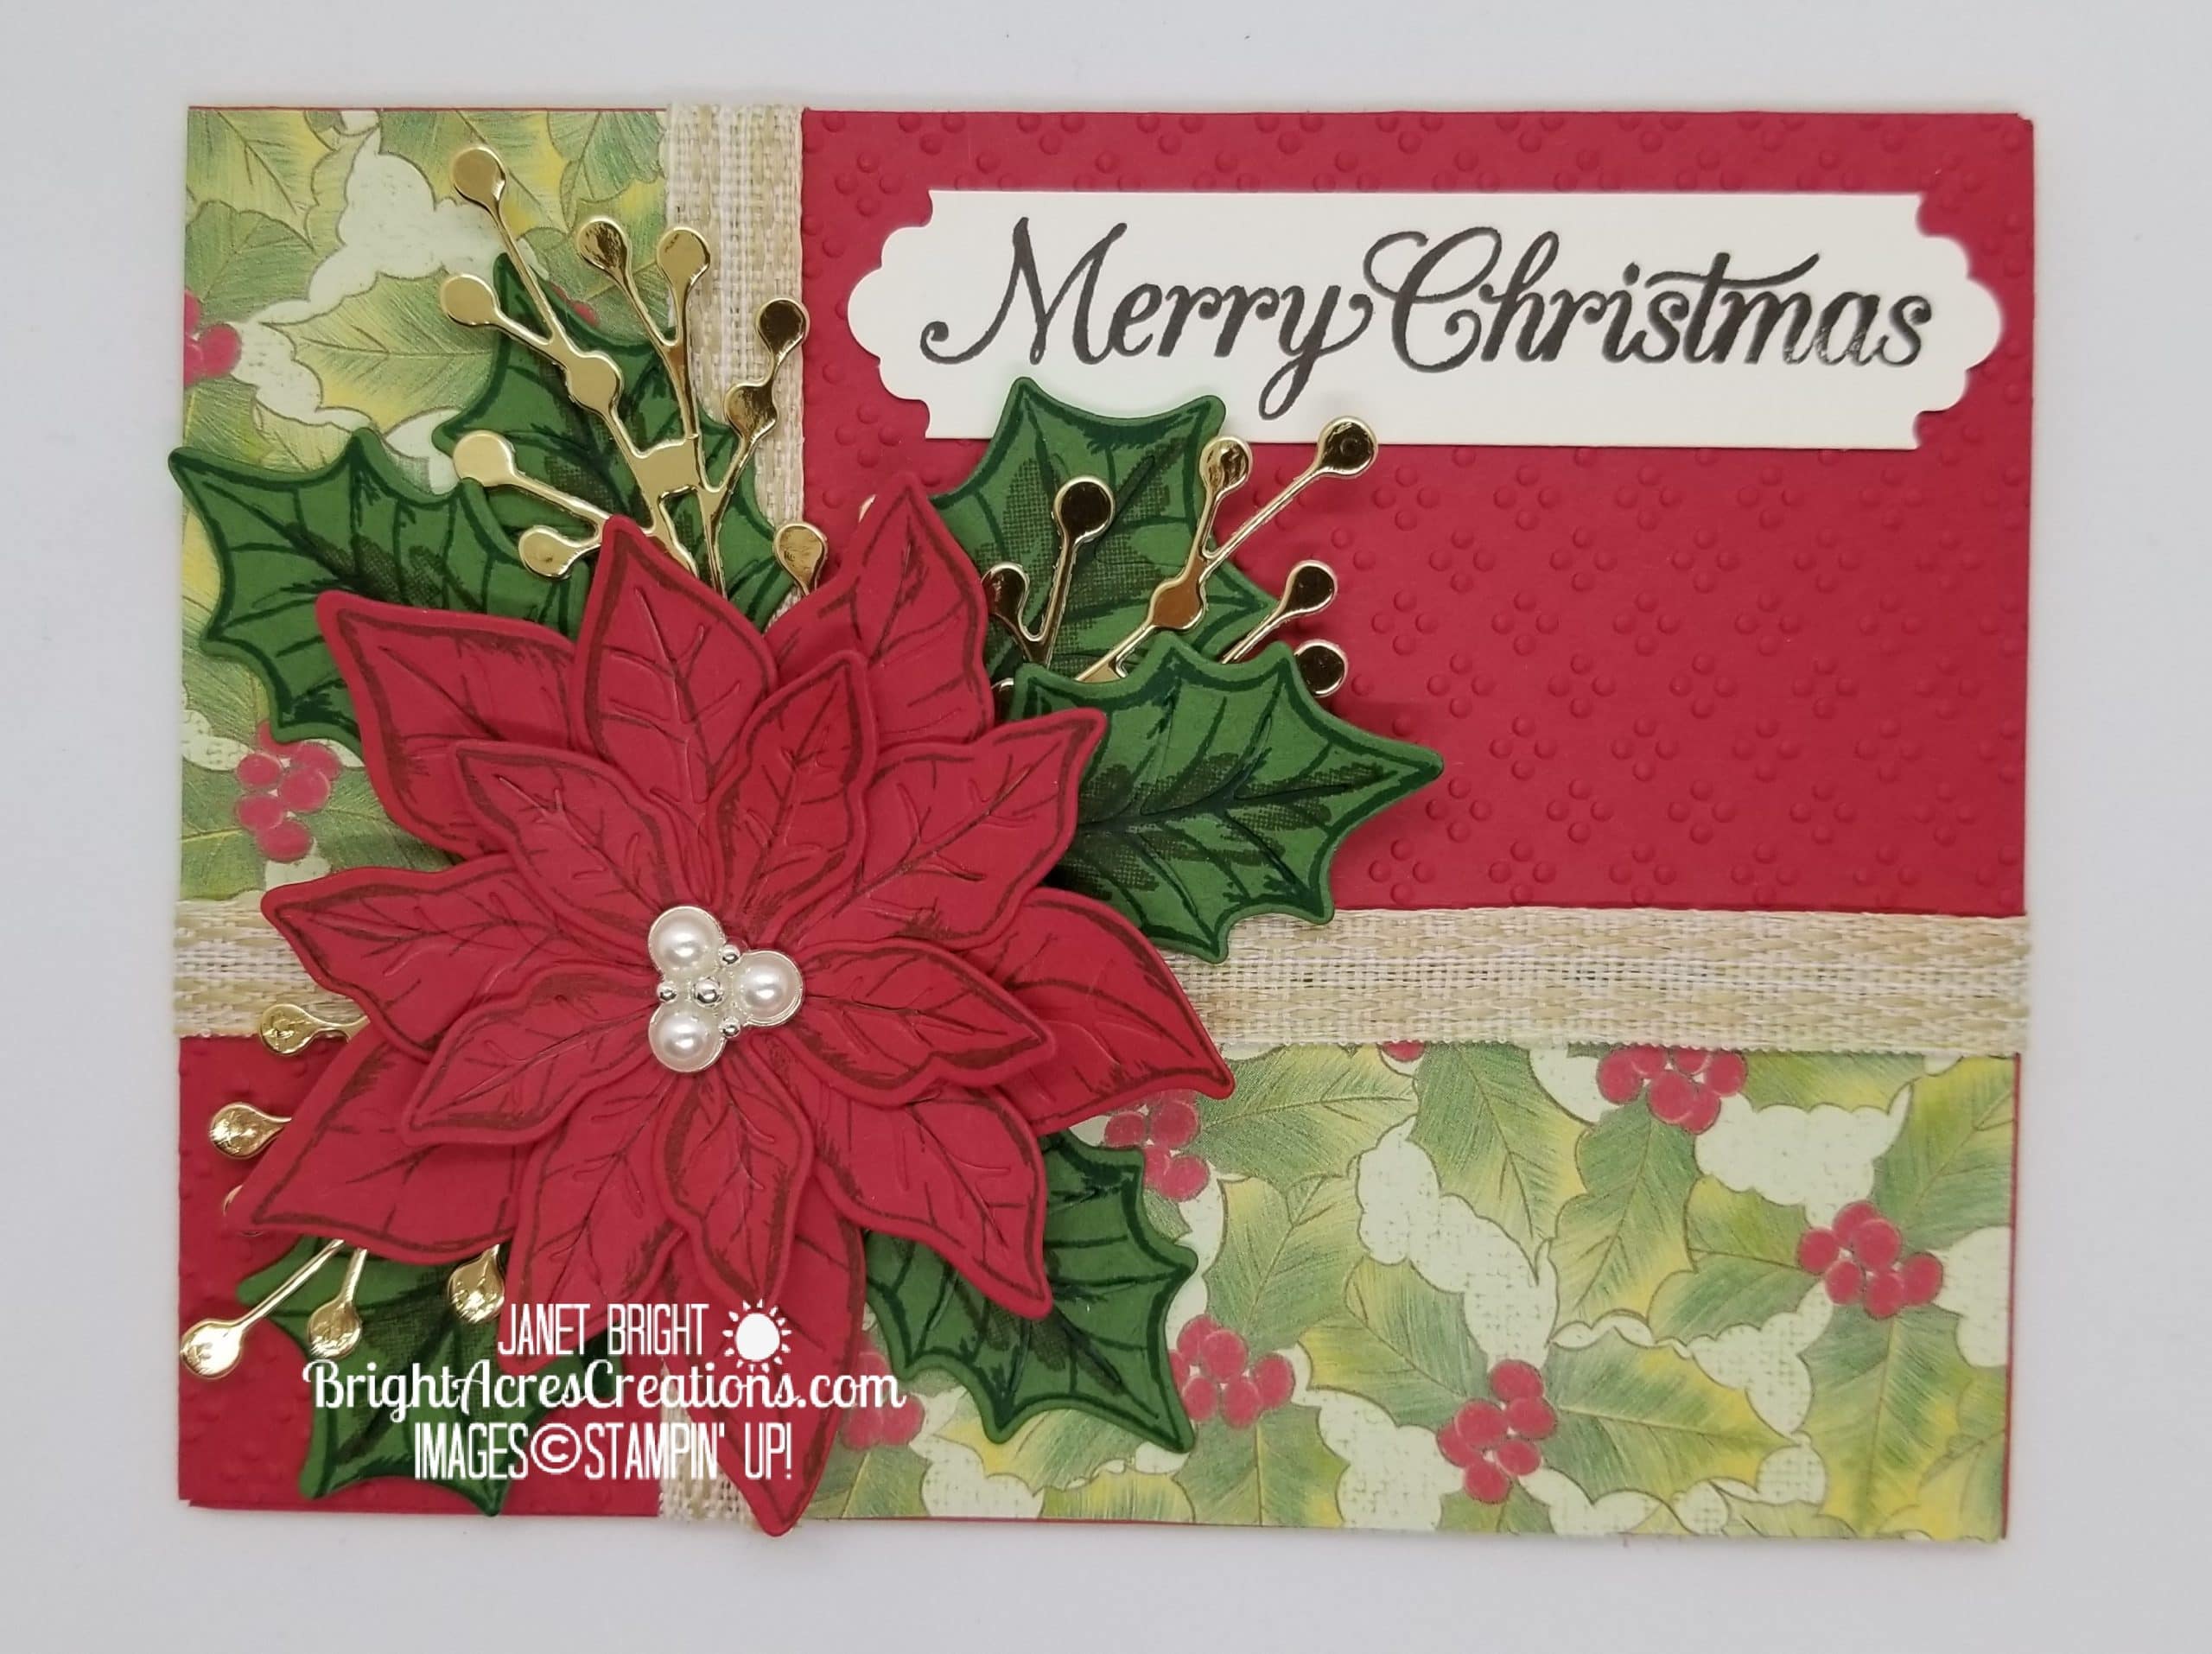
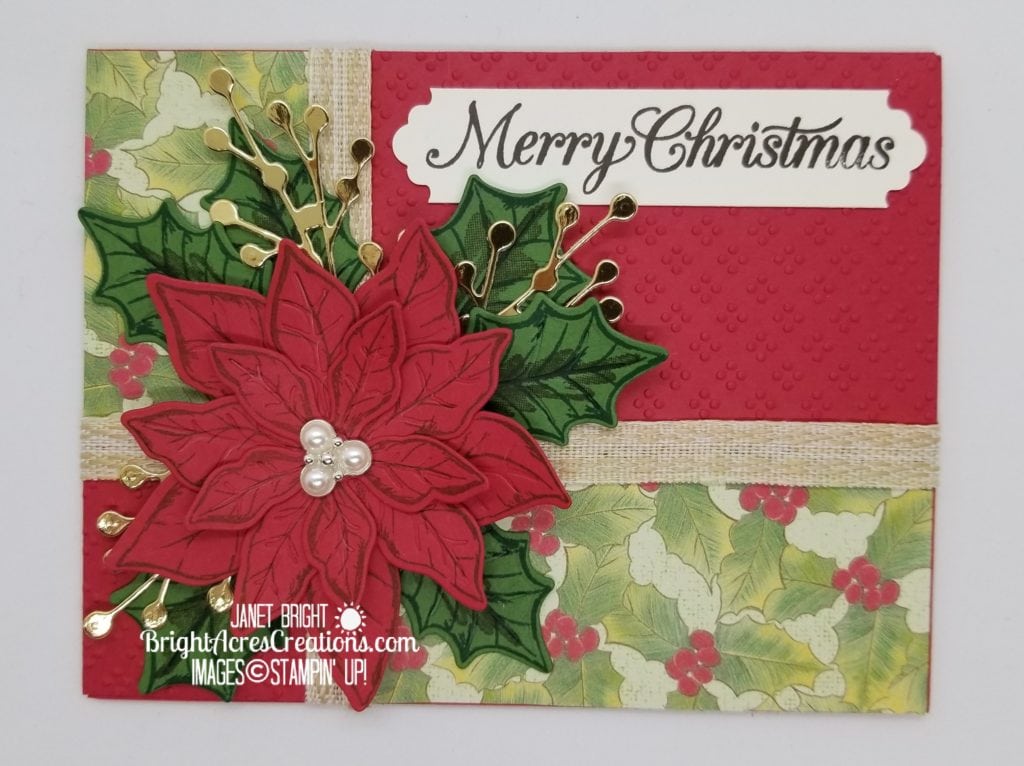
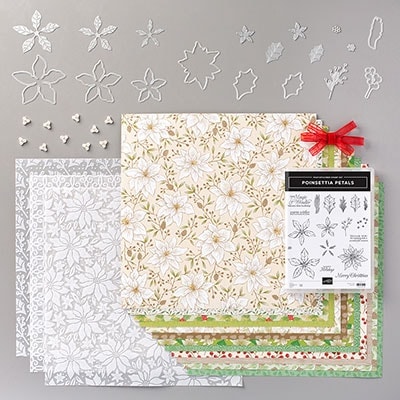
I’ve been busy in my craft room playing with all of my new “toys” from the holiday mini catalog.  Today I wanted to share one of the cards I put together using the Poinsettia Place suite of products.

I love lots of layers and textures on the cards I create and this set of products delivers all of that and more!  Take a close look at the Beaded Pearls in the center of the poinsettia; they are soooo PRETTY!

Stampin Up Poinsettia Petals With Free PDF instructions

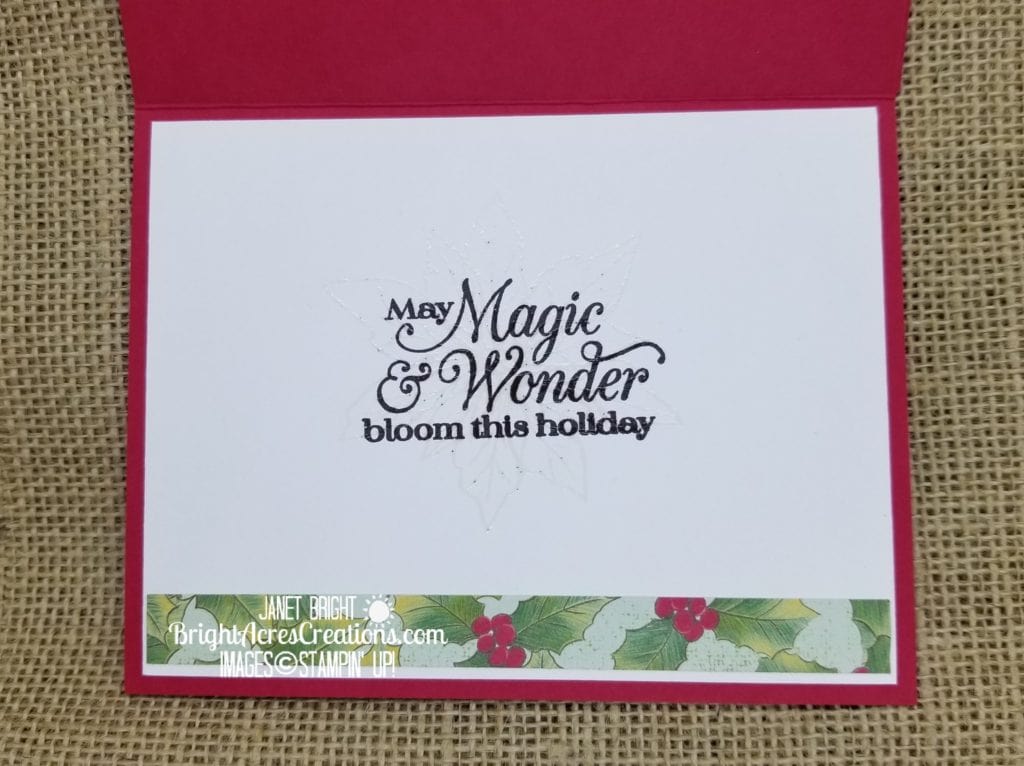
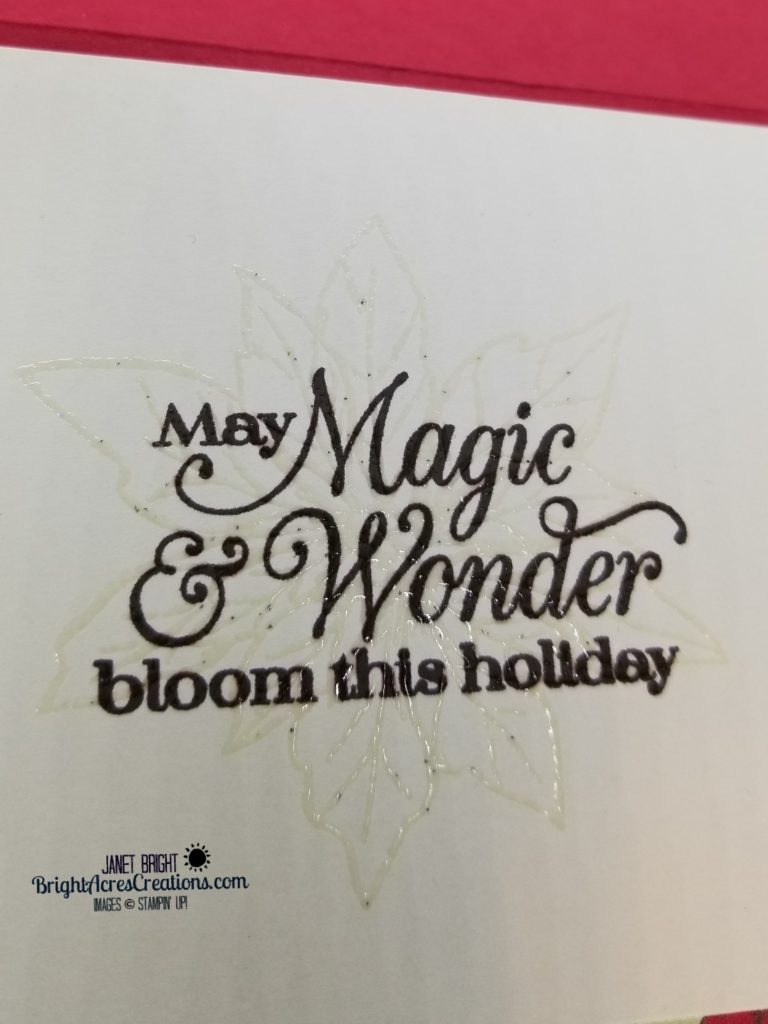
I also used Versamark ink and clear embossing powder to create a watermark effect over the inside sentiment.  It looks so pretty, though doesn’t show well in the pictures.  Give it a try and see what you think!  Just make sure your sentiment ink has dried well before over-stamping with the Versamark!

Also, as you can tell in the picture, my clear embossing powder is quite old and over the years has apparently gotten some little bits of glitter or other colored embossing powder mixed in.  This actually prompted another trip to my Stampin’ Up store (darn it!) to buy some fresh embossing powder (and a few other things), as well as a good cleaning of my embossing tray that I use!  Dean says the specks just give it a more custom, one-of-a-kind look!  He’s right about that!  It will be one-of-a-kind, as I’m going to wait for my fresh EP to arrive before making duplicates of this card!


I’m feeling pretty good right now that I’ve gotten a little jumpstart on Christmas cards and I even started my Christmas shopping the other day!  Who knows…Maybe for the first time EVER, I actually will get all of my Christmas shopping done by the end of August!  Getting it wrapped may be a different story, however!

So, what about you?  Have you had a chance to play with any of the new holiday products yet?  If you haven’t placed your order yet, I would encourage you to do so in order to get a head start on the holidays yourself!

It feels pretty good to be ahead of the game!  I can see myself now… baking, decorating, crafting, leisurely wrapping gifts with Christmas music playing in the background and actually enjoying the holidays rather than hustling to get everything done at the last minute (which is what I’ve done the past few years and is not enjoyable!)

At any rate, I hope you craft today – for the holidays or otherwise.  Take some time to slow down and enjoy the process, always remembering the reason for the season!

LET’S GET INKY!

I’ve created a PDF file with all the specific measurements and instructions for making this card which you can download and print if you’d like!  Just click below and you’re on your way to an early start on holiday prep!


Poinsettia Petals Color Block Card


If you have questions, please use the “contact” tab at the top of this page and reach out to me.  I’m always happy to help you in your crafting endeavors!

And, please let me know in the comments below if you like the downloadable PDF, or prefer all the directions written out on each post!

Until next time, here’s to hoping you get a little INKY!

Janet

Product List

7 Paper Pumpkin Alternates

Summer Nights With Christmas On My Mind

Hello Friends!

I hope you’ve had a chance to look through the August-December, 2020 Mini Catalog and make your shopping list!  The catalog is NOW LIVE and you can start ordering and redeeming your Bonus Days Coupons NOW!!!

I’m so excited that as a demonstrator, I can now pre-order the all-new Stampin’ Cut & Emboss Machine!!!  And, I already did actually!!!  My poor old Big Shot is about worn out at this point and I’ve been anxiously awaiting the availability of the new machine!   I can’t wait until it arrives!  It will be available for you to order on September 4, so by then, I’ll have mine all broken in and can offer hints and tips for it’s best use!!!  I’m so excited about the fold-up feature and smaller footprint!  YAY!!!

Also, if you haven’t been to my online Stampin’ Up! store yet today, it’s gone through a major facelift with new features.  The first time you visit, you’ll have to enter your password or create a new one if you’ve forgotten it!  Otherwise, it will have a new look and feel to hopefully make your shopping experience and finding products easier!  Stampin’ Up is looking for feedback on what you, our customers, like and don’t like about the new online store, so don’t hesitate to share your opinion!

I’m slowly getting into the holiday season crafting mode.  I have to admit that I’m one of those shoppers who walks into a store in September and sees Christmas items and expresses with a groan to whomever I’m with, “Christmas stuff already?!  It’s only September!”  However, I can see the logic in it, as I’m also one of those who says every year, “I’m going to have my Christmas shopping done by the end of August, and all my cards made, so I can just sit back and enjoy the holidays!”  Hasn’t happened yet, but who knows?  I still have a few weeks to go this year…  And, well… it could happen!

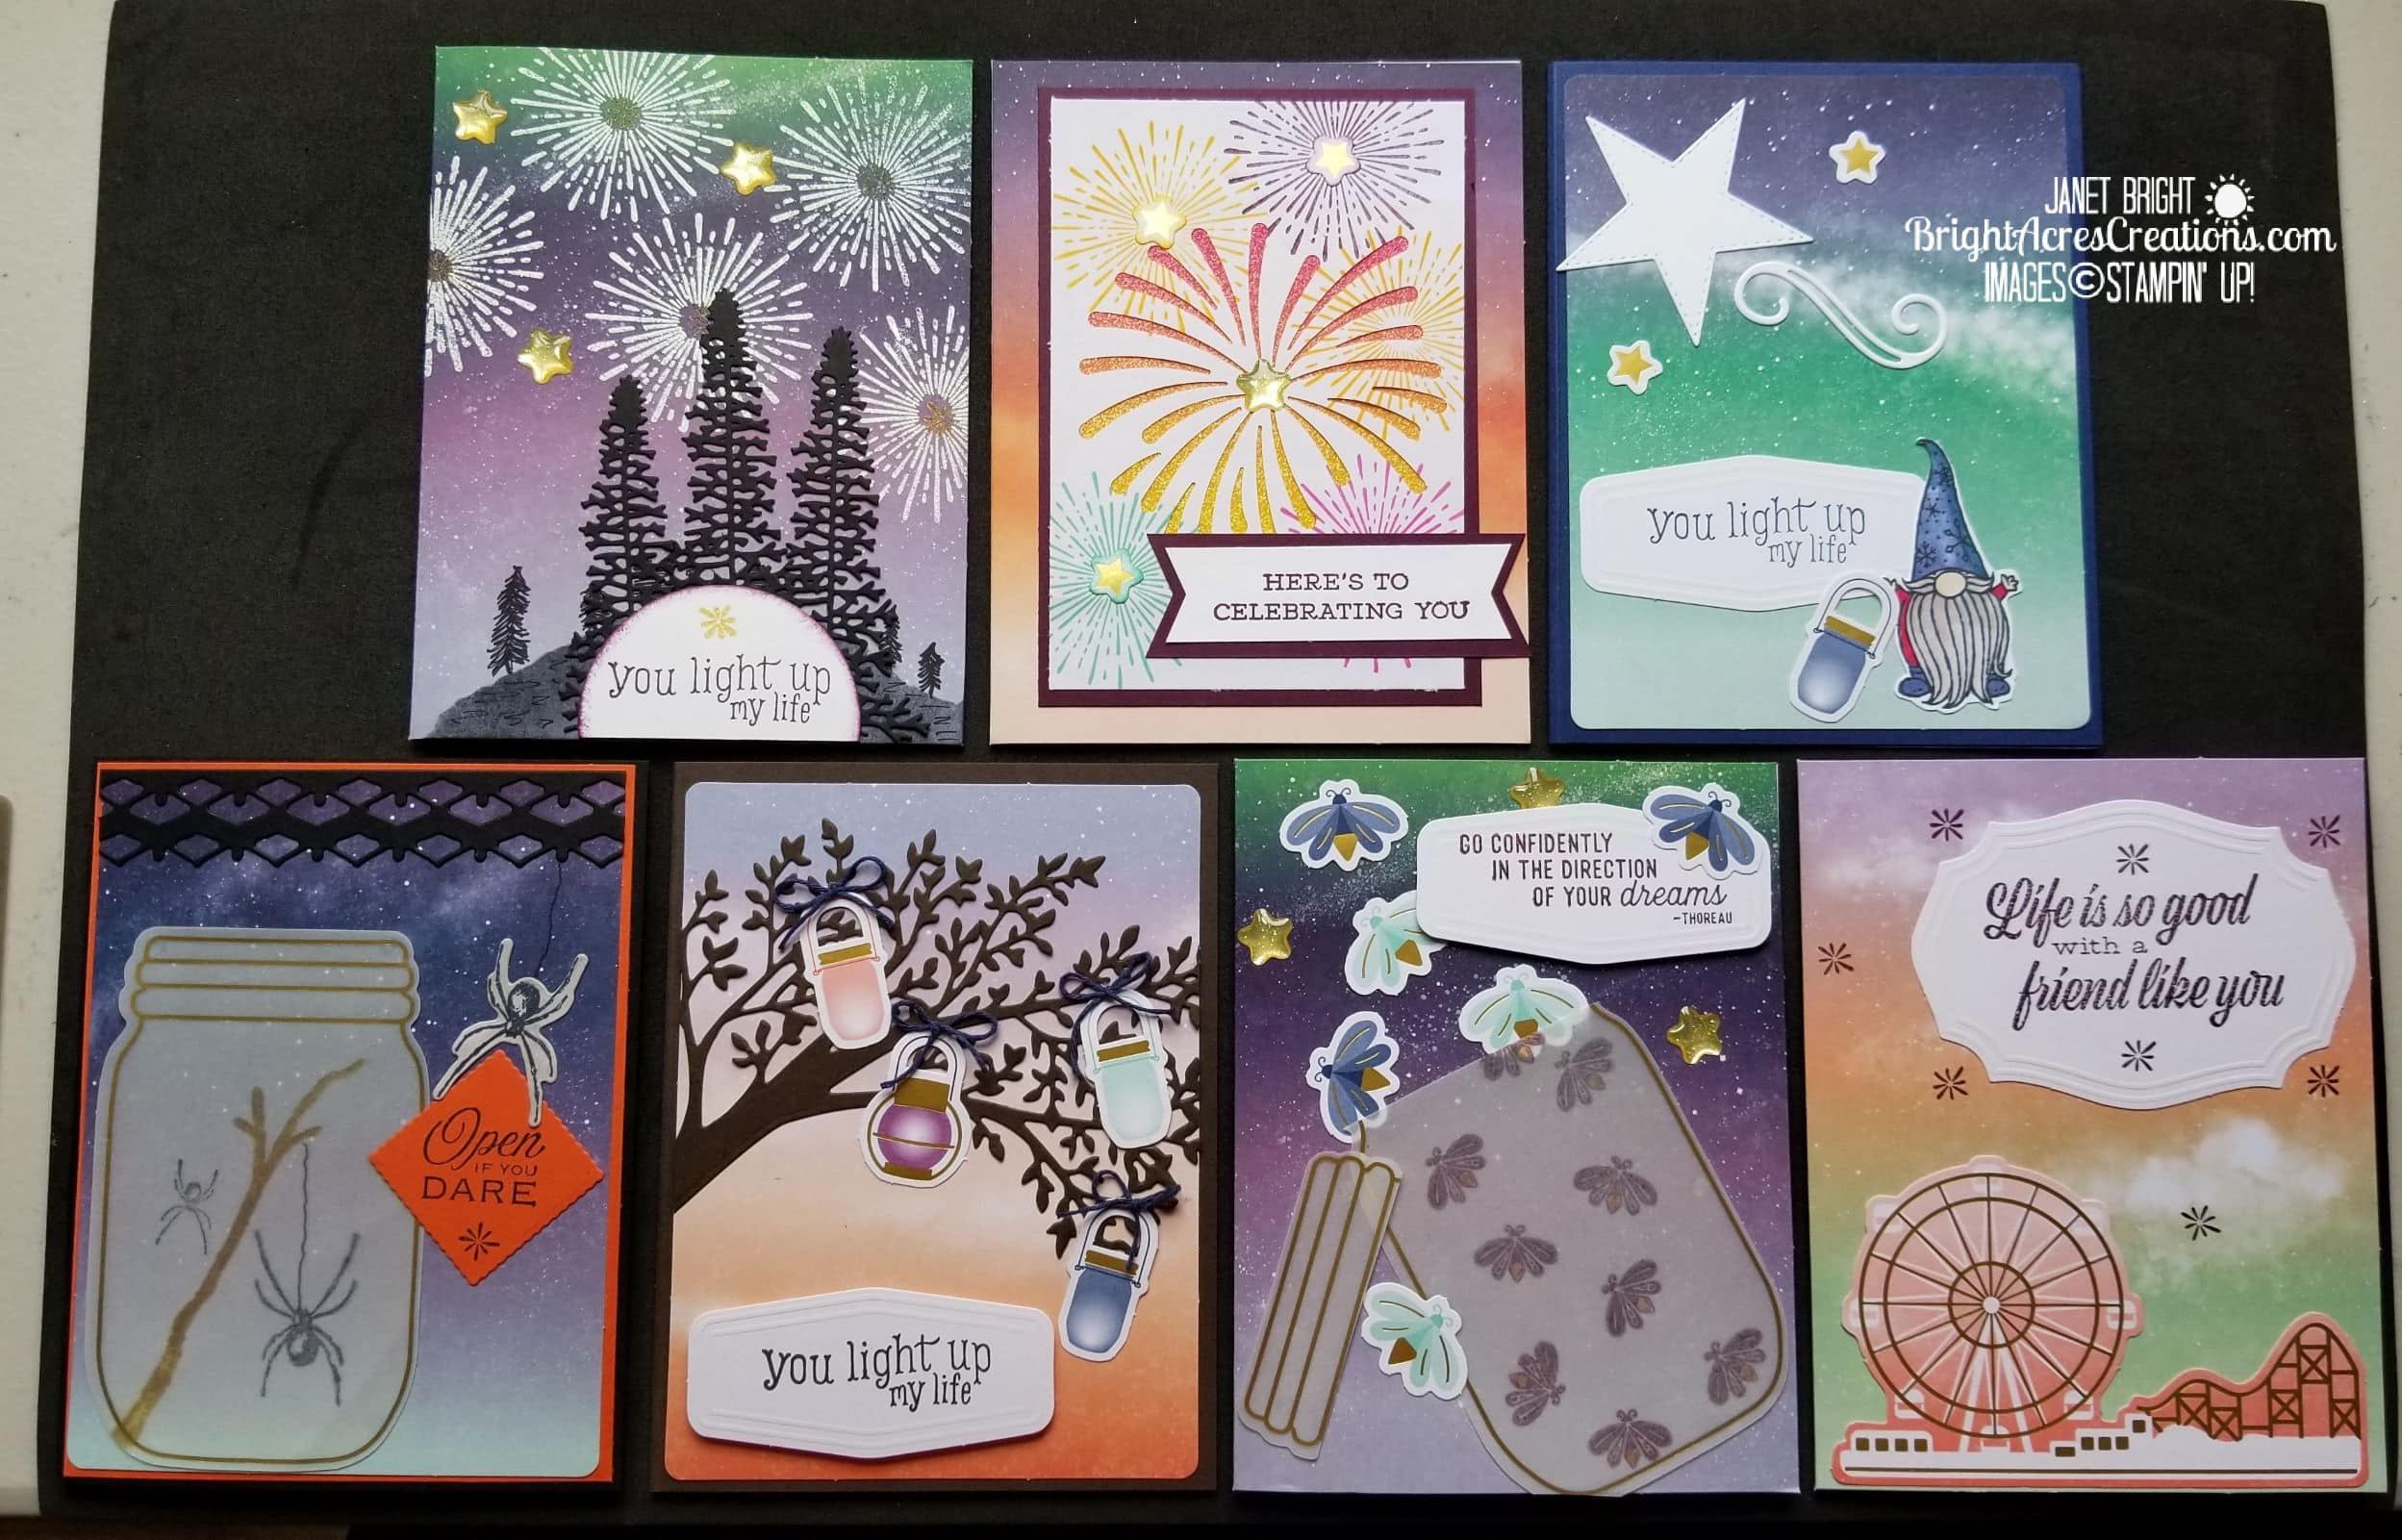
But today I’m setting all that aside to share with you my July Paper Pumpkin Alternatives!  I finally got around to digging into that little orange box and oh my!  I’ve had a great time nestled away in my craft room playing with this kit!  I have 7 cards to share with you today, and a couple more that are still in my head just waiting for another round of crafting time!  Summer Nights is the theme of this kit, and I did order the add-on offered for this kit also.  As mentioned, I’ve made 7 cards so far and still have a TON of “stuff” left for many more cards!

I generally make my first cards right out of the box just like the directions instruct, one of each design, and then throw caution to the wind and design my own creations with the kit supplies.  This month, however, I skipped right over the “intended” cards and went straight to my own creations!  So much inspiration inside this month’s kit!

So, here we go… LET’S GET INKY!!! Continue reading “Summer Nights With Christmas On My Mind”

Shaker card using Stampin' Up Peace & Joy Bundle

A Shaker Card The Bright Way Using Peace & Joy Bundle

Hello Friends!

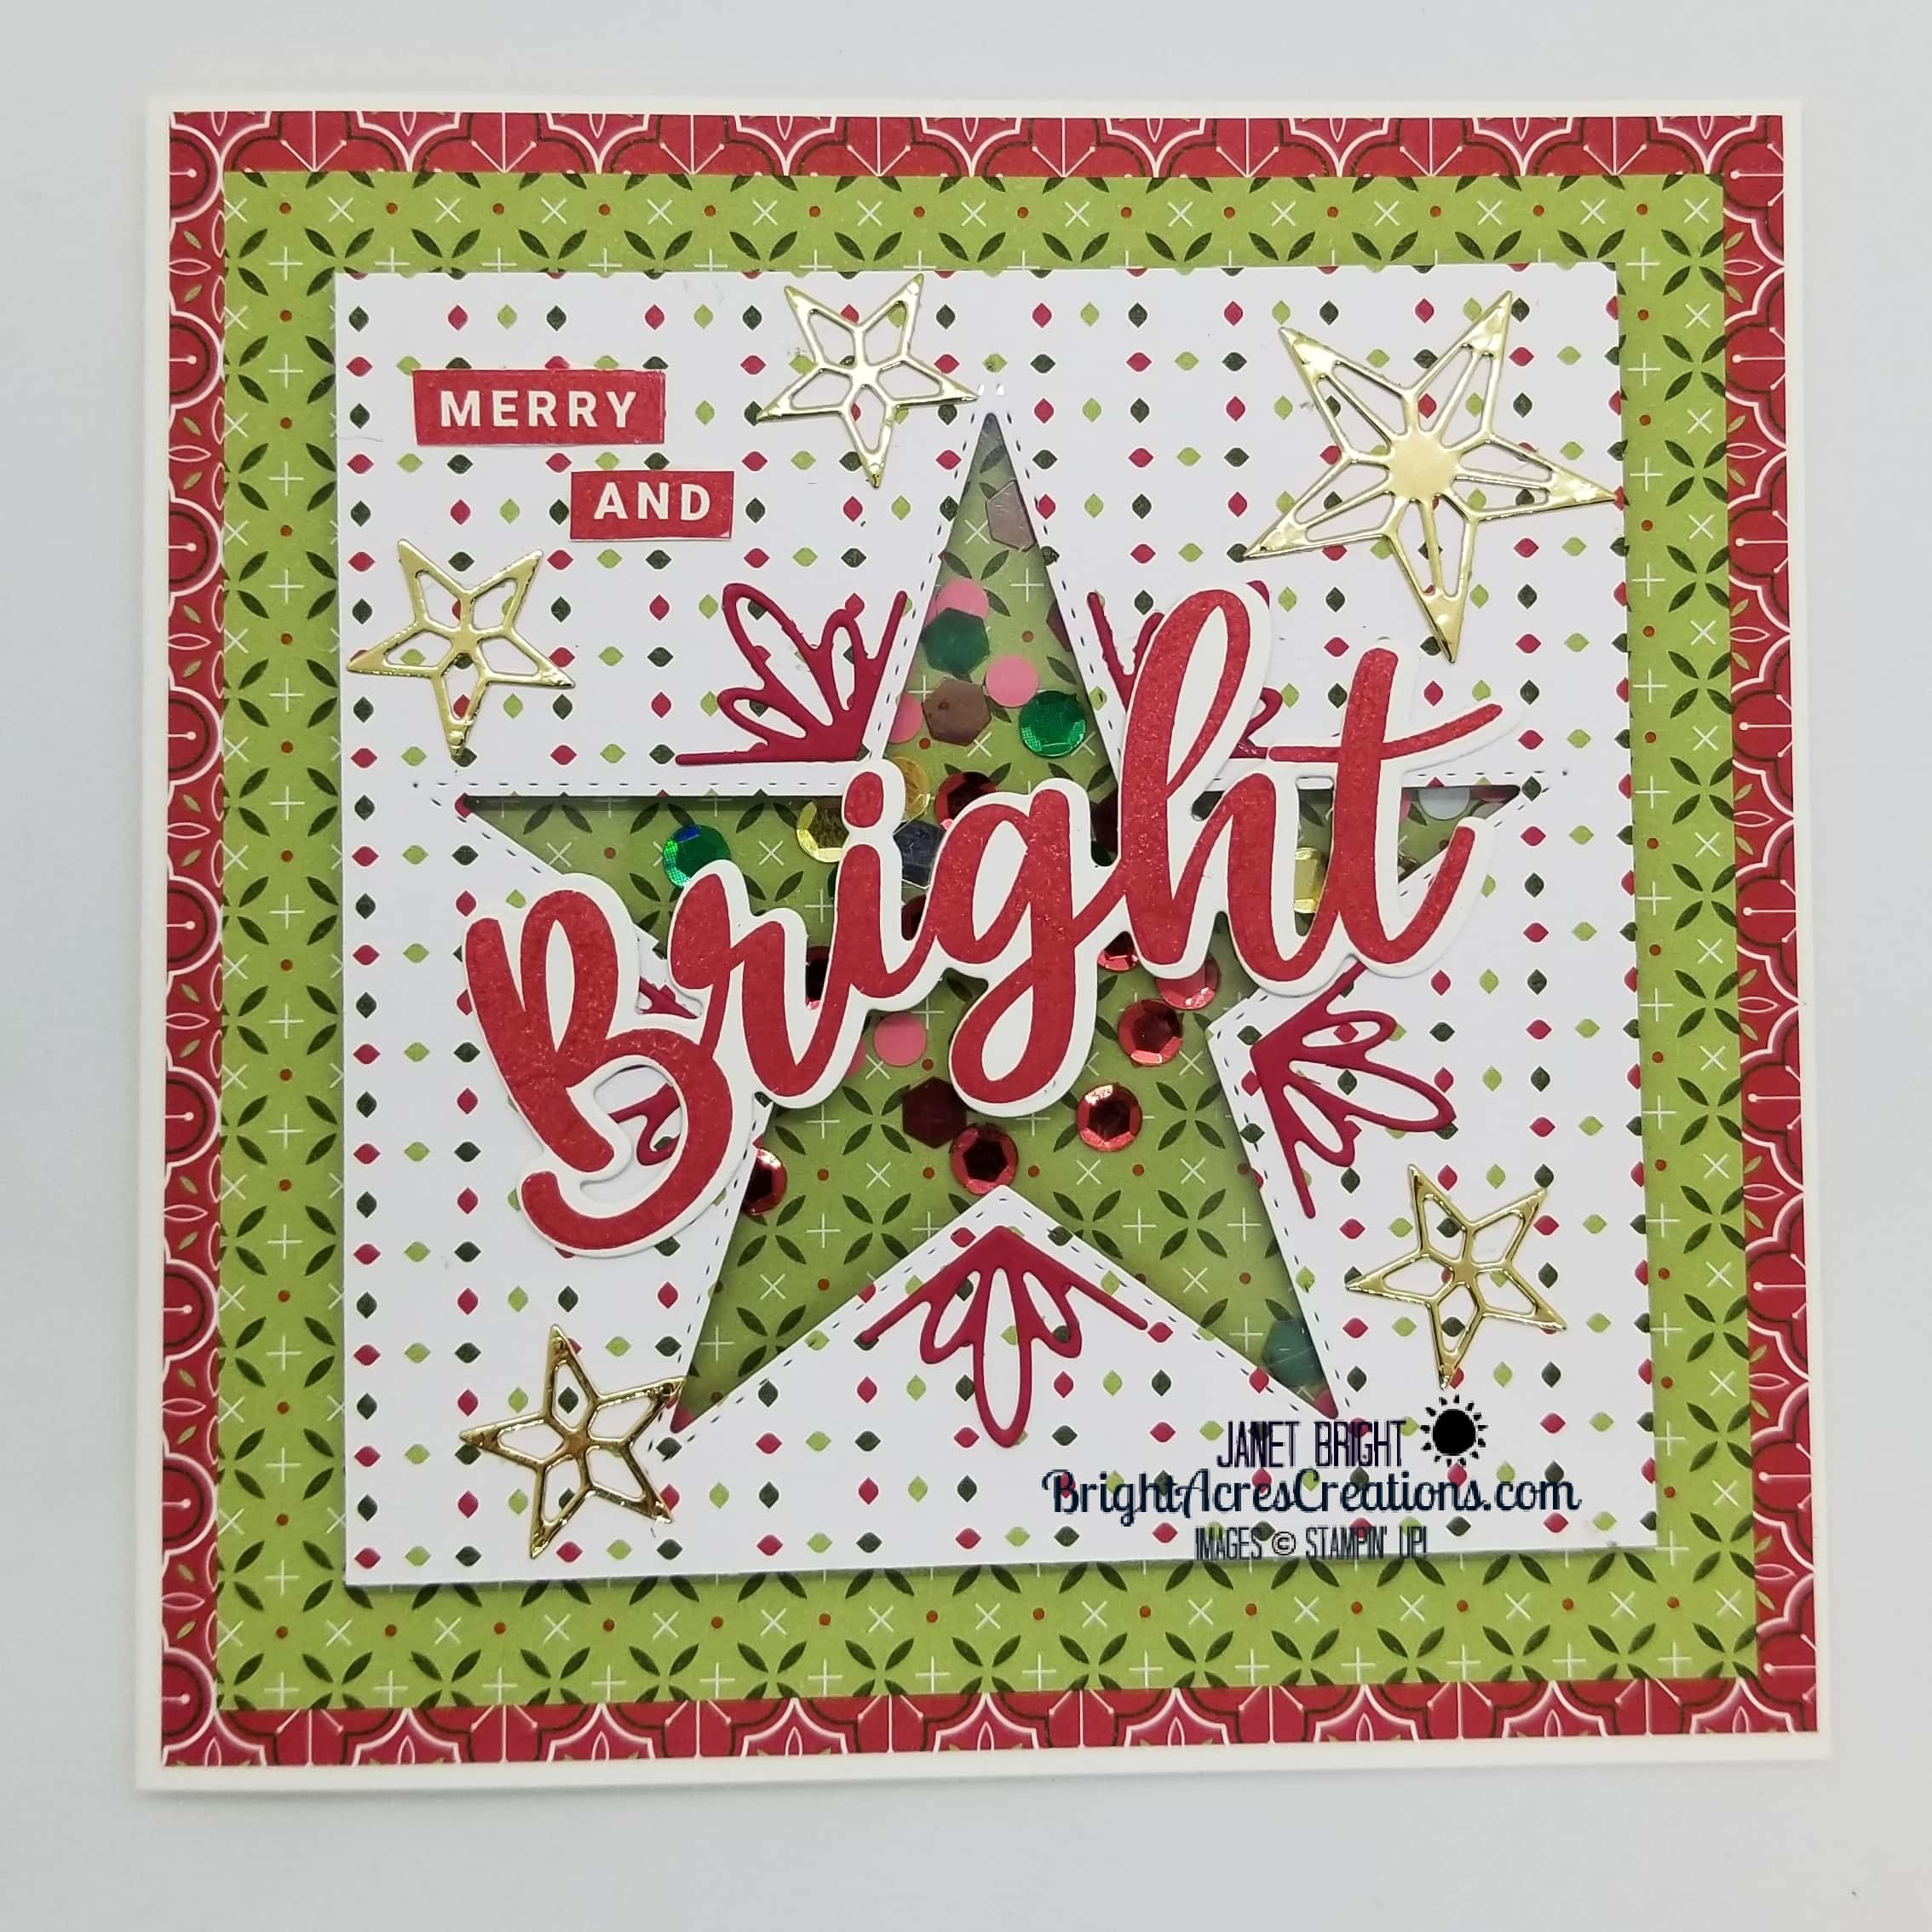
I’m back today with a shaker card that I made using the Stampin’ Up Peace & Joy Bundle from the August-December 2020 Mini Catalog, from which you can start ordering TOMORROW! (August 4)

It’s been a little difficult for me to wrap my head around making Christmas cards, as it’s been so dang HOT outside!  We finally finished putting all of our hay in the barn a couple days ago and I have not been loving the heat!  I don’t like haying season to begin with; add 100-degree temperatures to it and words pop into my brain that shouldn’t be thought!

However, I’ve had a couple days to cool off and let the sore muscles recover; now it’s time to get back to my craft room!

Hopefully you’ve all had a chance to look through the new holiday catalog.  There’s so much to love between those two covers!  If you don’t have a catalog, please let me know and I’d be happy to send you one!

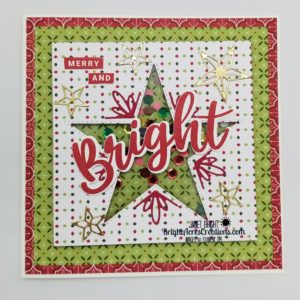
For those of you who know me well, you had to know that the Peace & Joy Bundle would be at the top of my shopping list!  I love my last name (Thank you, Dean!) and at Christmas-time, there’s a lot of “Merry & Bright” decorations in our home.  So, it should come as no surprise that I chose to feature the “Bright” stamp and die from that bundle.   I also purchased the “Sequins For Everything” in my holiday catalog pre-order with shaker cards in mind.  I don’t know what it is about shaker cards, but I think they bring out the kid in all of us!  What better time to send them out then at Christmas!

I’m so happy that Stampin’ Up elected to carry over the Stitched Stars Dies, which are available in the ’20-’21 Annual Catalog (pg 183).  The stars include pieces which are basic to very ornate, so you can dress them up or down to fit the look you’re after; the choice is yours!   Check them out if you’re not familiar!  The star shape can be used for so many occasions, making these dies nearly as versatile as ovals, rectangles, squares, and circles!

I also chose to use a 5 1/4″ square card base, just to “shake things up” a bit!  (5 1/2″ square envelopes can be bought on Amazon.)

So, let’s get INKY!

Continue reading “A Shaker Card The Bright Way Using Peace & Joy Bundle”

It’s Snow Wonder I’m In Love With The Holiday Catalog!

Hello Friends,

Today I’m taking a break from the summer heat (a mental timeout) with nothing but Christmas, and building snowmen with my grandkids on my mind!  I couldn’t help but grab for the Snow Wonder bundle when thinking about today’s project!  This bundle is featured on page 39 of the new Stampin’ Up August – December Mini Catalog (Holiday Catalog) and includes the “Snow Wonder” stamp set and “Snow Time Dies”

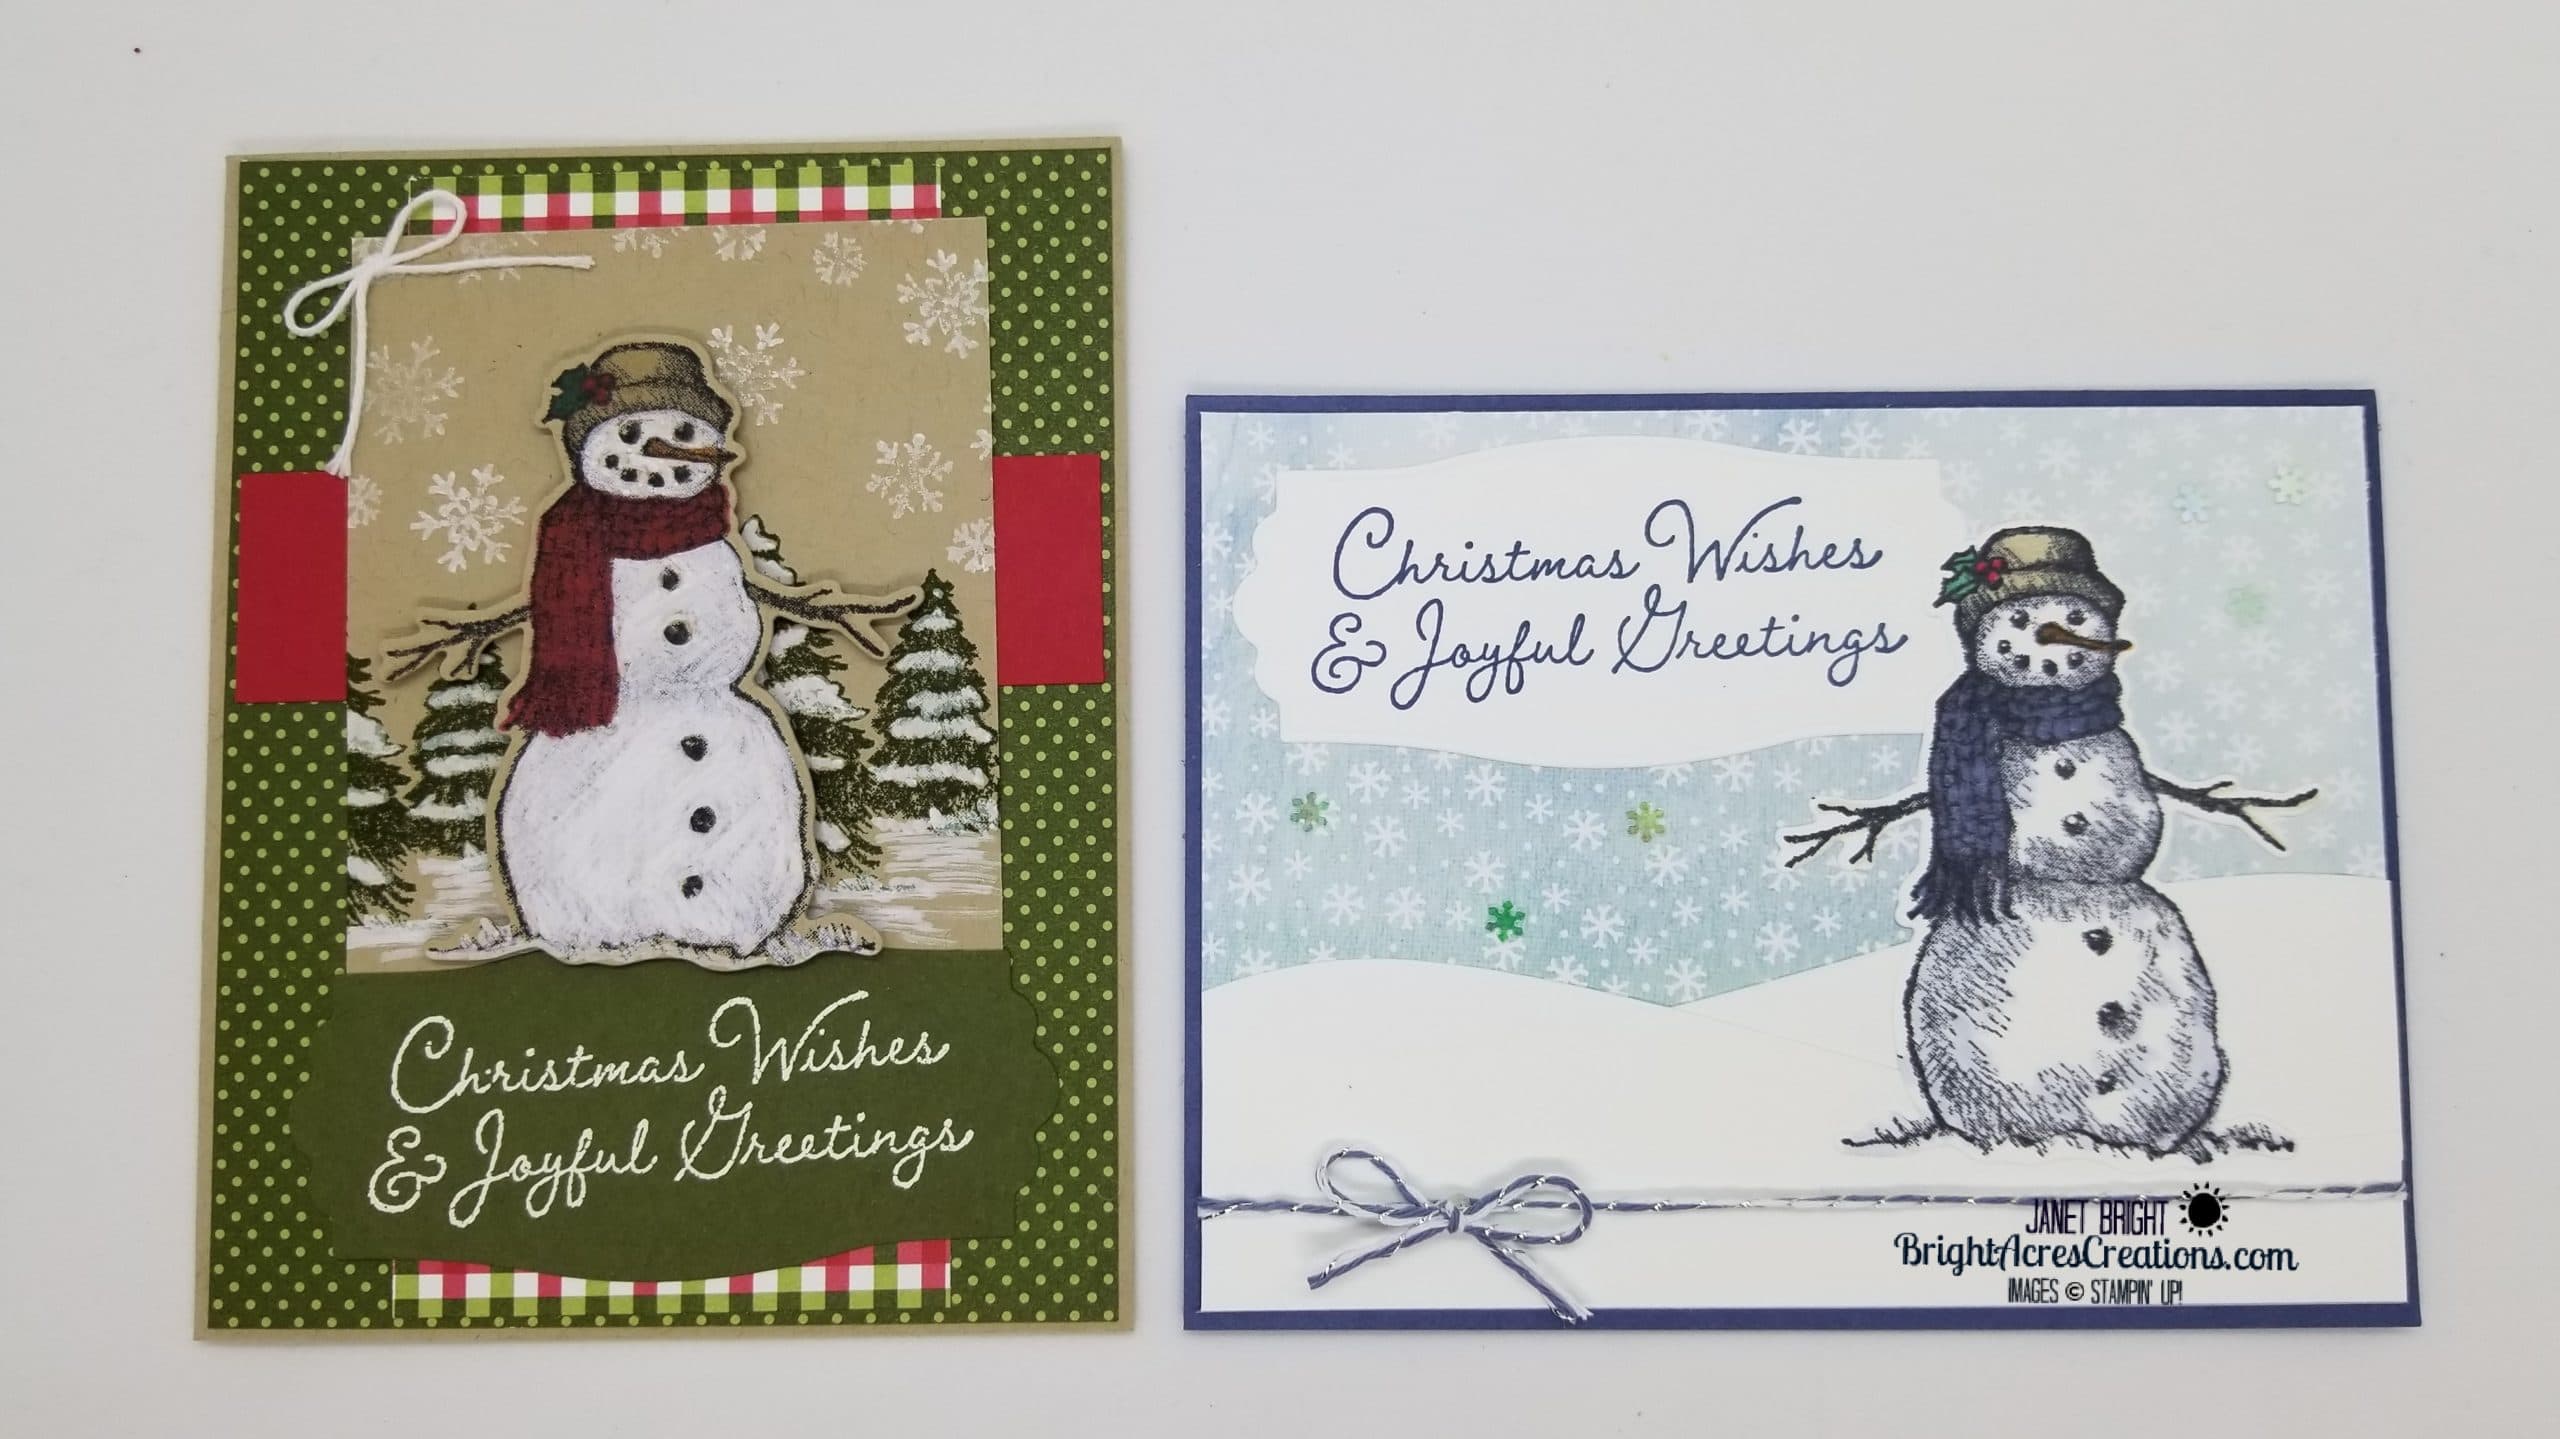
The new holiday mini catalog has so much to love about it, but I absolutely fell in love with this snowman.  “It’snow wonder”…he’s so darn cute!!!  I started playing with this set and before I knew it, I had two cards made which I’ll share with you now!

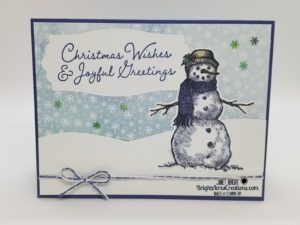
The first card features some of the new DSP(Designer Series Paper), Snowflake Splendor.  I love the cool blues featured here.

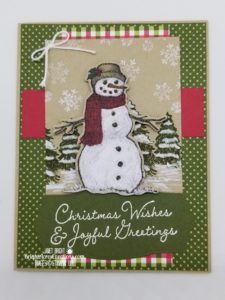
The second card was inspired by a picture in the mini catalog (page 39) which I elected to CASE (copy & selectively edit).  I love the white on kraft (Crumb Cake CS) look.  I also chose to feature paper from the new Heartwarming Hugs DSP.

Isn’t that snowman just too cute?

The sentiment tags used on both cards are included in the Snow Time Dies which coordinates with the stamp set.

LET’S GET INKY! Continue reading “It’s Snow Wonder I’m In Love With The Holiday Catalog!”