Hello Friends!
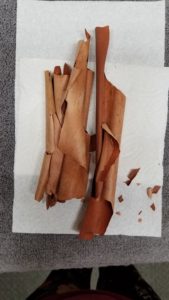
A couple days ago, my husband, Dean, brought me some rolled-up, dried-up tree bark from a madrone tree, with the suggestion that maybe I could find a way to incorporate it into my cardmaking.
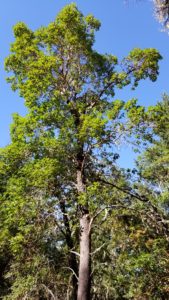
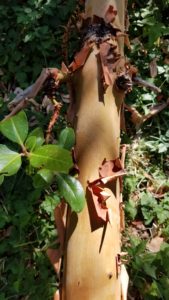
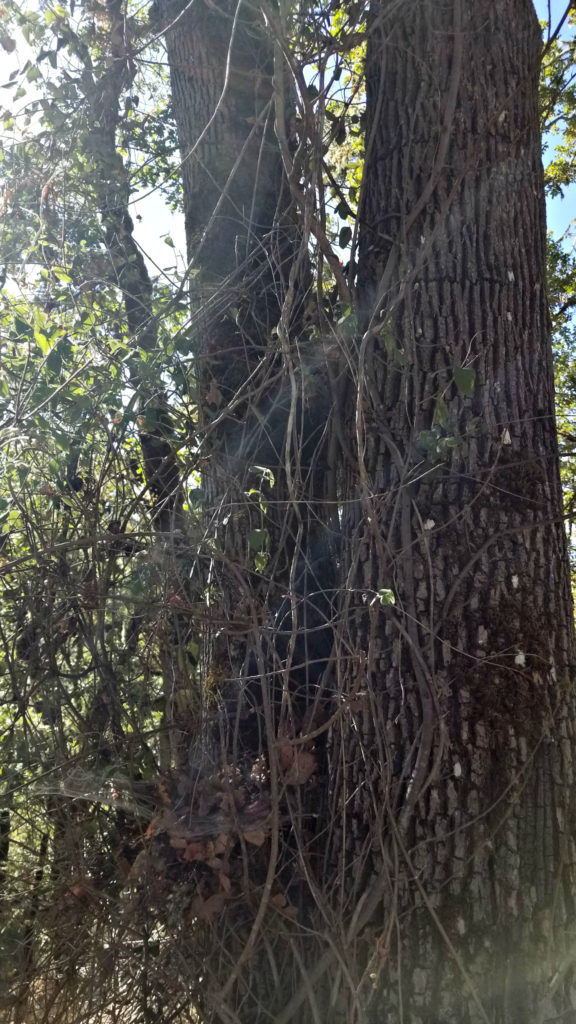
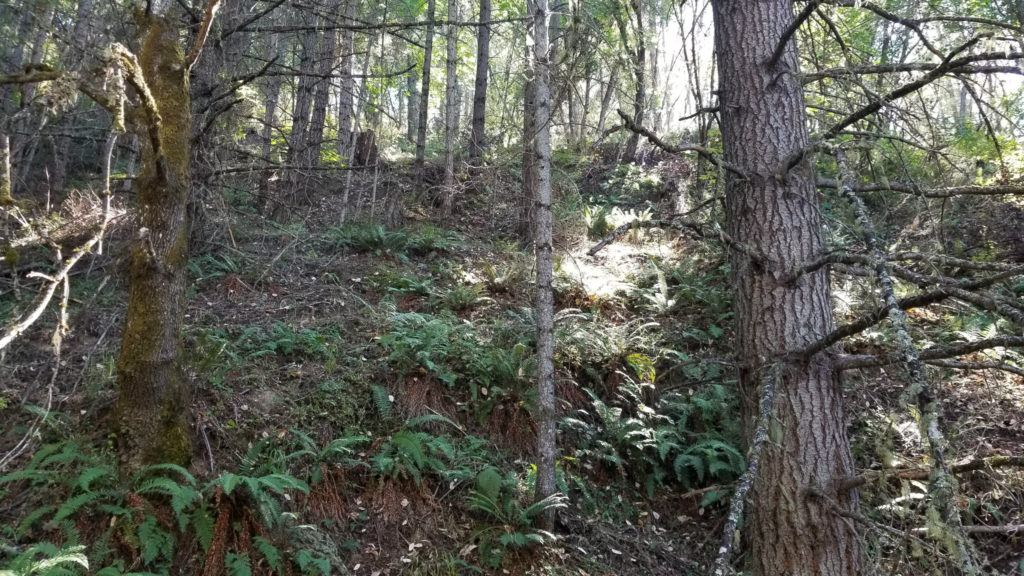
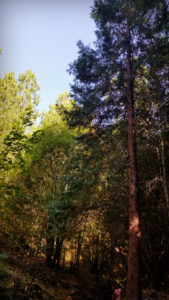
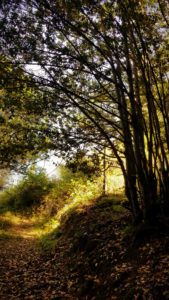
Madrones grow quite prolifically around here and make the best firewood; they’re a hardwood and burn quite cleanly.
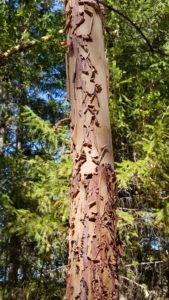
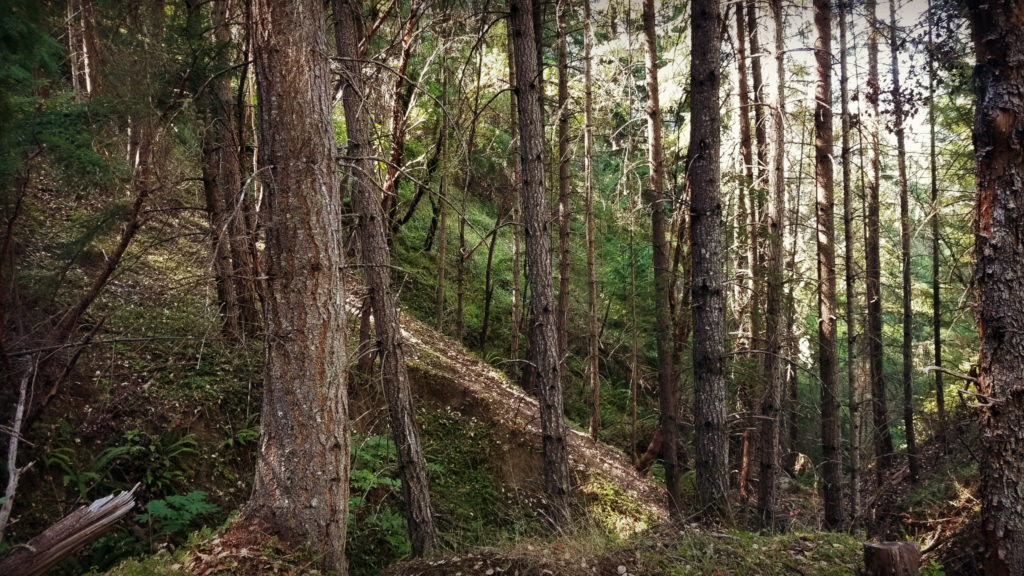
They have a smooth, rusty-orange-colored “exfoliating bark” which peels, curls and falls off as part of the natural process; they shed quite aggressively as demonstrated in the pictures below.
You see, when I first began my Stampin’ Up business, in brainstorming various ideas to make my business stand out from others, I had the idea to use “natural” elements and incorporate Stampin’ Up products into them; and not just cards. After all, we have lots of “natural elements” growing all around us. My husband is a retired taxidermist who enthusiastically prodded me in that direction.
This idea was solidified when we were out clearing roads on our property following a particularly bad snowstorm that downed literally hundreds of trees on the ranch. My attention was drawn to wild honeysuckle vines growing up and through many trees around us. They had a twisted, grapevine sort of look, and I wondered aloud to Dean, “Do you think that would dry and make a good wreath, something like a grapevine wreath?”
Well, there’s one way to find out! He helped me pull a couple long lengths of honeysuckle vine from a tree. I brought them home and using a 5-gallon bucket turned upside down as a form, wrapped the honeysuckle vine around it until I was happy with the “thickness” of it. I then used another piece of honeysuckle vine to “weave” through and around the “wreath-on-a-bucket” to hold it all together and tied it off with some florist wire. I left it sitting on the front porch for about a week, letting it dry, and when I removed it from the bucket “form”, it held it’s shape great and looked quite similar to a grapevine wreath.
This was shortly before Easter and so I simply went and bought silk tulips which I arranged around the wreath and topped with a burlap & ribbon bow, and a cross.
That wreath has been tulip-clad since, coming out of the closet in the Springtime to adorn our front porch.
HOWEVER, Dean reminded me of my initial “business plan musings” when he brought me that dried-up madrone bark; and my mind drifted back to that honeysuckle wreath.
First things first though, I had tree bark to contend with! The bark was quite brittle, so rehydrating seemed the first step toward making it useful!
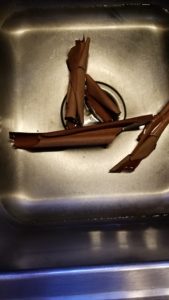
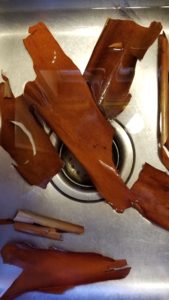
I put some water in the kitchen sink and placed the rolled-up bark in the water.
It only took a few minutes until the bark was pliable enough that I was able to flatten it in the water.
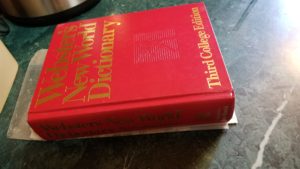
I pulled it out of the water and laid it on some paper towels between waxed paper, and then placed my good ol’ dictionary on top for weight.
I checked on it a few days later and it was mostly dry. So, taxidermist husband suggested that I use some glycerin to moisturize and help preserve it.
I dabbed some glycerin on the bark with a cotton ball and put it back in the paper towel/waxed paper sandwich with the dictionary on top.
When I checked on it again a couple days later, it was dry but still fairly pliable. I left it open to air for a couple days to see if it would curl back up, but it didn’t! It stayed flat and pliable YAY!
Next test was to see what I could do with it.
Stamp on it – yep, worked! It took a little extra time for the ink to dry, but eventually did. Staz-On would probably work great, though I’ve not tried that yet!
Metal dies? Yep, worked like a charm!
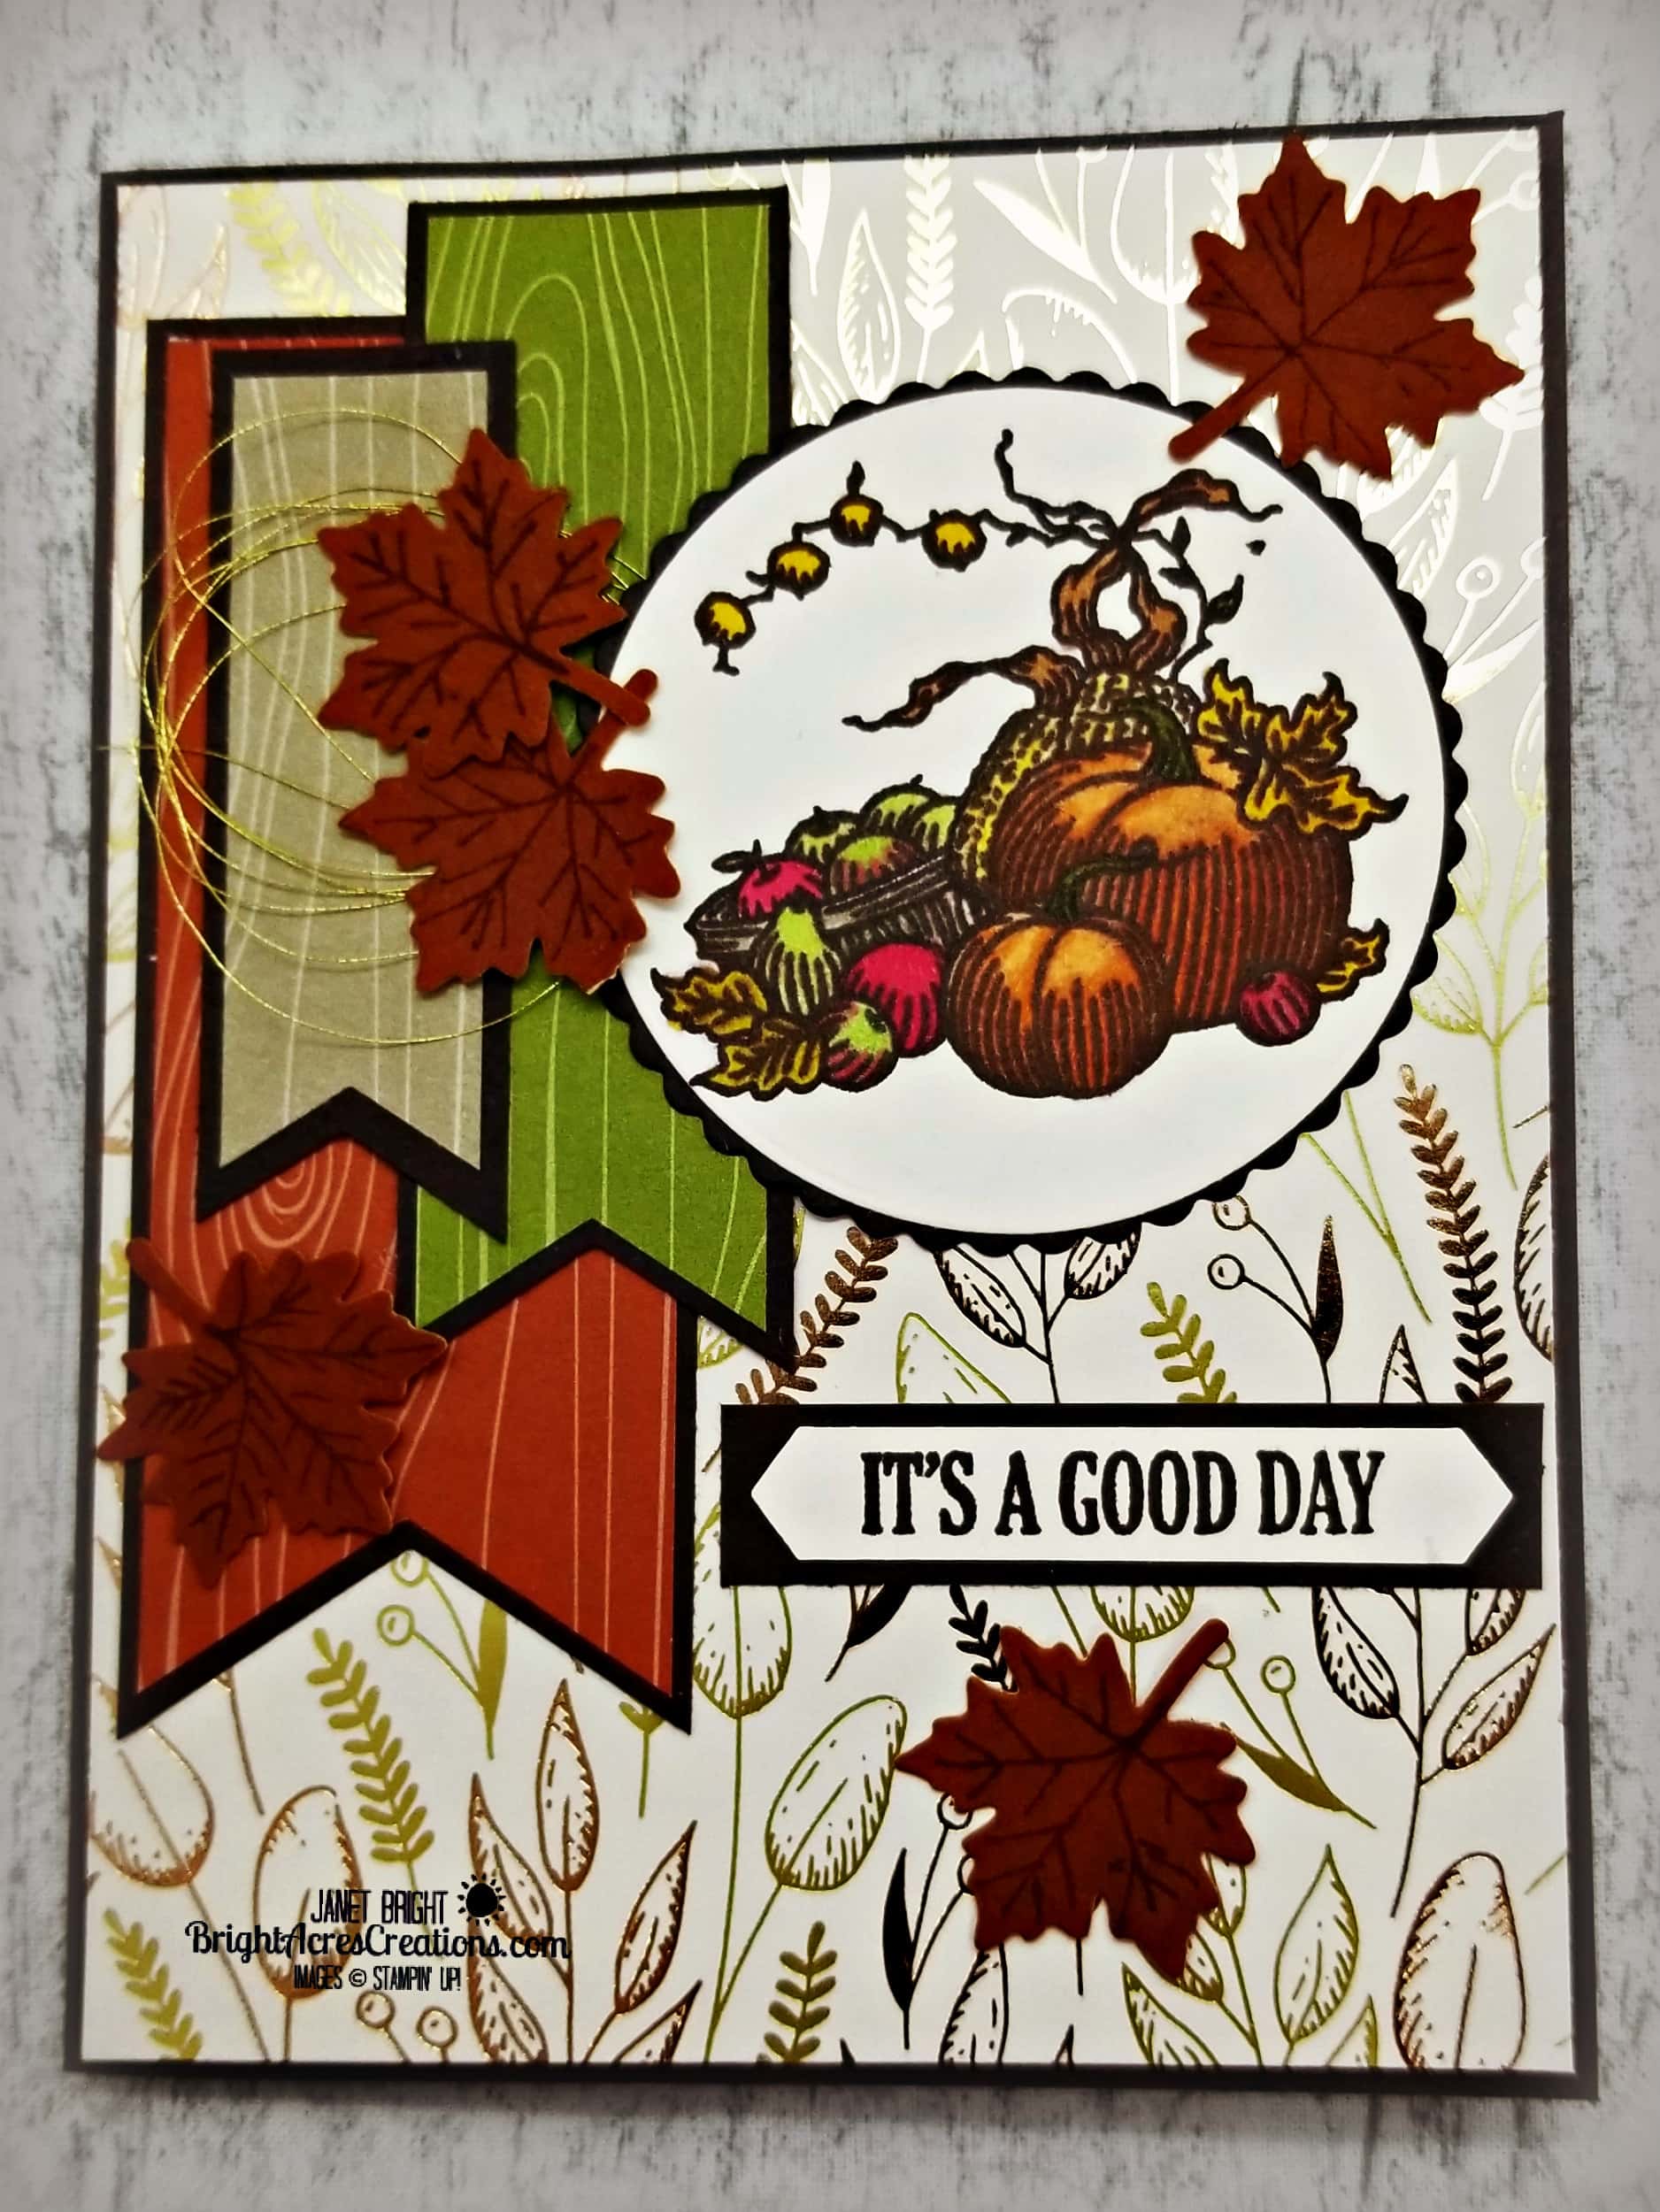
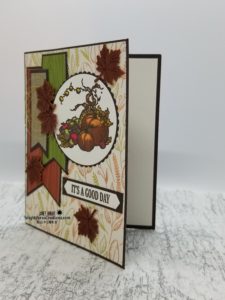
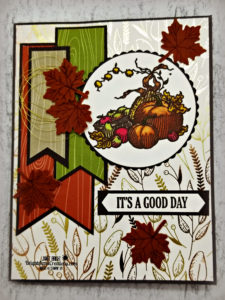
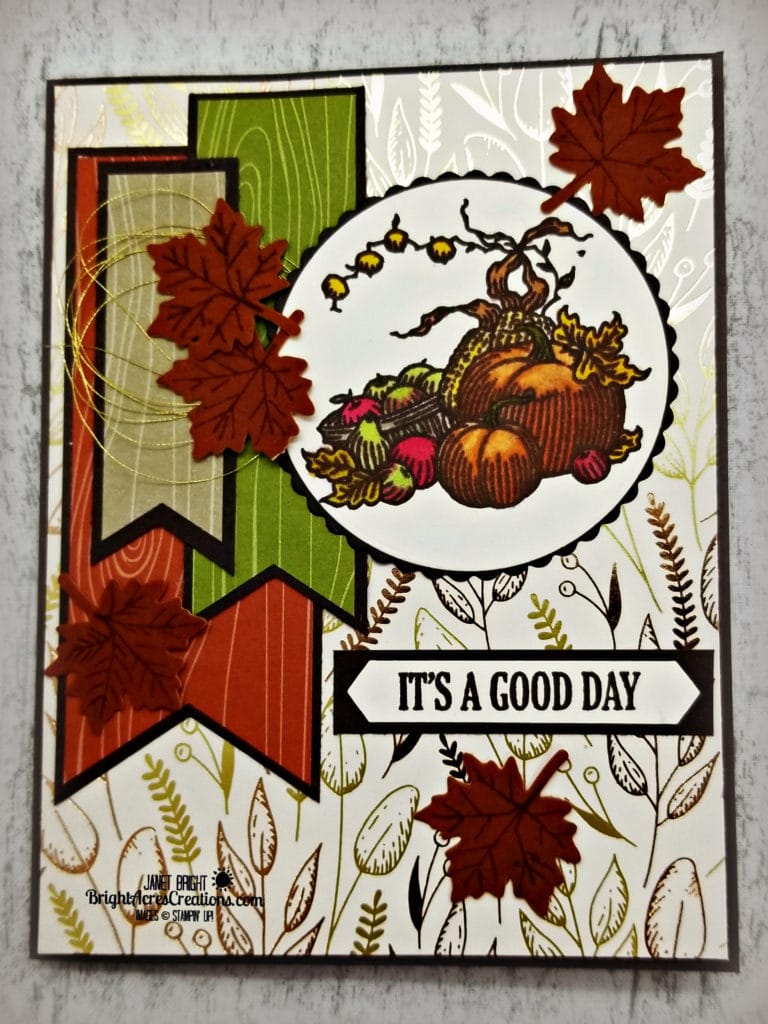
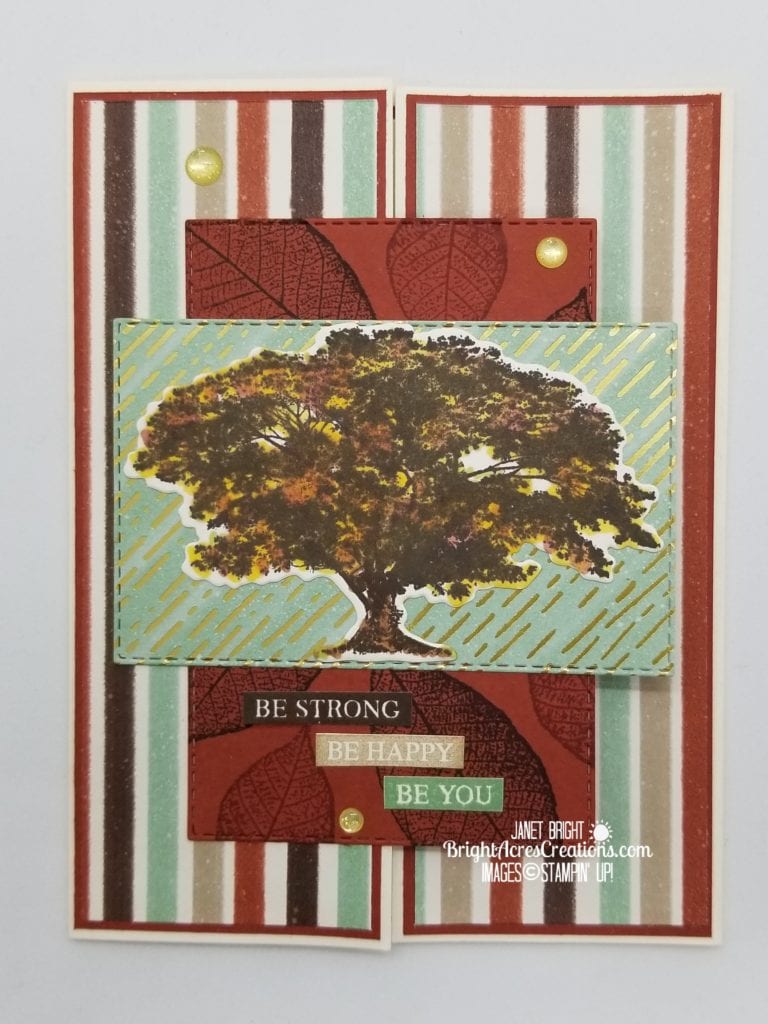
So, here are the results of my first tree-bark embellished card!
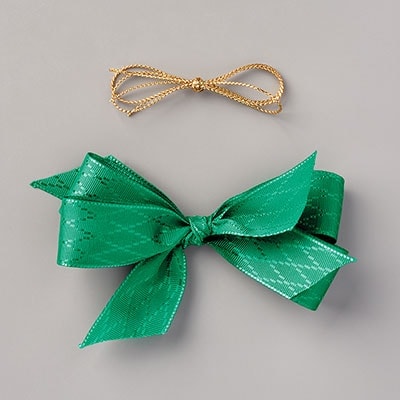
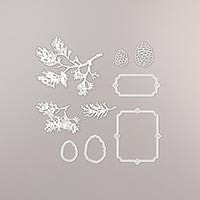
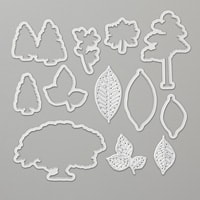
Unfortunately, the leaf die I used is from a retired SU die set, “Seasonal Layers”, but I will be following this project up with others using the “Gather Together” bundle. After using it, I also realized that the gold thread is retired, but the gold cord from Wonder Of The Season Ribbon Combo could easily be substituted.
Hmmm… I haven’t tried embossing the tree bark yet! That will be the next test I guess. I’ll have to repeat this process and try embossing it while it’s still somewhat moist and then see if it will dry with the embossed impression!
I have since pulled that aforementioned honeysuckle wreath out of the closet and stripped it of its tulips.
I’m going to see over the next few days, what I can do with it using Stampin’ Up products and natural elements only! (wish me luck!) I currently have some Myrtle tree branches soaking in some “Never Say Die” plant preservative that Dean had in his taxidermy supply which I plan to use as a “green” element if the plant preservative works! So far, I don’t see the branches soaking the preservative up, but time will tell and I’ll keep you posted!
And now…. GETTING BACK TO THE FUTURE!
The rest of my initial business plan a few years ago consisted of “stamp camps” at our cabin (still waiting to be built) up on one of the mountains on our property which has a spectacular view overlooking forested hills and valleys, which we would access by horseback (for those who wanted to… those who didn’t could be brought up by vehicle or hayride (?) depending on the season!)
Oh my! Dean may regret bringing me that tree bark and reminding me of those initial ideas! I have two horses now…. but if there was enough interest, SURELY I would need at least four more, RIGHT!?! And just another idea….ride a horse up, and zipline back down!!! WooHOOOoooo!!!
What do you think?
Let me know in the comments below…. Do I need to press Dean to get that cabin built??? More horses??? and who’s game for a zipline????
A weekend spent stamping, horseback riding, ziplining, collecting honeysuckle vines for your own wreaths, more stamping, eating, relaxing on the deck around a firepit….hmmmm…. the possibilities are endless!!!
I think the next weekend after stamp camp would be spent telling stories on each other, sharing pictures, laughing, and scrapbooking those memories…
They would be stamp camps to remember for sure!!! LOL!!!
BUT, BACK TO TODAY….
LET’S GET INKY!
Materials:
Stamp sets used:
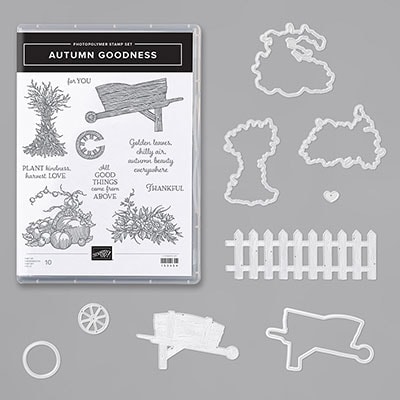
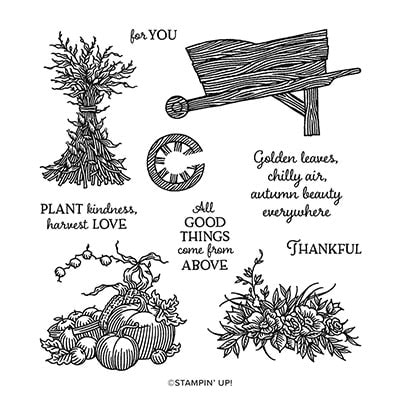
- Autumn Goodness (pumpkins/fruit image)
- Pallet Thoughts (sentiment)
Dies / Punches used:
- Seasonal Layers – retired (leaves)
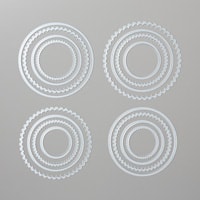
- Layering Circles
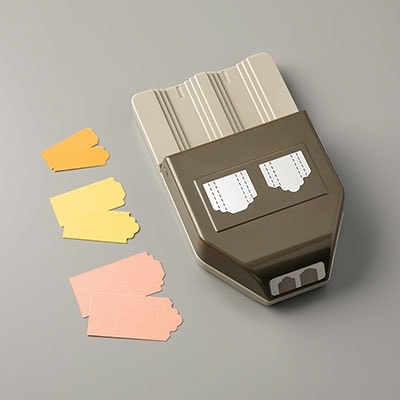
- Triple Banner Punch
Paper:
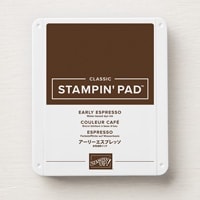
- Early Espresso – card base – 5 1/2″ x 8 1/2″ (score at 4 1/4″ and fold in half)
- banner mats – (1 5/8″ x 4 3/8″) ; (1 1/8″ x 3 7/8″ ); (7/8″ x 3 1/8″)
- sentiment mat – 2 1/4″ x 1/2″
- image mat – 3″ x 3″ – crop with Layering Circles die
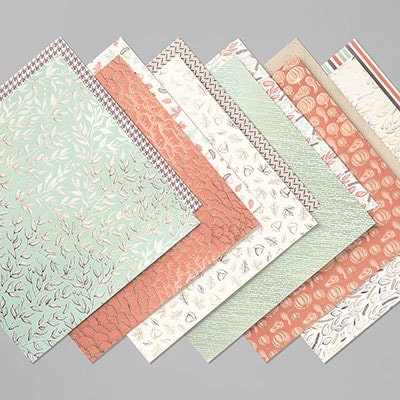
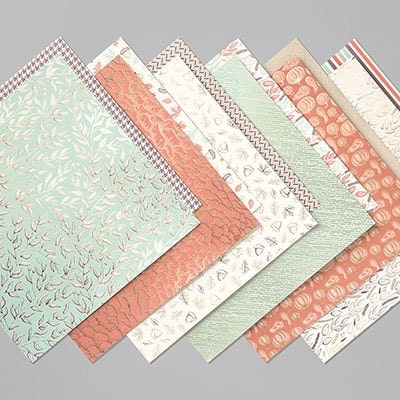
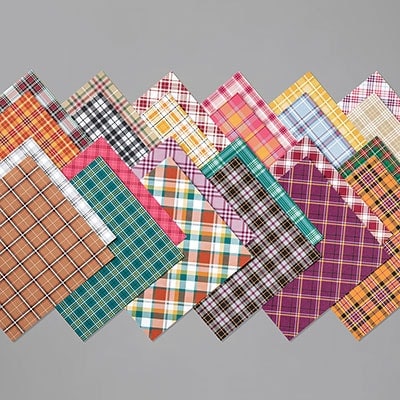
- Gilded Autumn DSP – mat 1 – 5 3/8″ x 4 1/8″
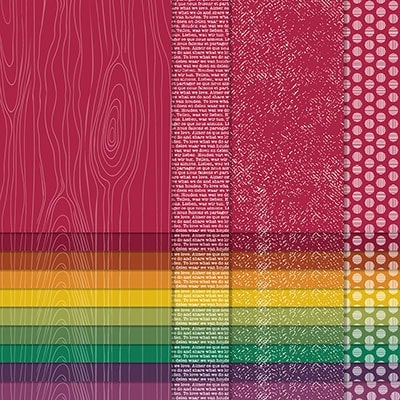
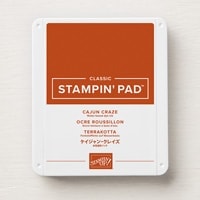
- Regals 6×6 DSP – Cajun Craze DSP 1 1/2″ x 4 1/4″ ; Old Olive DSP 1″ x 3 3/4″
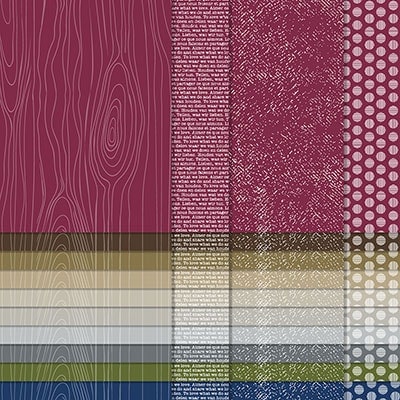
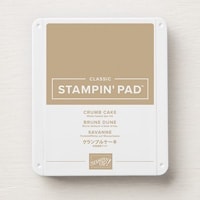
- Neutrals 6×6 DSP – Crumb Cake DSP 3/4″ x 3″
- Very Vanilla – 3″ x 3″ and crop with 2 1/2″ circle die; 3/8″ x 2 1/4″ for sentiment strip – hand crop reverse banner ends with snips.
Ink:
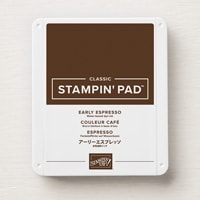
- Early Espresso
Accessories:
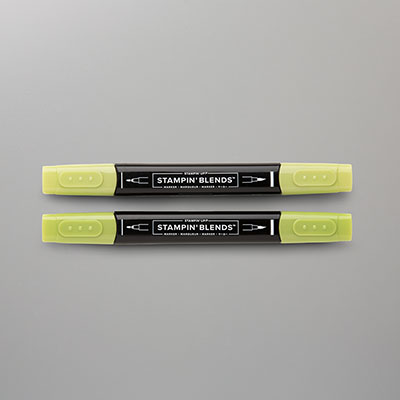
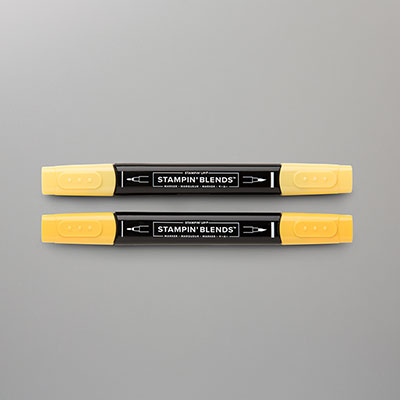
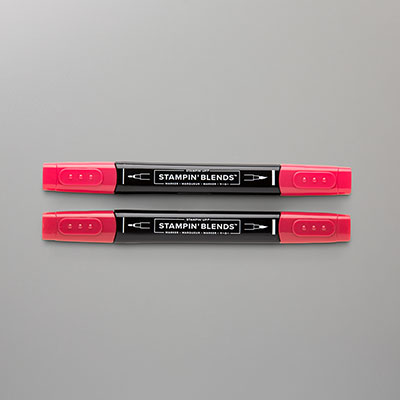
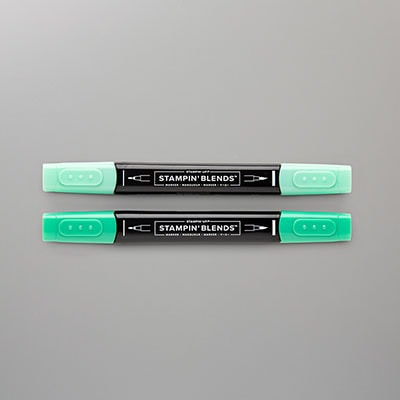
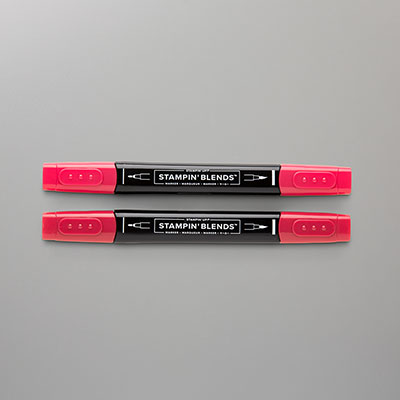
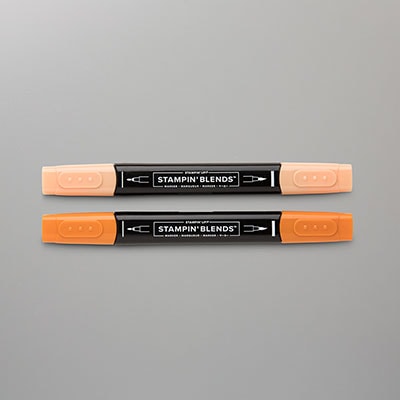
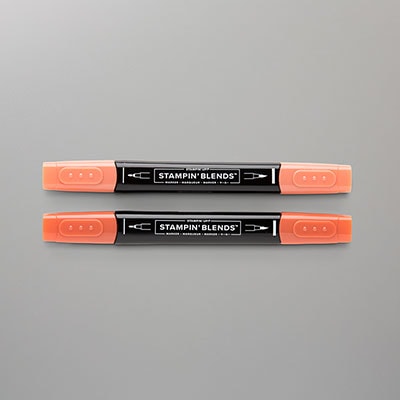
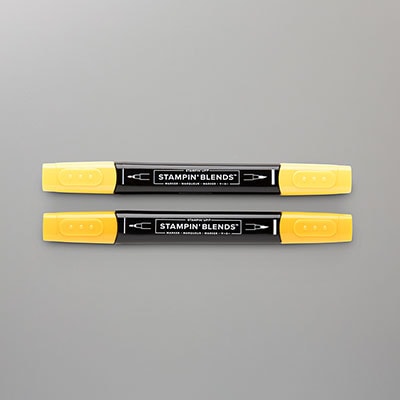
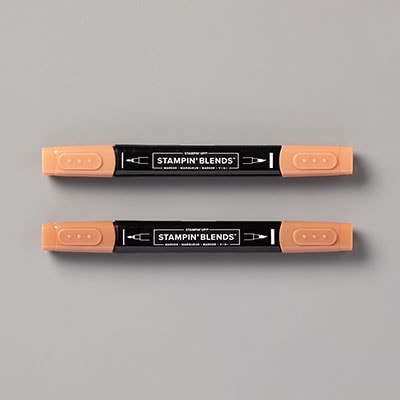
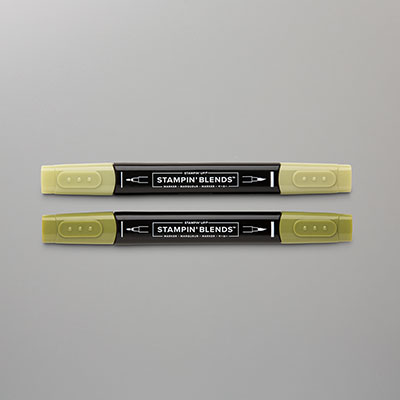
- Stampin’ Blends – Pumpkin Pie, Cinnamon Cider, Granny Apple Green, Daffodil Delight, Cinnamon Cider
- Gold thread – retired
- MADRONE TREE BARK! 🙂 (could substitute Cinnamon Cider CS – but not as much fun!) LOL
- Basic Black Stampin’ Write Marker – hand draw the veining on the leaves
Putting it all together!
- Stamp pumpkin image from Autumn Goodness stamp set on Very Vanilla CS and color with Stampin’ Blends.
- Crop image using Layering Circles Dies.
- Adhere image panel circle onto Early Espresso scalloped circle mat (cut with Layering Circles dies).
- Crop out small leaves and draw veining on them using Early Espresso Stampin’ Write Marker.
- Punch banner pieces using Triple Banner Punch. The widths of the CS/DSP may not fit the guides perfectly, so just make sure they’re center before punching.
- Adhere the three DSP banners to Early Espresso banner mats.
- Adhere the Gilded Autumn DSP mat to Early Espresso CS base front.
- Adhere banners, starting with largest (Cajun Craze) first, down a smidge from the top and to the left side of card front. Next, place Old Olive banner slightly higher and about midline on Cajun Craze banner. Finally adhere Crumb Cake banner slightly down from top of Cajun Craze banner and over top of Old Olive banner.
- Wrap gold thread around your fingers several times, slip off and adhere ends with glue dot. Apply with same glue dot about center over the Old Olive banner and with glue dot to the right side so the image panel will cover.
- Adhere the image panel over the ends of the gold thread and to right side of card front.
- Stamp sentiment on Very Vanilla sentiment strip and hand trim ends with snips. Apply to Early Espresso sentiment mat.
- Adhere sentiment under image panel.
- Scatter leaves on card front, adhering in place.
DONE!
I know it seems like a lot of trouble to go to with regard to the tree bark, just for a few leaves that could’ve simply been cut from cardstock, but this is just the first trial! And quite frankly, though I don’t know that the pictures really pick it up, the color is richer and they have a “woody” look and texture that I love. I’m going to continue trying to use it in various ways and see what I can come up with! So, stay tuned!
Until next time, I hope you get INKY today!
Janet
Product List
|
|
|
|||
|
|
|
|||
|
|
|
|||
|
|
