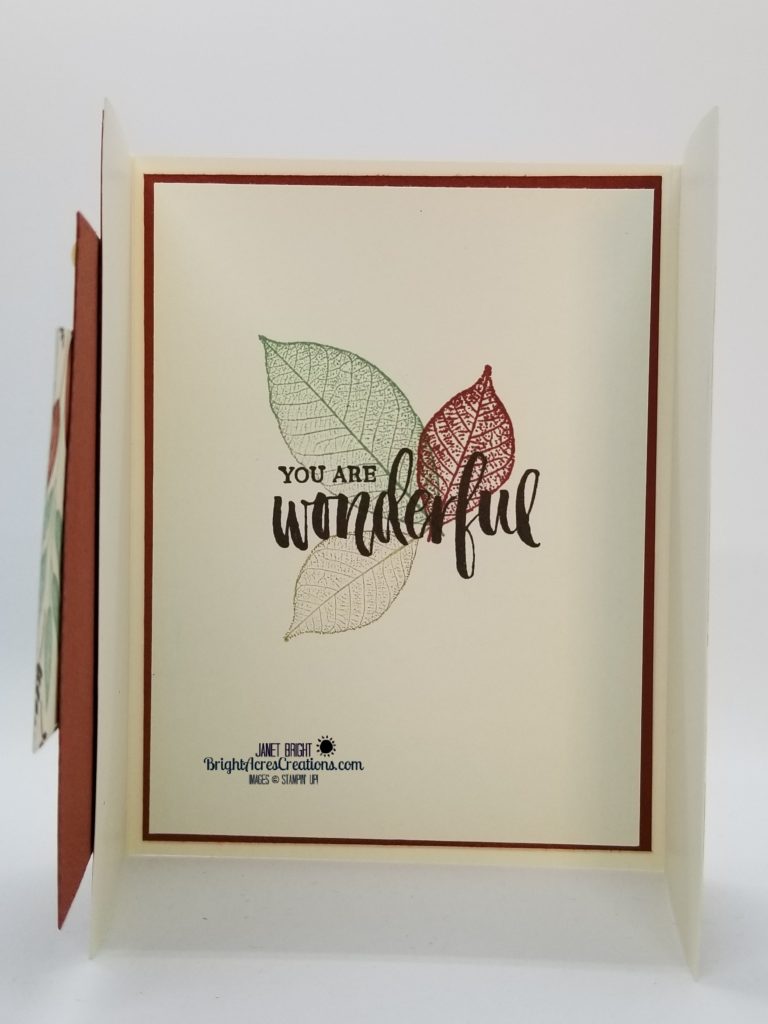
Still FALL-ing “Around The Bend”

Hello Stampin’ Friends!

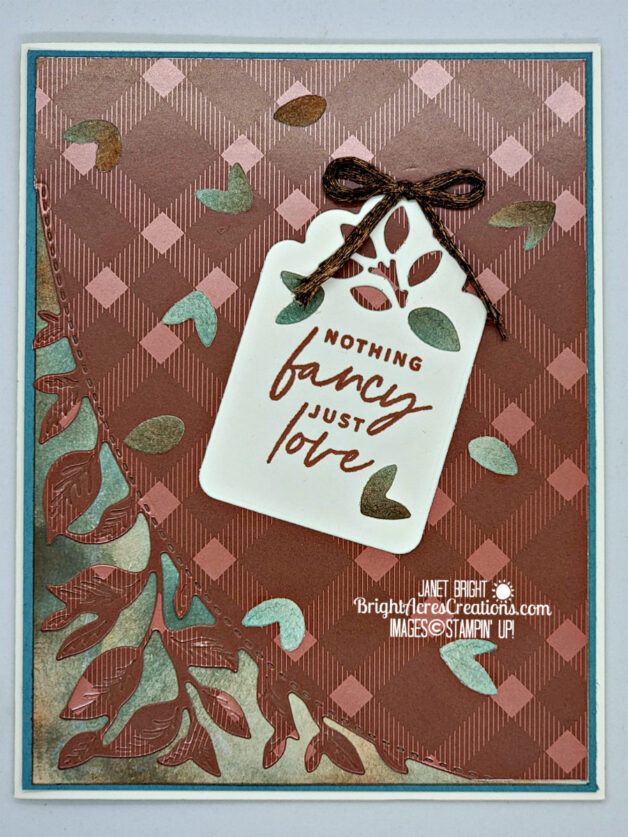
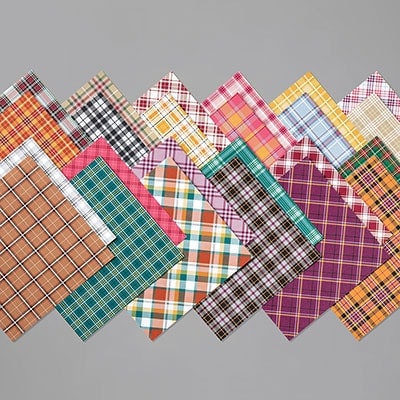
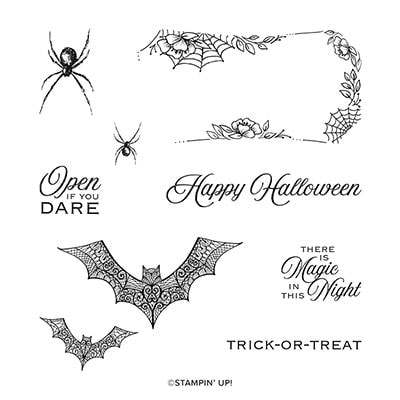
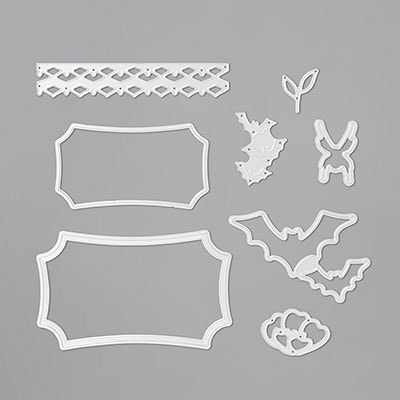
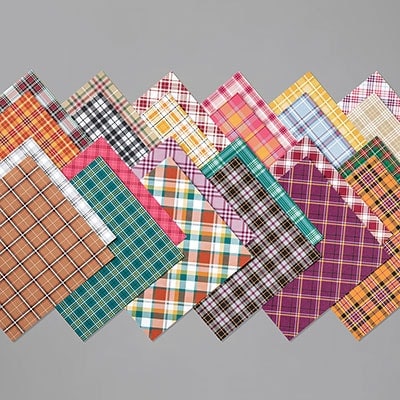
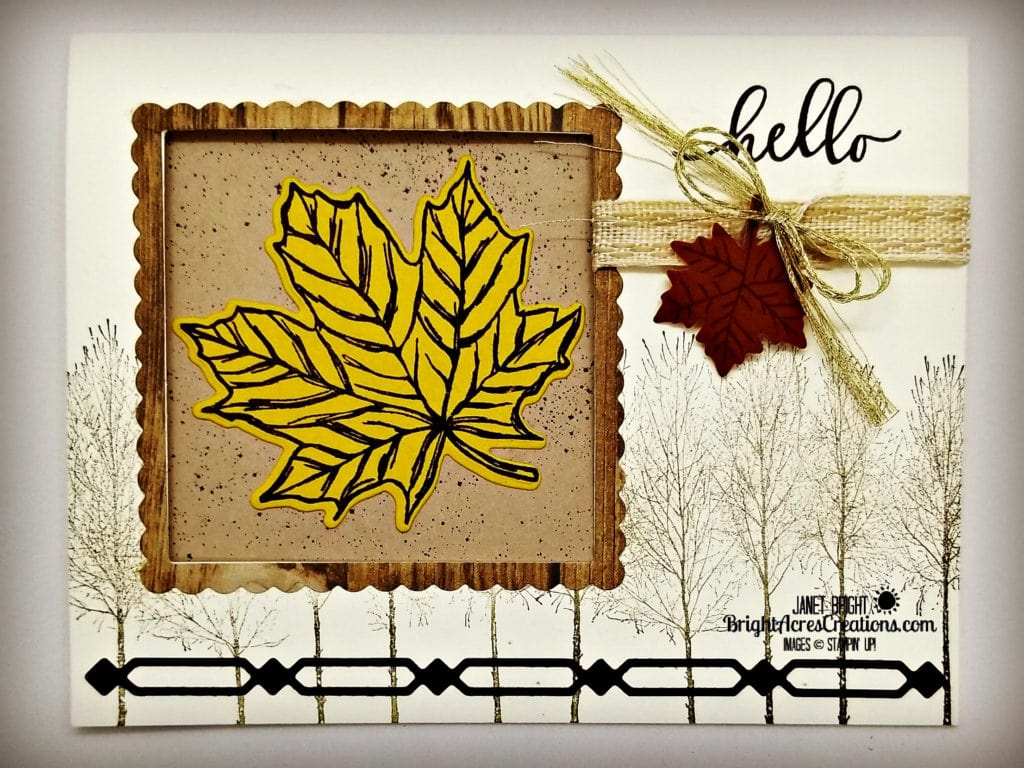
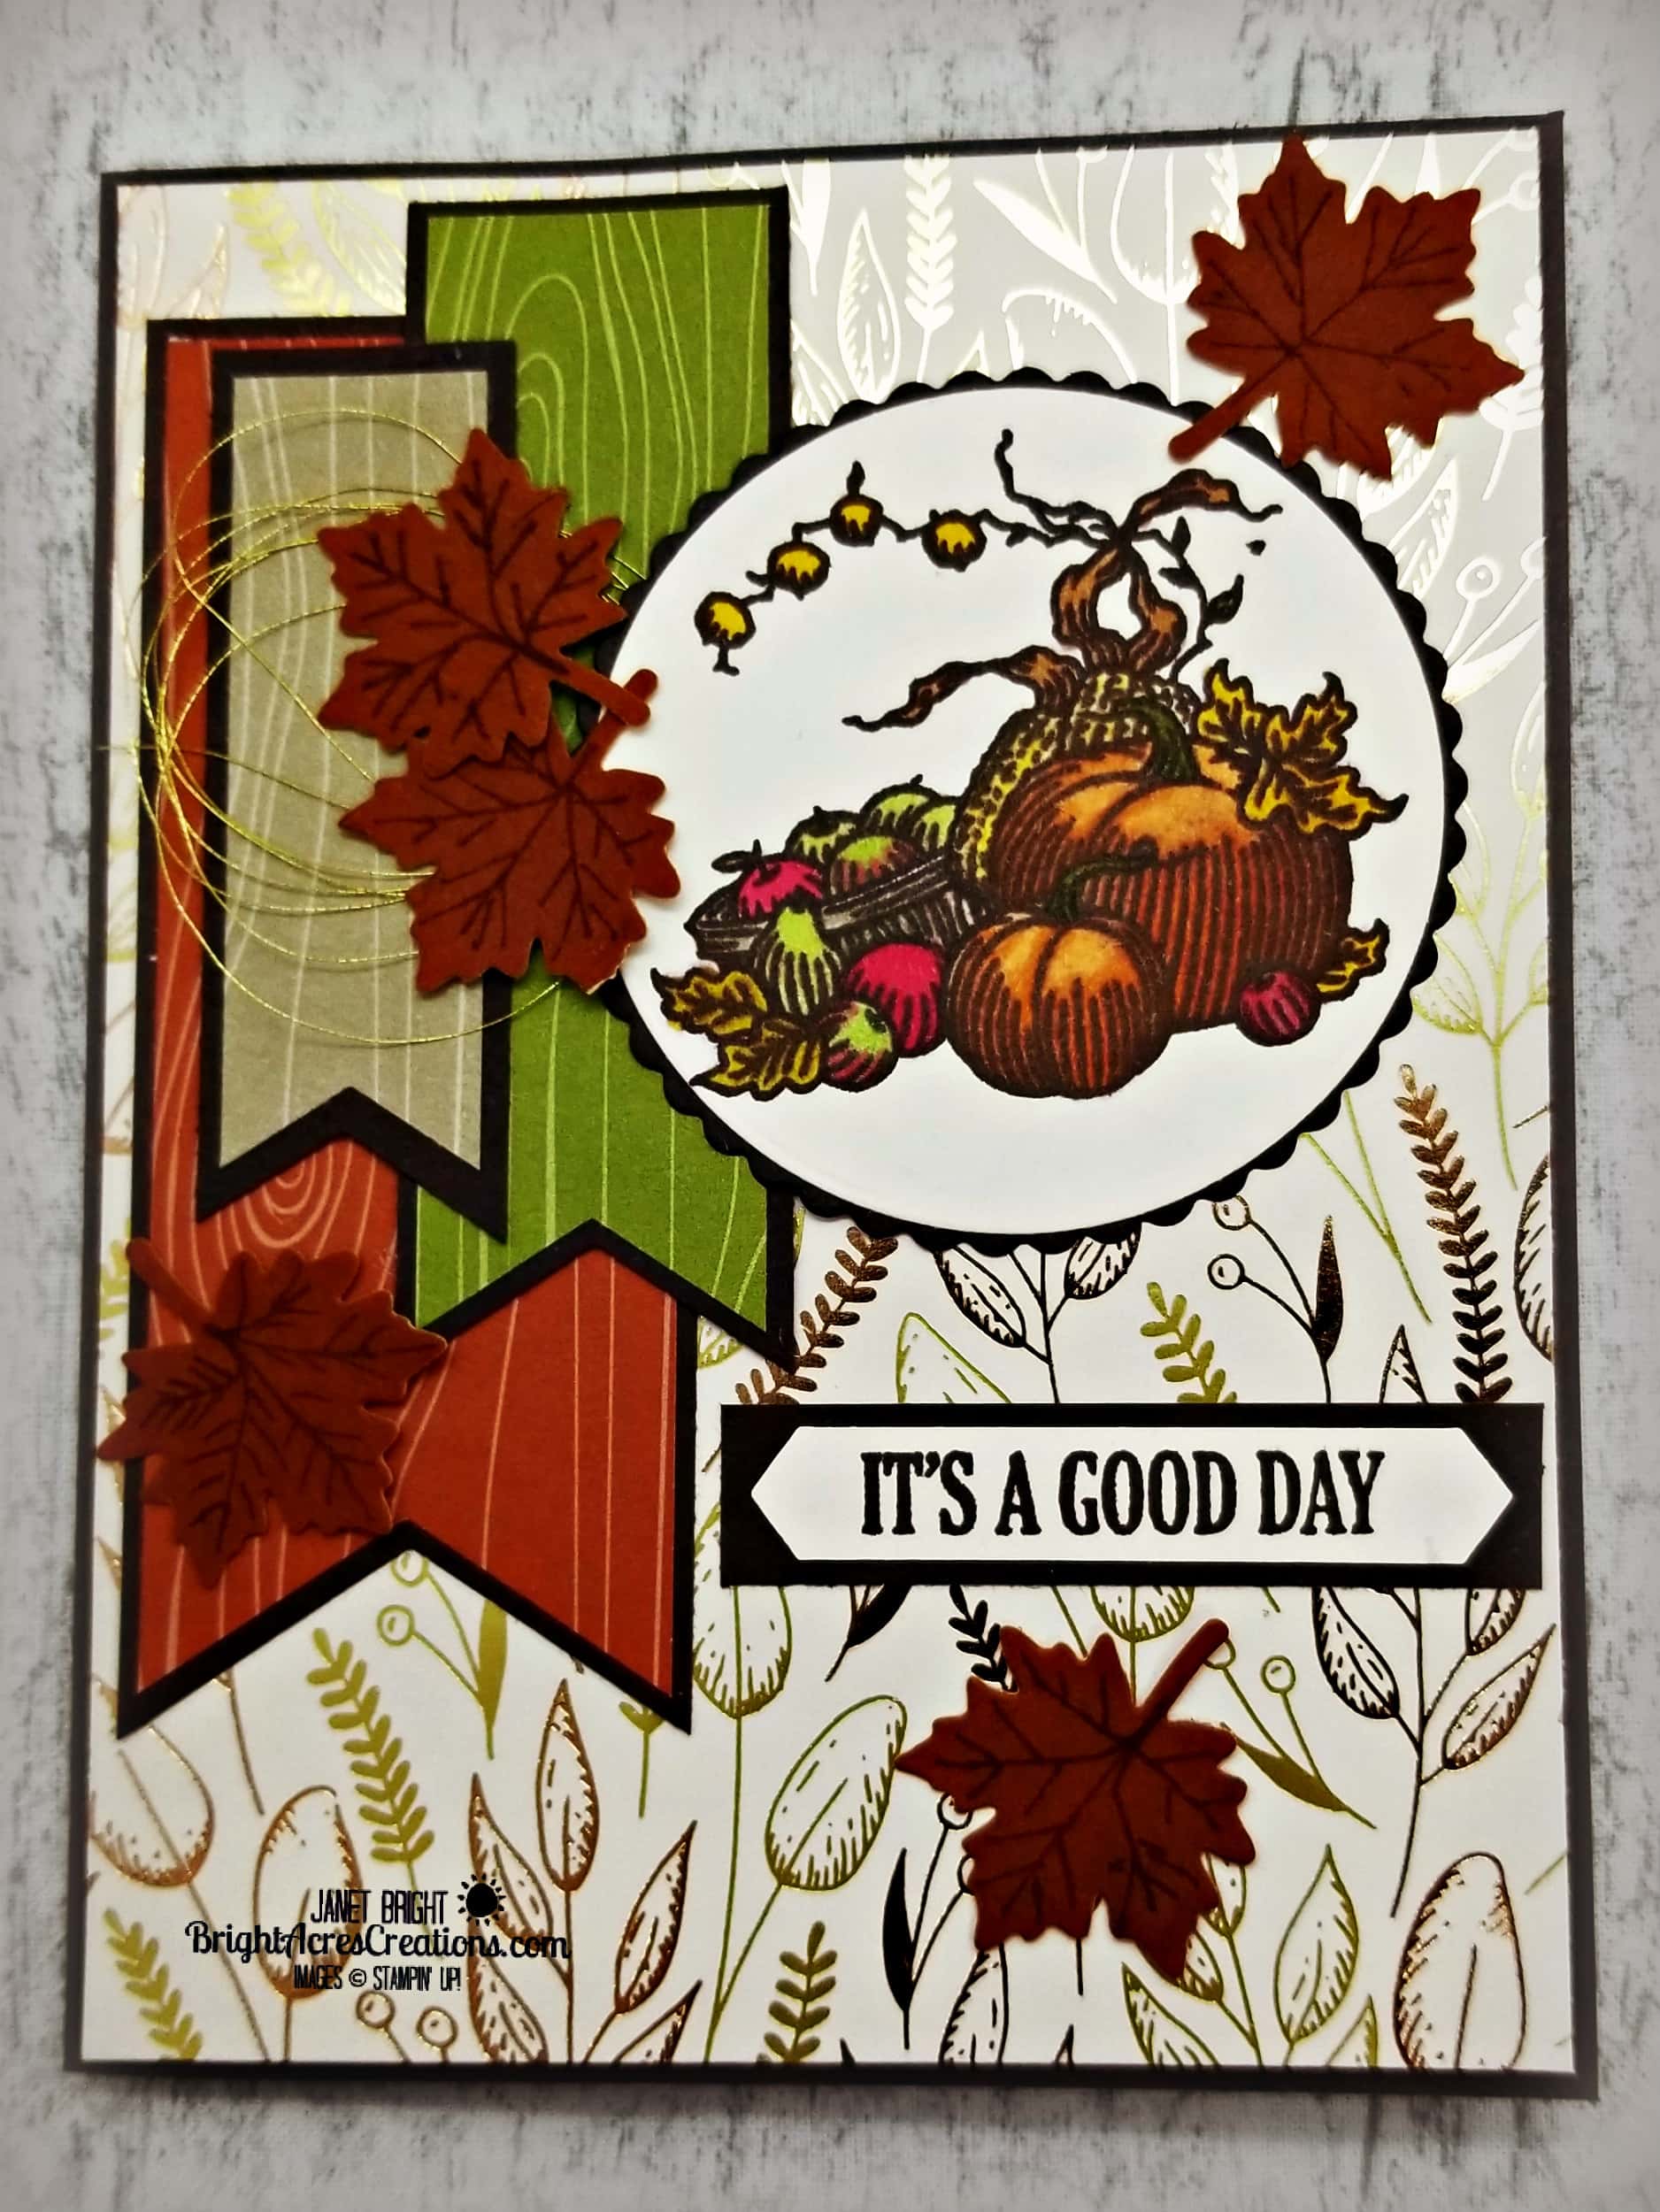
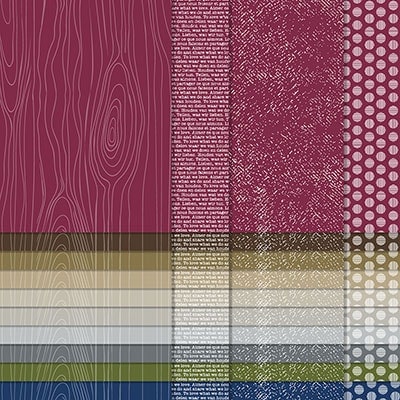
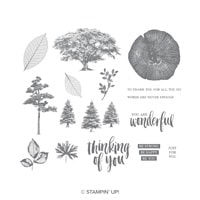
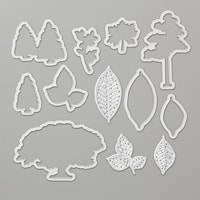
Another quick project today that was the result of a rainy play-day in my craft room.  I once again reached out for my Around The Bend bundle as I contemplated how I wanted to incorporate my recently acquired Tartan Plaid DSP, which is available NOW in the Online-Exclusive section of my Stampin’ Up store.  Again, I would urge you to click on the “Shop Stampin’ Up” button up top, or simply click here to be taken to my store.

Navigation is easy, even without GPS!

Again, navigating to the Online-Only section of my store is simple.  Just click above to get to my store, then on Menu in the upper left corner of the screen, and then there will be some teal-colored circles, one of which says “Online Exclusives”.  Click on that to see what is available.  Again, these products are not in any catalogs.  There are many items in there, and MORE are being added TODAY, November 7!  Get there early, as some will likely sell-out quick!

Continue reading “Still FALL-ing “Around The Bend””

Rustic Crate For Fall-Themed Cards

Hello Stampin’ Friends!

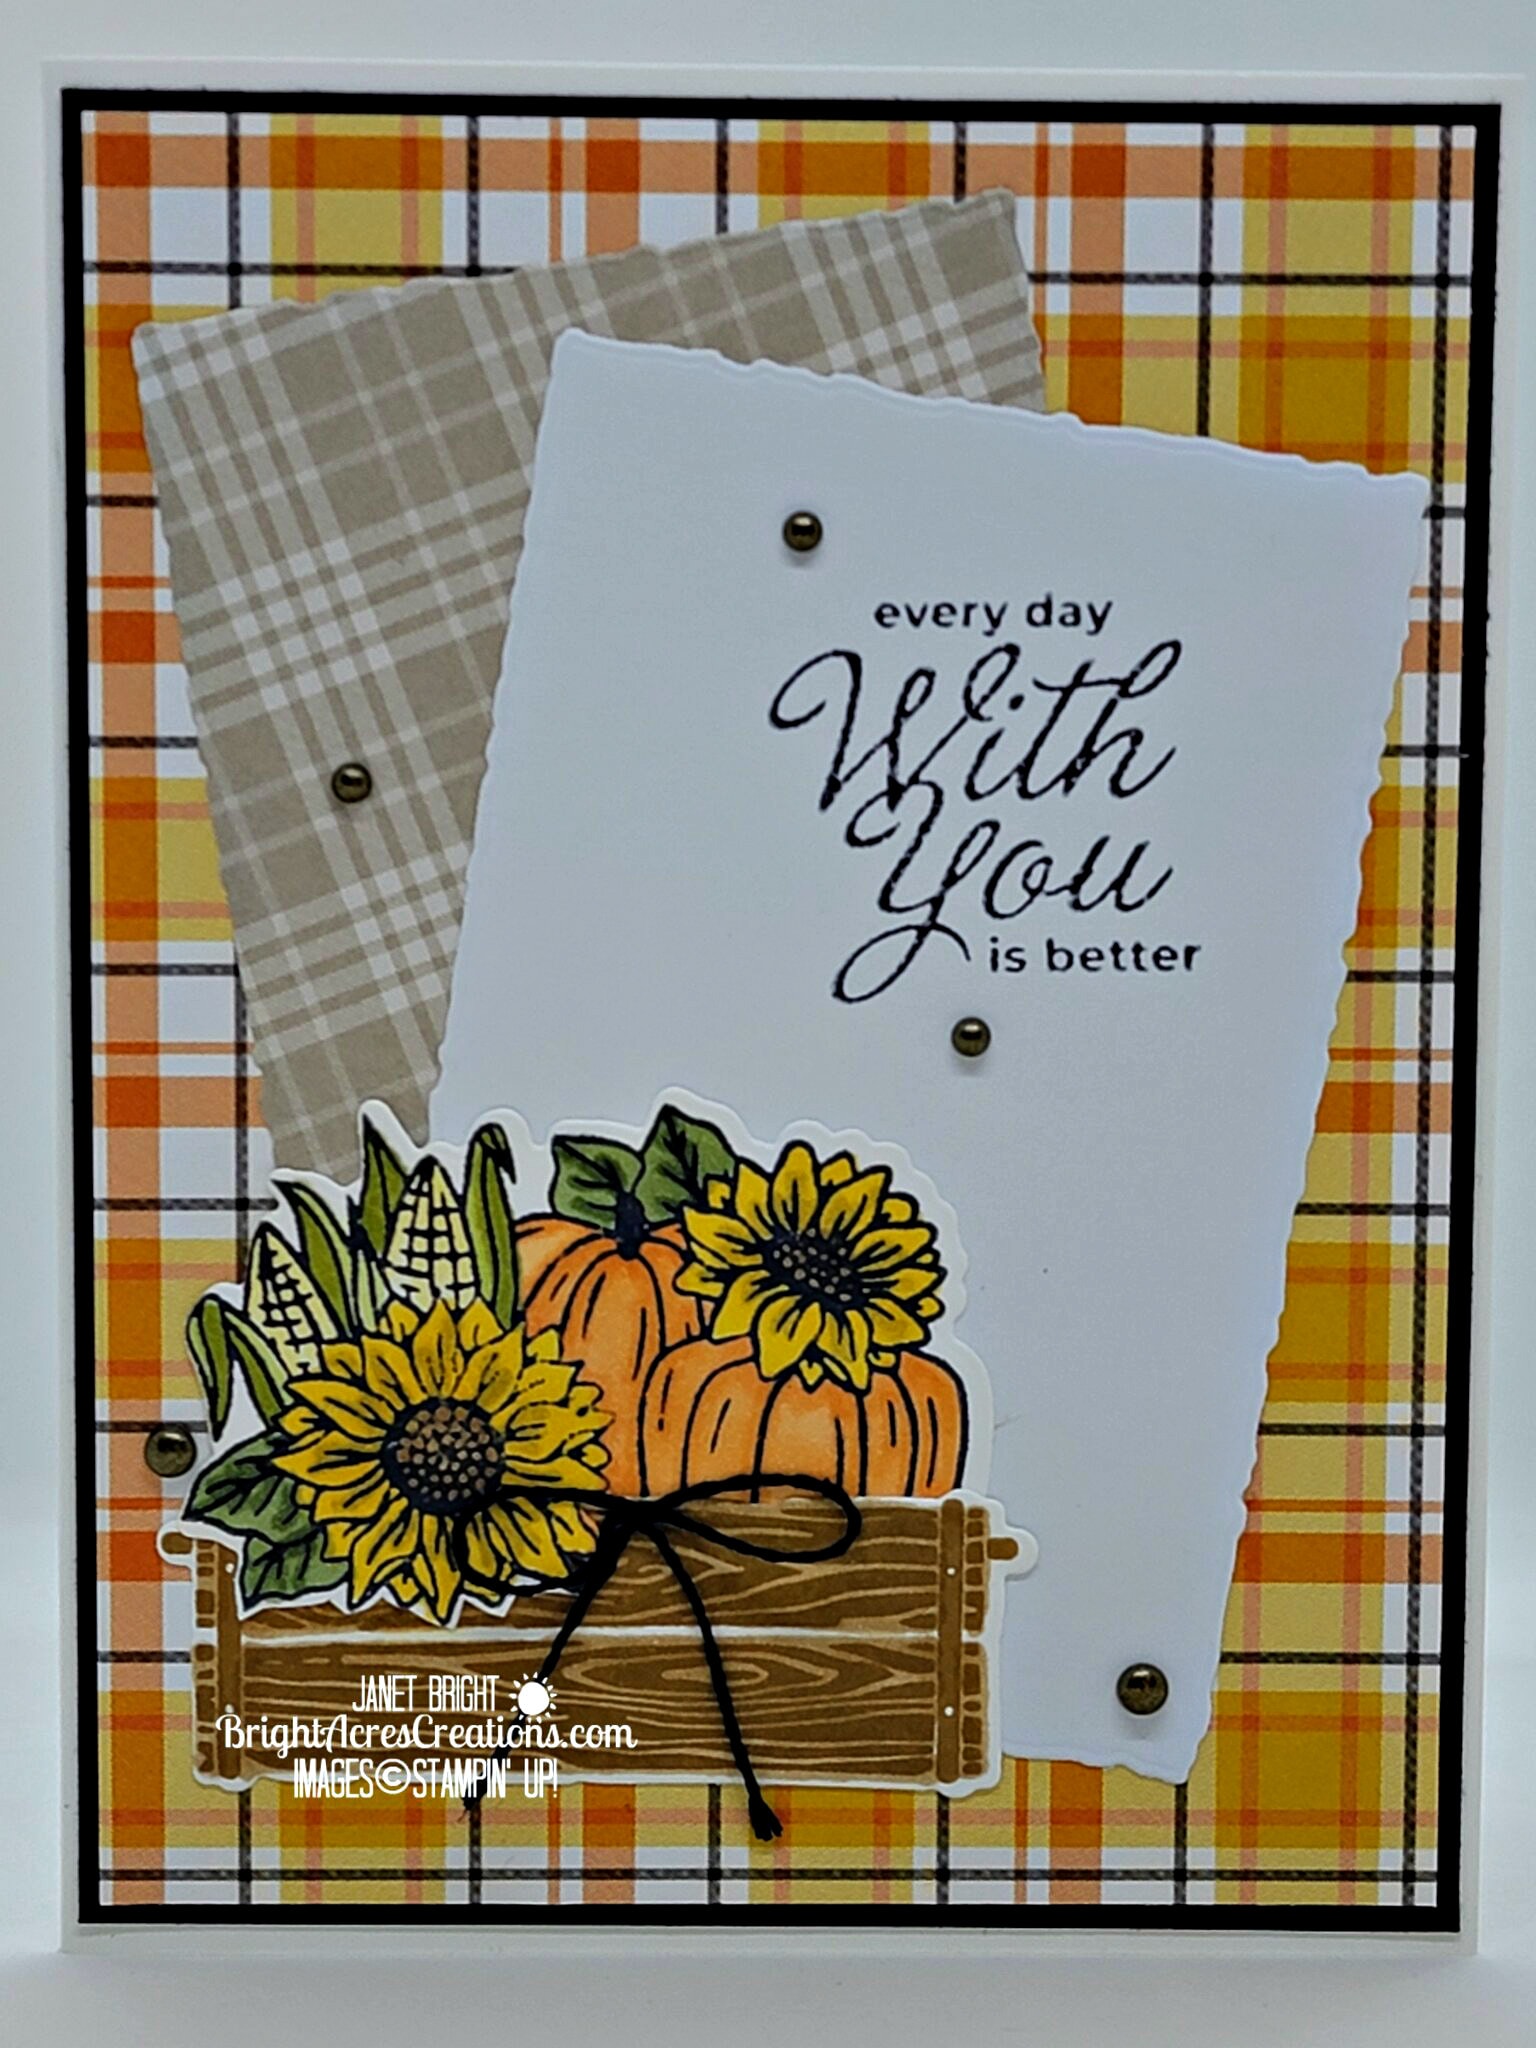
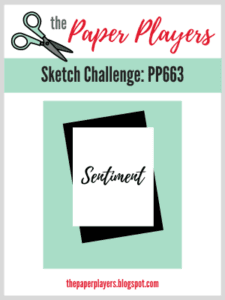
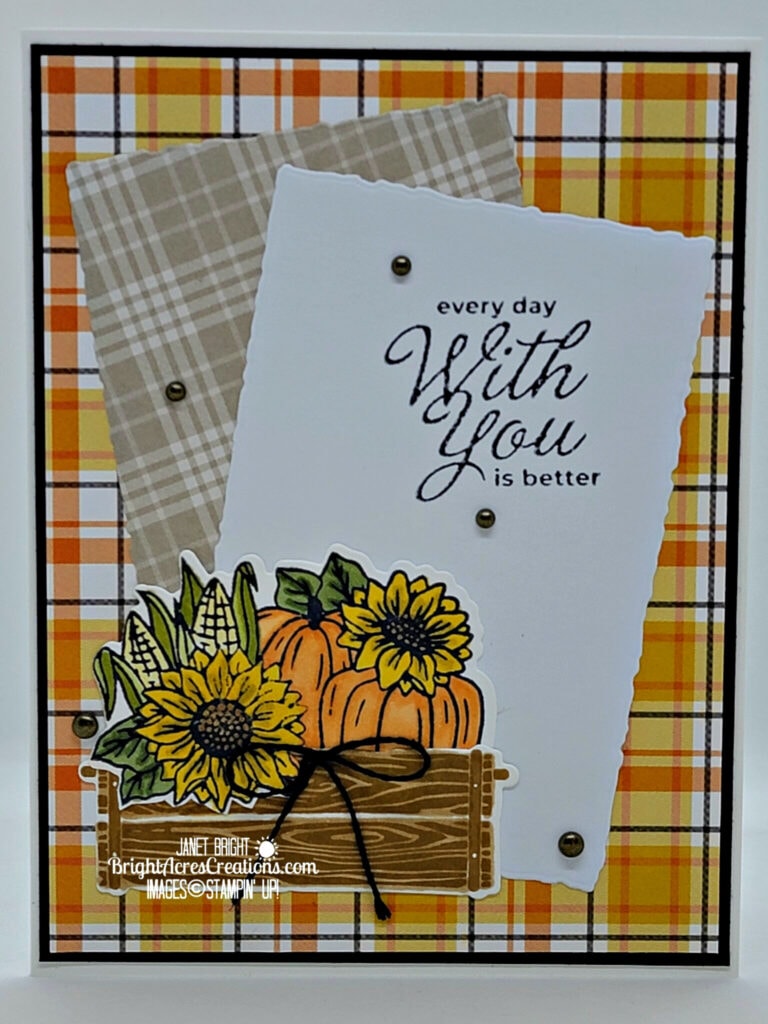
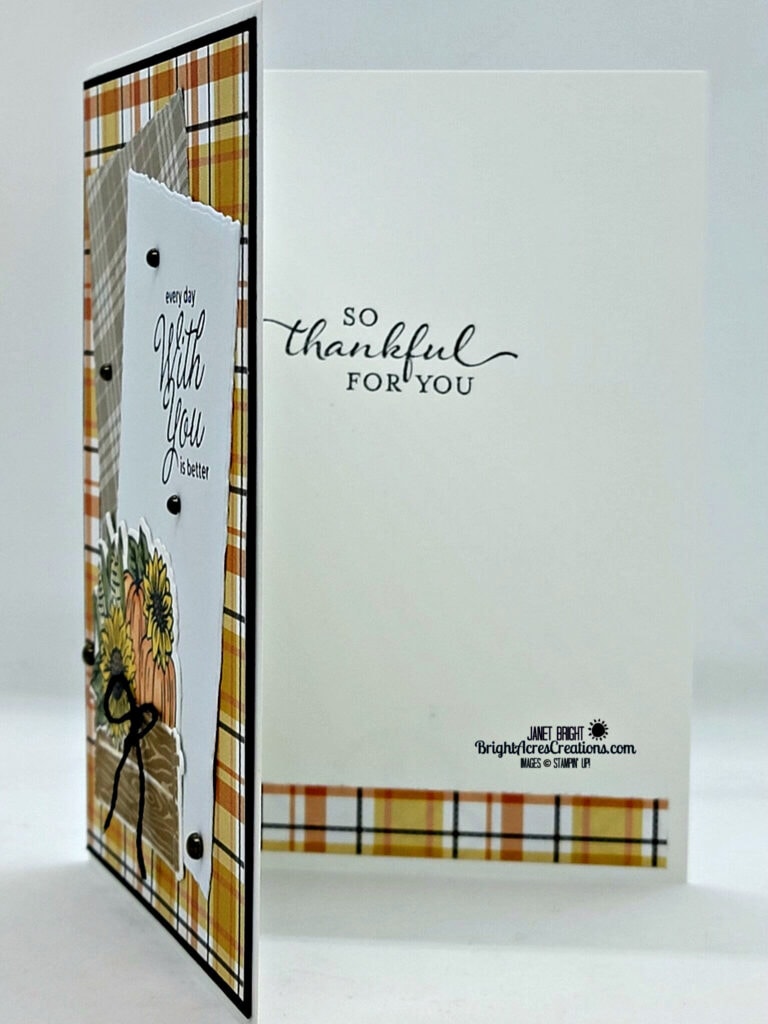
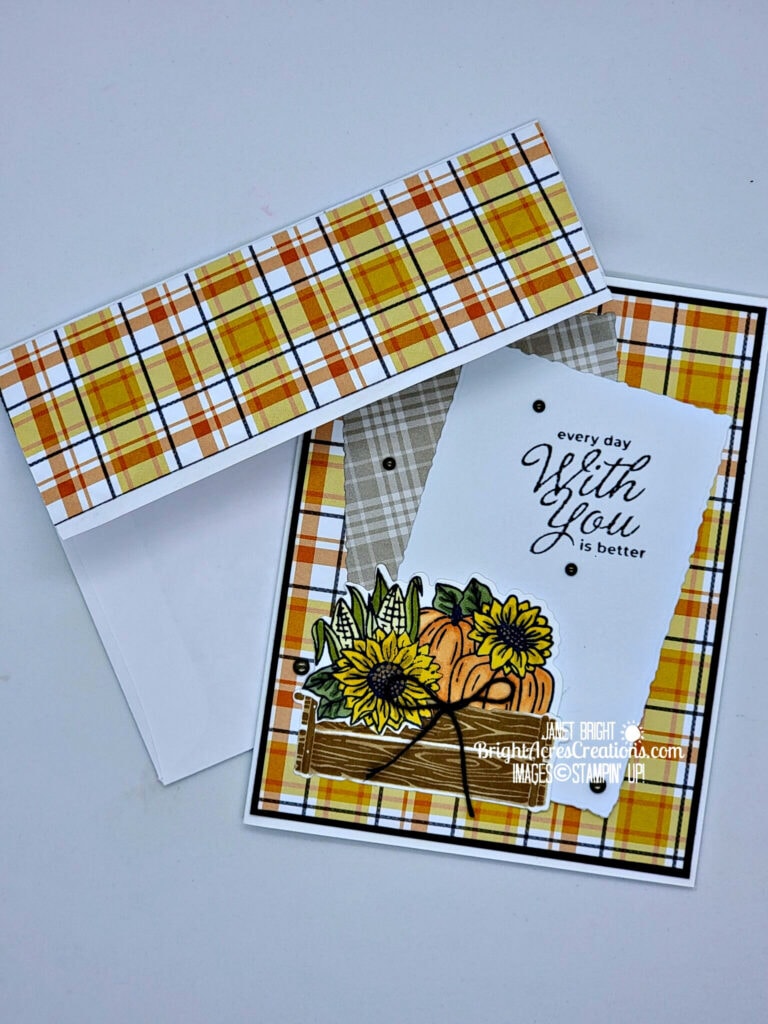
I have a quick, fall-themed card today that was inspired by a card sketch by The Paper Players. 

I look forward to the fall season each year, in fact, one might say it’s my favorite season of the year.  Well, until spring rolls around.  As soon as the temperatures begin to warm, the birds begin to sing, the flowers start to pop up from the ground, I’ll be saying spring is my favorite season!  I guess I should just call it a draw between spring and fall!

At any rate, I saw this week’s sketch on The Paper Players (Challenge PP663) and thought I’d give it a go.  I highly recommend going over to their website to see not only my take on their sketch, but many other talented cardmakers as well!

Card sketches are oftentimes my saving grace.  A great place to start and let my imagination and creativity do the rest!  And, a contest… well, if you have a competitive nature at all, make up a card and join in the fun!

Continue reading “Rustic Crate For Fall-Themed Cards”

Life Is Beautiful

Hello Friends!

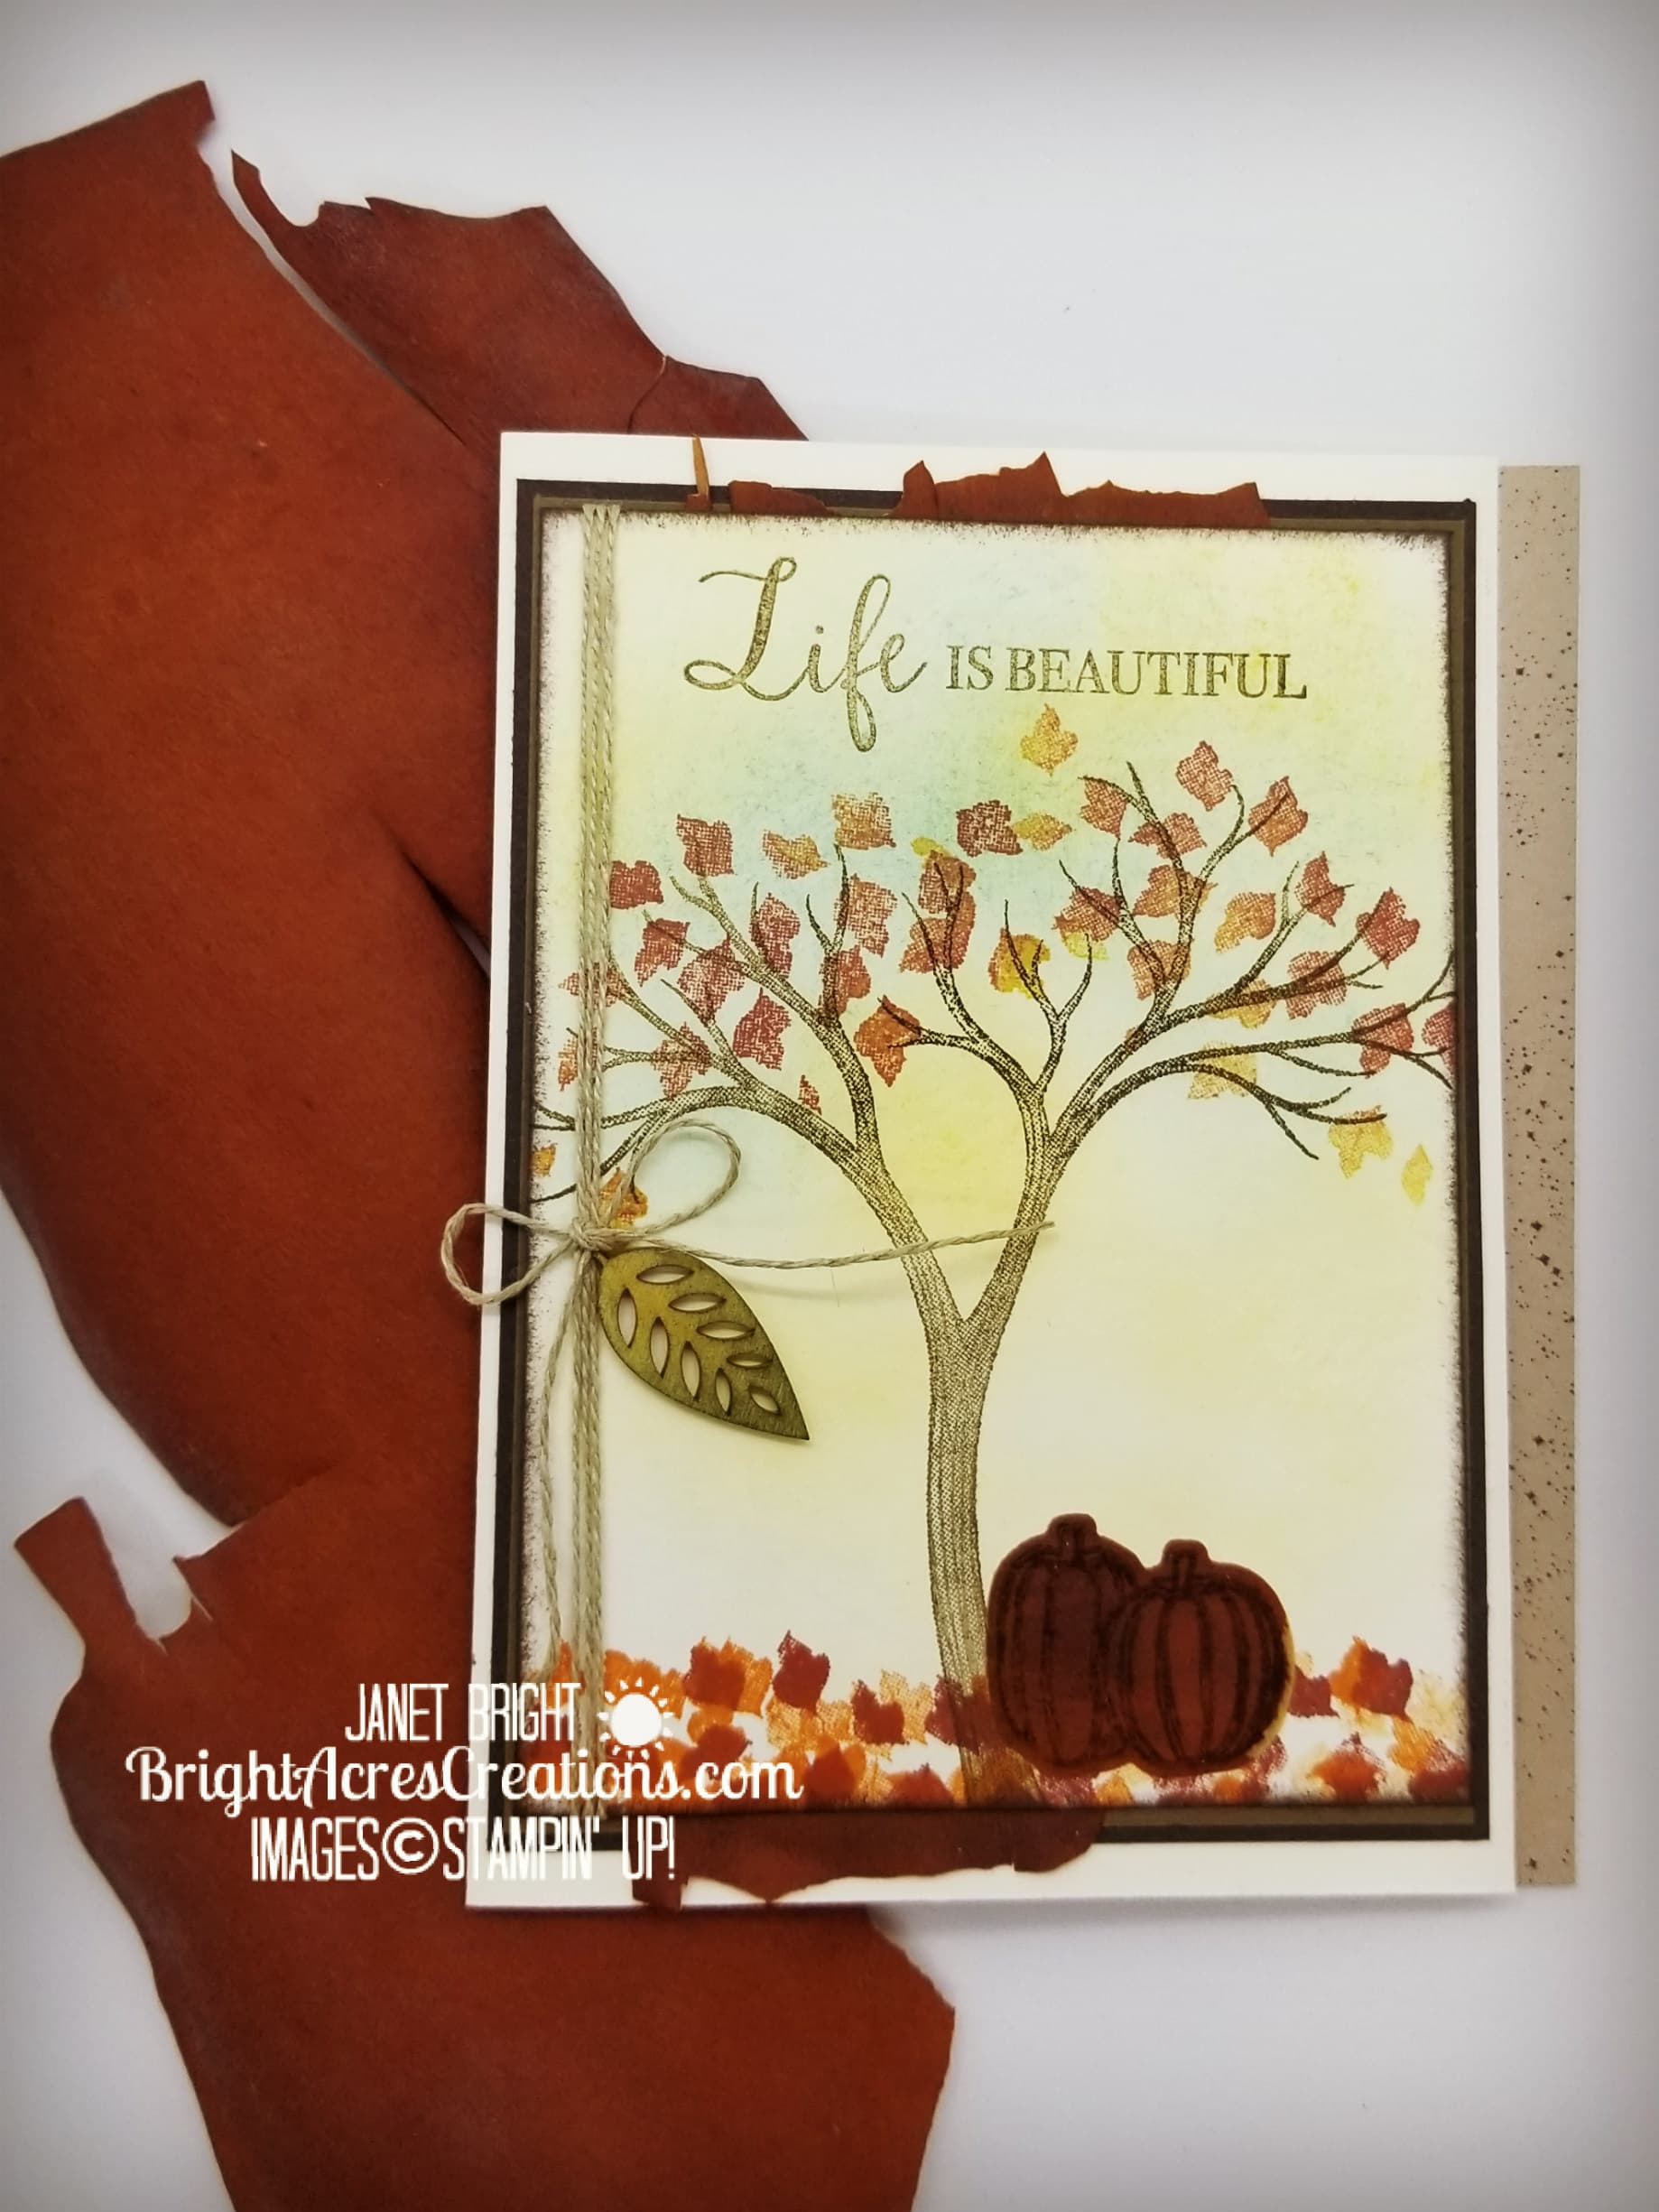
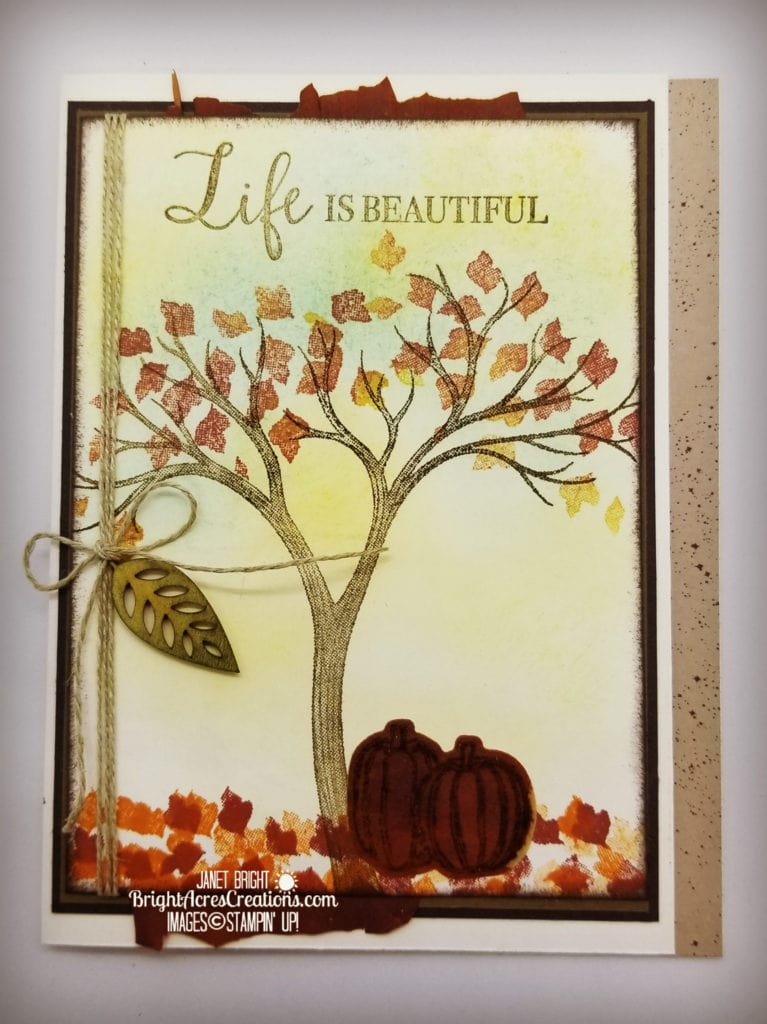
Today’s card features the “Life Is Beautiful” stamp set which can be seasonally appropriate throughout the entire year, depending on how you choose to adorn your tree.  Since it’s Fall, I chose to stamp my leaves in bright Fall colors.  I also used some preserved Madrone tree bark, as I’ve used in previous posts.  Directions for how to preserve the bark can be found here.

I couldn’t agree more with the sentiment on this card, also from the “Life Is Beautiful” stamp set.  Despite the havoc coming at us from every direction throughout 2020, if we stop and take stock of how beautiful and precious life is, it becomes quite easy to focus with 20-20 vision – Life-Is-Beautiful!

This year has required many adjustments, but despite the inconveniences and angst, life goes on and we have so much to be thankful for!  I guess it all comes down to “looking at the glass half empty, or half full”.  I choose “half-full”.

I have to admit that I haven’t always had that “half-full” attitude.  I had some life circumstances in years gone by which were “trying” (to put it mildly), and I felt quite justified in my negativity.  I began down a very slippery slope of unhappiness and the “blame game” secondary to somebody else’s choices, and circumstances that were out of my control.

A very dear friend, who also happened to be my doctor and employer, recognized this and on a particularly bad afternoon, simply said to me, “You know, Jan, happiness is a choice.  You can choose to be happy even during tough times.”

Whoa!  Wait a minute!  I wanted to argue and justify that this, this and this were why I couldn’t be happy (it wasn’t my fault…)!  But that small voice inside me told me to keep my mouth shut and think about what he’d just said.  After much deliberation, I had to admit, he was right!  While I couldn’t control many of the circumstances around me, I could control my attitude and make a choice to be happy despite my circumstances.

Light-bulb moment:  My happiness didn’t have to hinge on what someone else did or didn’t do.

That revelation changed everything for me and I set about very purposely being happy, seeing the glass half full instead of half empty you might say.  It wasn’t easy, as my circumstances and challenges were still there.  But I awoke every morning with a determination that I would be happy today, regardless of the actions of others.

It took many months of very purposely choosing happiness, not allowing someone else’s actions to dictate my emotions and attitude.  I learned during that time what it was to really lean on my faith – to let go and let God!  Trust me my friends, God still works miracles.  I’ve been on the receiving end a couple of times which I can identify with all certainty, and probably more that I’m not even aware of.  I’ll share those miracles given me in due time.  But let me just reaffirm… Life Is BEAUTIFUL! (And, happiness is a choice!)

LET’S GET INKY!

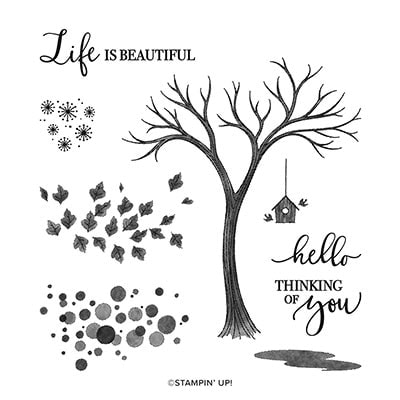
Stamp sets used:

  • Life Is Beautiful
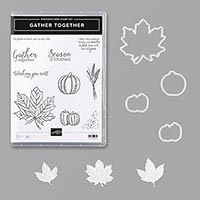
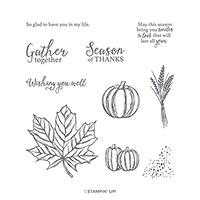
  • Gather Together

Metal Dies:

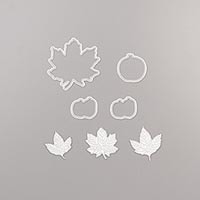
  • Gathered Leaves

Paper:

  • Very Vanilla CS – card base 5 1/2″ x 8 1/4″ – fold at 4 1/4″ (Card front will be 1/4″ smaller than card back)
  • Early Espresso CS (mat 2) – 5 1/8″ x 3 3/4″
  • Soft Suede CS (mat 2) – 5″ x 3 5/8″
  • Very Vanilla CS – image panel – 4 7/8″ x 3 1/2″
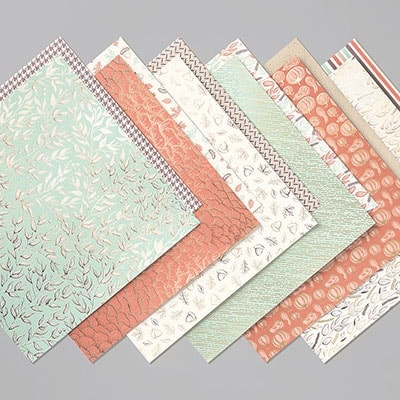
  • Gilded Autumn DSP – inside edge strip – 1/2″ x 5 1/2″

Ink:

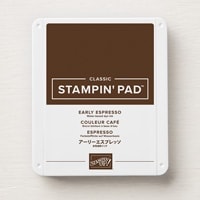
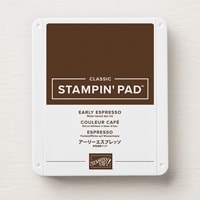
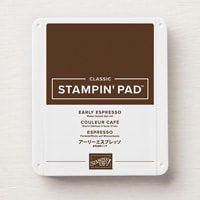
  • Early Espresso
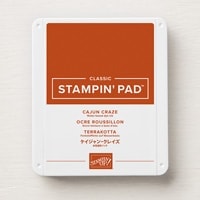
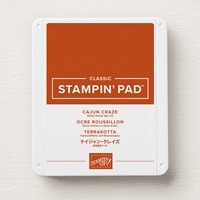
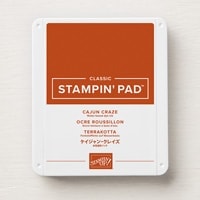
  • Cajun Craze
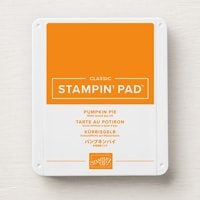
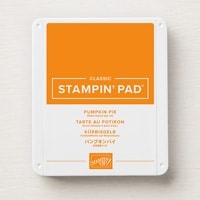
  • Pumpkin Pie
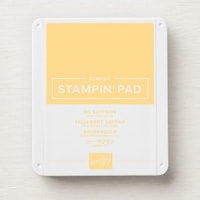
  • So Saffron
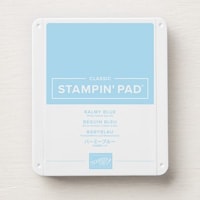
  • Balmy Blue
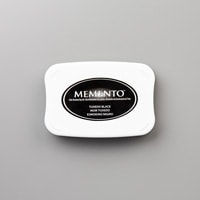
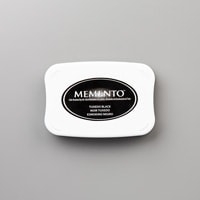
  • Tuxedo Black Memento

Accessories:

  • Preserved Madrone Tree Bark
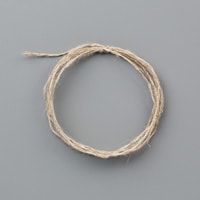
  • Linen Thread
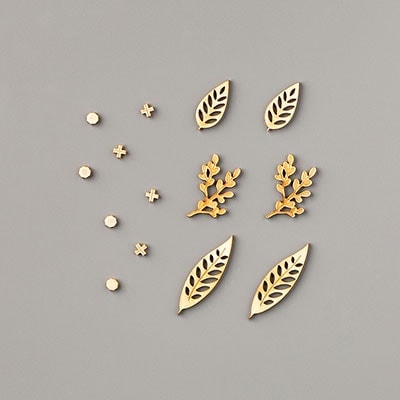
  • In Good Taste Elements
  • Light Soft Suede Stampin’ Blends
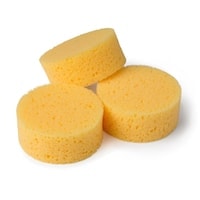
  • Stampin’ Sponges

Putting It Together:

  1. On the Very Vanilla Image Panel, starting at the top, lightly sponge So Saffron across top and about three-fourths down the panel until it fades out.
  2. Next lightly sponge Balmy Blue ink in sort of an arch across the top.
  3. Stamp the tree trunk image in Early Espresso.  Color in with Light Soft Suede Stampin’ Blend.
  4. Stamp the leaves in Cajun Craze, stamping first below the tree, and then with the second generation ink (stamped off once below the tree), the leaves in the tree.
  5. Repeat with Pumpkin Pie ink, stamping below the tree with fresh (1st generation) ink, and then with second generation in the tree.
  6. Stamp the “Life Is Beautiful” sentiment above the tree.
  7. Stamp the pumpkins from “Gather Together” stamp set on preserved Madrone tree bark, or Cajun Craze CS, using Tuxedo Black Memento Ink.
  8. Crop out the pumpkins using the corresponding die from “Gathered Leaves Dies”.
  9. Adhere pumpkins beside tree trunk.
  10. Lightly sponge Early Espresso ink around edges of image panel.
  11. Wrap Linen Thread around the left edge of the panel x 3, attaching ends to back of image panel.
  12. Using a short piece of the Linen Thread, tie a small bow around the 3 vertical threads.
  13. Use Early Espresso ink to lightly “grunge-up” the wood leaf from In Good Taste Elements.  Use a glue dot to adhere the wooden leaf just below the bow.
  14. Adhere the Early Espresso mat to the card base, followed by the Soft Suede mat.
  15. Adhere a length of tree bark, (or a piece of Cajun Craze cardstock 5 1/2″ x 2 1/2″ – moisten top and bottom edges and carefully tear edges away) to mid-left side of card front.
  16. Adhere image panel over all.
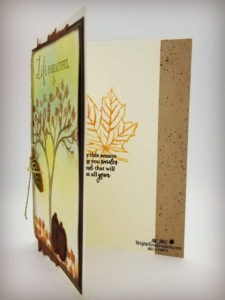
  17. On the inside of the card, adhere the DSP strip along the right edge, even with the card base edge.
  18. Stamp the leaf image from Gather Together in Pumpkin Pie ink.
  19. Stamp the sentiment from Gather Together in Early Espresso, slightly overlapping the bottom of the stamped leaf.

DONE!

Thank you for stopping by my blog today!  Spend some time looking around; I hope you find some inspiration here and may you GET INKY TODAY!

  DSP Sale

OH, OH, OH!!!  Don’t forget that the Stampin’ Up Designer Series Paper is ON SALE through the month of October!!  Now’s the perfect time to stock up on all the gorgeous papers you’ve had your eye on!

Click here for the flier of all the DSP on sale!

Or, simply go to my online store and click on Designer Series Paper Sale!

Janet

Product List

Pumpkin Spice & Elk – Yep, It’s FALL!

Hello Friends!

As you may recall, I mentioned in my last post an excess of canned pumpkin in my pantry.  As such, I’ve been looking for recipes, other than pumpkin pie, in an effort to use some of it up.  Nothing against pumpkin pie, but it just doesn’t seem like it’s that far into Fall to warrant pumpkin pie yet! So, as an alternative, I found a recipe on AllRecipes.com for “Great Pumpkin Dessert” and made that instead.  I must say, it’s very good!  It also made the house smell like pumpkin spice!  A win-win!

It is, however, far enough into fall for hunting season!  It’s a time of year that Dean and I look forward to every year.  I know hunting isn’t for everyone, but it’s a big part of our lifestyle and we both enjoy getting out on a crisp fall morning, hiking through the woods in search of a big bull elk.  Dean archery hunts, which means his season is before mine with a rifle.  While hunting with a rifle is enjoyable, I must say, there’s nothing like going with Dean archery hunting.  To hunt with a bow, one must get very close to his target.  That means getting fully camouflaged up, face paint, the whole nine yards.  I love the thrill of going with Dean and getting right in the middle of a herd of elk, trying not to move, even breathe, so as not to be discovered.  One slight move, or the breeze blowing the wrong way, and the elk will be gone in an instant!  The adrenaline rush of having a gigantic bull elk a mere arms length away with only some brush between you and him, I can’t even describe!  Of course, when they’re that close, it’s impossible to draw a bow without being discovered, so just standing there ,still as can be, afraid he’s going to hear your heart beating as it feels like it’s going to beat right out of your chest, trying to breathe slow and easy so as not to make a sound or move a muscle.  There’s nothing quite like it!

I’m proud to say, Dean was successful in his hunt again this year, tagging this beauty of a bull a couple days ago! (Just for perspective, Dean’s 6’0″ tall)

ELK….it’s what’s for dinner in our home!

And soon, we’ll be back outside in search of another bull for me to harvest.  I’m going to concede right now, Dean’s going to win the big bull contest in our home this year!  I’m okay with that, you can’t eat the antlers, and the rest is all meat in the freezer!

But back to pumpkins and fall.  If you have any pumpkin recipes that you recommend, I’d be happy to give them a try!  I think I have 7 or 8 more cans of pumpkin in the pantry to use up.  After all, it’s going to be on sale again soon and I’ll have to buy more!!! LOL!!!

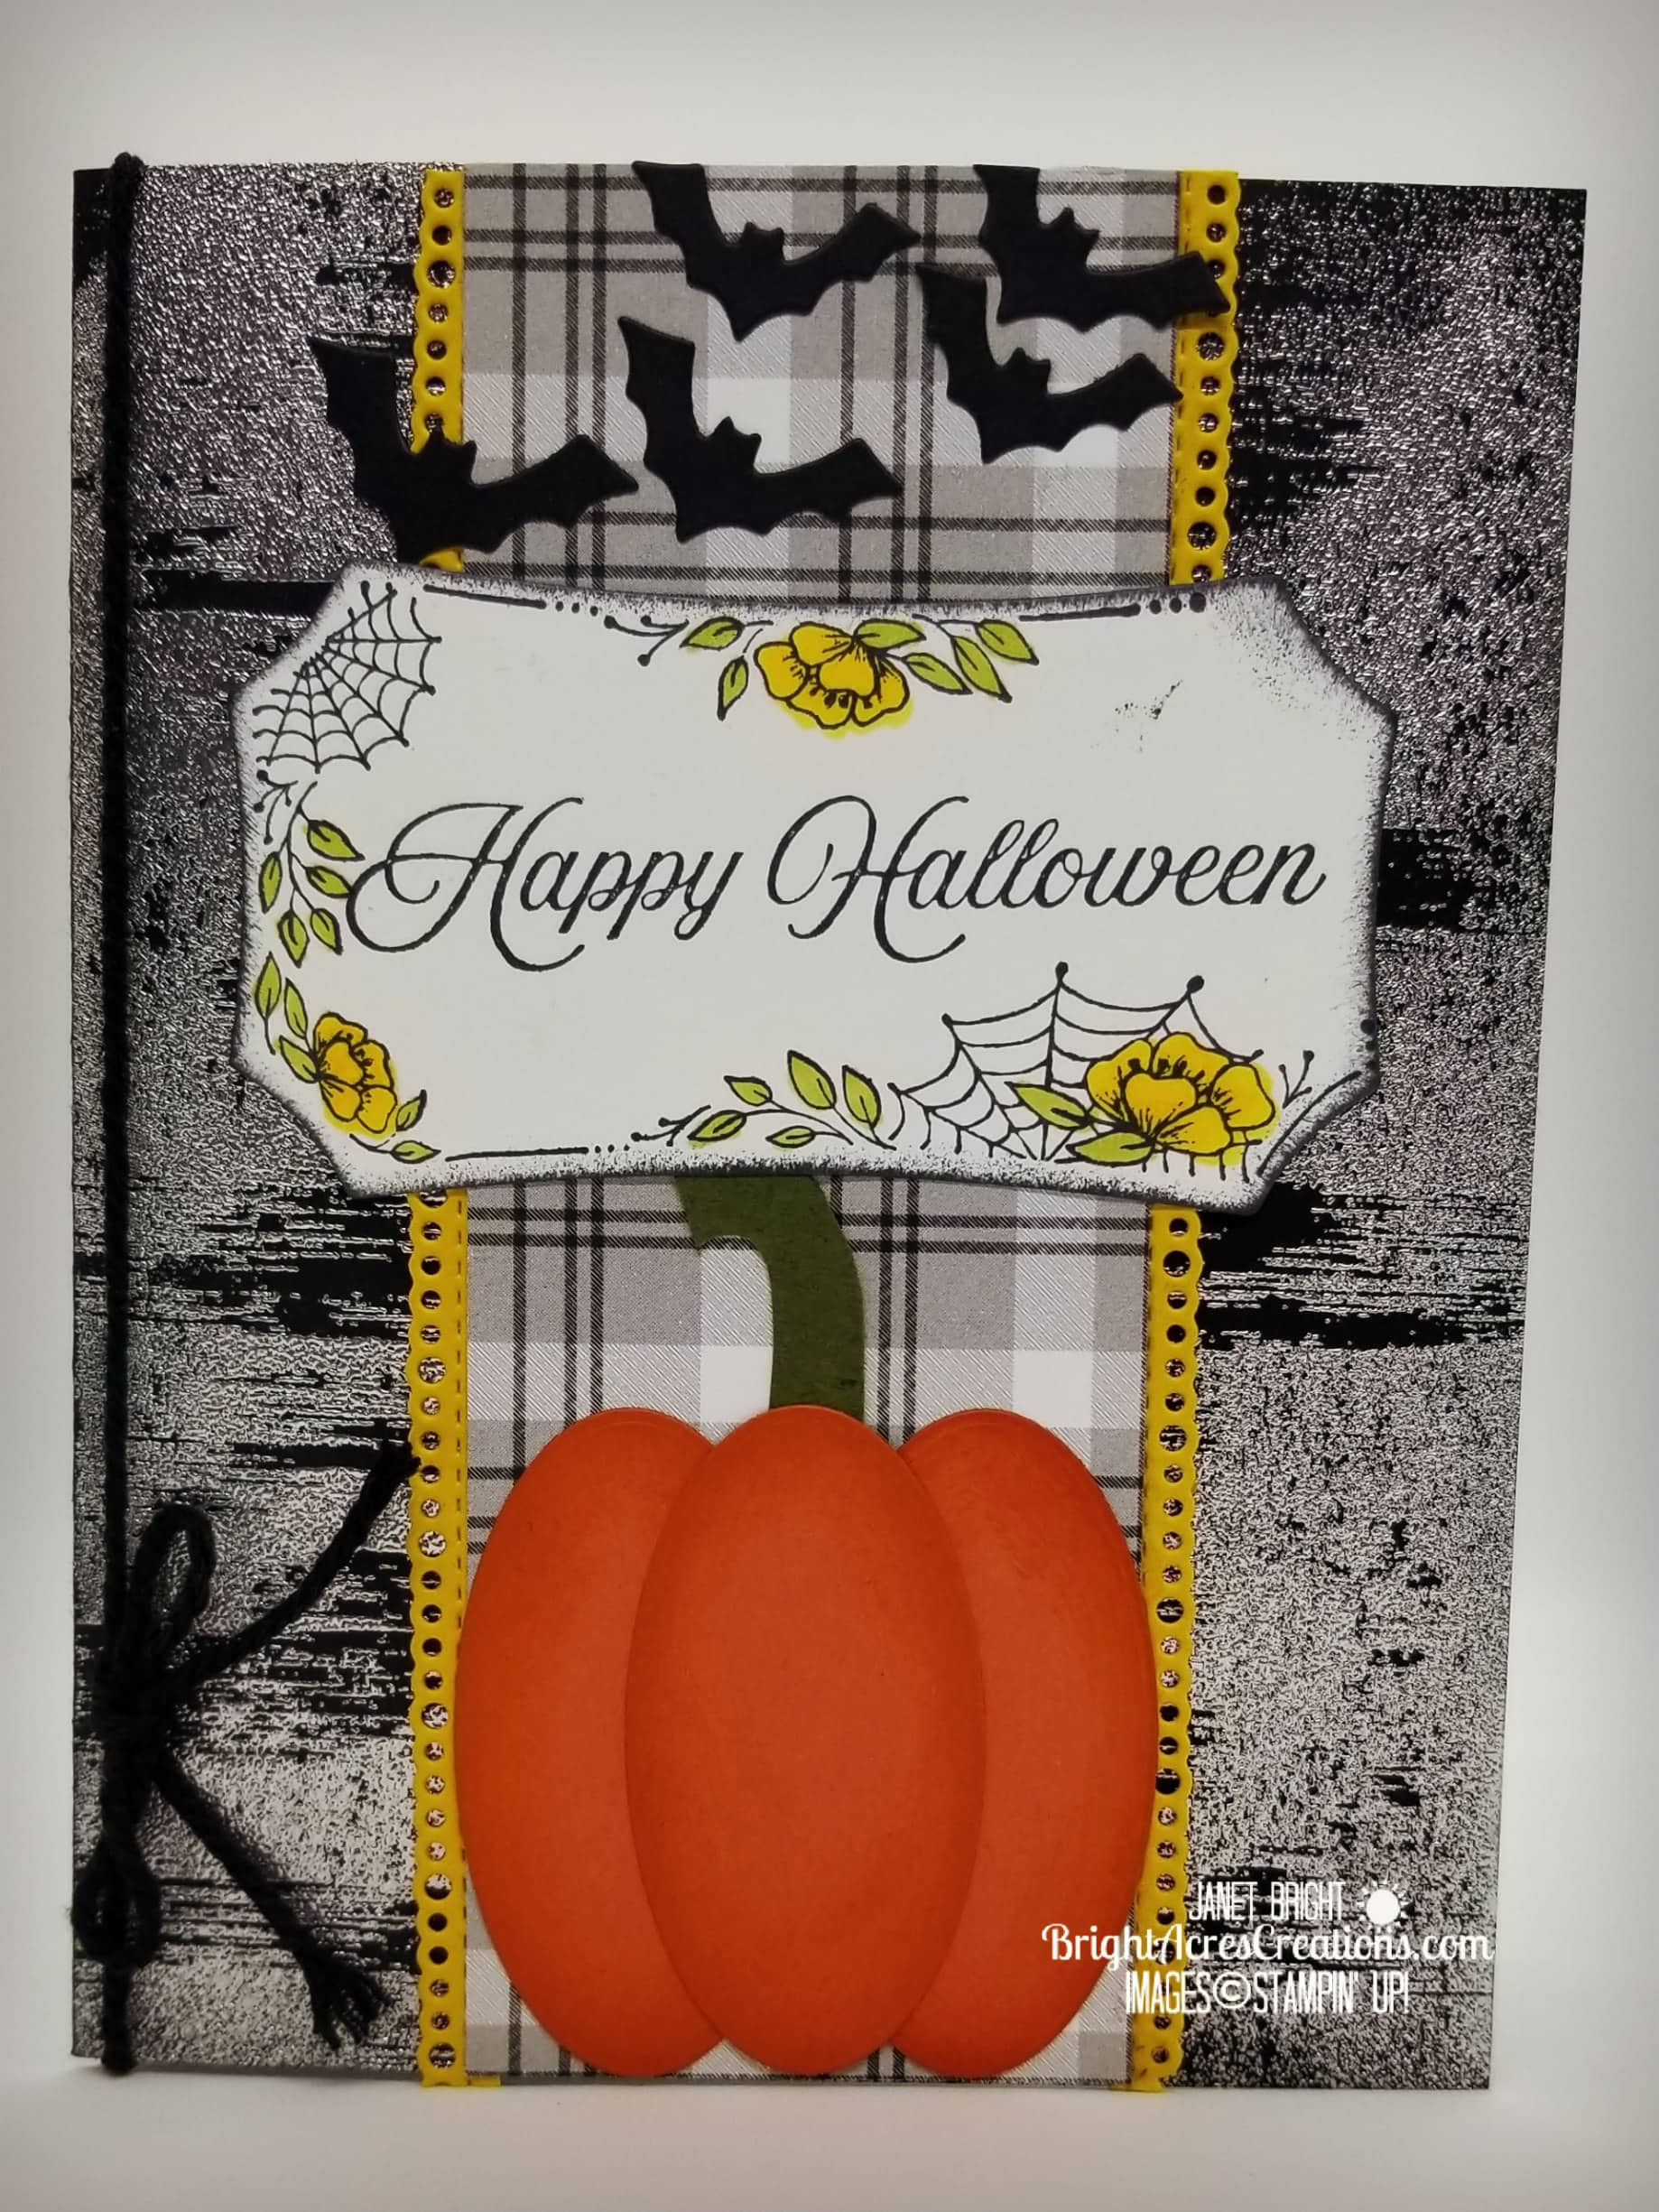
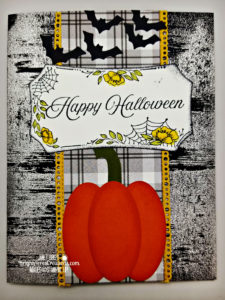
While I don’t generally get too into Halloween, I do like to put together a little something special for the grandkids.  Today’s card will add to the festive flair of their goodies!

LET’S GET INKY!

Materials:

Stamp sets used:

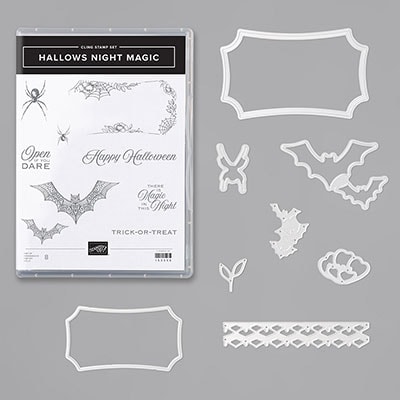
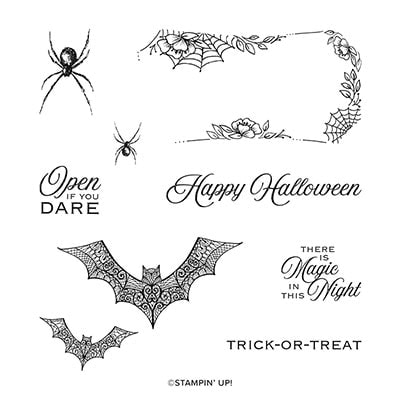
  • Hallow’s Night Magic
  • Drybrush

Metal dies used:

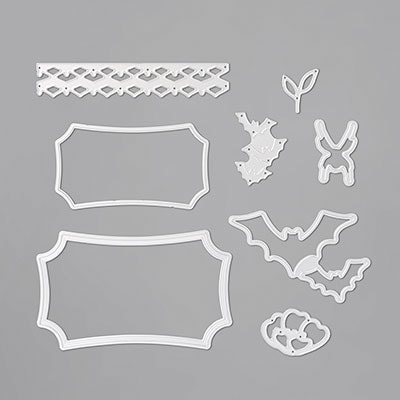
  • Halloween Magic Dies (tag & bats)
  • Layering Ovals Dies (pumpkin – cut 3 of the smallest oval)
  • Ornate Borders Dies (Crushed Curry border on DSP)

Paper:

  • Plaid Tidings DSP- 2″ x 5 1/2″
  • Basic Black CS – card base 5 1/2″ x 8 1/2″; scraps for die-cut bats
  • Pumpkin Pie CS – scraps for three ovals cut with smallest oval die in Layering Ovals
  • Mossy Meadow CS – scrap for pumpkin stem
  • Crushed Curry CS – 5 1/2″ x 1/2″ – cut 2 borders with Ornate Borders
  • Whisper White CS – scrap for front tag cut with Halloween Magic Dies.

Ink:

  • Tuxedo Black Memento
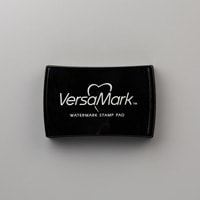
  • VersaMark
  • Pumpkin Pie

Accessories:

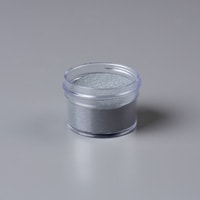
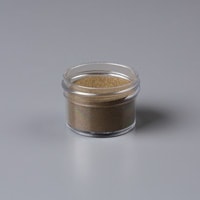
  • Silver Embossing Powder
  • Black Baker’s Twine from Country Club Twine Combo – retired
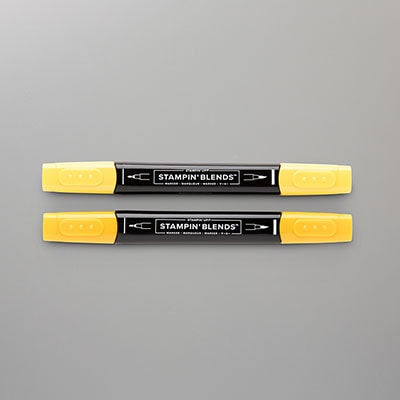
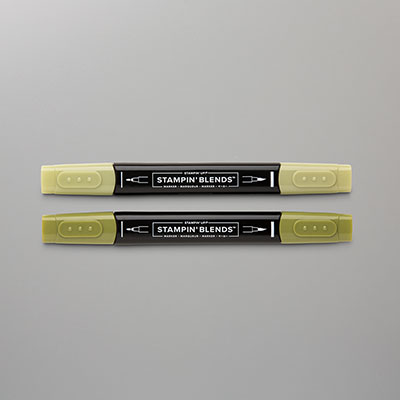
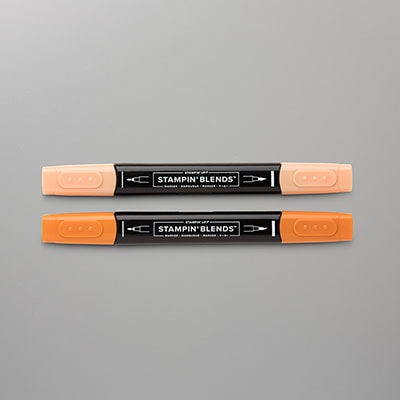
  • Stampin’ Blends:  Mango Melody Combo; Old Olive Combo

Putting It Together:

  1.  Use a 5 1/2″ x 8 1/2″ piece of Basic Black CS for card base, folding in half at 4 1/4″.
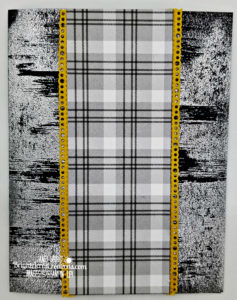
  2.  Use the Drybrush Stamp and Versamark ink, stamping image on card front.
  3. Sprinkle Silver Embossing Powder over entire card front, tapping excess off.
  4. Heat emboss with heat tool.
  5. Apply Crushed Curry border pieces to Plaid Tidings DSP, and then apply that to card front centered.
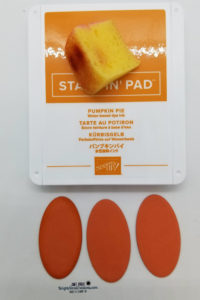
  6. Apply Pumpkin Pie ink with sponge to edges of three ovals.
  7.   You can see in the picture, the first oval on the left has ink applied to the edges, the other two don’t.  Adding ink creates depth.
  8. Hand cut the pumpkin stem with scissors from Mossy Meadow CS.
  9. Apply two of the ovals side-by-side centered on the bottom card front.
  10. Place the hand cut stem between the ovals.
  11. Adhere the third oval centered over the other two ovals to make the pumpkin.
  12. Stamp the tag border from Hallow’s Night Magic onto Whisper White and then crop it out using the smaller tag die from Halloween Magic Dies.
  13. Color the flowers with Stampin’ Blends.
  14. Stamp the Happy Halloween sentiment from Hallow’s Night Magic.
  15. Adhere tag above the pumpkin.
  16. Use Halloween Magic Dies to crop out bats.
  17. Adhere bats above tag.
  18. Wrap a piece of Black Baker’s Twine around card front vertically and tie in bow.

DONE!

Thank you for visiting my blog today; I hope you’ve found some inspiration here.  Your comments and orders are always much appreciated!

I hope you have a fantastic day, and I hope you get a little INKY today!

Janet

Product List

Paper Snips

$10.00

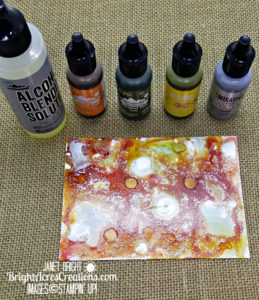
Alcohol inks for original backgrounds

Happy Fall Y’All

Hello Friends!

It’s OFFICIALLY FALL!!!!  While I’m not a pumpkin spice addict, I do look forward to some pumpkin spice here and there, burning candles, cooler temperatures, and RAIN!!!

I cleaned out my pantry a few days ago and noticed that I have… ah-hmmm multiple cans of pumpkin puree.  I’m never in charge of pumpkin pies at Thanksgiving, that would be my sister.  I’m in charge of chocolate peanut butter, coconut cream, apple, blueberry – the other pies.

However, pumpkin just goes with Fall and Thanksgiving, and apparently I feel the need to stock up on canned pumpkin every fall when it’s on sale…judging from my overstocked pantry!  Sooooo… my kitchen will be smelling of pumpkin spice soon as I try to use up my multiple cans of pumpkin!

Speaking of SALES… don’t forget that TODAY is Stampin’ Up’s one and only sale of the year!   You can  simply log into my online store and click on “Stamp Sale” to bring up all the stamp sets that are marked down 15%.  The sale ends, for those on the west coast (pacific time), at 10:59 PM tonight (9/23/20).

But, back to Fall…I can hardly wait to put on some mellow tunes, light my pumpkin spice candles, and get to baking!  Yep… I’ve been waiting for Fall to arrive for the last several weeks!  I’m excited to pack away my summer clothes and bring out the sweaters and jeans!  I’ve already dug out my camouflage hunting gear and have been getting up early, going out hiking the hills with Dean.  He archery hunts, and is generally successful each year in harvesting a big bull elk!  Have I mentioned, I LOVE FALL?!!

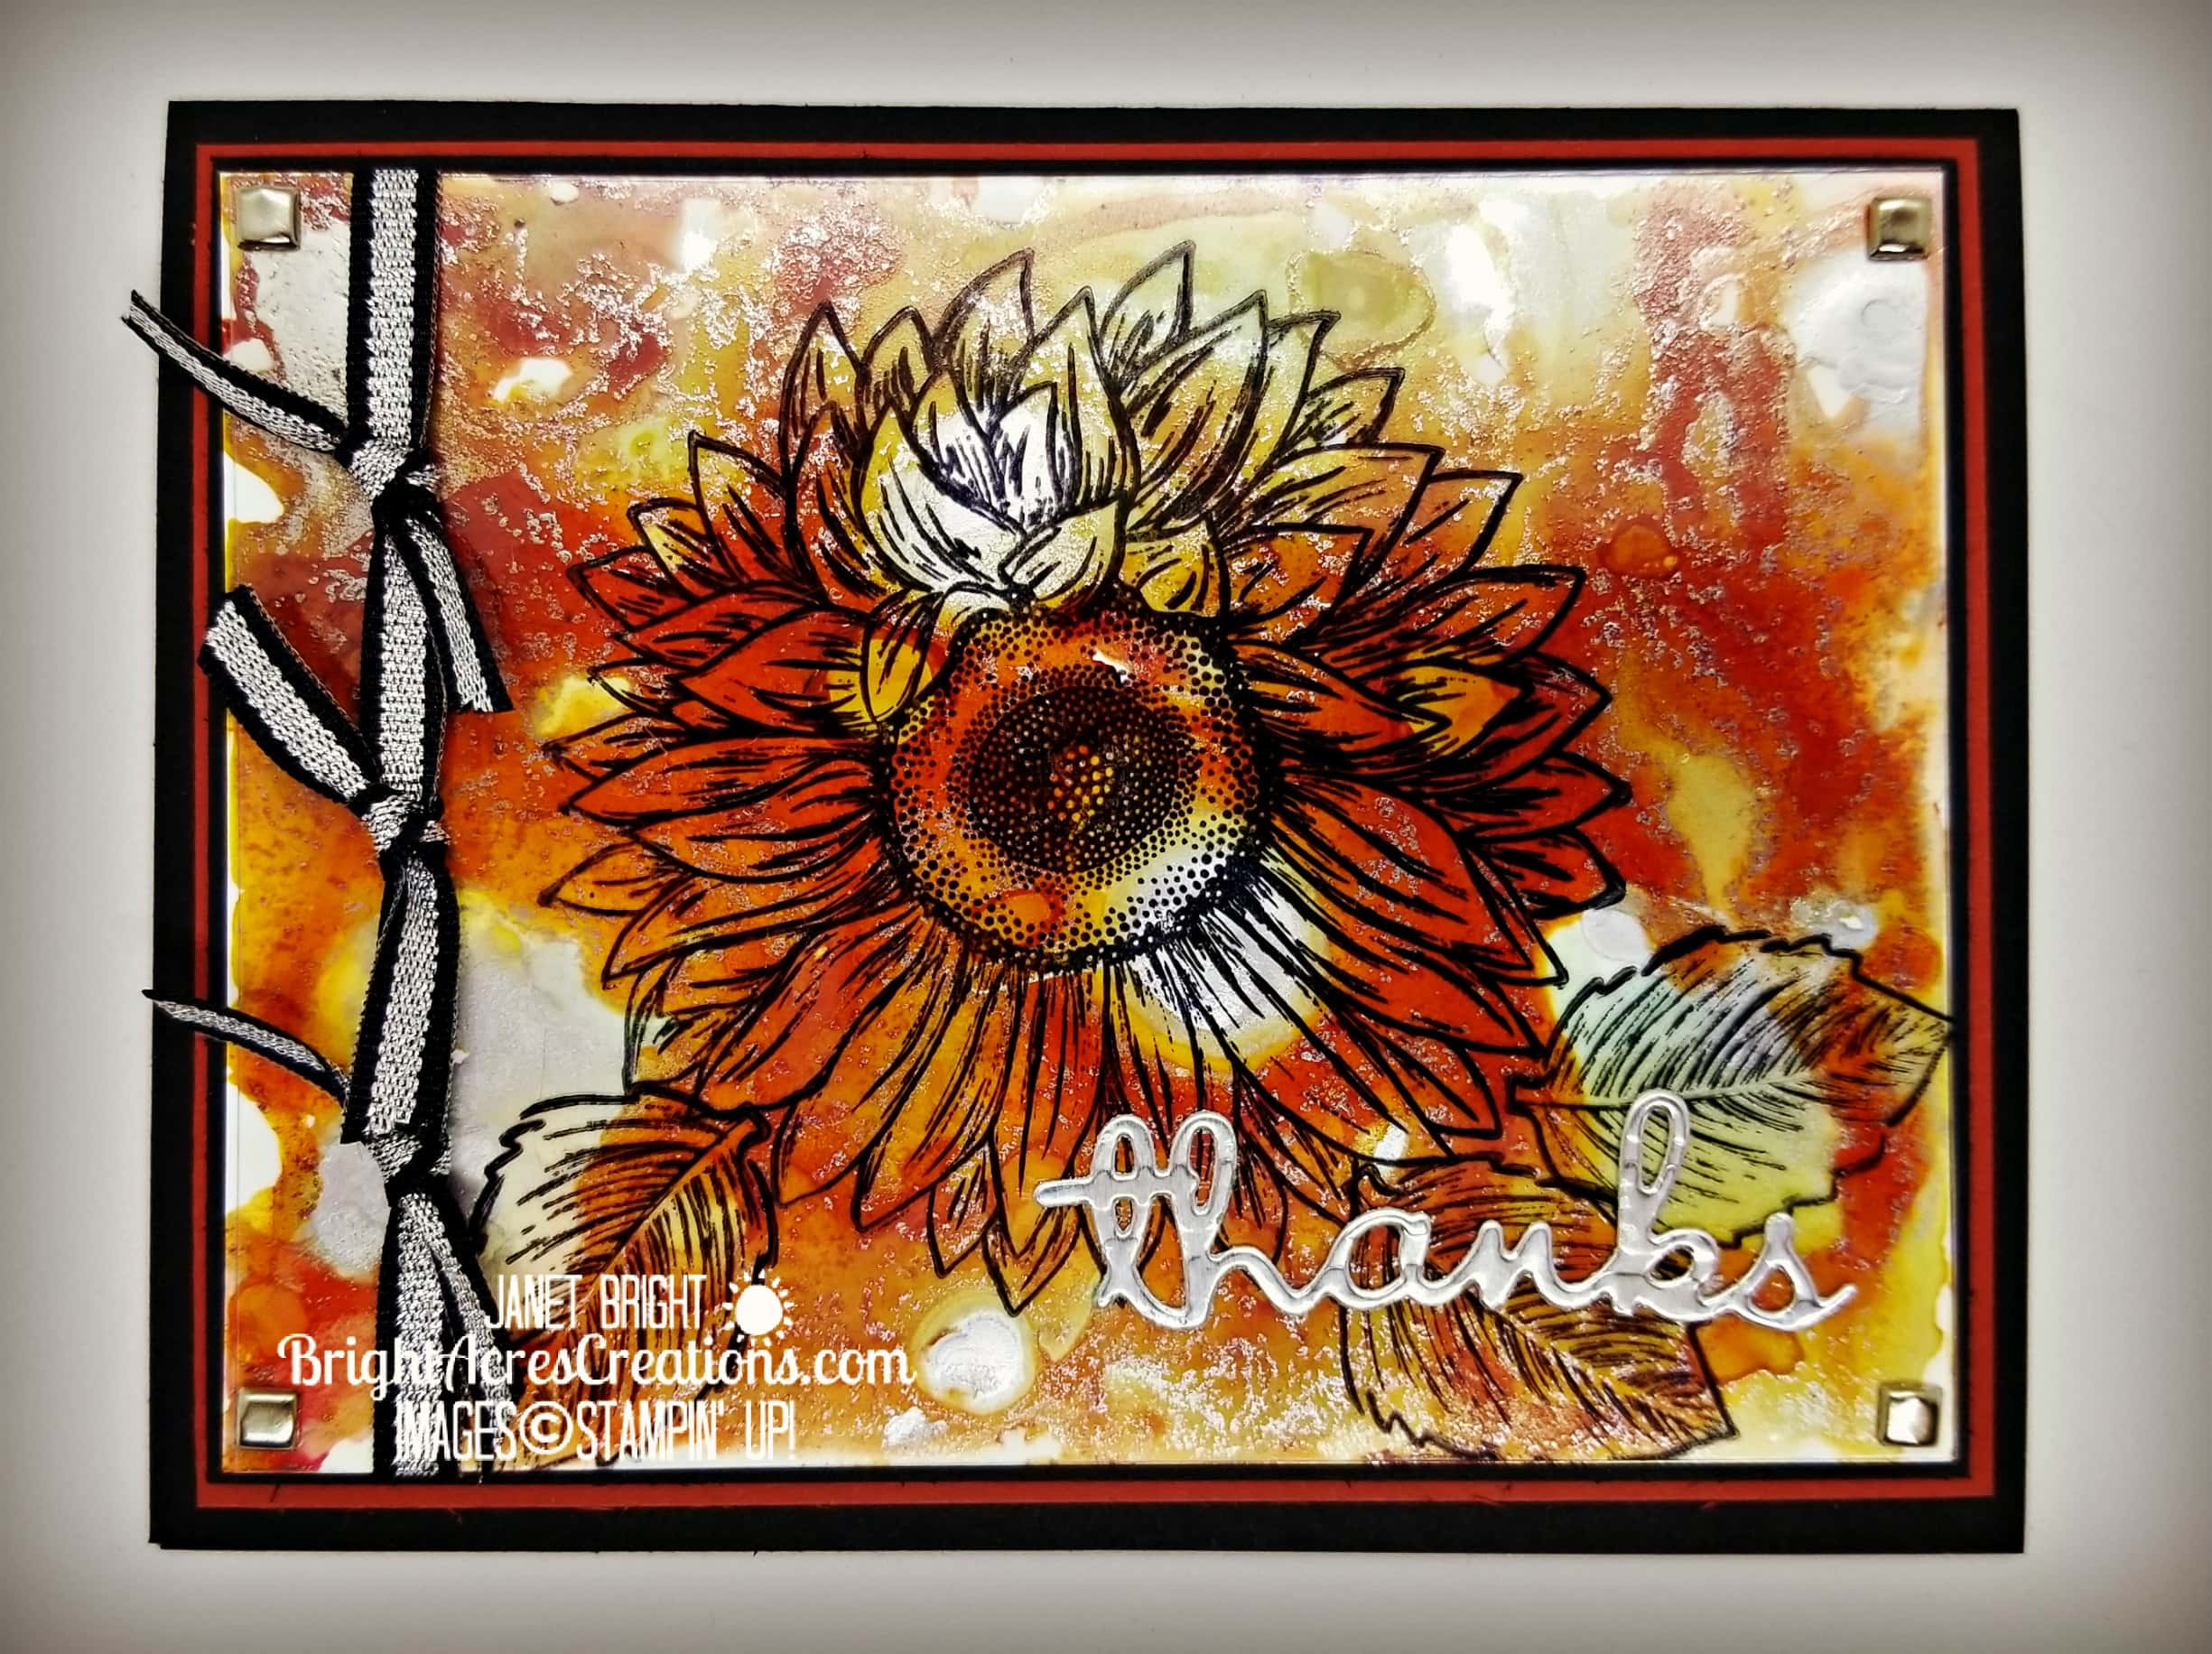
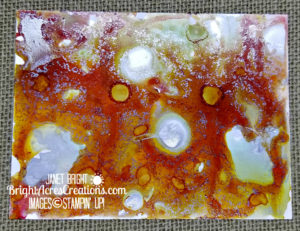
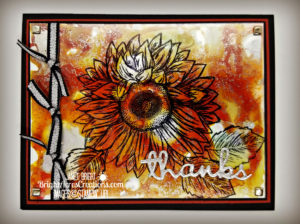
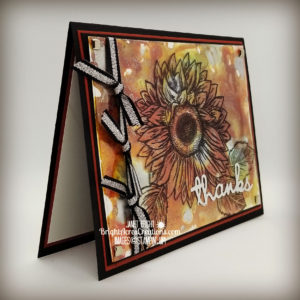
This truly is the season of thanks, so it seemed only appropriate to start the season with some thank you cards!  I opened my craft-room closet today and BOOM!  Right in front of my face were all of my alcohol inks that I haven’t played with in years.  Mine are all of the Ranger Tim Holtz variety which can be bought in any of the big-box craft stores or online.  I’d forgotten how much I love working with these inks!  I’ve not done a lot of it and I’m certainly not proficient in creating masterpieces with them, but creating colorful backgrounds is so much fun, watching the colors flow and merge with other colors, adding a little alcohol blending solution and metallic mixatives.  You can see the end result as the background on my featured card today.

Alcohol inks need to be used on nonporous materials; I used Yupo paper for today’s card.  If you’re not familiar with it, Yupo paper is actually more of a plastic sheeting than “paper”.

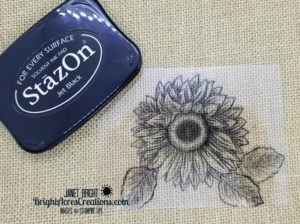
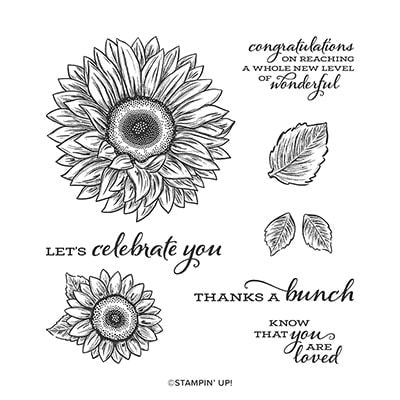
I then used a piece of window sheet the same size as my Yupo paper background, and stamped the large sunflower from Celebrate Sunflowers in black Staz-On ink.

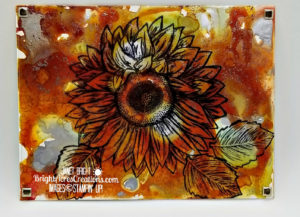
The window sheet was then attached to the Yupo background using some silver brads I had in my craft stash.  Glue dots could be used also, and then covered with gems, enamel dots, or ?  Just something to cover the glue dots as they would show through the window sheet.

I used “Well Written” dies to cut the word “thanks” from a silver foil sheet and adhered to the front of the window sheet.

Finally, I used some retired Stampin’ Up Striped Metallic Ribbon applied to the left side of the card and three small pieces tied to it.

This is actually a simple card to make, and so much fun using the alcohol inks!  No two alcohol ink creations are going to look the same, which is what makes it so much fun!  The possibilities are endless.

MATERIALS USED:

Stamp Sets:

  • Celebrate Sunflowers
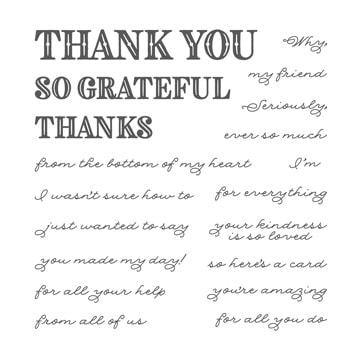
  • Ornate Thanks (inside sentiment)

Paper:

  • Basic Black CS for card base – 8 1/2″ x 5 1/2″, folded in half at 4 1/4″.
  • Cajun Craze CS for Mat 1 – 5 1/4″ x 4″ (cut 2 of these – 1 for card front and 1 for inside)
  • Basic Black CS for Mat 2 – 5 1/8″ x 3 7/8″
  • Yupo Paper (available online or big-box craft stores) 5″ x 3 3/4″
  • Window Sheet – 5″ x 3 3/4″
  • Silver Foil Sheet (scrap)

Ink:

  • Black Staz-On (this doesn’t wash off your stamp, you need Staz-On Cleaner to remove ink)
  • Ranger Alcohol Inks (available online or big-box craft stores).  I used Sunset Orange, Sunshine Yellow, Lettuce, Cranberry, Silver Mixative, Alcohol Blending Solution.

Embellishments:

  • Silver brads (retired)
  • Striped Metallic Ribbon (retired)


Don’t forget about today’s sale!  There are so many fun stamp sets on sale, 15% off!  The stamp sets are all from the ’20-’21 Annual Catalog, which will be “the main catalog” until June of next year, so the stamp sets will still be available after today, but will NOT be on sale again!!!!

So, go to my online store and place your order NOW to get in on today’s lower prices!!!!

Until next time,

Janet

Product List

Beautiful Autumn For A Beautiful Day

Hello Friends,

I got back into my craft room today after really struggling with motivation the last few days.  The fires and hardship suffered by so many in our local communities has really been burdening my heart;  the need to help and yet unsure where I can be of use.  Everywhere one turns these days it seems there’s gloom and doom, violence and fear, left versus right, etc., etc., etc.   I’m generally a quiet personality type and it’s easy for me to slip into the background where I’m more comfortable, rather than getting out there and facing challenges head-on.  However, I can only hide for so long before I feel the Holy Spirit nudging me to put on my full armor and GET OUT THERE!  I’ve been a prayer warrior for sure over the last many months, but I’m feeling the push to get out and put my feet and hands to work!  There are many needs out there currently, and while I don’t have the resources to fund large donations, I certainly know how to work and am willing to do so.

It was recently brought to my attention that our local animal shelter has taken in many pets from families who’ve been displaced due to the fires, and as well, they have taken in animals from another county shelter which had to evacuate.  They’re calling for volunteers to help at the shelter with their extra load of animals, so this is where I will start.  I have a very soft spot for animals, so this will be a good fit and I’ve promised myself (and Dean) I won’t fall in love with all of them and want to bring them all home… a real danger if you know me at all!!! LOL!!!  Helping the animal shelter seems like a small donation of time and energy, but we’ll see where God leads me from there!

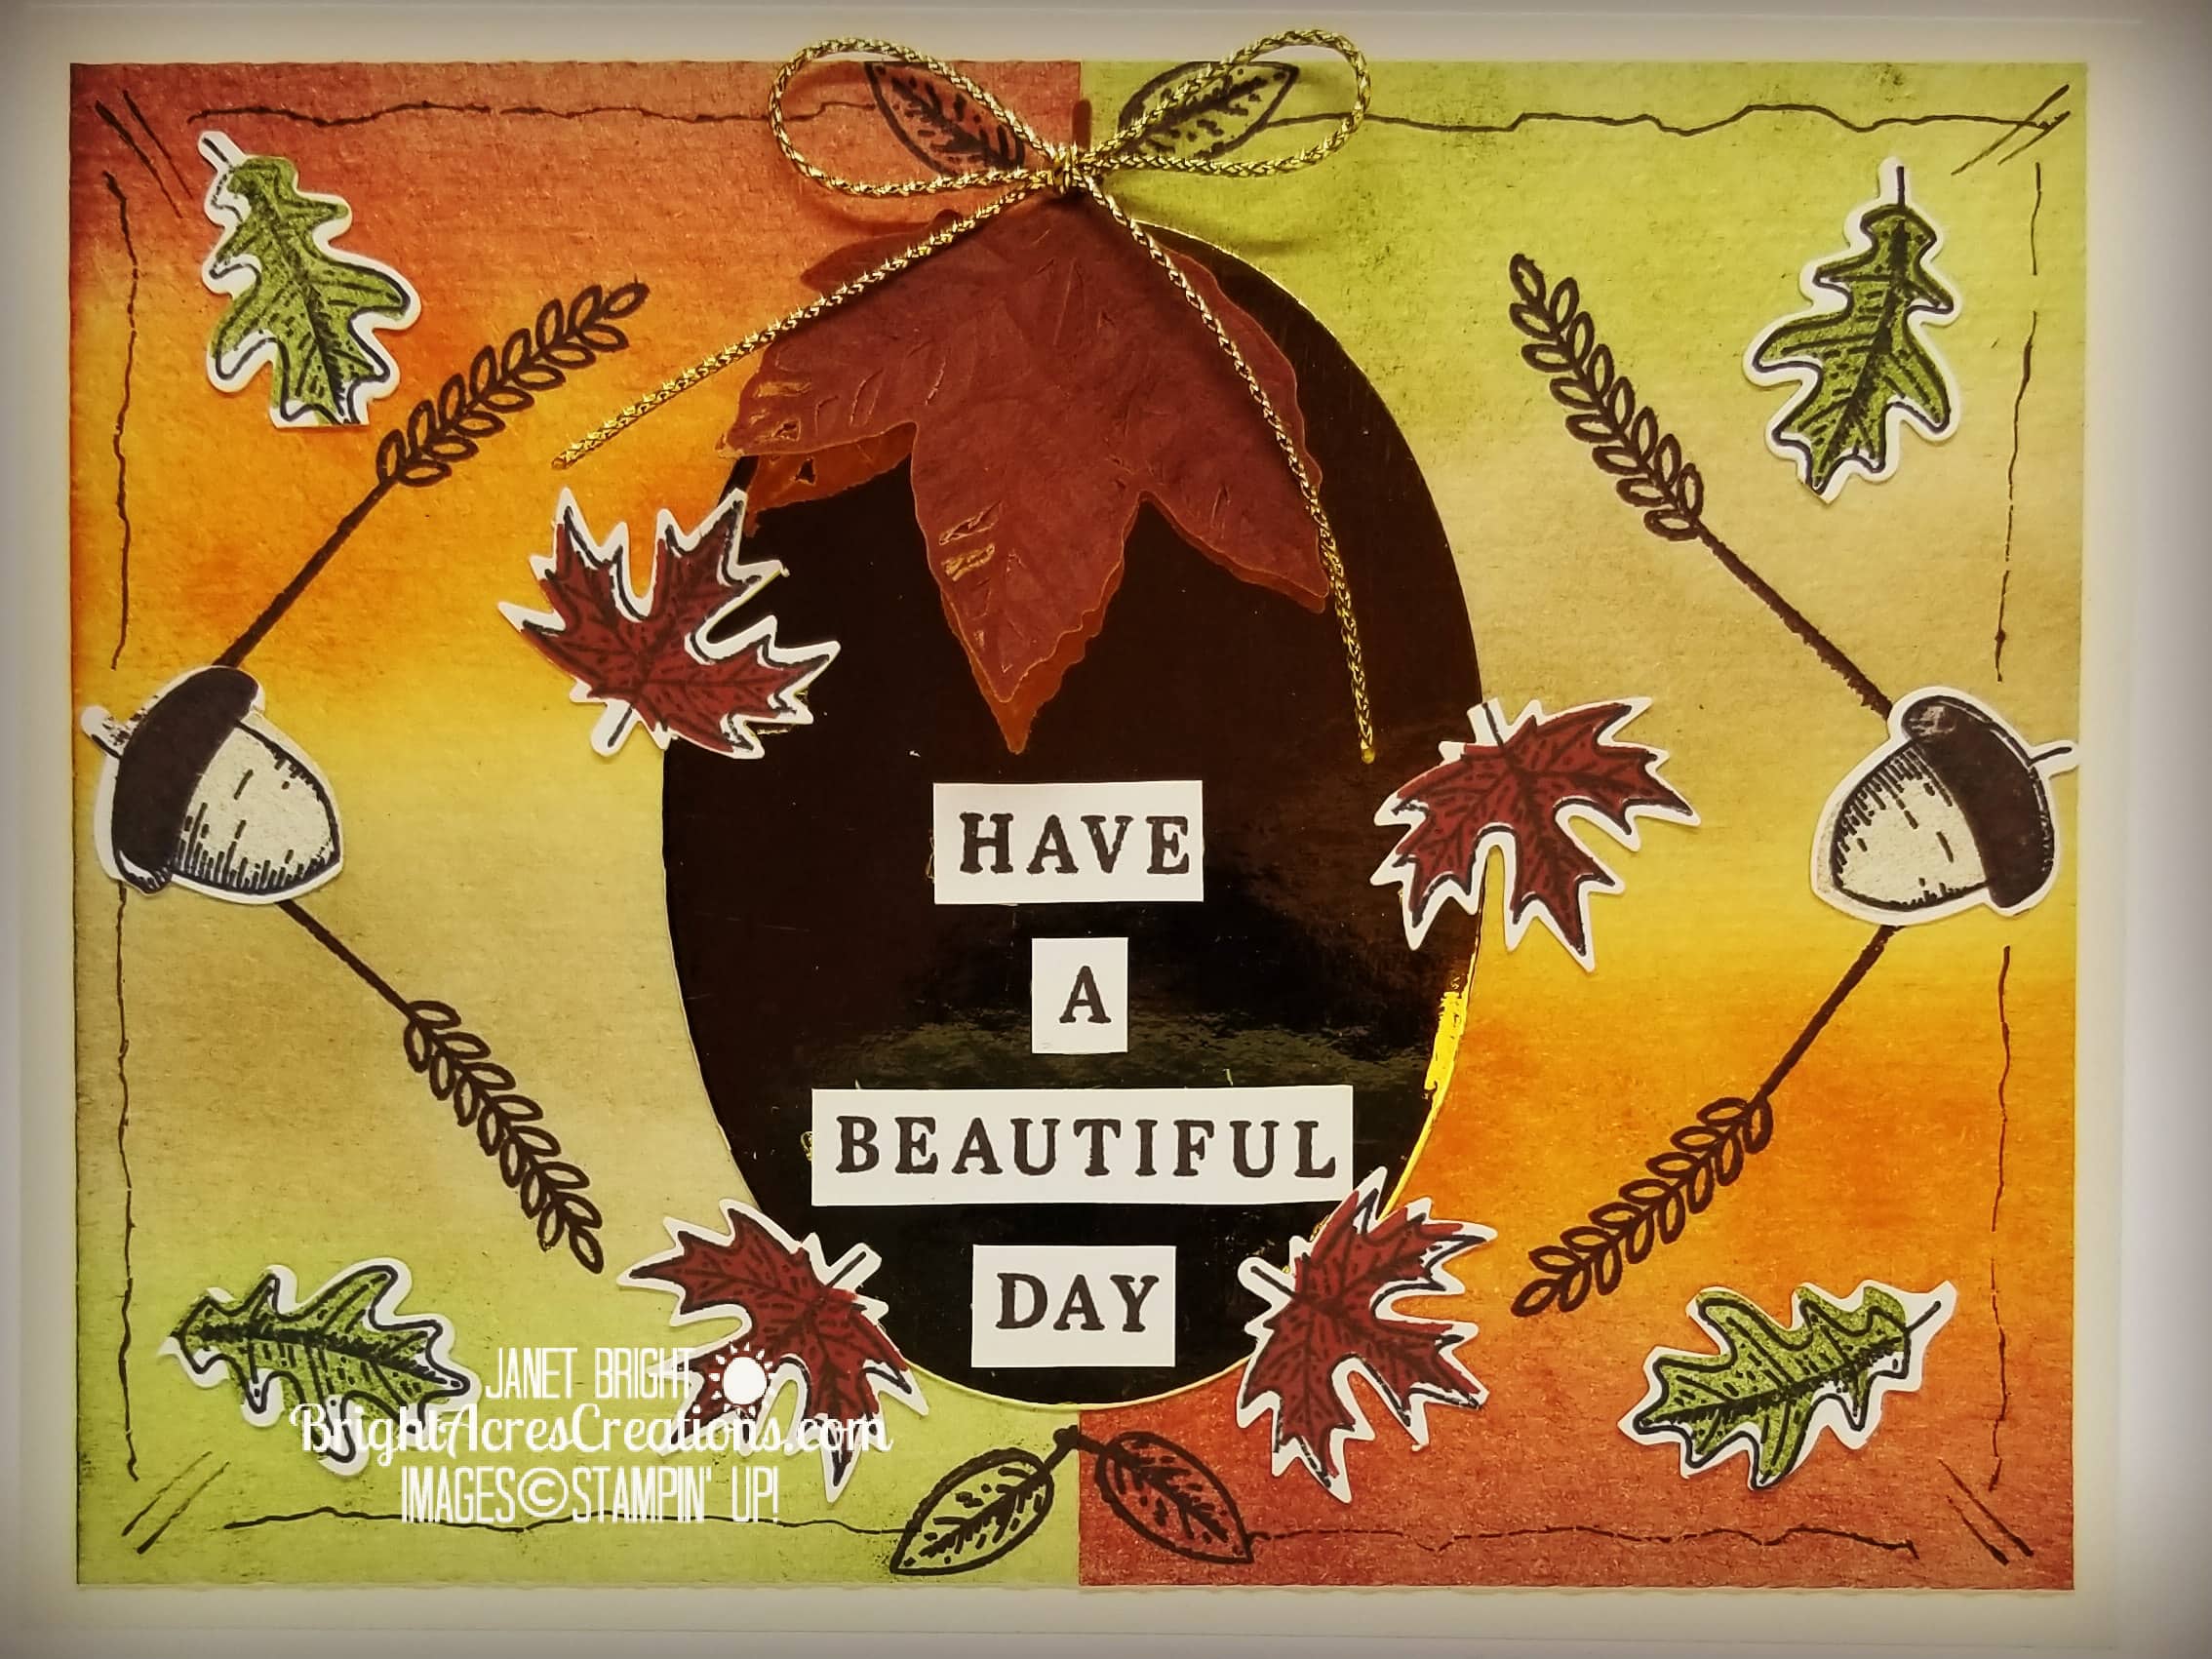
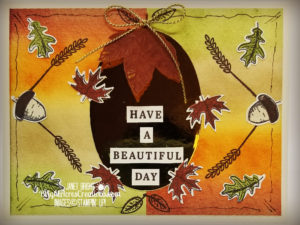
With that decision made and looking forward to starting at the shelter, I was able to settle into my craft room and create this card using largely scraps of cardstock.  The larger leaf is cut from madrone tree bark, as I used in earlier posts.  The instructions of how to rehydrate and preserve the bark are noted in my post from August 30; click here to see this post.  I love the realistic leaf look it lends to the card; it looks like it fell right off the tree.  Actually, I guess it did – just not in leaf form!

LET’S GET INKY!

Materials:

Stamp sets used:

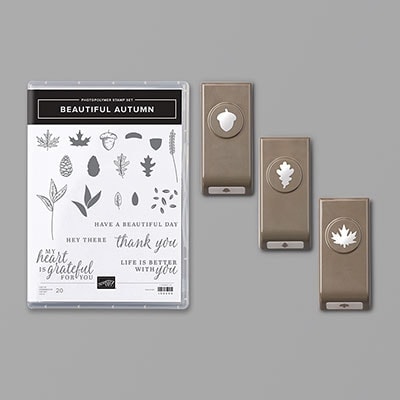
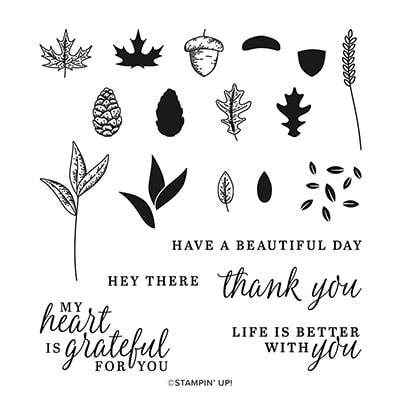
  • Beautiful Autumn (bundle w/punches)

Dies & Punches used:

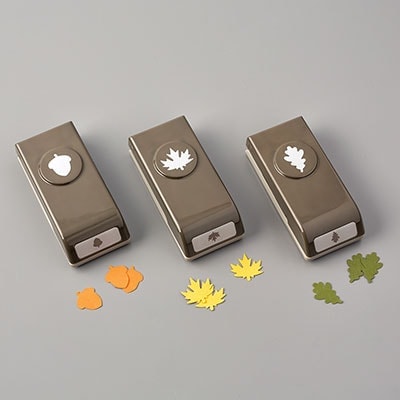
  • Beautiful Autumn Punch Pack
  • Layering Ovals
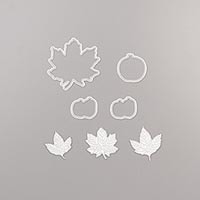
  • Gathered Leaves Dies

Embossing Folder:

  • Tasteful Textile 3D

Paper:

  • Very Vanilla CS:  8 1/2″ x 5 1/2″ score at 4 1/4″ and fold in half for card base.
  • Very Vanilla CS:  5 1/4″ x 4″
  • Gold Foil Sheet:  Cropped with Layering Ovals Dies

Ink:

  • Tuxedo Black Memento Ink
  • Early Espresso
  • Old Olive
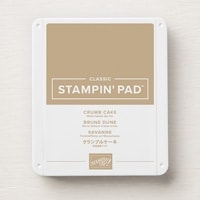
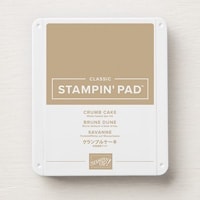
  • Crumb Cake
  • Pumpkin Pie
  • Cajun Craze

Accessories:

  • Early Espresso Stampin’ Write Marker
  • Gold Cord from Wonder Of The Season Ribbon Combo Pack
  • Preserved Madrone tree bark
  • Mini Glue Dots

PUTTING IT TOGETHER:

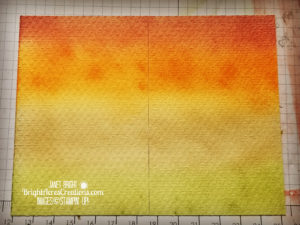
  1. Creating the mat.  Using the Very Vanilla CS 5 1/4″ x 4″ piece, sponge ink across panel lengthwise.  Start with Old Olive, using swiping motions back and forth across the bottom 1/4 of the panel.  Then sponge Crumb Cake ink back and forth, letting it lightly blend into the Old Olive ink.  Next is Pumpkin Pie, again, letting it blend slightly into the Crumb Cake ink.  Finally, finish with Cajun Craze, allowing that to slightly blend into the Pumpkin Pie ink.
  2. With ink applied, run panel through Stampin’ Cut & Emboss Machine in the Tasteful Textile Embossing Folder.
  3. Cut panel in half at the 2 5/8″ mark.
  4. Apply inked mat to card base, flipping one panel so that the coloration is opposite the other.
  5. Adhere gold foil oval centered over the center seam.
  6. On scraps of Very Vanilla CS, stamp 2 acorns from Beautiful Autumn in Tuxedo Black Memento Ink.  Fill in the caps with Early Espresso ink, the bottom with Crumb Cake ink.  Punch them out with the acorn punch from Beautiful Autumn Punch Pack.
  7. Stamp 4 oak leaves, and 4 maple leaves on scraps of Very Vanilla.  Fill in the oak leaves with Old Olive ink, and the maple leaves with Cajun Craze ink.  Punch these out with the punches from Beautiful Autumn Punch Pack.
  8. Using Early Espresso ink, stamp the wheat stalks (left and right sides) and small leaves (top and bottom).
  9. Using an Early Espresso Stampin’ Write Marker, draw the border lines and hash marks in corners.
  10. Stamp sentiment from Beautiful Autumn in Early Espresso on Very Vanilla strip of CS and then cut the words apart using scissors.
  11. Adhere words to gold foil oval.
  12. Adhere the acorns to the left and right sides, centered between the wheat stalks.
  13. Scatter the oak leaves about the four corners, and the maple leaves around the gold oval – adhere all.
  14. Using the embossed leaf die from Gathered Leaves Dies, crop leaf from madrone bark (or Cajun Craze CS) by running through Stampin’ Cut & Emboss Machine.
  15. Using Mini Glue Dot, adhere leaf to center top.
  16. Tie a small bow with the gold cord and adhere to top of leaf with Mini Glue Dot.

DONE!

I hope that you’re all doing well out there!  For those of you who are local and dealing with the fires and smoke, please let me know if there’s anything I can do to assist you!

Until next time,

Janet

Product List

Paper Snips

$10.00


Country Home With A Little Halloween Magic

Hello Friends!

Since it’s too hot to do much outside today, I’ve spend my day playing in my craft room.  I still have lots of products from the holiday mini catalog that I’ve yet to explore and so today seemed a good day to bring out some of those new toys and “break them in”!

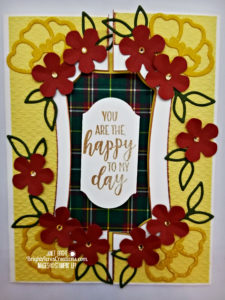
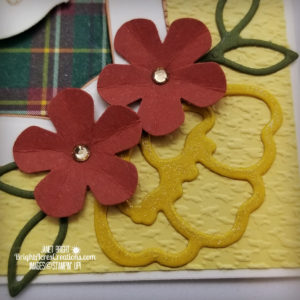
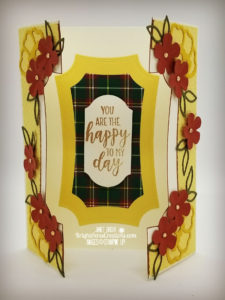
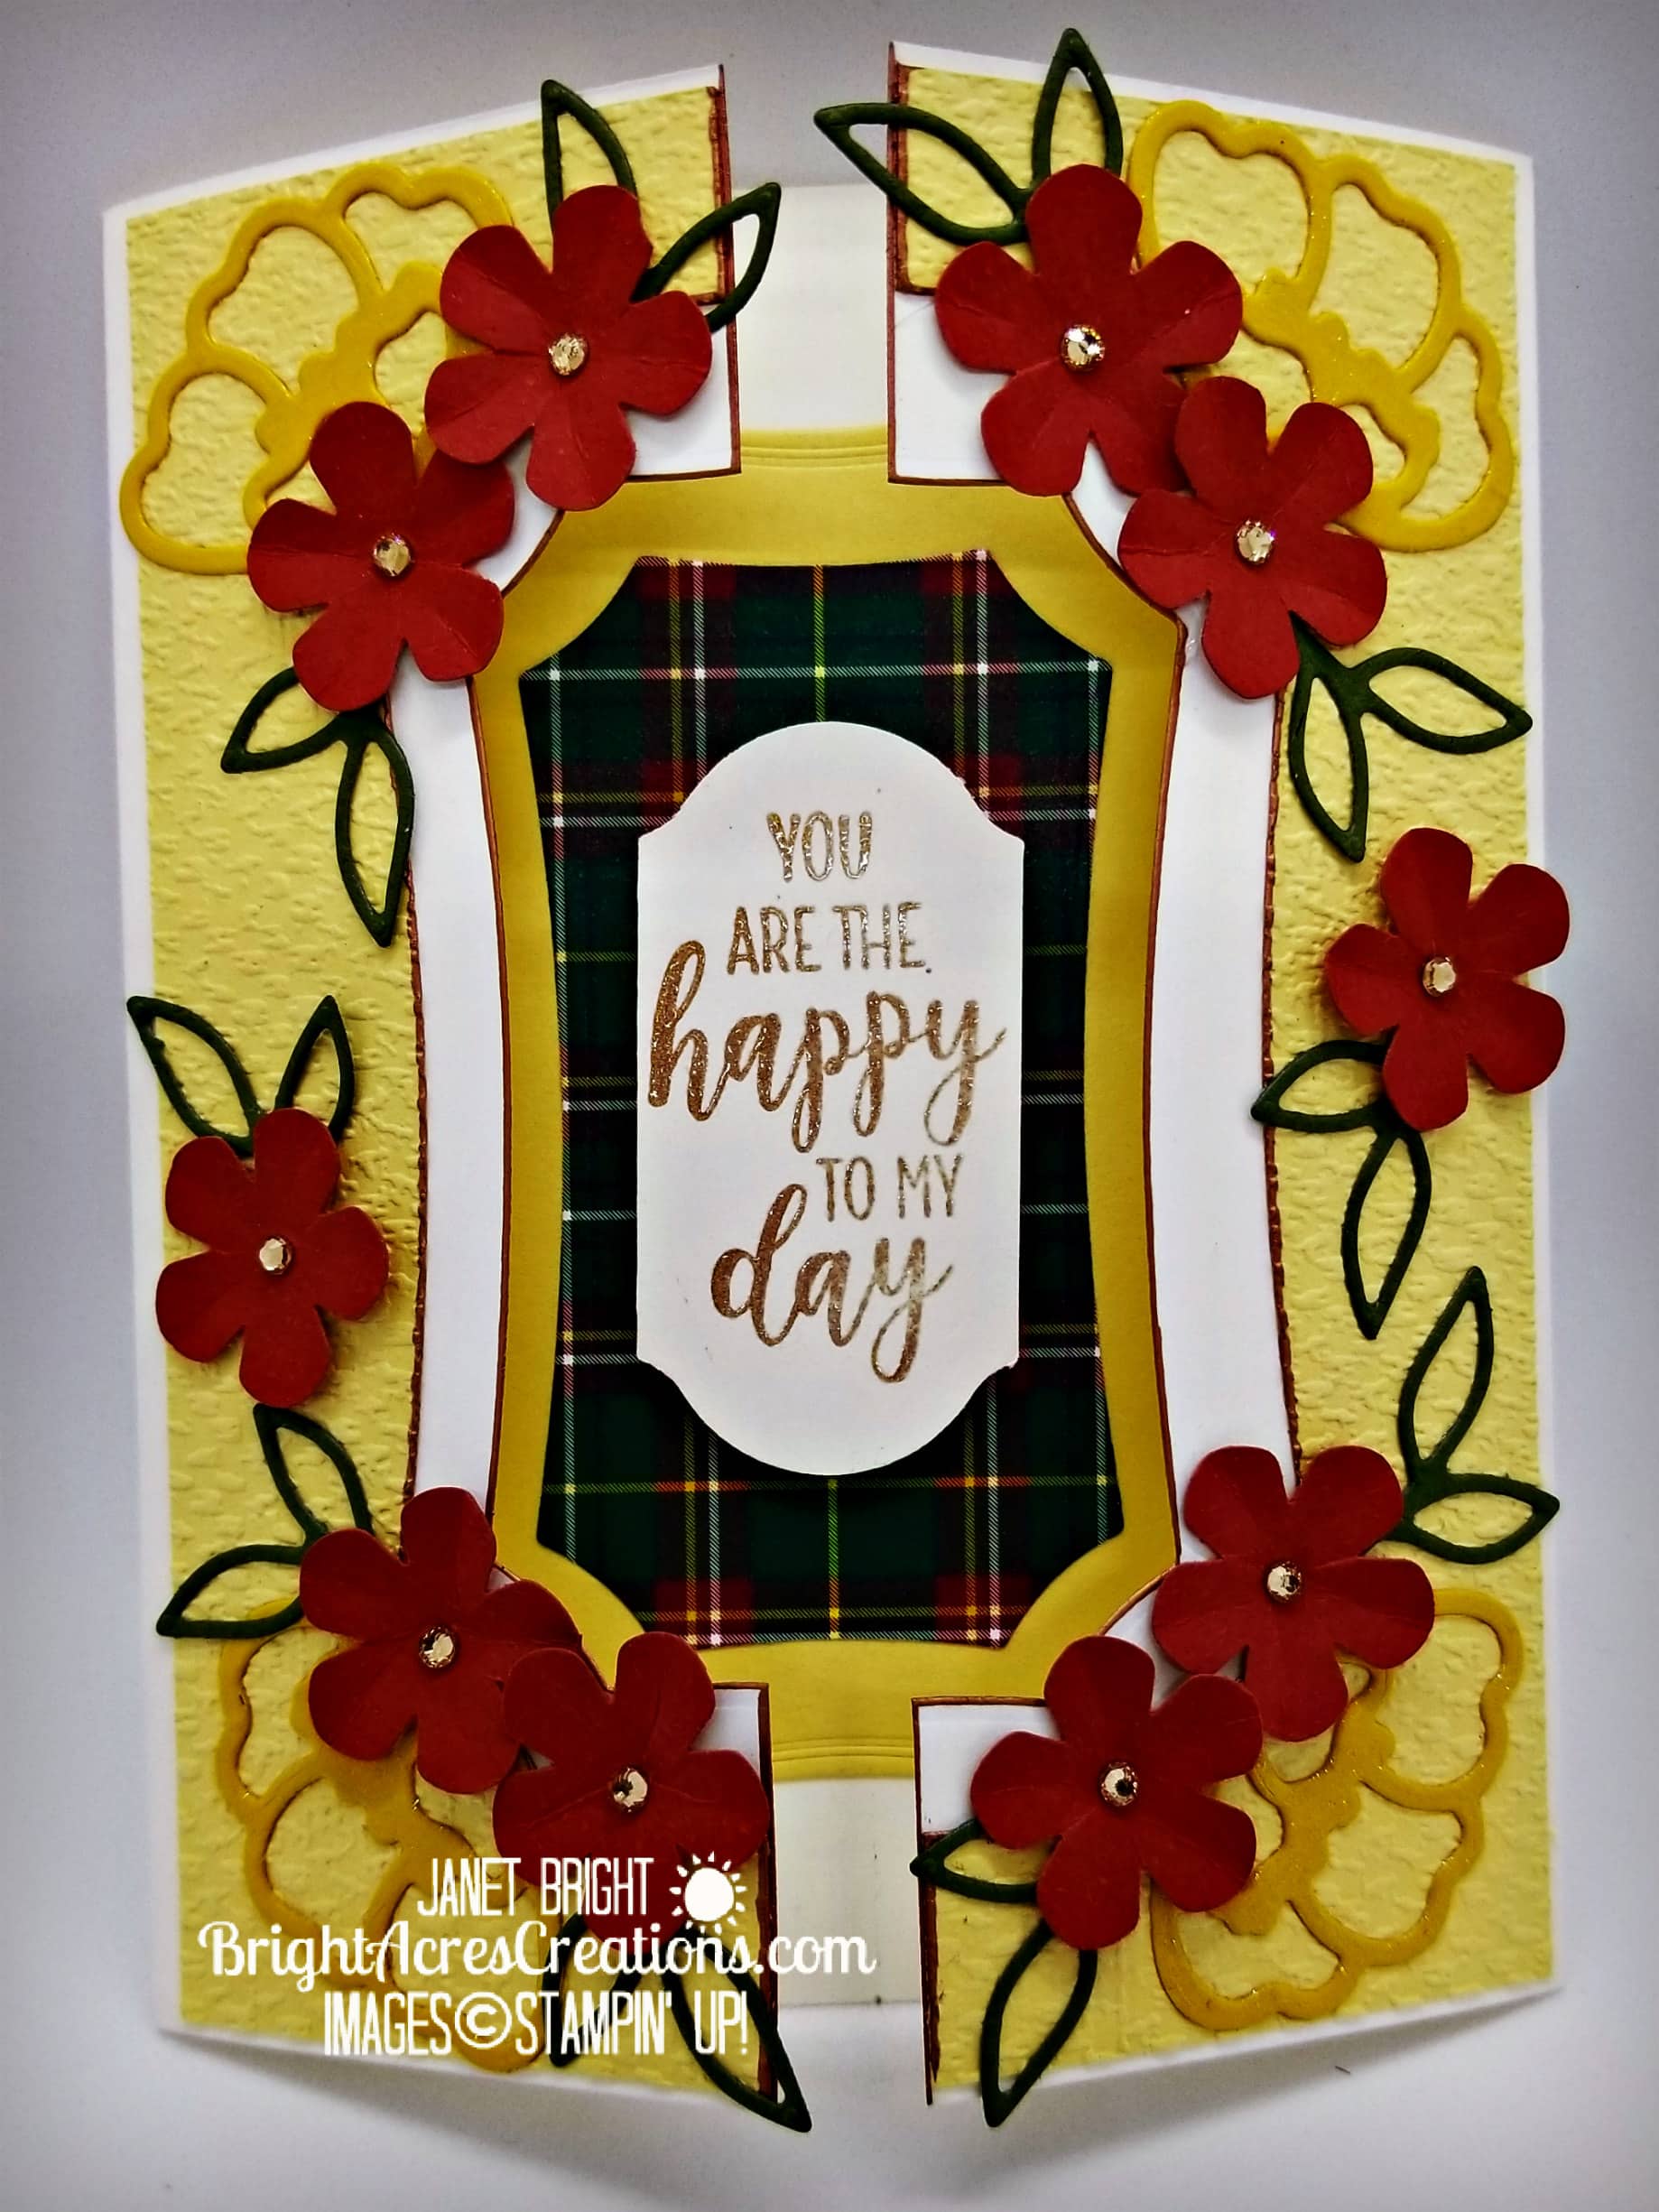
I’ve been wanting to use the Halloween Magic Dies for a non-Halloween card since I got them.  There are two nesting labels included in those dies that are quite elegant-appearing and so I opted to use them today to create a layered opening for a gate-fold card.  All of the die-cuts featured on this card are from the Halloween Magic Dies with exception of the small, Cajun Craze flowers (Small Bloom punch), and the center sentiment label which is also a punch (Timeless Label).  So, let’s do a little Country Home with some Halloween Magic!

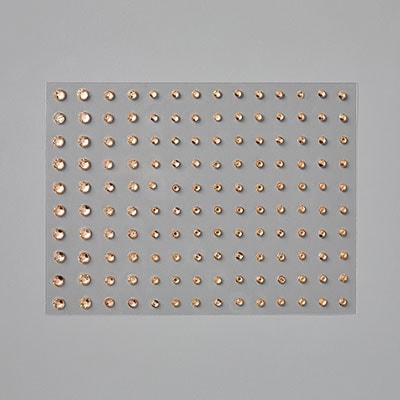
I love a little bling, so out came the Wink of Stella to glitter up the Crushed Curry Flowers, Champagne Rhinestones for the flower centers, and Gold Embossing Powder to make the sentiment shine!

LET’S GET INKY!

Materials:

Stamp sets used:

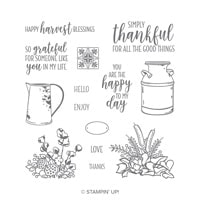
  • Country Home

Metal Dies:

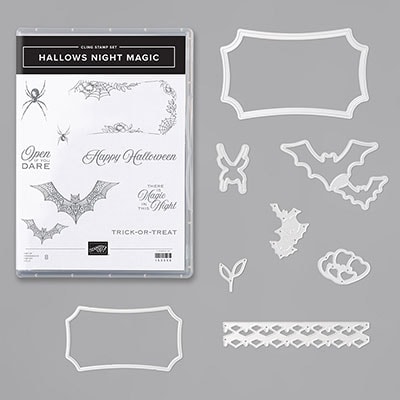
  • Halloween Magic

Paper:

  • Very Vanilla (8 1/2″ x 5 1/2″) – score and fold at 2 1/8″ and 6 3/8″.
  • Very Vanilla – small scrap for sentiment to be punched out with Timeless Label Punch.
  • So Saffron (5 3/8″ x 4 1/8″)
  • Crushed Curry – scraps for 4 flower outline cuts using Halloween Magic Dies.
  • Cajun Craze – scraps for 10 Small Bloom punched flowers.
  • Mossy Meadow – scraps for 10 leaf clusters cut using Halloween Magic Dies.
  • Plaid Tidings DSP – 4″ x 2″ to crop with smaller label die from Halloween Magic Dies.

Ink:

  • Versamark

Accessories:

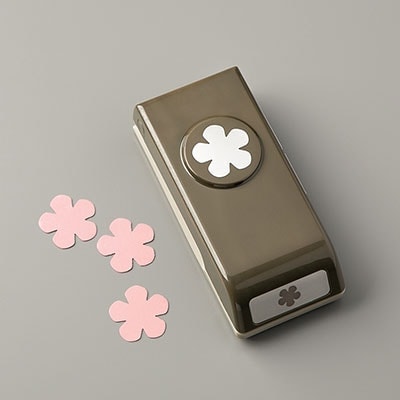
  • Small Bloom Punch
  • Timeless Label Punch
  • Wink of Stella marker
  • Champagne Rhinestones
  • Stampin’ Dimensionals
  • Gold Embossing Powder
  • Heat tool

PUTTING IT TOGETHER:

  1. Score and Fold the Very Vanilla card base as noted above.
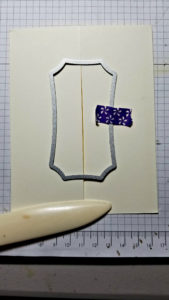
  2. Lay the smaller of the two labels in Halloween Magic Dies in the center of the front, making sure the center of the gatefold is running down the center of the die.  Use some craft tape to hold the die in place on ONE side.
  3. Open the gatefold with the die still taped to one side, and run through Stampin’ Cut & Emboss Machine.
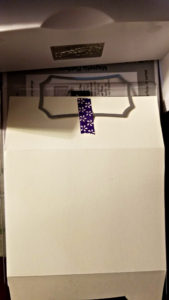
  4. Close the gatefolds and keeping the die lined up with the side you just cut, tape the die to the opposite side (uncut side).
  5. Open the gatefold and run through Cut & Emboss Machine again.
  6. When closed now, your opening should line up perfectly on both sides.
  7. Tape the larger label die from Halloween Magic Dies to the center of the So Saffron panel and run through Stampin’ Cut & Emboss Machine.  Save the center label you just cropped out for the inside of the card.
  8. Run the cropped So Saffron panel (with the hole in it) through the Stampin’ Cut & Emboss Machine in the Tasteful Texture 3D Embossing Folder.
  9. Cut that embossed panel in half lengthwise at 2 1/16″
  10. Use a metallic gold paint pen (I like the Uchida DecoColor Premium paint pens – available on Amazon) to highlight the openings on both the Very Vanilla and So Saffron edges.
  11. Adhere the So Saffron panels to the Very Vanilla gate-fold fronts.
  12. Crop out 4 of the outline flowers using Halloween Magic Dies from Crushed Curry CS.  Use a Wink of Stella marker to add glitter to them.
  13. Crop out 10 outline leaf clusters using Halloween Magic Dies from Mossy Meadow CS.
  14. Use the Small Bloom Punch to punch out 10 flowers in Cajun Craze and slightly curl petals for dimension.
  15. Arrange the flowers and leaves around the So Saffron “frame” and adhere.
  16. Use the So Saffron label made in step 9 on the inside, centering it under the window made by the gatefold.
  17. Crop a piece of Plaid Tidings DSP with the smaller label die from Halloween Magic Dies.
  18. To get that center in your gatefold window, close the gatefolds and after applying some adhesive, lay it in the middle of your gatefold.  It’s the same size as the opening, so it fits perfectly.
  19. Stamp the sentiment from Country Home on Very Vanilla, in Versamark and sprinkle with gold embossing powder, tapping off the extra.  Set it with heat tool.
  20. Use the Timeless Label Punch to punch out the sentiment.  Apply sentiment label using dimensionals to the center of the Plaid Tidings Label.
  21. Apply Champagne Rhinestones to the center of the flowers.

DONE!

I’m looking forward to cooler weather again; fall will be a welcome change!  My last several projects seem to reflect this by the colors I’ve chosen to use!  Come on cooler temps!!!!

Until next time, my friends,

I HOPE YOU GET INKY!

Janet

Product List

Falling Leaves and Galloping Steeds

Hello Friends!

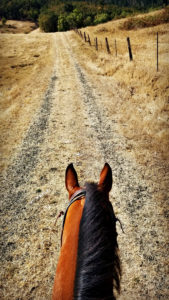
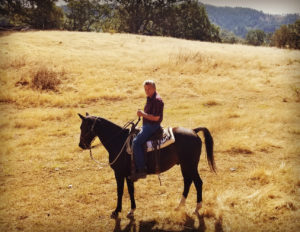
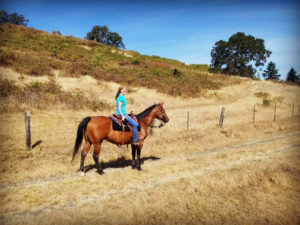
Dean and I went for a horseback ride yesterday morning and I noticed that our maple trees are already losing their leaves.  Though the calendar doesn’t say so just yet, I think it’s beginning to look a lot like FALL!

In pondering how fast time goes by, The Steve Miller Band popped into my head as I was riding, and I started singing “Time keeps on slippin’, slippin’, slippin’ into the future; I want to fly like an eagle to the sea…” About that time, Jake, my horse, must’ve been listening carefully to the lyrics (or he doesn’t like my singing), as he picked up the pace and suddenly I was feeling that “wind of heaven which blows between a horses ears”!   I reined him back, which he did readily, and then he blew as if to say… FINE, just no more singing!  This reminded me of my son, Adam, when my kids were young.  My daughters liked to sing in the car, and Adam would ask them to stop.  They rarely did upon his request, and finally Adam would be begging me, “Mom, pleeeease make them STOP!”  I guess Jake was either 1) giving me my wish to “fly like an eagle”, or 2) was saying in his own way “pleeease stop singing!”  Either way, I stopped singing and we settled back into a nice easy walk!

Oh how I love my horses!  The following just about sums it up for me and my boys (horses)!

But I digress…

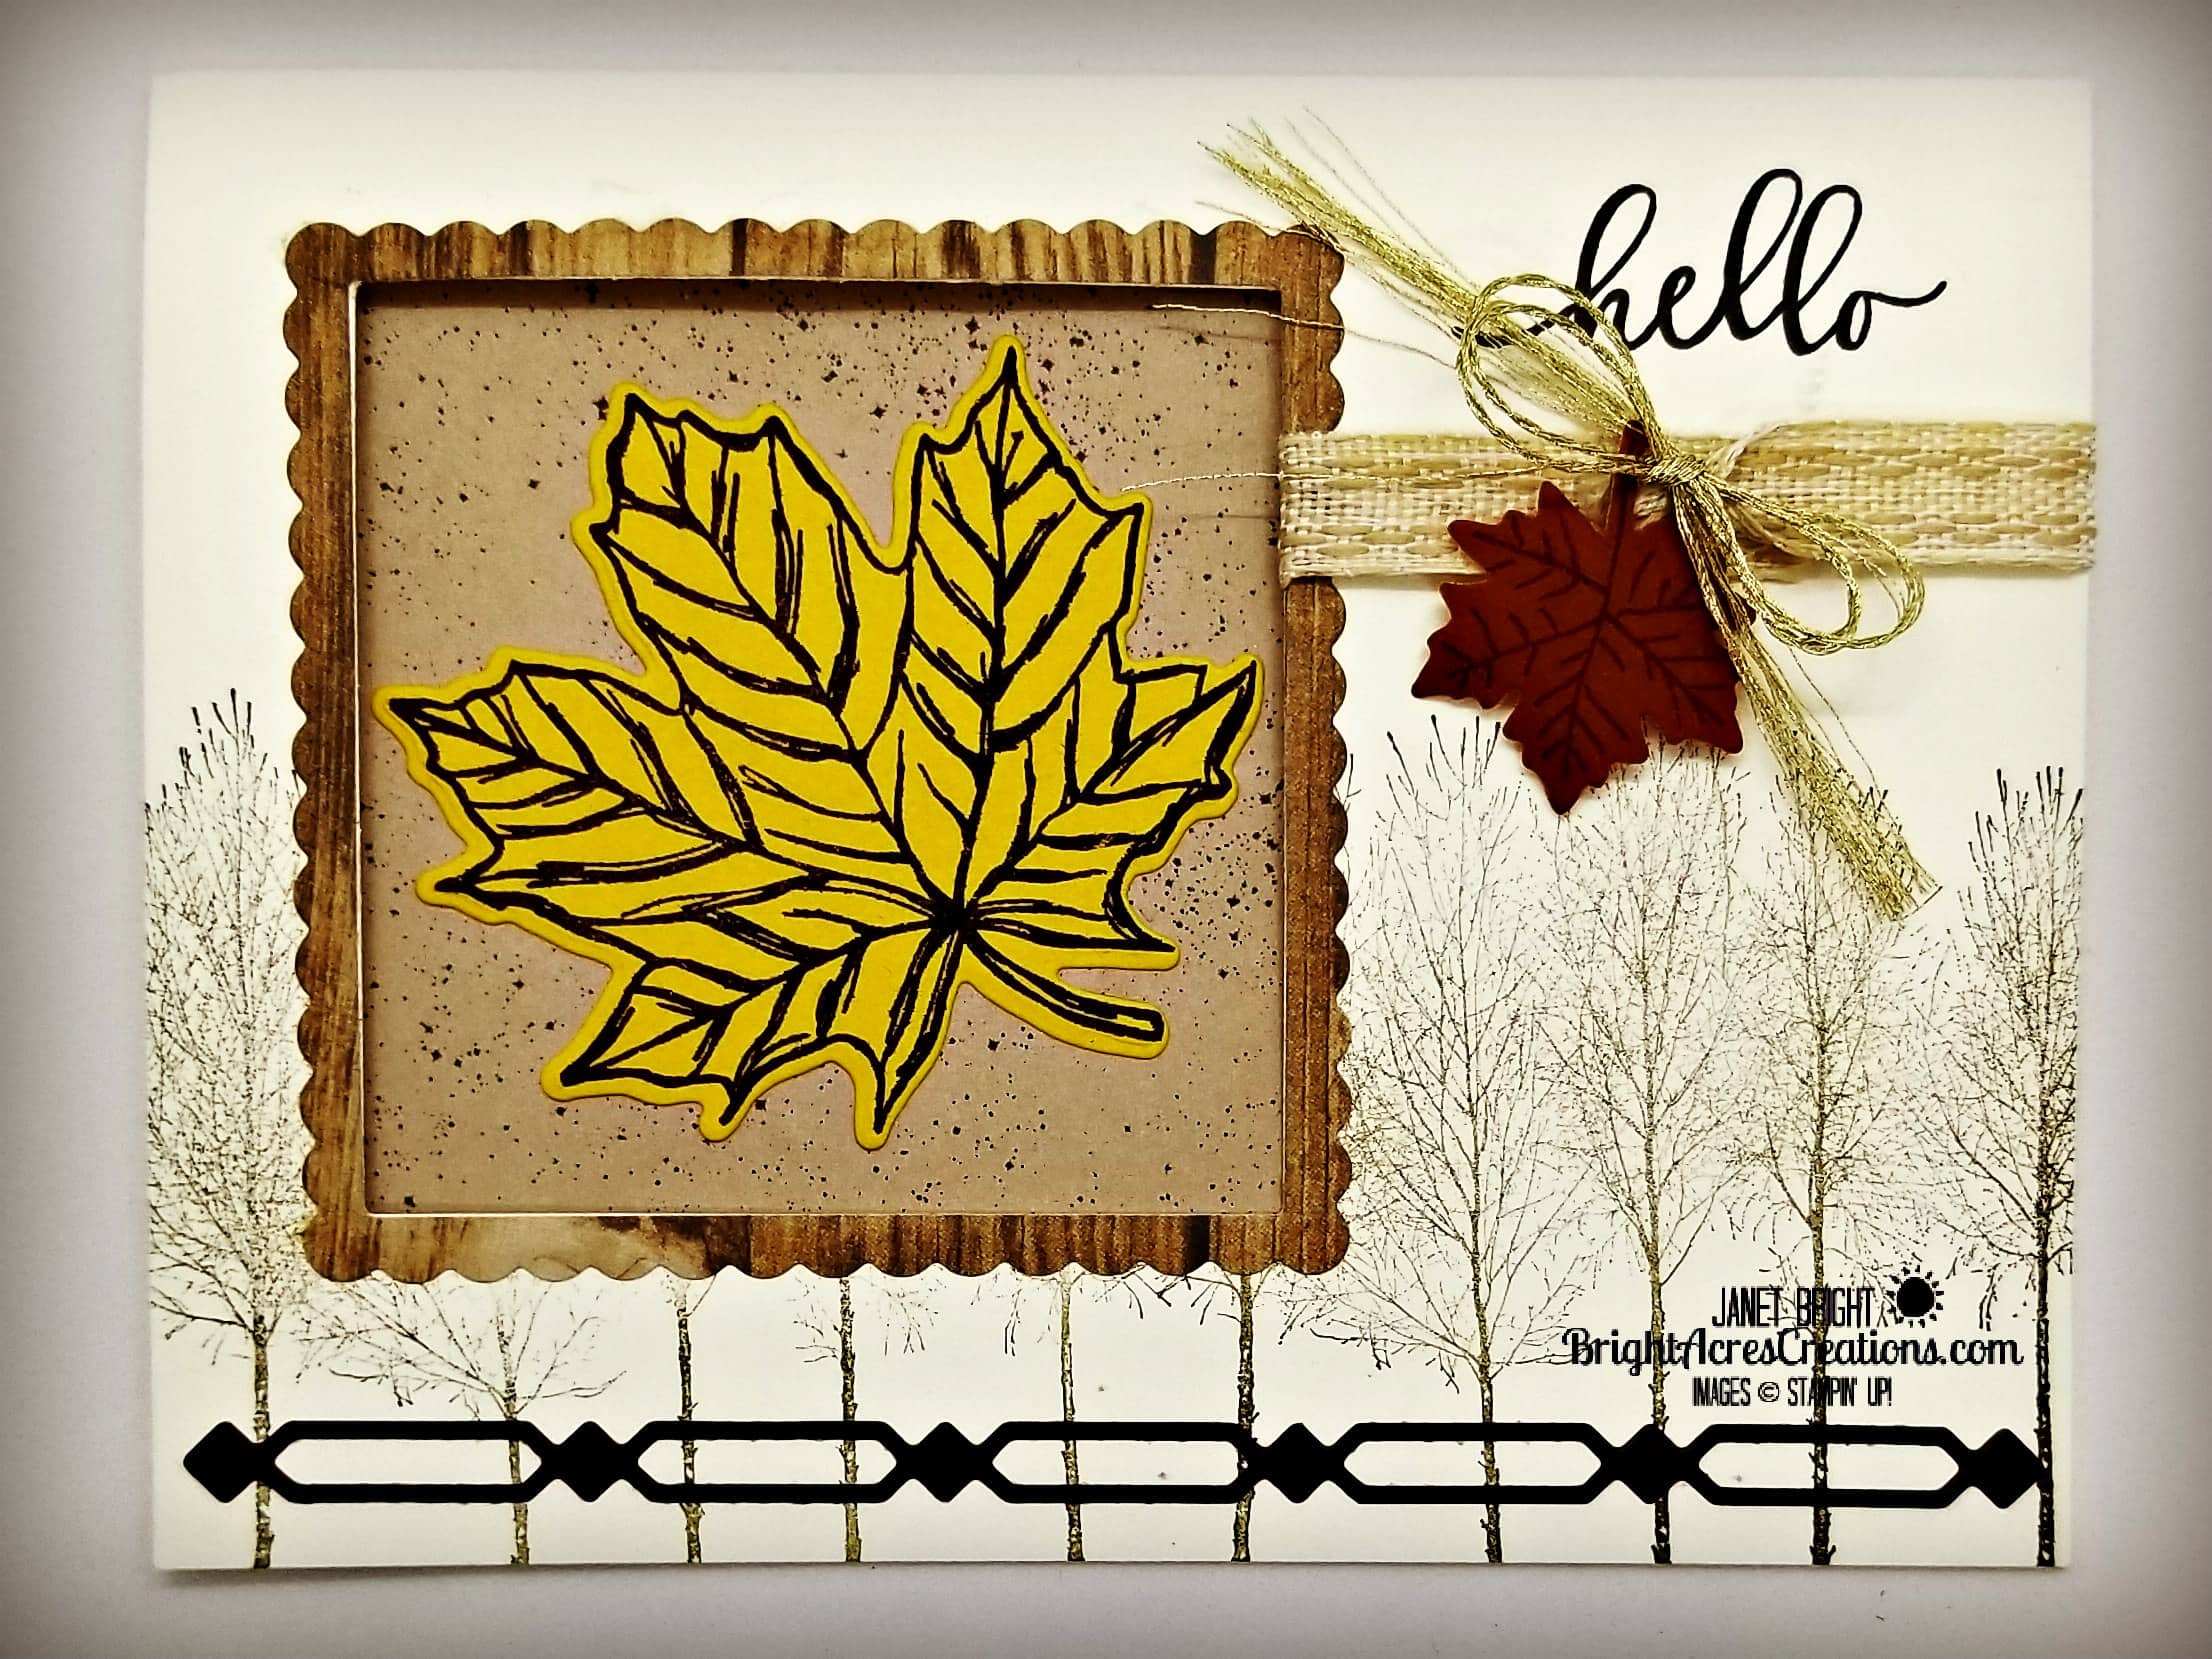
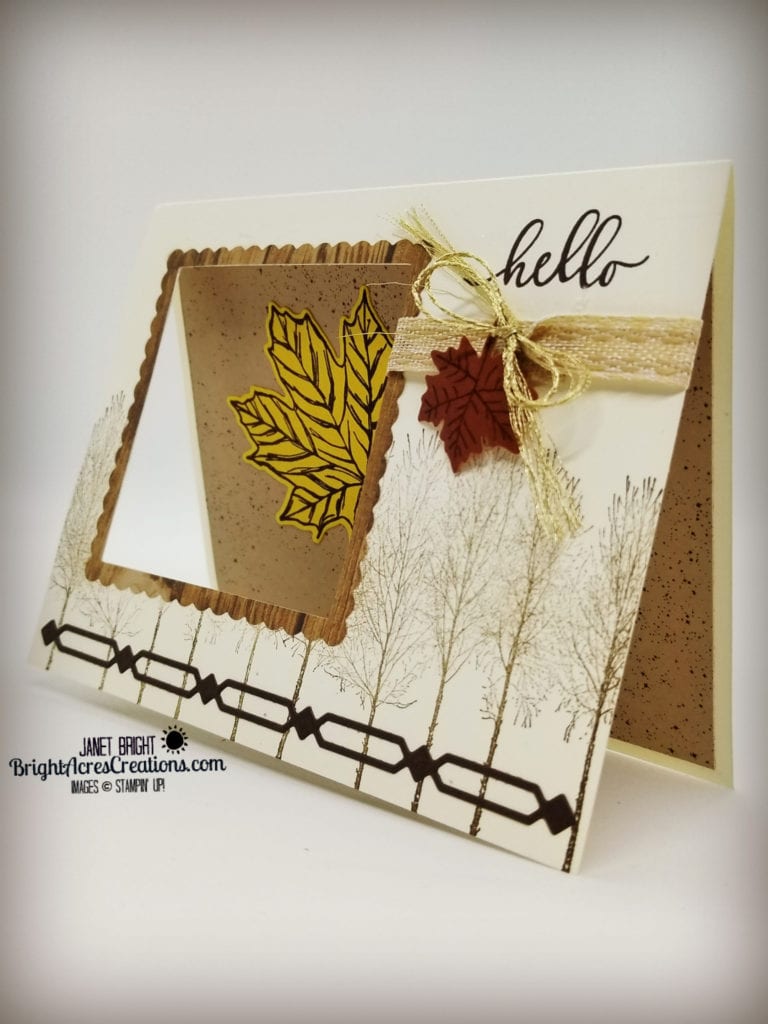
I was speaking of seeing the maple leaves already falling, and that’s what prompted today’s card!   I had just one more Madrone bark leaf leftover from my card a few days ago and wanted to incorporate that.

I had wanted to use bark for the larger leaf also, but I didn’t get glycerin applied to my flattened bark soon enough and the bark was quite brittle, so I started the process described in my last post all over again, this time applying glycerin to the bark as soon as it came out of the water.  It should be ready for working with by tomorrow!

A couple quick notes before we get down to the inky business:

Stampin’ Up updated the Clearance Rack a couple days ago, so be sure to check out the deals there!  I noticed there’s quite a bit of cardstock and embellishments, as well as designer series paper deeply discounted so check it out!

Also, if you’ve been kicking around the idea of joining my team, now is a GREAT time to do so!  Through the month of September, if you sign up to be a demonstrator, you’ll receive not only the regular starter kit ($125 worth of products for $99 – plus all the business supplies and FREE shipping), but you will also receive the “Get & Go Starter Kit” which includes enough cardstock pieces to make 16 cards, a pack of Rhinestone Basic Jewels, the So Much Love stamp set, and the Queen Anne’s Lace stamp set.  This is enough to easily get you set up for your first event if you choose to do so! Though, as I’ve mentioned before, many join simply to be “hobby” demonstrators (getting the discount and being able to pre-order ahead of the public).  That’s what I did initially, and I can promise you I will never push you to do more than you want to do!  So, if you’re interested or have questions, please just click on the “Contact” tab above and I’ll get back to you promptly!

Let’s get INKY!

Materials:

Stamp sets used:

  • Winter Woods (trees)
  • Gather Together (leaf)
  • Life Is Beautiful (sentiment)

Paper:

  • Very Vanilla cardstock
  • In Good Taste DSP (frame)
  • Gilded Autumn (inside)
  • Bumblebee cardstock (large leaf)
  • Early Espresso (bottom border)

Metal Dies:

  • Layered Squares
  • Gathered Leaves
  • Many Mates

Ink:

  • Soft Suede
  • Early Espresso

Accessories:

  • Preserved Madrone bark
  • Embroidered Ribbon
  • Gold thread from Forever Greenery Ribbon Combo

Putting It Together:

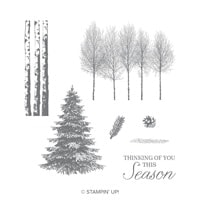
    1. Fold the Very Vanilla cardbase in half and stamp the trees from Winter Woods across the front using Soft Suede ink.
    2. Cut the window in the left side of the front using Layering Squares dies.
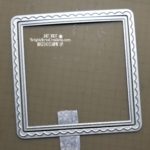
    3. Using the same size square die that you used to cut the window in the front, and the next larger scalloped square, cut the frame for the window from the In Good Taste DSP.
    4.  Adhere that frame around the window in the front.
    5. Stamp the sentiment at the top of the panel, beside the front window, in Early Espresso ink.
    6. Cut a piece of Embroidered Ribbon long enough to just slightly overlap the ends when wrapped around the front panel through the window.
    7. Adhere ends of ribbon on the front side of the card using Mini Glue Dots.  I adhered the ends on the front side of the card so the inside would have a neat & clean look, and I could hide the ends on the front with embellishments.
    8. Cut a piece of the Gold Thread from the Forever Greenery Ribbon Combo and tie in a bow.
    9. Adhere that and a die-cut leaf over the ends of the ribbon.
    10. Using the metal die from the Many Mates die set, cut the border embellishment from Early Espresso cardstock.
    11. On the inside, adhere a 5 1/4″ x 4″ piece of Gilded Autumn DSP.
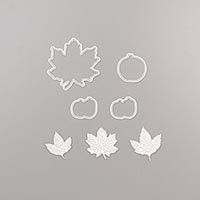
    12. Stamp the large leaf image from Gather Together stamp set in Early Espresso ink, onto Bumblebee cardstock.  Crop the image out with the associated die from Gathered Leaves Dies.
    13. Adhere the leaf to the inside of the card, aligning with the window in the front of the card.


I chose not to stamp a sentiment on the inside of the card so that I can write a personalized, handwritten note.

DONE!

Until next time, I hope you get a little INKY today!

Janet

Product List

Adding Nature’s Touch & Getting Back To The Future!

Hello Friends!

A couple days ago, my husband, Dean, brought me some rolled-up, dried-up tree bark from a madrone tree, with the suggestion that maybe I could find a way to incorporate it into my cardmaking.
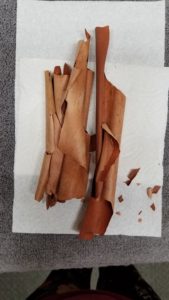
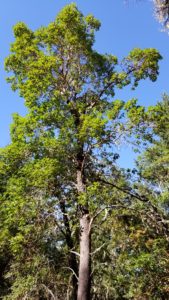
Madrones grow quite prolifically around here and make the best firewood; they’re a hardwood and burn quite cleanly.

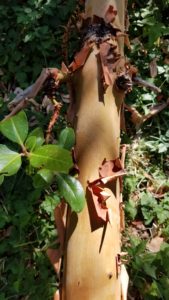
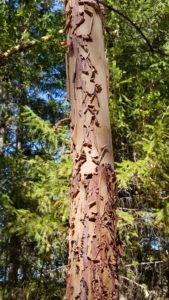
They have a smooth, rusty-orange-colored “exfoliating bark” which peels, curls and falls off as part of the natural process; they shed quite aggressively as demonstrated in the pictures below.
You see, when I first began my Stampin’ Up business, in brainstorming various ideas to make my business stand out from others, I had the idea to use “natural” elements and incorporate Stampin’ Up products into them; and not just cards.  After all, we have lots of “natural elements” growing all around us.  My husband is a retired taxidermist who enthusiastically prodded me in that direction.

This idea was solidified when we were out clearing roads on our property following a particularly bad snowstorm that downed literally hundreds of trees on the ranch.  My attention was drawn to wild honeysuckle vines growing up and through many trees around us.  They had a twisted, grapevine sort of look, and I wondered aloud to Dean, “Do you think that would dry and make a good wreath, something like a grapevine wreath?”
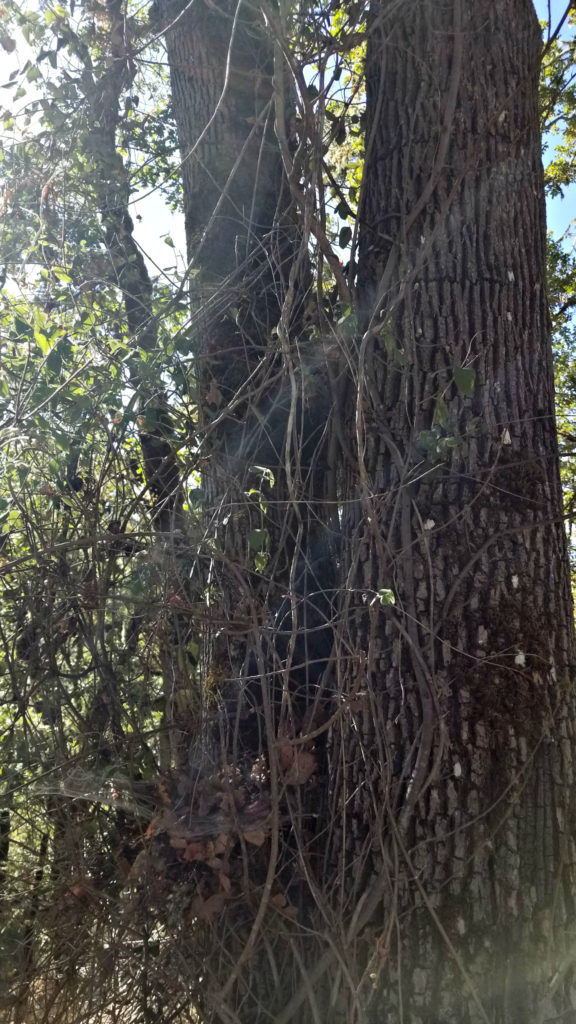
 

Well, there’s one way to find out!   He helped me pull a couple long lengths of honeysuckle vine from a tree.  I brought them home and using a 5-gallon bucket turned upside down as a form, wrapped the honeysuckle vine around it until I was happy with the “thickness” of it.  I then used another piece of honeysuckle vine to “weave” through and around the “wreath-on-a-bucket” to hold it all together and tied it off with some florist wire.  I left it sitting on the front porch for about a week, letting it dry, and when I removed it from the bucket “form”, it held it’s shape great and looked quite similar to a grapevine wreath.

This was shortly before Easter and so I simply went and bought silk tulips which I arranged around the wreath and topped with a burlap & ribbon bow, and a cross.

That wreath has been tulip-clad since, coming out of the closet in the Springtime to adorn our front porch.

HOWEVER, Dean reminded me of my initial “business plan musings” when he brought me that dried-up madrone bark; and my mind drifted back to that honeysuckle wreath.

First things first though, I had tree bark to contend with!  The bark was quite brittle, so rehydrating seemed the first step toward making it useful!

I put some water in the kitchen sink and placed the rolled-up bark in the water.
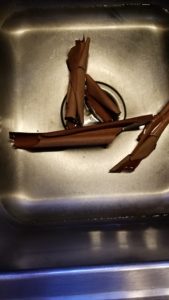
It only took a few minutes until the bark was pliable enough that I was able to flatten it in the water.
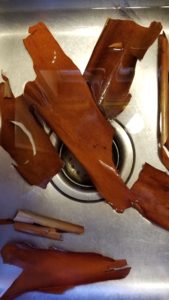
I pulled it out of the water and laid it on some paper towels between waxed paper, and then placed my good ol’ dictionary on top for weight.
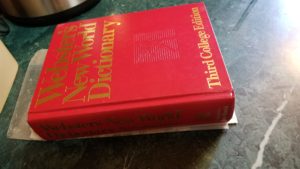
I checked on it a few days later and it was mostly dry.  So, taxidermist husband suggested that I use some glycerin to moisturize and help preserve it.

I dabbed some glycerin on the bark with a cotton ball and put it back in the paper towel/waxed paper sandwich with the dictionary on top.

When I checked on it again a couple days later, it was dry but still fairly pliable.  I left it open to air for a couple days to see if it would curl back up, but it didn’t!  It stayed flat and pliable YAY!

Next test was to see what I could do with it.

Stamp on it – yep, worked!  It took a little extra time for the ink to dry, but eventually did.  Staz-On would probably work great, though I’ve not tried that yet!

Metal dies?  Yep, worked like a charm!

So, here are the results of my first tree-bark embellished card!
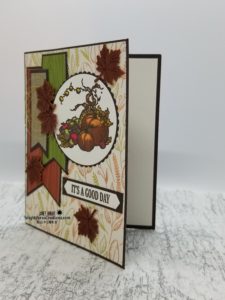
Unfortunately, the leaf die I used is from a retired SU die set, “Seasonal Layers”, but I will be following this project up with others using the “Gather Together” bundle.  After using it, I also realized that the gold thread is retired, but the gold cord from Wonder Of The Season Ribbon Combo could easily be substituted.

Hmmm… I haven’t tried embossing the tree bark yet!  That will be the next test I guess.  I’ll have to repeat this process and try embossing it while it’s still somewhat moist and then see if it will dry with the embossed impression!

I have since pulled that aforementioned honeysuckle wreath out of the closet and stripped it of its tulips.

I’m going to see over the next few days, what I can do with it using Stampin’ Up products and natural elements only! (wish me luck!)  I currently have some Myrtle tree branches soaking in some “Never Say Die” plant preservative that Dean had in his taxidermy supply which I plan to use as a “green” element if the plant preservative works!  So far, I don’t see the branches soaking the preservative up, but time will tell and I’ll keep you posted!

And now…. GETTING BACK TO THE FUTURE!

The rest of my initial business plan a few years ago consisted of  “stamp camps” at our cabin (still waiting to be built) up on one of the mountains on our property which has a spectacular view overlooking forested hills and valleys, which we would access by horseback (for those who wanted to… those who didn’t could be brought up by vehicle or hayride (?) depending on the season!)

Oh my!  Dean may regret bringing me that tree bark and reminding me of those initial ideas!  I have two horses now…. but if there was enough interest, SURELY I would need at least four more, RIGHT!?!  And just another idea….ride a horse up, and zipline back down!!!  WooHOOOoooo!!!

What do you think?

Let me know in the comments below…. Do I need to press Dean to get that cabin built???  More horses??? and who’s game for a zipline????

A weekend spent stamping, horseback riding, ziplining, collecting honeysuckle vines for your own wreaths, more stamping, eating, relaxing on the deck around a firepit….hmmmm…. the possibilities are endless!!!
I think the next weekend after stamp camp would be spent telling stories on each other, sharing pictures, laughing, and scrapbooking those memories…

They would be stamp camps to remember for sure!!!  LOL!!!

BUT, BACK TO TODAY….

LET’S GET INKY!

Materials:

Stamp sets used:

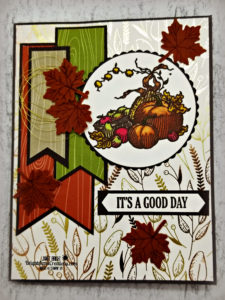
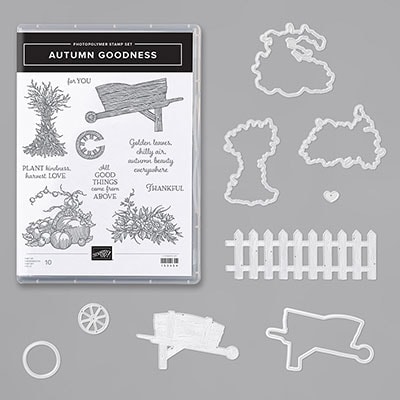
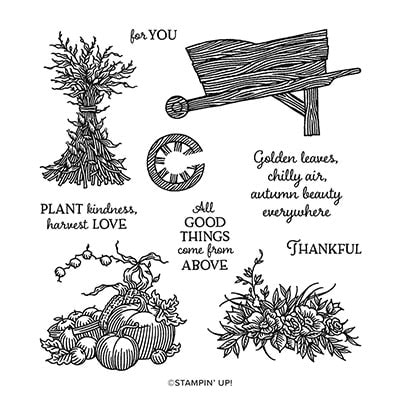
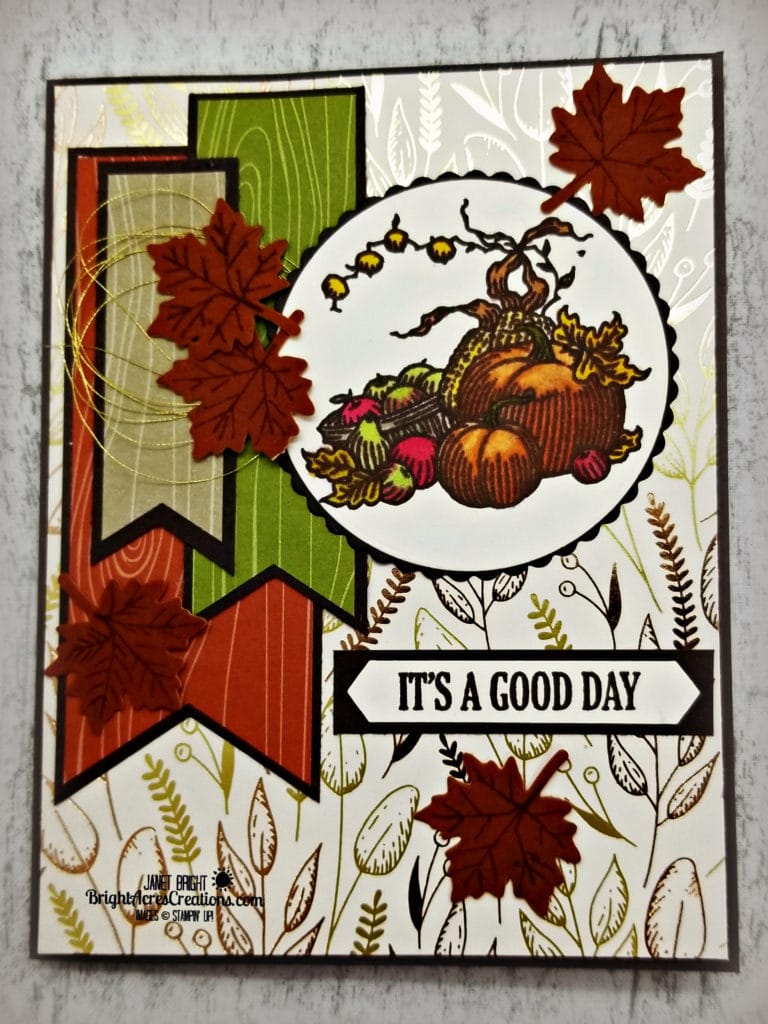
  • Autumn Goodness (pumpkins/fruit image)
  • Pallet Thoughts (sentiment)

Dies / Punches used:

  • Seasonal Layers – retired (leaves)
  • Layering Circles
  • Triple Banner Punch

Paper:

  • Early Espresso – card base – 5 1/2″ x 8 1/2″ (score at 4 1/4″ and fold in half)
  •                           banner mats – (1 5/8″ x 4 3/8″) ; (1 1/8″ x 3 7/8″ ); (7/8″ x 3 1/8″)
  •                           sentiment mat – 2 1/4″ x 1/2″
  •                           image mat – 3″ x 3″ – crop with Layering Circles die
  • Gilded Autumn DSP – mat 1 – 5 3/8″ x 4 1/8″
  • Regals 6×6 DSP – Cajun Craze DSP 1 1/2″ x 4 1/4″ ; Old Olive DSP 1″ x 3 3/4″
  • Neutrals 6×6 DSP – Crumb Cake DSP 3/4″ x 3″
  • Very Vanilla – 3″ x 3″ and crop with 2 1/2″ circle die; 3/8″ x 2 1/4″ for sentiment strip – hand crop reverse banner ends with snips.

Ink:

  • Early Espresso

Accessories:

  • Stampin’ Blends – Pumpkin Pie, Cinnamon Cider, Granny Apple Green, Daffodil Delight, Cinnamon Cider
  • Gold thread – retired
  • MADRONE TREE BARK! 🙂  (could substitute Cinnamon Cider CS – but not as much fun!) LOL
  • Basic Black Stampin’ Write Marker – hand draw the veining on the leaves

Putting it all together!

  1.  Stamp pumpkin image from Autumn Goodness stamp set on Very Vanilla CS and color with Stampin’ Blends.
  2. Crop image using Layering Circles Dies.
  3. Adhere image panel circle onto Early Espresso scalloped circle mat (cut with Layering Circles dies).
  4. Crop out small leaves and draw veining on them using Early Espresso Stampin’ Write Marker.
  5. Punch banner pieces using Triple Banner Punch.  The widths of the CS/DSP may not fit the guides perfectly, so just make sure they’re center before punching.
  6. Adhere the three DSP banners to Early Espresso banner mats.
  7. Adhere the Gilded Autumn DSP mat to Early Espresso CS base front.
  8. Adhere banners, starting with largest (Cajun Craze) first, down a smidge from the top and to the left side of card front.  Next, place Old Olive banner  slightly higher and about midline on Cajun Craze banner.  Finally adhere Crumb Cake banner slightly down from top of Cajun Craze banner and over top of Old Olive banner.
  9. Wrap gold thread around  your fingers several times, slip off and adhere ends with glue dot.  Apply with same glue dot about center over the Old Olive banner and with glue dot to the right side so the image panel will cover.
  10. Adhere the image panel over the ends of the gold thread and to right side of card front.
  11. Stamp sentiment on Very Vanilla sentiment strip and hand trim ends with snips.  Apply to Early Espresso sentiment mat.
  12. Adhere sentiment under image panel.
  13. Scatter leaves on card front, adhering in place.

DONE!

I know it seems like a lot of trouble to go to with regard to the tree bark, just for a few leaves that could’ve simply been cut from cardstock, but this is just the first trial!  And quite frankly, though I don’t know that the pictures really pick it up, the color is richer and they have a “woody” look and texture that I love.  I’m going to continue trying to use it in various ways and see what I can come up with!  So, stay tuned!
Until next time, I hope you get INKY today!

Janet

Product List

Paper Snips

$10.00


Another Masculine Card For Fall Mixing Old With New

Hello Friends!

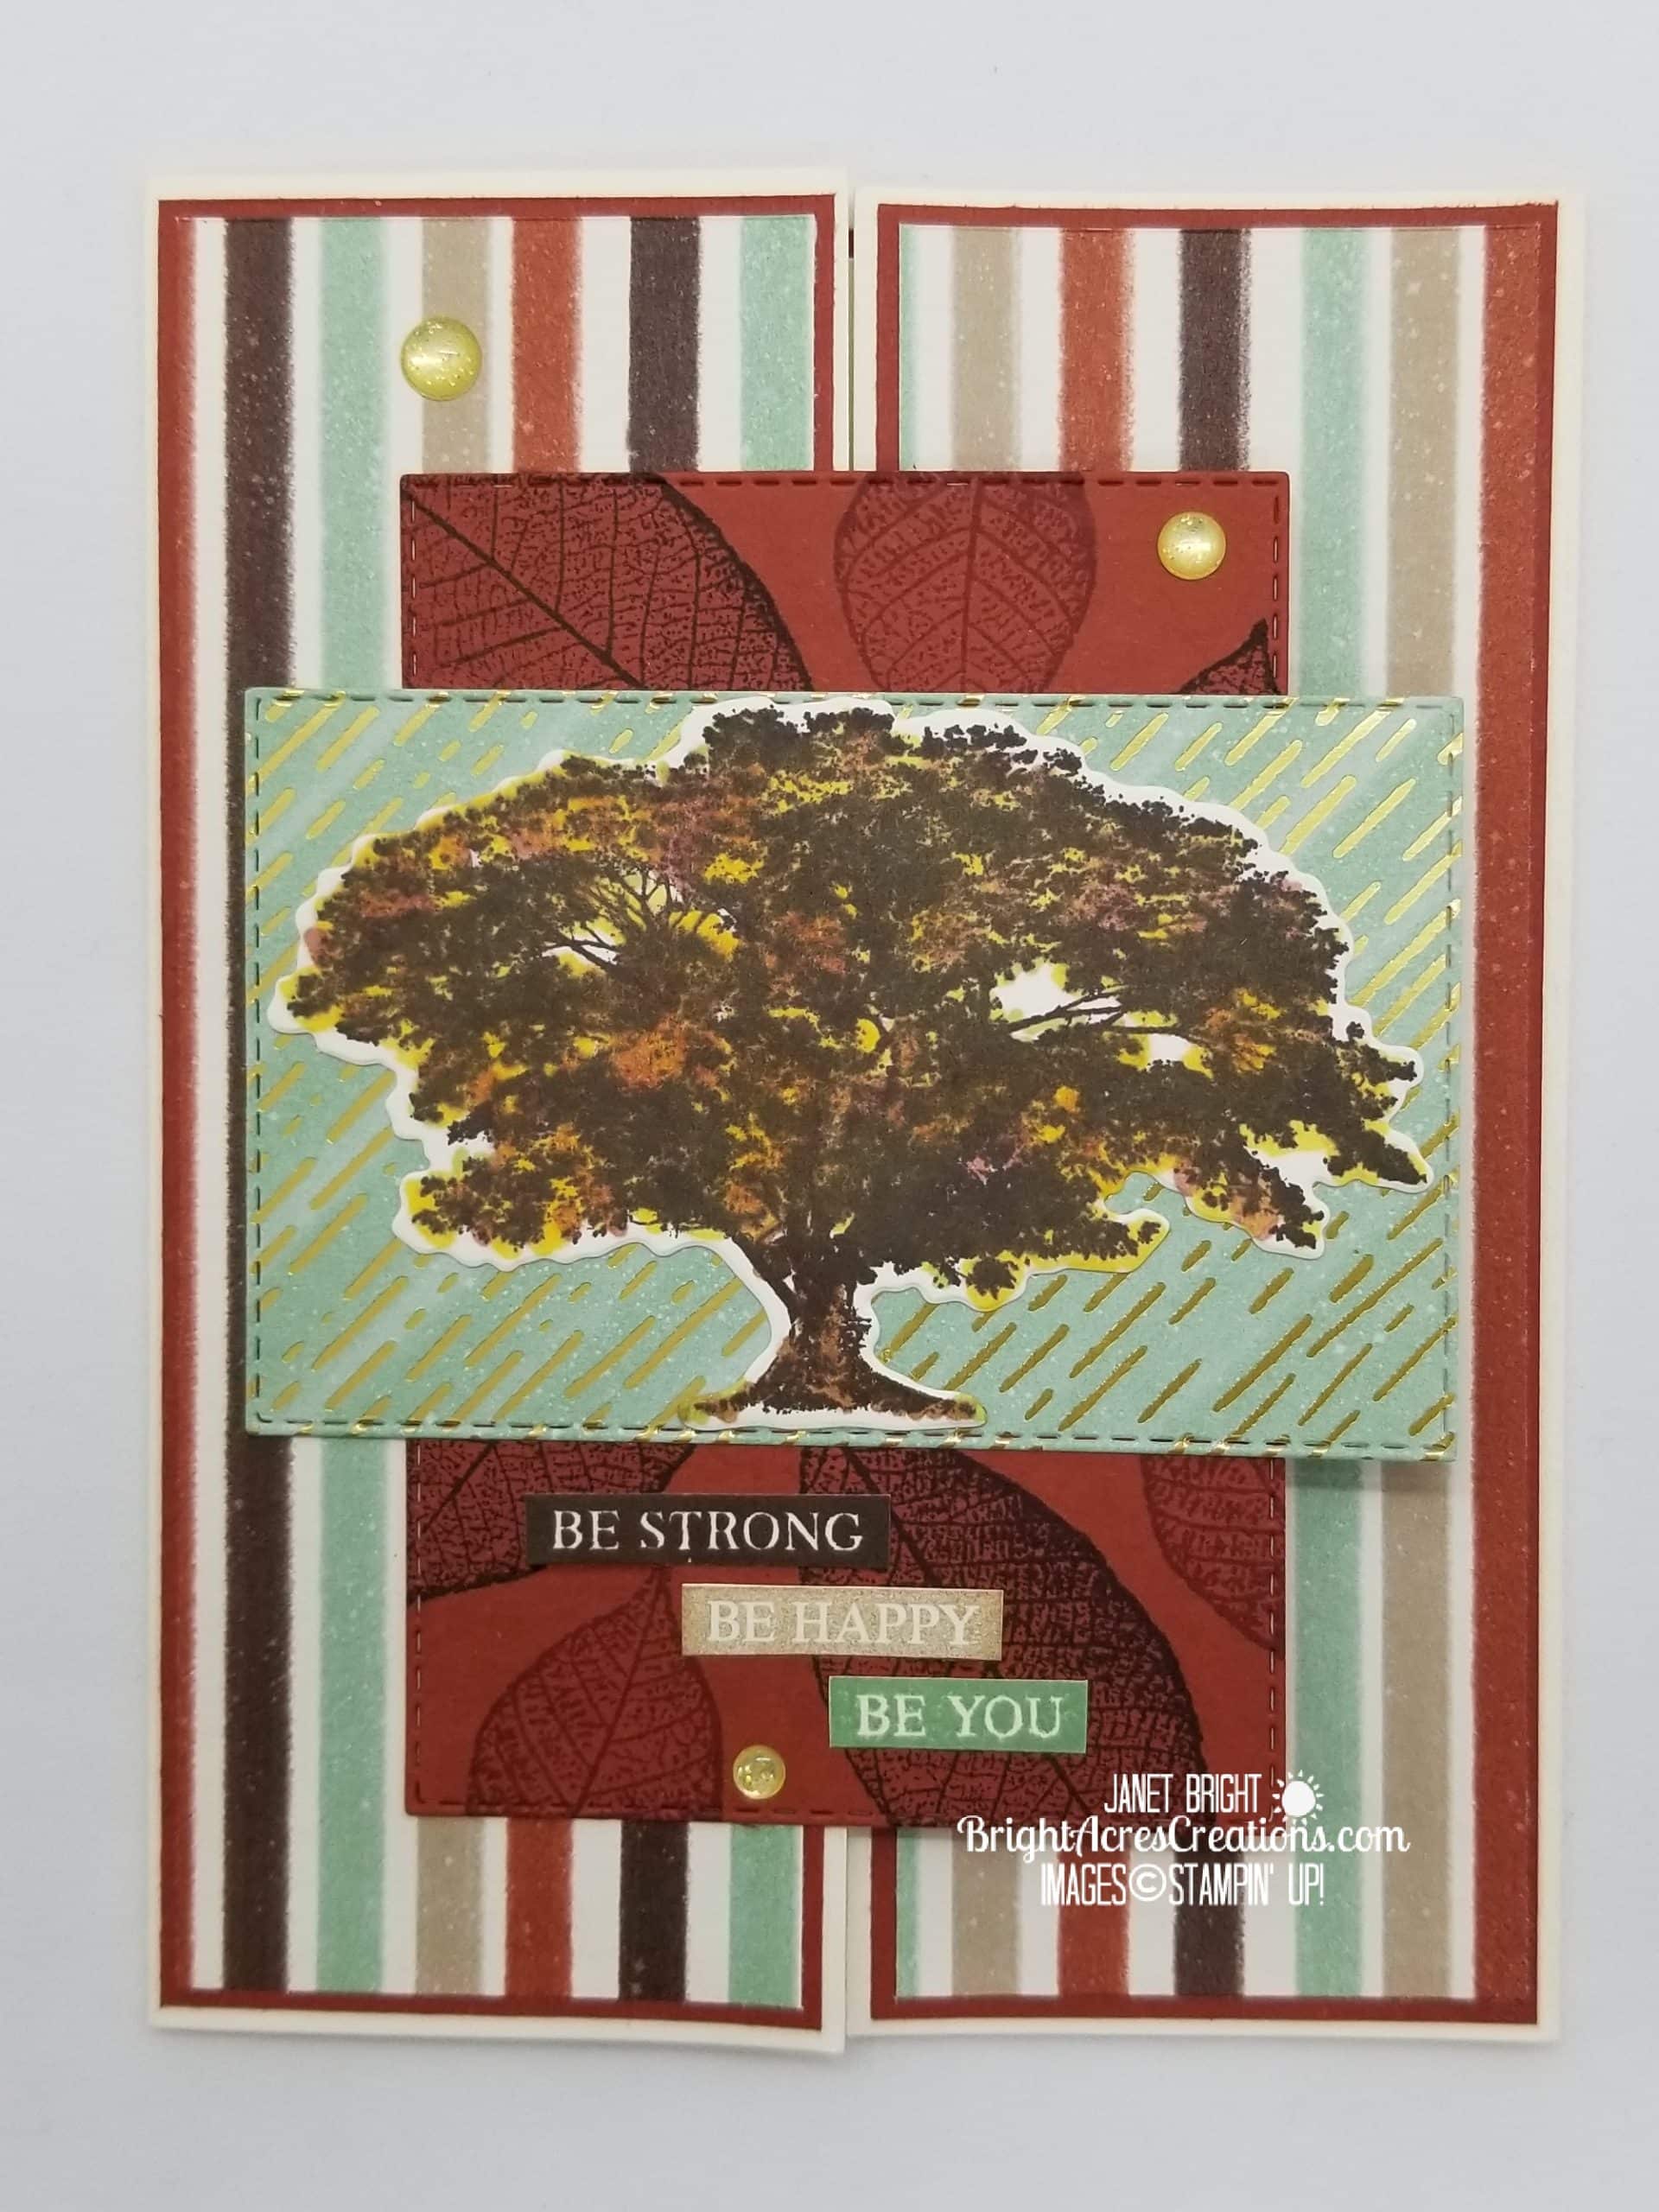
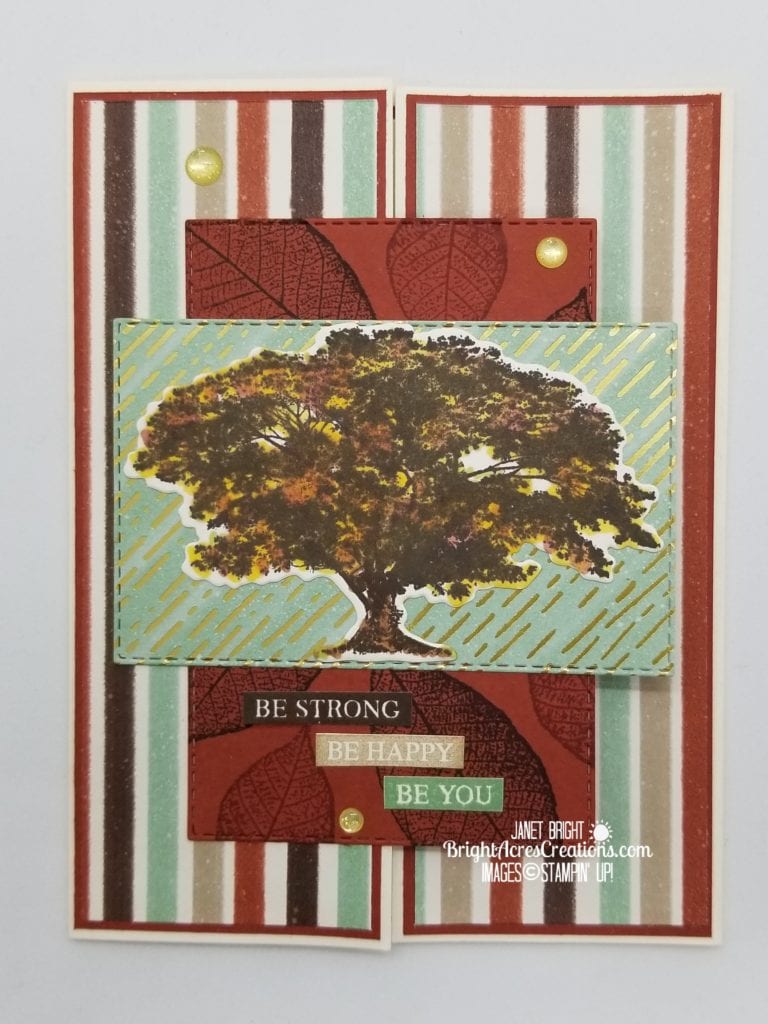
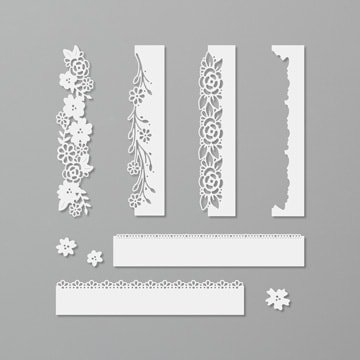
I had so much fun working with one of my old favorites, Rooted In Nature, that I chose to use it again for another masculine card.  This time, I paired this older stamp set with some of the new DSP, Gilded Autumn.  I LOVE this paper!  I’m a paper freak anyway, but…. this…paper!!!  The rich, earthy tones in these papers are so ME!  You could look around at the decor in my home and say, “Yep…she got her inspiration from Gilded Autumn DSP!”  Actually, I’m pretty sure that Stampin’ Up got inside my home and took their inspiration from me! LOL!
At any rate, with these blazing hot temperatures we’ve been having, I think I’m pretty much ready for the Fall season.  I’m looking forward to that first rain…Mmmm, I love the outside smells after it rains for the first time after a dry spell.  Some rain, a cool breeze, and a hike through the woods… I can hardly wait!!!

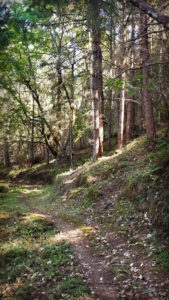
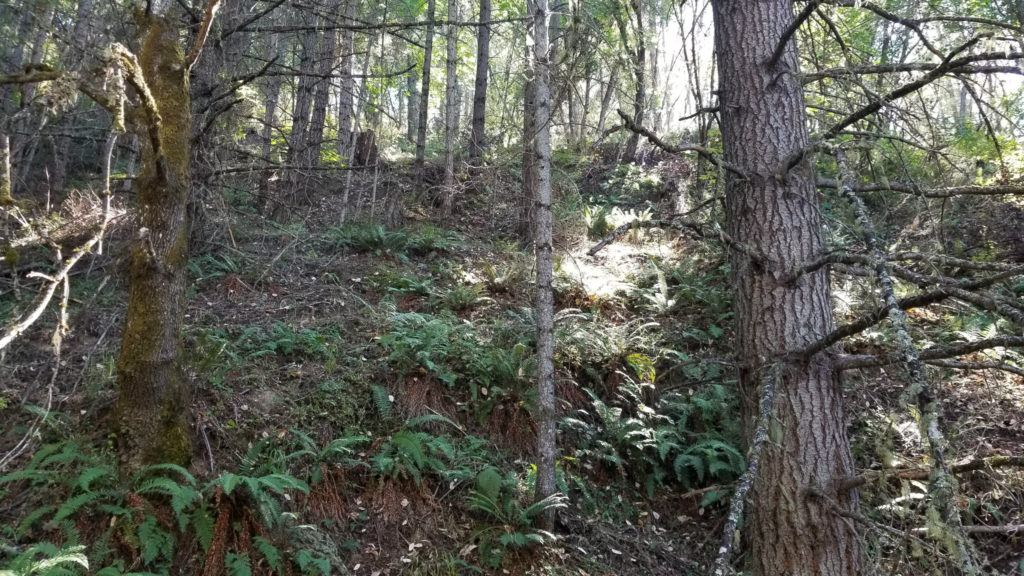
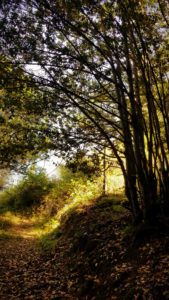
Speaking of a hike through the woods… I mentioned some of my favorite places on our property in my last post, so I thought I’d share a few pictures that I took after writing that post.  It was hot inside and out, and a shady spot in the forest with an ice-cold beverage sounded like a good idea.  As it was too hot to hike (my opinion – not Dean’s), we jumped on a four-wheeler and took a ride to some of my favorite places on the ranch that evening, to sit in the shade and soak up those earthy-good smells!

The pictures truly don’t do it justice, as I’m unable to factor in the smells and sounds of the forest with these pictures.  You’ll just have to trust me on this one… God blessed us with a beautiful place to call home!

Another reason I can’t wait for cooler temperatures is that I love riding my horses through these areas.  I know Adam, my cowboy son, would scoff at me, but if it’s too hot for me to hike, I can barely ask my horses to hike with me on their back!  Yes, they’re a little bit spoiled!

But let’s get on to today’s card!

LET’S GET INKY!

Materials Used:

Papers:

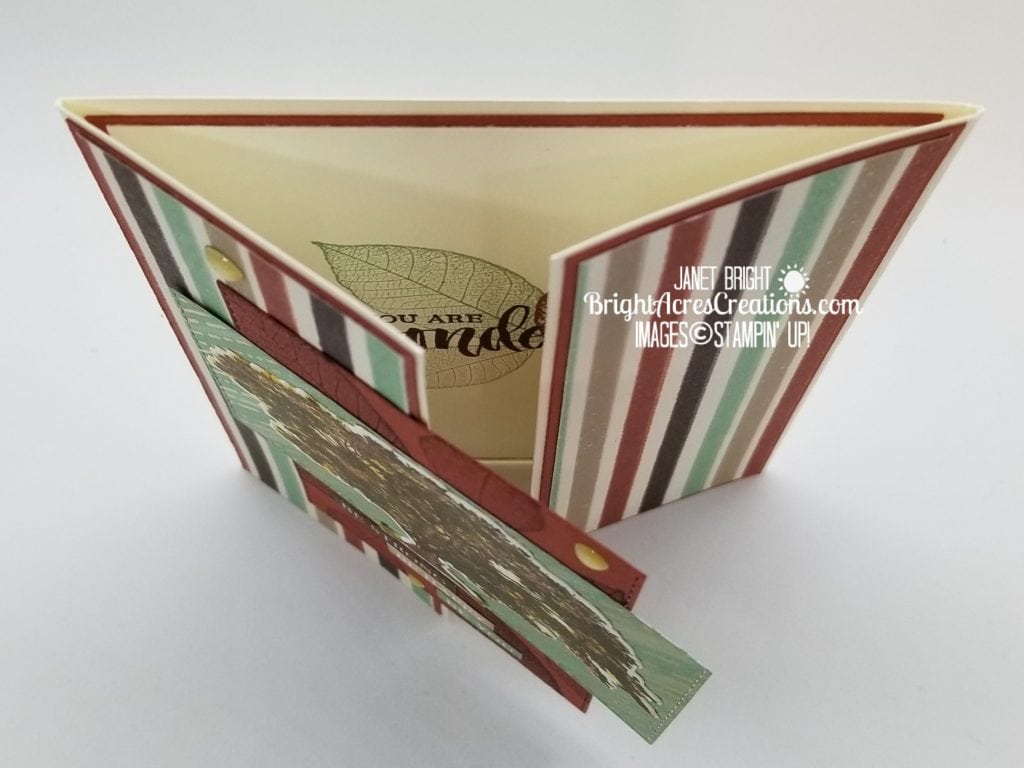
  • Card base – Very Vanilla cut at 5 1/2″ x 8 1/2″ and scored at 2 1/8″ and 6 3/8″ for a double gate fold.
  • Front mats 1 – Cajun Craze cut (2) at 2″ x 5 3/8″
  • Front mats 2 – Gilded Autumn DSP cut (2) at 1 7/8″ x 5 1/4″
  • Image panel mats – Cajun Craze cropped with Stitched Rectangles Dies (2 5/8″ x 4″)

Gilded Autumn DSP (green) cropped with Stitched Rectangles Dies (2 1/8″ x 3 1/2″)

  • Inside mat – Cajun Craze 5 1/4″ x 4″
  • Inside sentiment panel – Very Vanilla 5 1/8″ x 3 7/8″

Stamp Sets Used:

  • Rooted In Nature

Metal Dies Used:

  • Nature’s Roots
  • Stitched Rectangles

Ink:

  • Early Espresso
  • Crumb Cake
  • Cajun Craze
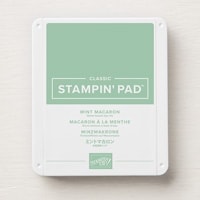
  • Mint Macaron

Accessories:

  • Gold Glitter Enamel Dots
  • Stampin’ Blends:  Cajun Craze, Mango Melody, Cinnamon Cider, Old Olive

Putting It Together!

  1. Adhere front mats (Cajun Craze & DSP) to card flaps.
  2. Stamp large leaf in Early Espresso and Small leaf in Cajun Craze randomly on the Cajun Craze image panel mat.
  3. Stamp tree image on Very Vanilla cardstock.
  4. Color image with Stampin’ Blends.  I used Cajun Craze, Mango Melody, Cinnamon Cider and light Old Olive.  I just dotted the various colors on fairly randomly, allowing them to blend into each other to look like the turning leaves of Autumn.  The tree trunk is Dark Cinnamon Cider.
  5. Crop the tree image out using the die from Nature’s Roots.
  6. Adhere tree image to DSP rectangle.
  7. Adhere that panel now to the stamped Cajun Craze Panel.
  8. Stamp the “Be Strong Be Happy Be You” sentiment from Rooted in Nature three times, once each in Early Espresso, Crumb Cake and Mint Macaron.
  9. Fussy cut one of each block of the sentiment out using snips so that the whole sentiment is tri-colored.
  10. Adhere to stamped Cajun Craze panel, under the image panel, in a staggered fashion.
  11. Place glue only on left half of the Cajun Craze panel and adhere to left front panel.
  12. Randomly apply Gold Glitter Enamel Dots to card front.
  13. On the inside of the card, stamp one large leaf in Mint Macaron in the center of the Very Vanilla panel.  Stamp two smaller leaves, one in Crumb Cake and one in Cajun Craze.
  14. Stamp the sentiment in Early Espresso over the top of the stamped leaves.
  15. Adhere Very Vanilla sentiment panel to Cajun Craze mat, and adhere to center of card inside.

I think that this card exudes the sentiment “BE STRONG   BE HAPPY   BE YOU”  and is appropriate for male or female.  And, of course, who doesn’t want a card from a family member or friend reminding them how wonderful you think they are!  Send this to someone who needs a little encouragement!

Stay cool out there my friends!  In fact, stay in and STAMP!

Until next time,

Janet

Product List

Paper Snips

$10.00