It’s Snow Wonder I’m In Love With The Holiday Catalog!

Hello Friends,

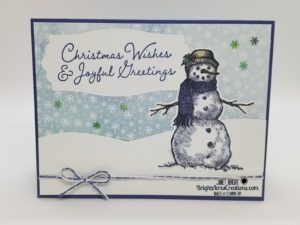
Today I’m taking a break from the summer heat (a mental timeout) with nothing but Christmas, and building snowmen with my grandkids on my mind!  I couldn’t help but grab for the Snow Wonder bundle when thinking about today’s project!  This bundle is featured on page 39 of the new Stampin’ Up August – December Mini Catalog (Holiday Catalog) and includes the “Snow Wonder” stamp set and “Snow Time Dies”

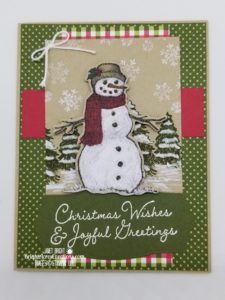
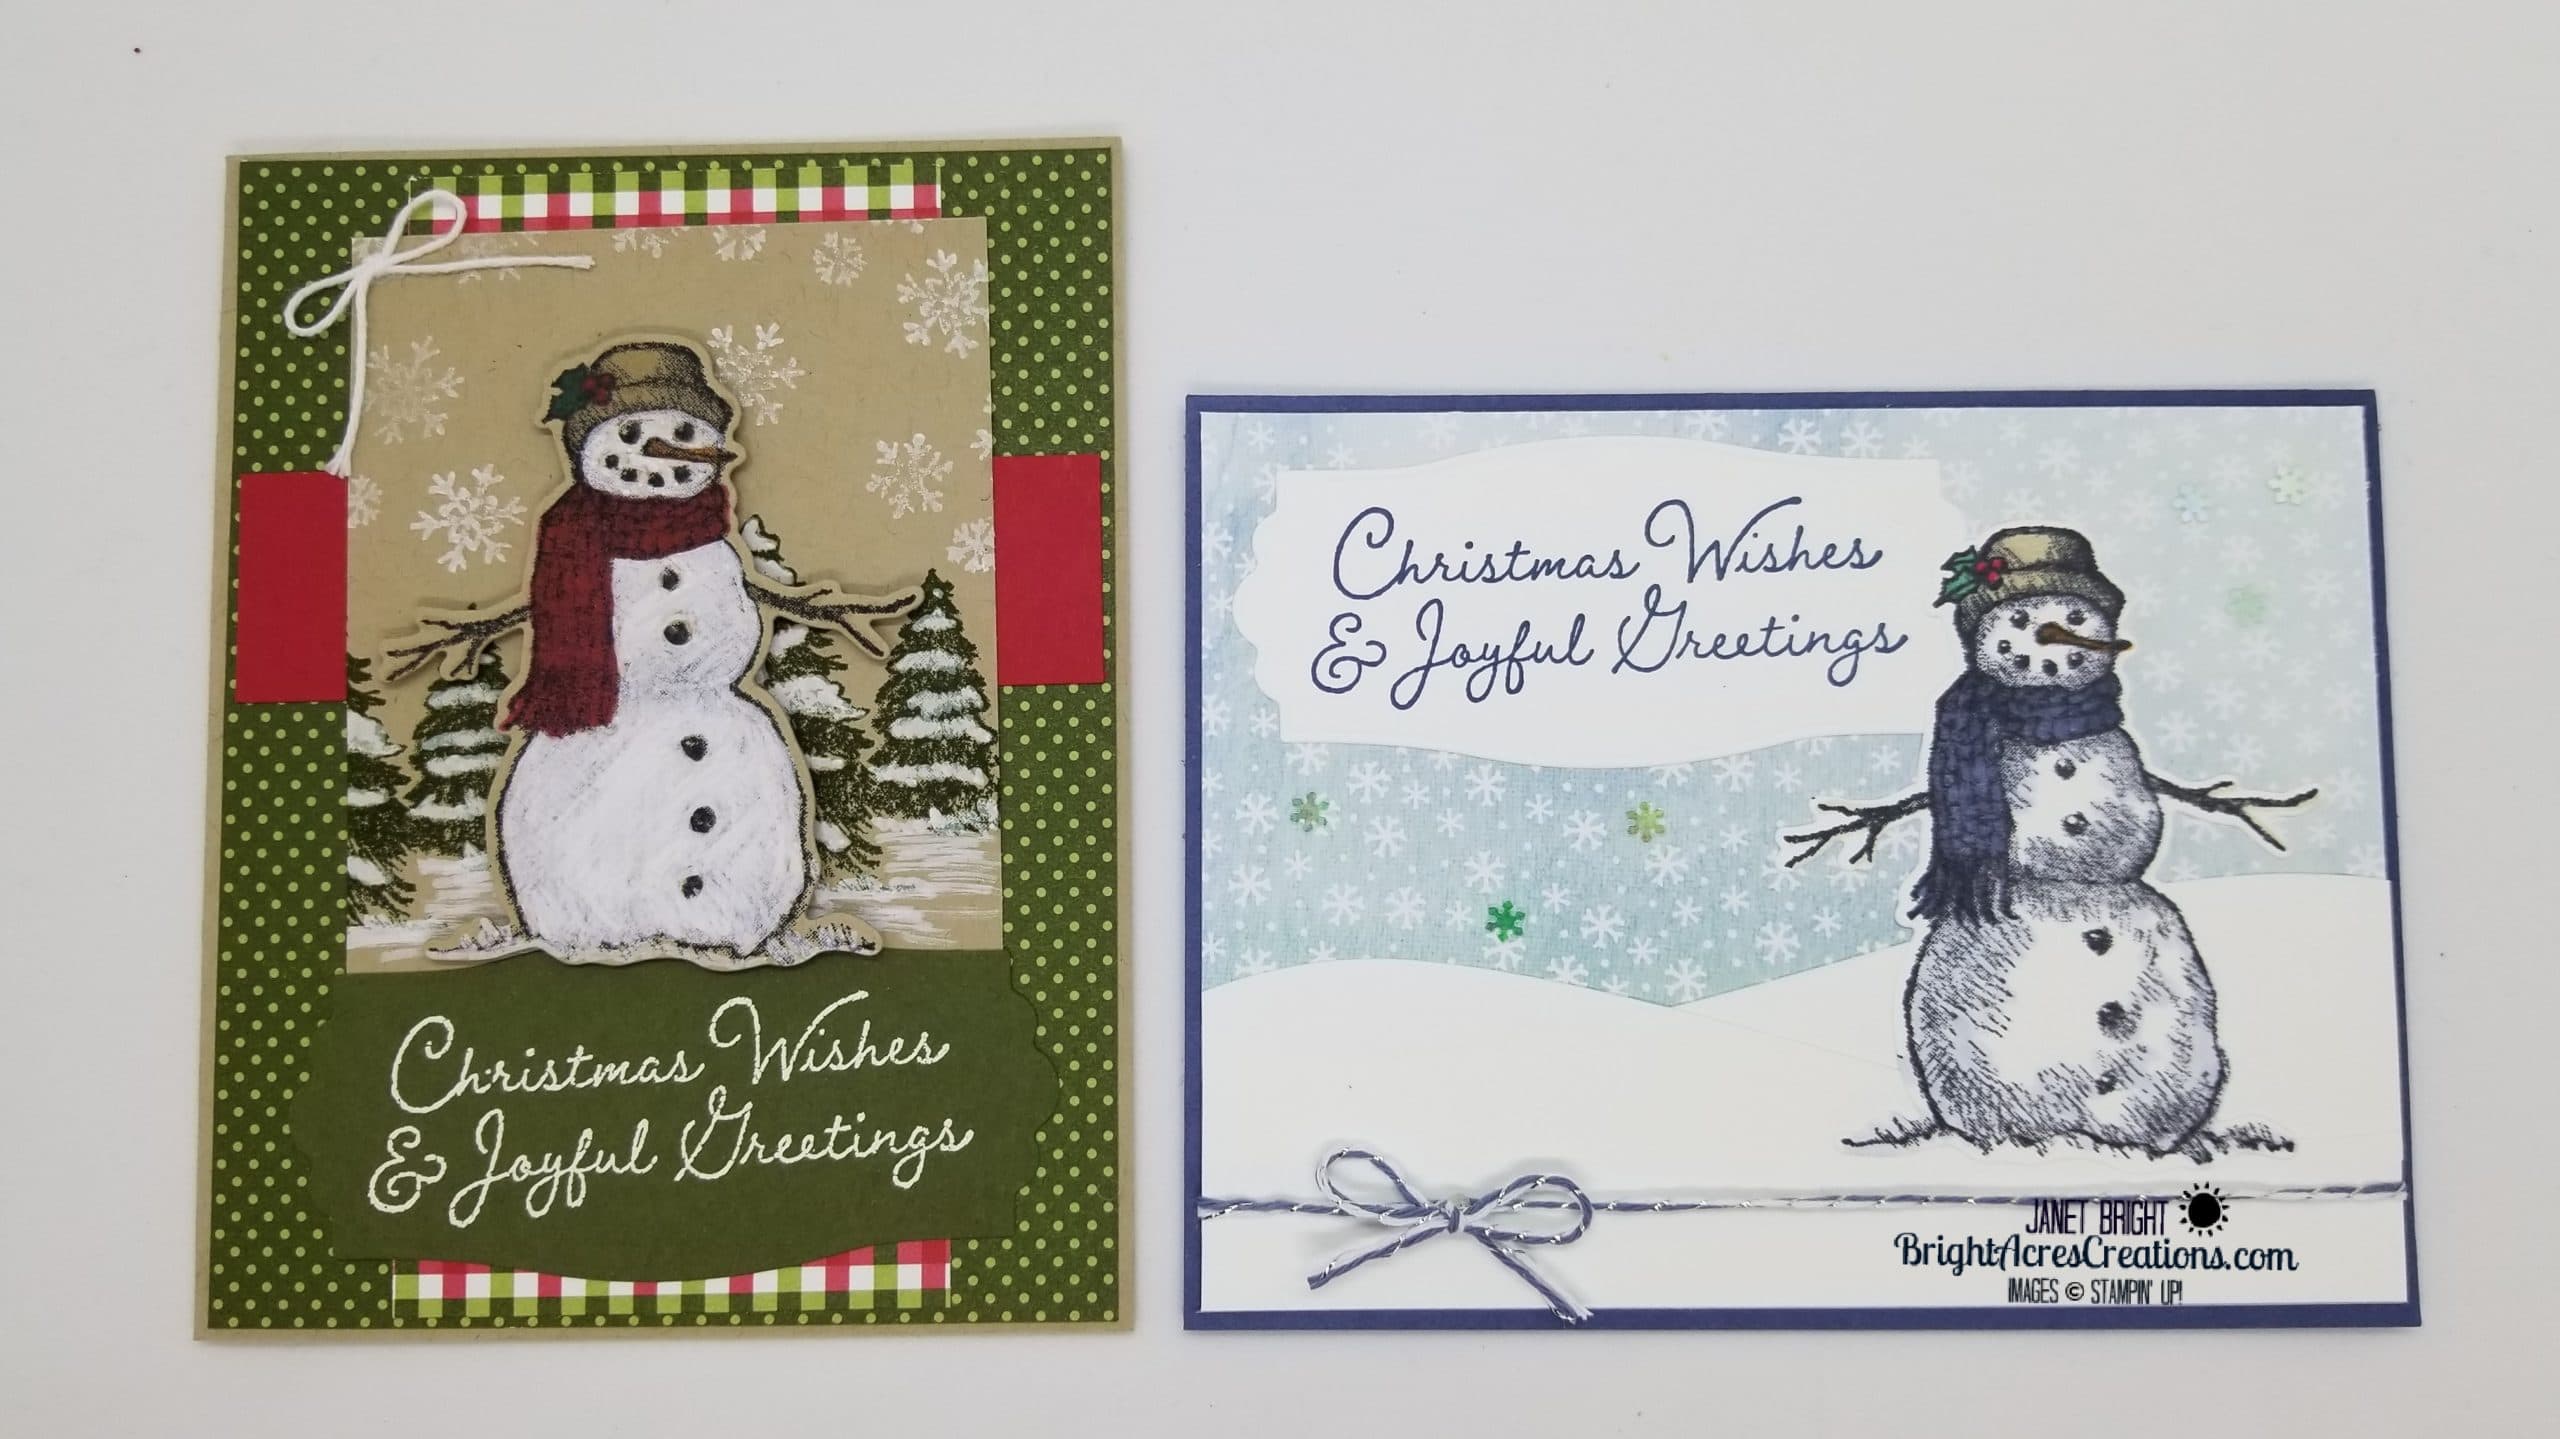
The new holiday mini catalog has so much to love about it, but I absolutely fell in love with this snowman.  “It’snow wonder”…he’s so darn cute!!!  I started playing with this set and before I knew it, I had two cards made which I’ll share with you now!

The first card features some of the new DSP(Designer Series Paper), Snowflake Splendor.  I love the cool blues featured here.

The second card was inspired by a picture in the mini catalog (page 39) which I elected to CASE (copy & selectively edit).  I love the white on kraft (Crumb Cake CS) look.  I also chose to feature paper from the new Heartwarming Hugs DSP.

Isn’t that snowman just too cute?

The sentiment tags used on both cards are included in the Snow Time Dies which coordinates with the stamp set.

LET’S GET INKY! Continue reading “It’s Snow Wonder I’m In Love With The Holiday Catalog!”

If At First You Don’t Succeed, Cut Up Your Die-cuts!

Hello Friends!

I hope you’re all surviving our heatwave the last few days!  Whew it’s been HOT and it’s not even August yet!  It is approaching rather quickly though, and that means YAY!  You can soon order the new products from the holiday mini catalog, otherwise known as the August-December, 2020 Mini Catalog.  So many fun sets in that catalog, and the paper… yes, you know I have a thing for pretty paper… it’s gorgeous!  A little bit of Christmas in July!  Maybe thinking about Christmas will make it seem cooler outside?

When I’m looking at my stamp sets trying to decide what to put on my blog for y’all, it’s like eenie-meenie-miney-mo!  I have so much from the 20-21 Annual Catalog which still feels new to me (it’s only been out for 3 months), and products which I haven’t even used yet.  And now I have a large assortment of new products from the holiday catalog… oh my!  What a dilemma to be in right???

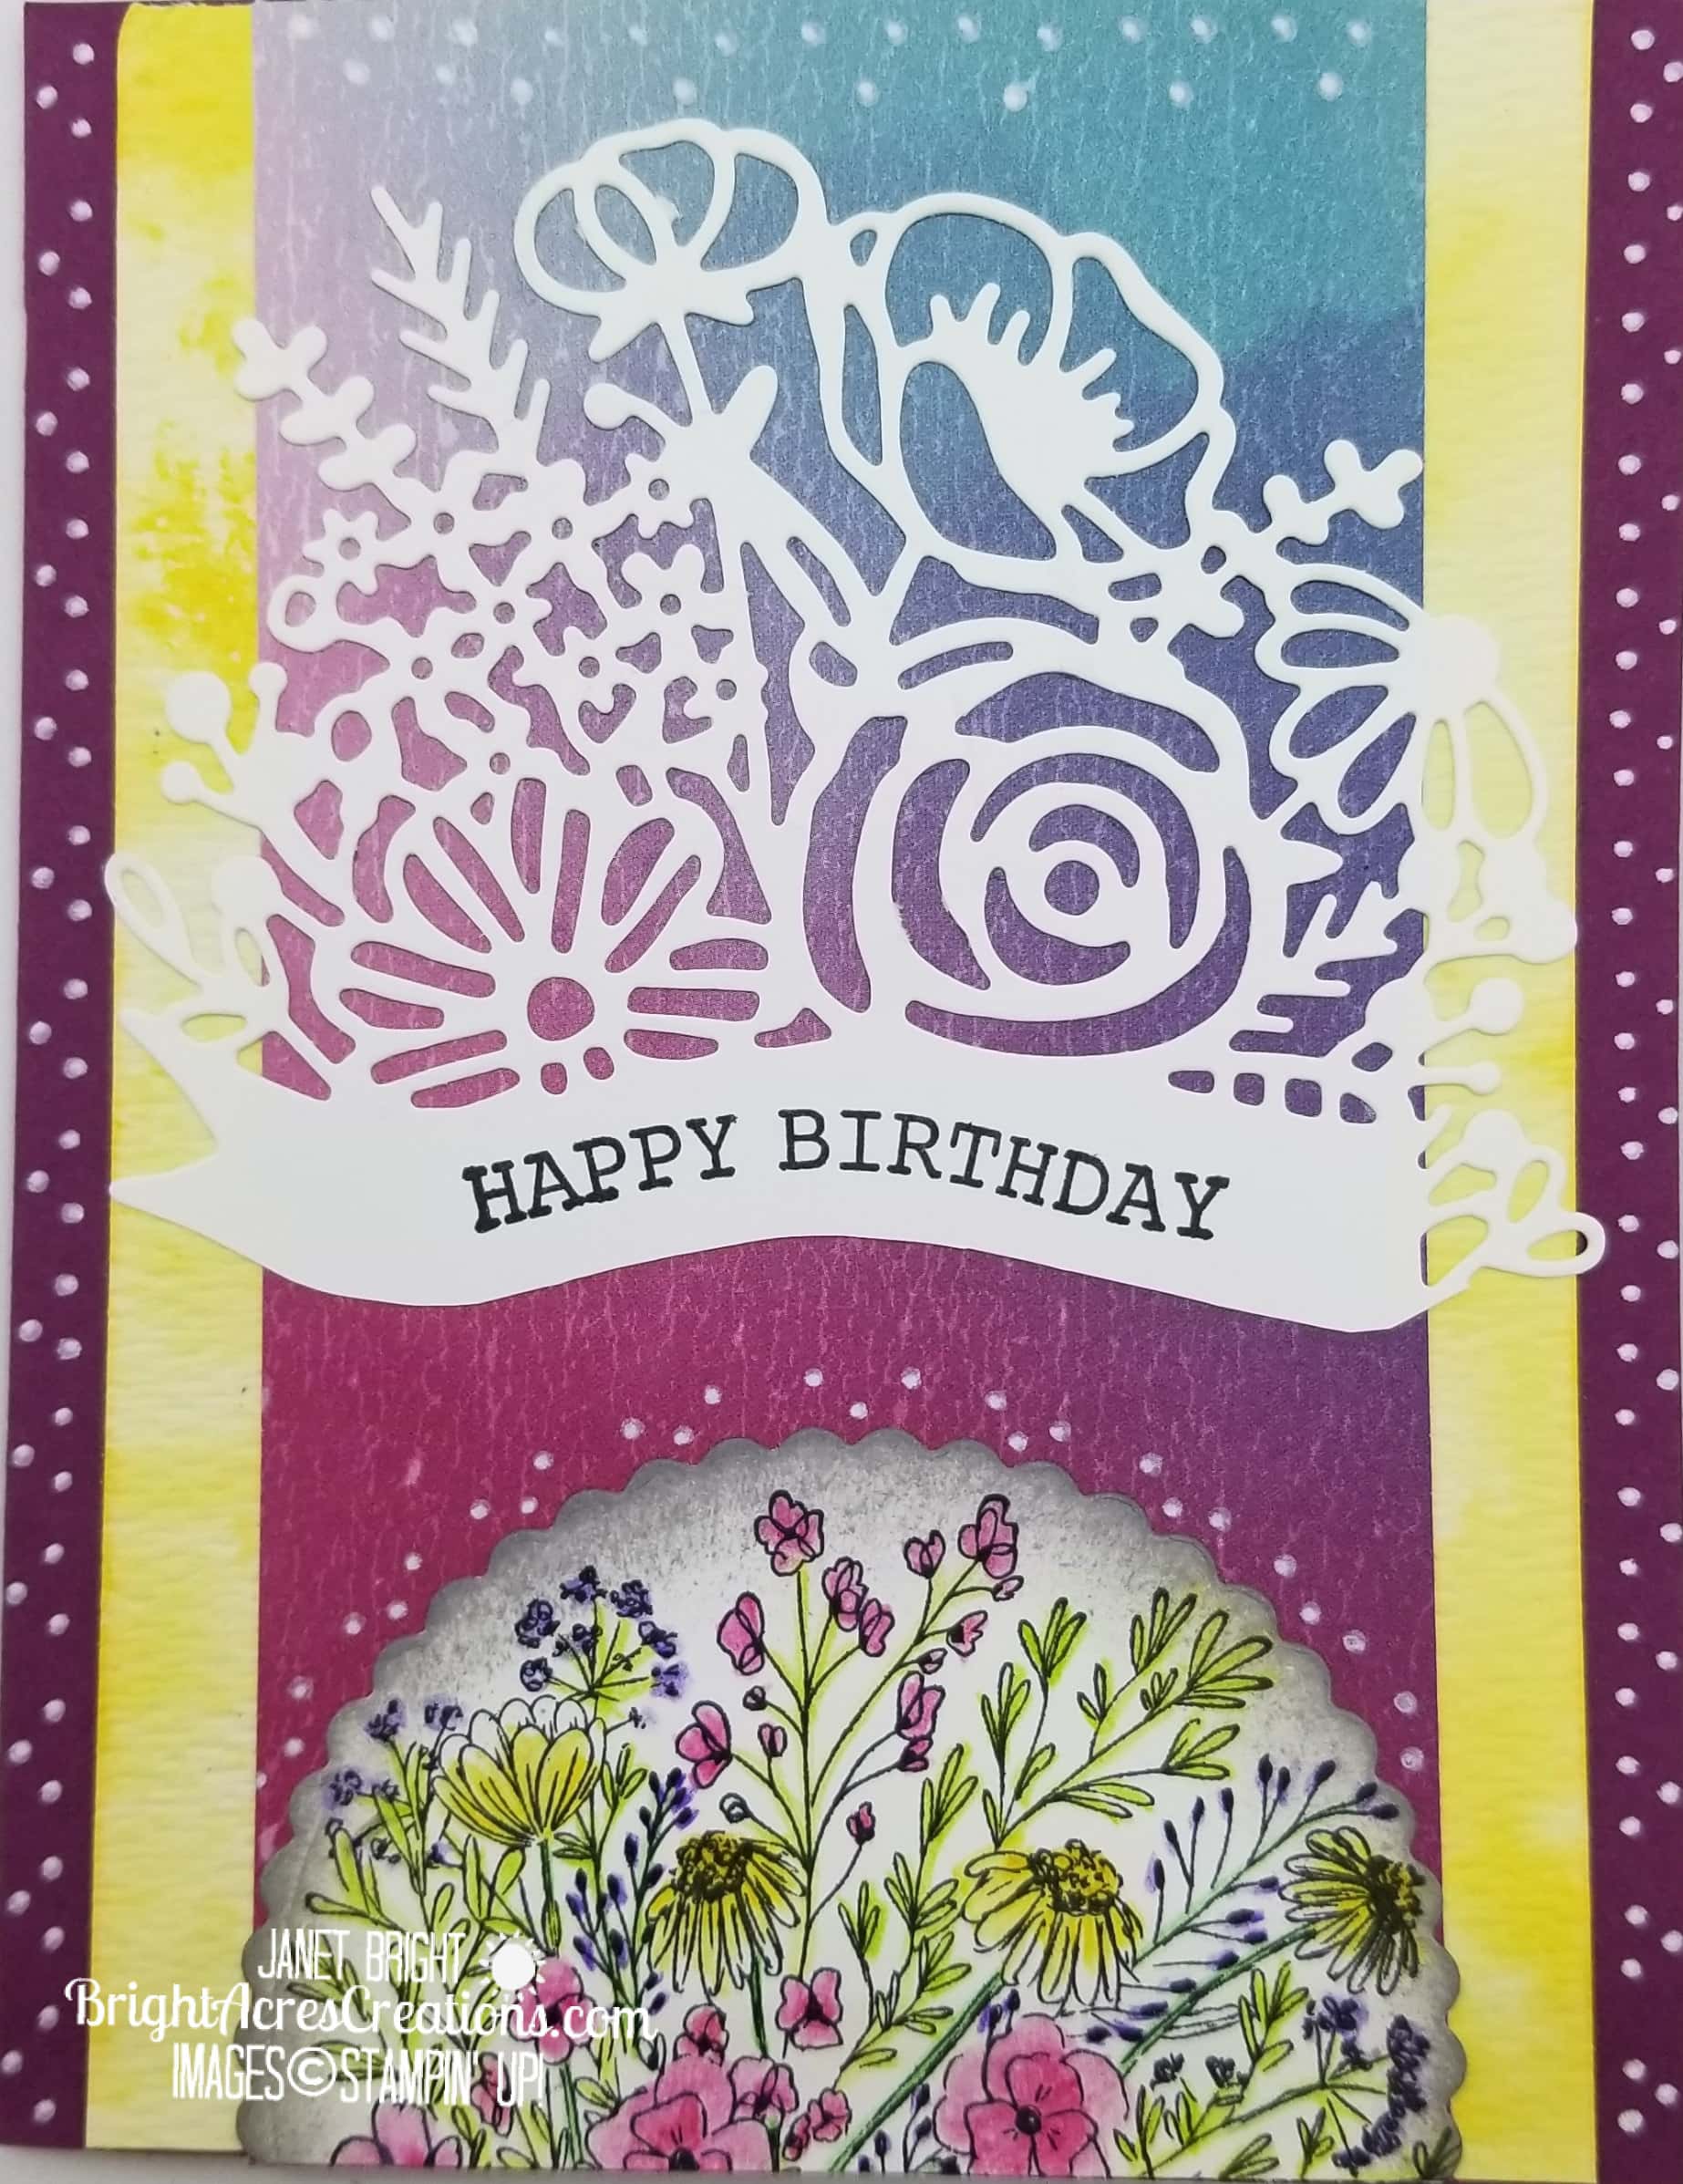
Given that it is still July and I still have birthdays coming up, today I opted to go with products from the annual catalog that I haven’t played with yet!  I selected the Artistry Blooms Suite of products.

I’ve seen lots of beautiful cards on Pinterest featuring these products but I wanted something completely unique.  Mostly what I’ve seen featured is the Banner Blooms Dies which are so gorgeous!  But the stamp set, Hand-Drawn Blooms, is gorgeous as well and I wanted to incorporate the two together.   I’ll admit that I struggled with this card a little bit.  I tried several different things and hmmm…. nope, it just wasn’t coming together the way I wanted.

I wanted to carry a watercolor look throughout my design and used watercolor pencils and blender pens for the stamped image, cropped it down with the largest scalloped circle from Layering Circles Dies.  I had also cut the Banner Blooms large die out of Whisper White CS.  Somewhere in my brain last night, I could see the stamped image peeking out from under the large flower/banner die, but it looked better in my brain than it did on my card!   I wanted to “marry” those two and make them work on the same card.  I almost scrapped the whole thing altogether.  I’d gotten a late start and finally decided to just go to bed and see if I could make it work in the morning!

Well, sometimes that’s all it takes.  This morning when I awoke, I took another look at what I had going on and it was very clear what it needed… scissors and custom watercolor paper!

With all abandon aside, I proceeded to cut my die-cuts into smaller pieces and let them complement each other rather than compete with each other. Continue reading “If At First You Don’t Succeed, Cut Up Your Die-cuts!”

How To Make A Double Gate-Fold Card Using World Of Good

Hello Friends!

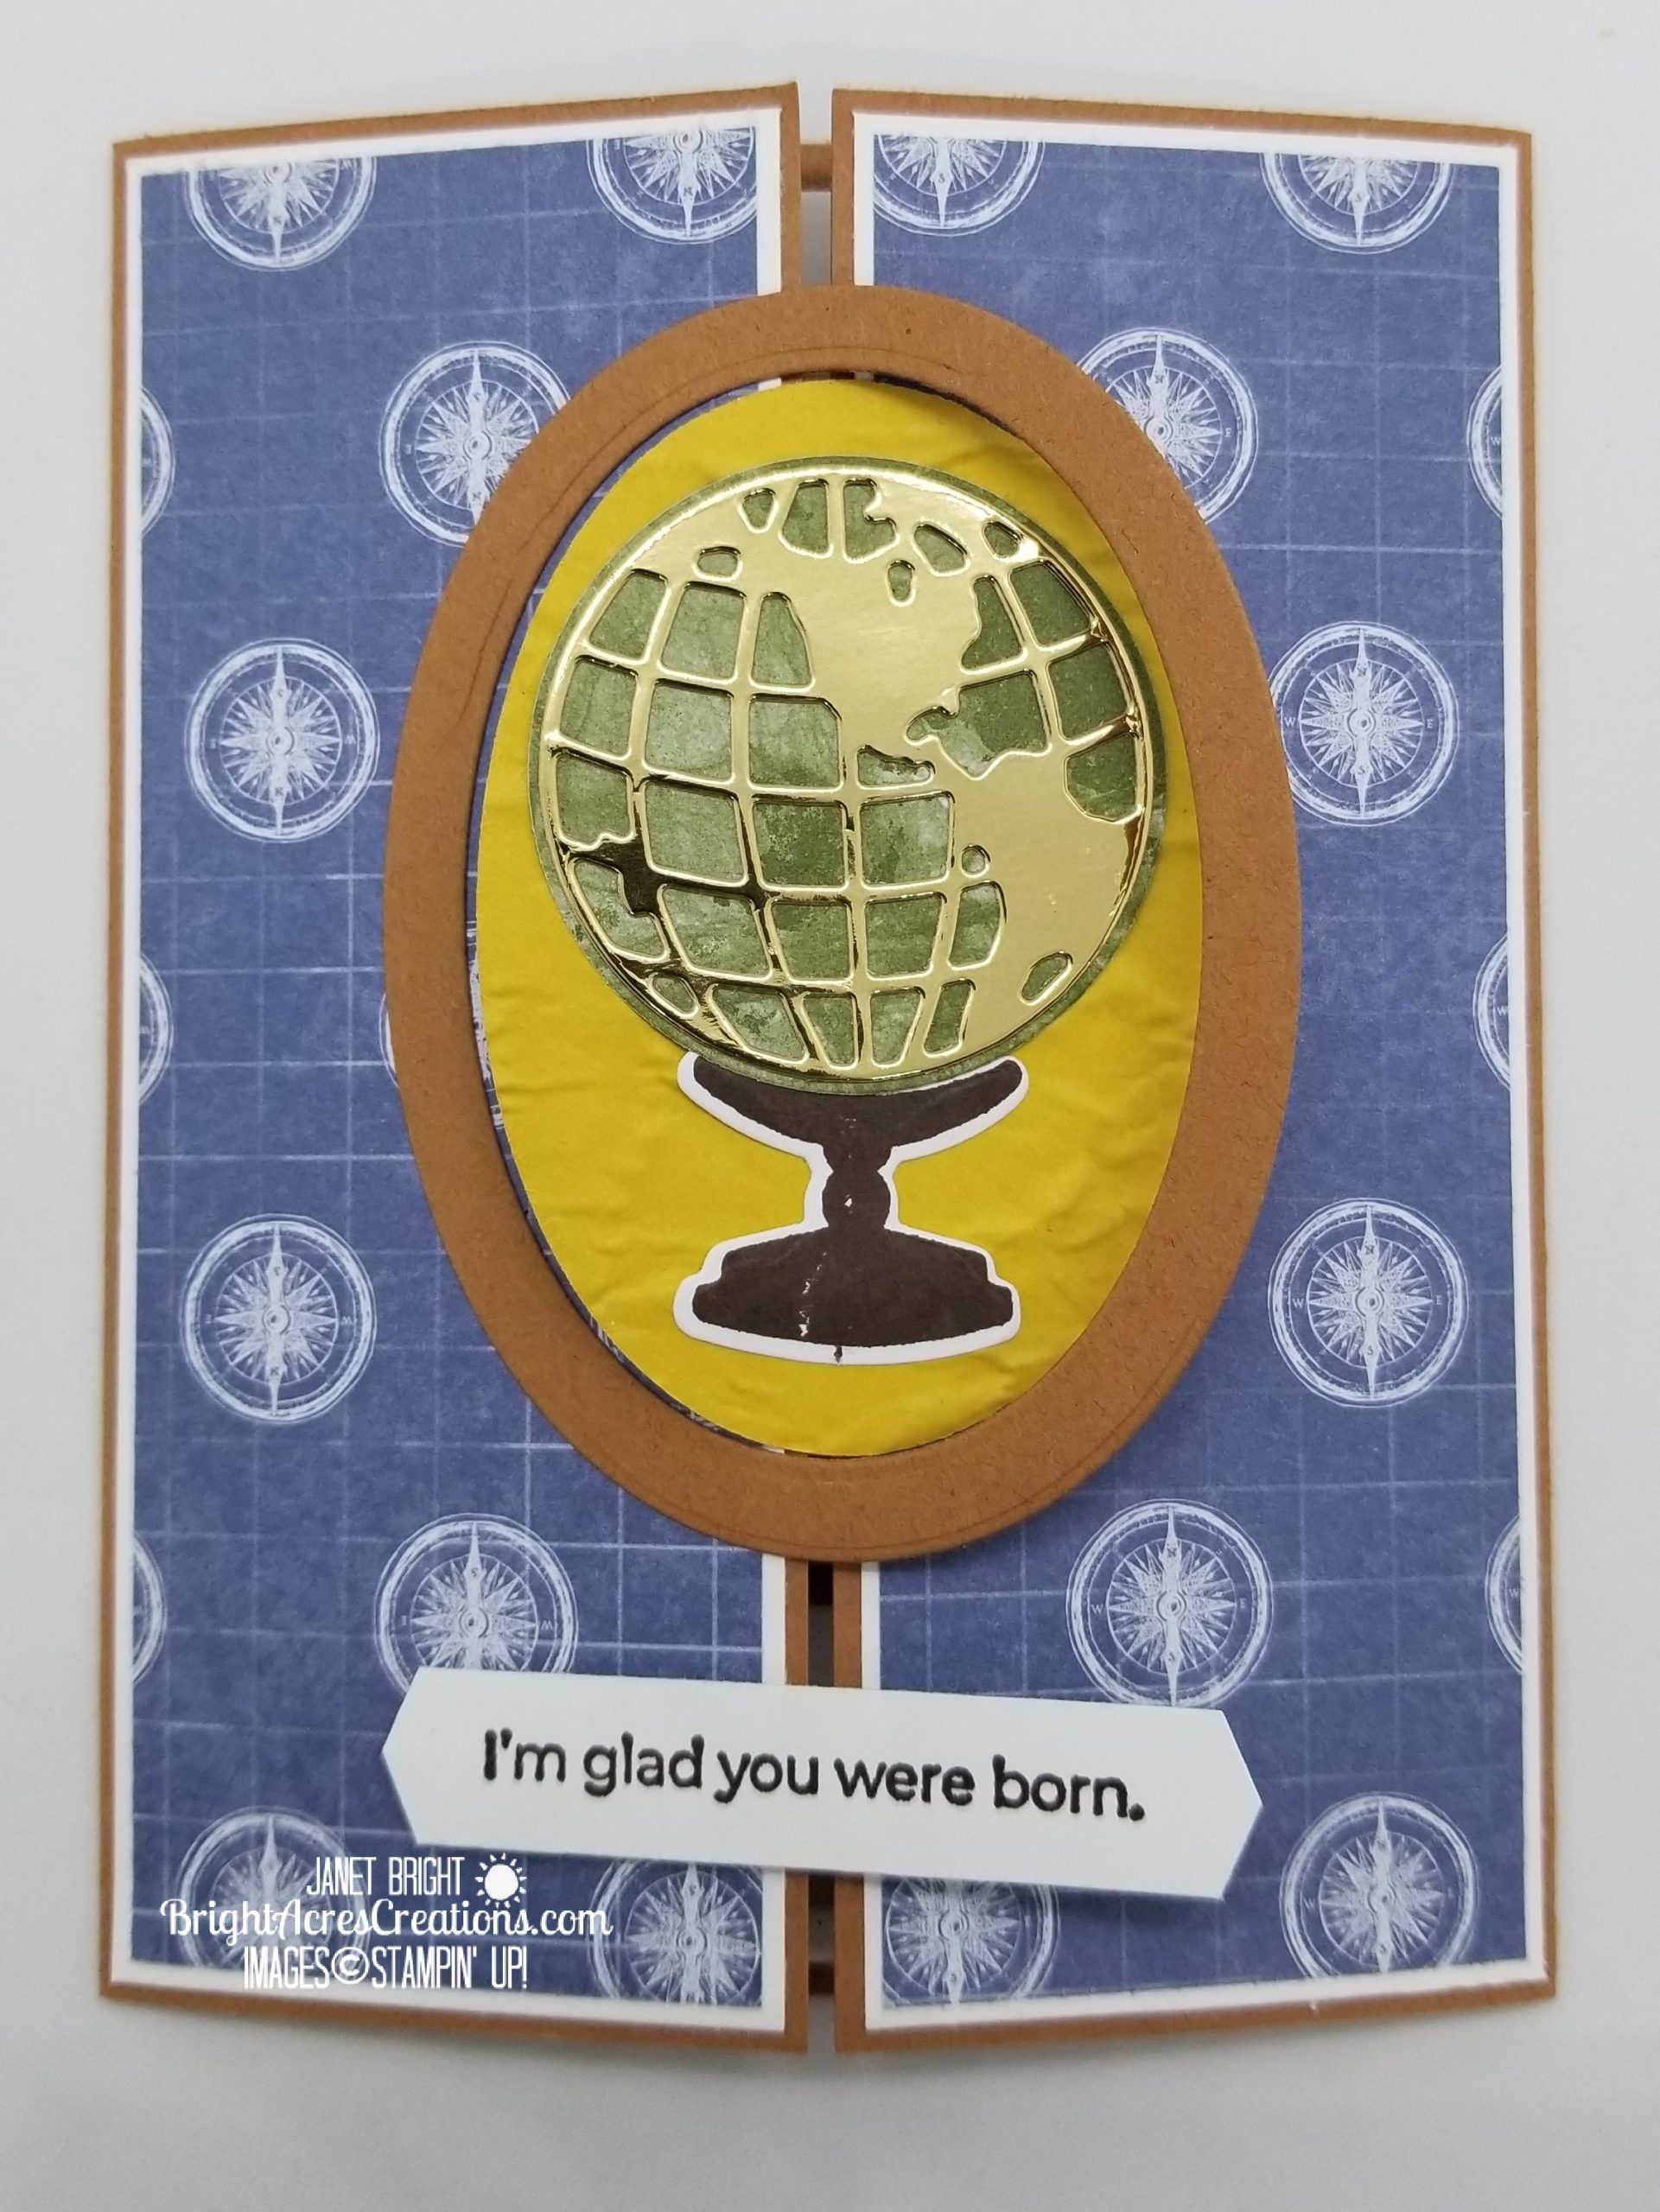
Today I’m here with a fancy fold, “Double Gate-Fold Card“. I made this featuring the World Of Good product series from the Stampin’ Up ’20-’21 Annual Catalog.  This suite of products is amazing for making masculine cards, scrapbooking, if you love to travel, or just a pick-me-up card for male or female.  The colors of the paper are so rich and much of the paper has brass foil accents.  I’d also like to point out the Old World Paper Embossing Folder.  I think this folder is becoming one of my favorites.  It adds so much texture!

I ventured into the world of video for this one.  It’s my first-ever YouTube video, so please be kind… I know there’s some room for improvement and I’ll be working on better quality as I go forward with videos!  In the meantime, feel free to snicker and snort, even laugh out loud. It’s okay, I can’t see you!!! Just please bear with me as I work out the kinks!!!

As I note in the video, the paper colors and measurements are listed below, and all of the other products used to make this card are below as well.  If you wish to purchase any of the items, simply click on a product link to be taken to my online Stampin’ Up store!  As always, I’m here to help!  If my instructions in the video aren’t clear, you need help placing an order, or you have other questions or requests, please click on the “Contact” button at the top of this post to reach out to me!

So, with no further ado, “HOW TO MAKE A DOUBLE GATE-FOLD CARD USING WORLD OF GOOD”!  (I’d say go pop some popcorn, pour yourself an ice-cold drink and settle in, but the video isn’t that long! 😉


Continue reading “How To Make A Double Gate-Fold Card Using World Of Good”

Using Embossing Paste For The Sweetest Time

Hello Friends!

I’m here today with a card made from some of my new products from the Holiday Mini Catalog (August – December, 2020 Mini Catalog).  I was recently questioned regarding embossing paste.  While I have it in my stash, I’ve used it very little.  So…what better time than now to break it out and use it again!  I was hoping to do this in video, but our satellite internet installation didn’t happen yesterday.  Unfortunately, it seems the satellite the technician was trying to reach was behind the horizon and he was unable to get a sightline on it.  We’ll keep trying, however.  Sooner or later, I WILL have faster internet!!! (I hope, I hope, I hope…)

But, back to embossing paste!

The embossing paste comes in White (matte) or Shimmery White (matte w/subtle sparkles), however, can be colored whatever color you want it to be with your Stampin’ Up re-inkers.  This is fantastic, as it then coordinates with all the other Stampin’ Up colors!

Just use a palette of some sort, i.e. a plastic margerine container lid works just fine!  Add a drop or two of ink from your re-inker, and mix with a palette knife.  You get to adjust the color darker or lighter, depending on how much ink you use!

I chose to use the brick pattern from Pattern Party Decorative Masks (oops…those masks are now retired – use Basic Pattern Decorative Masks instead!)

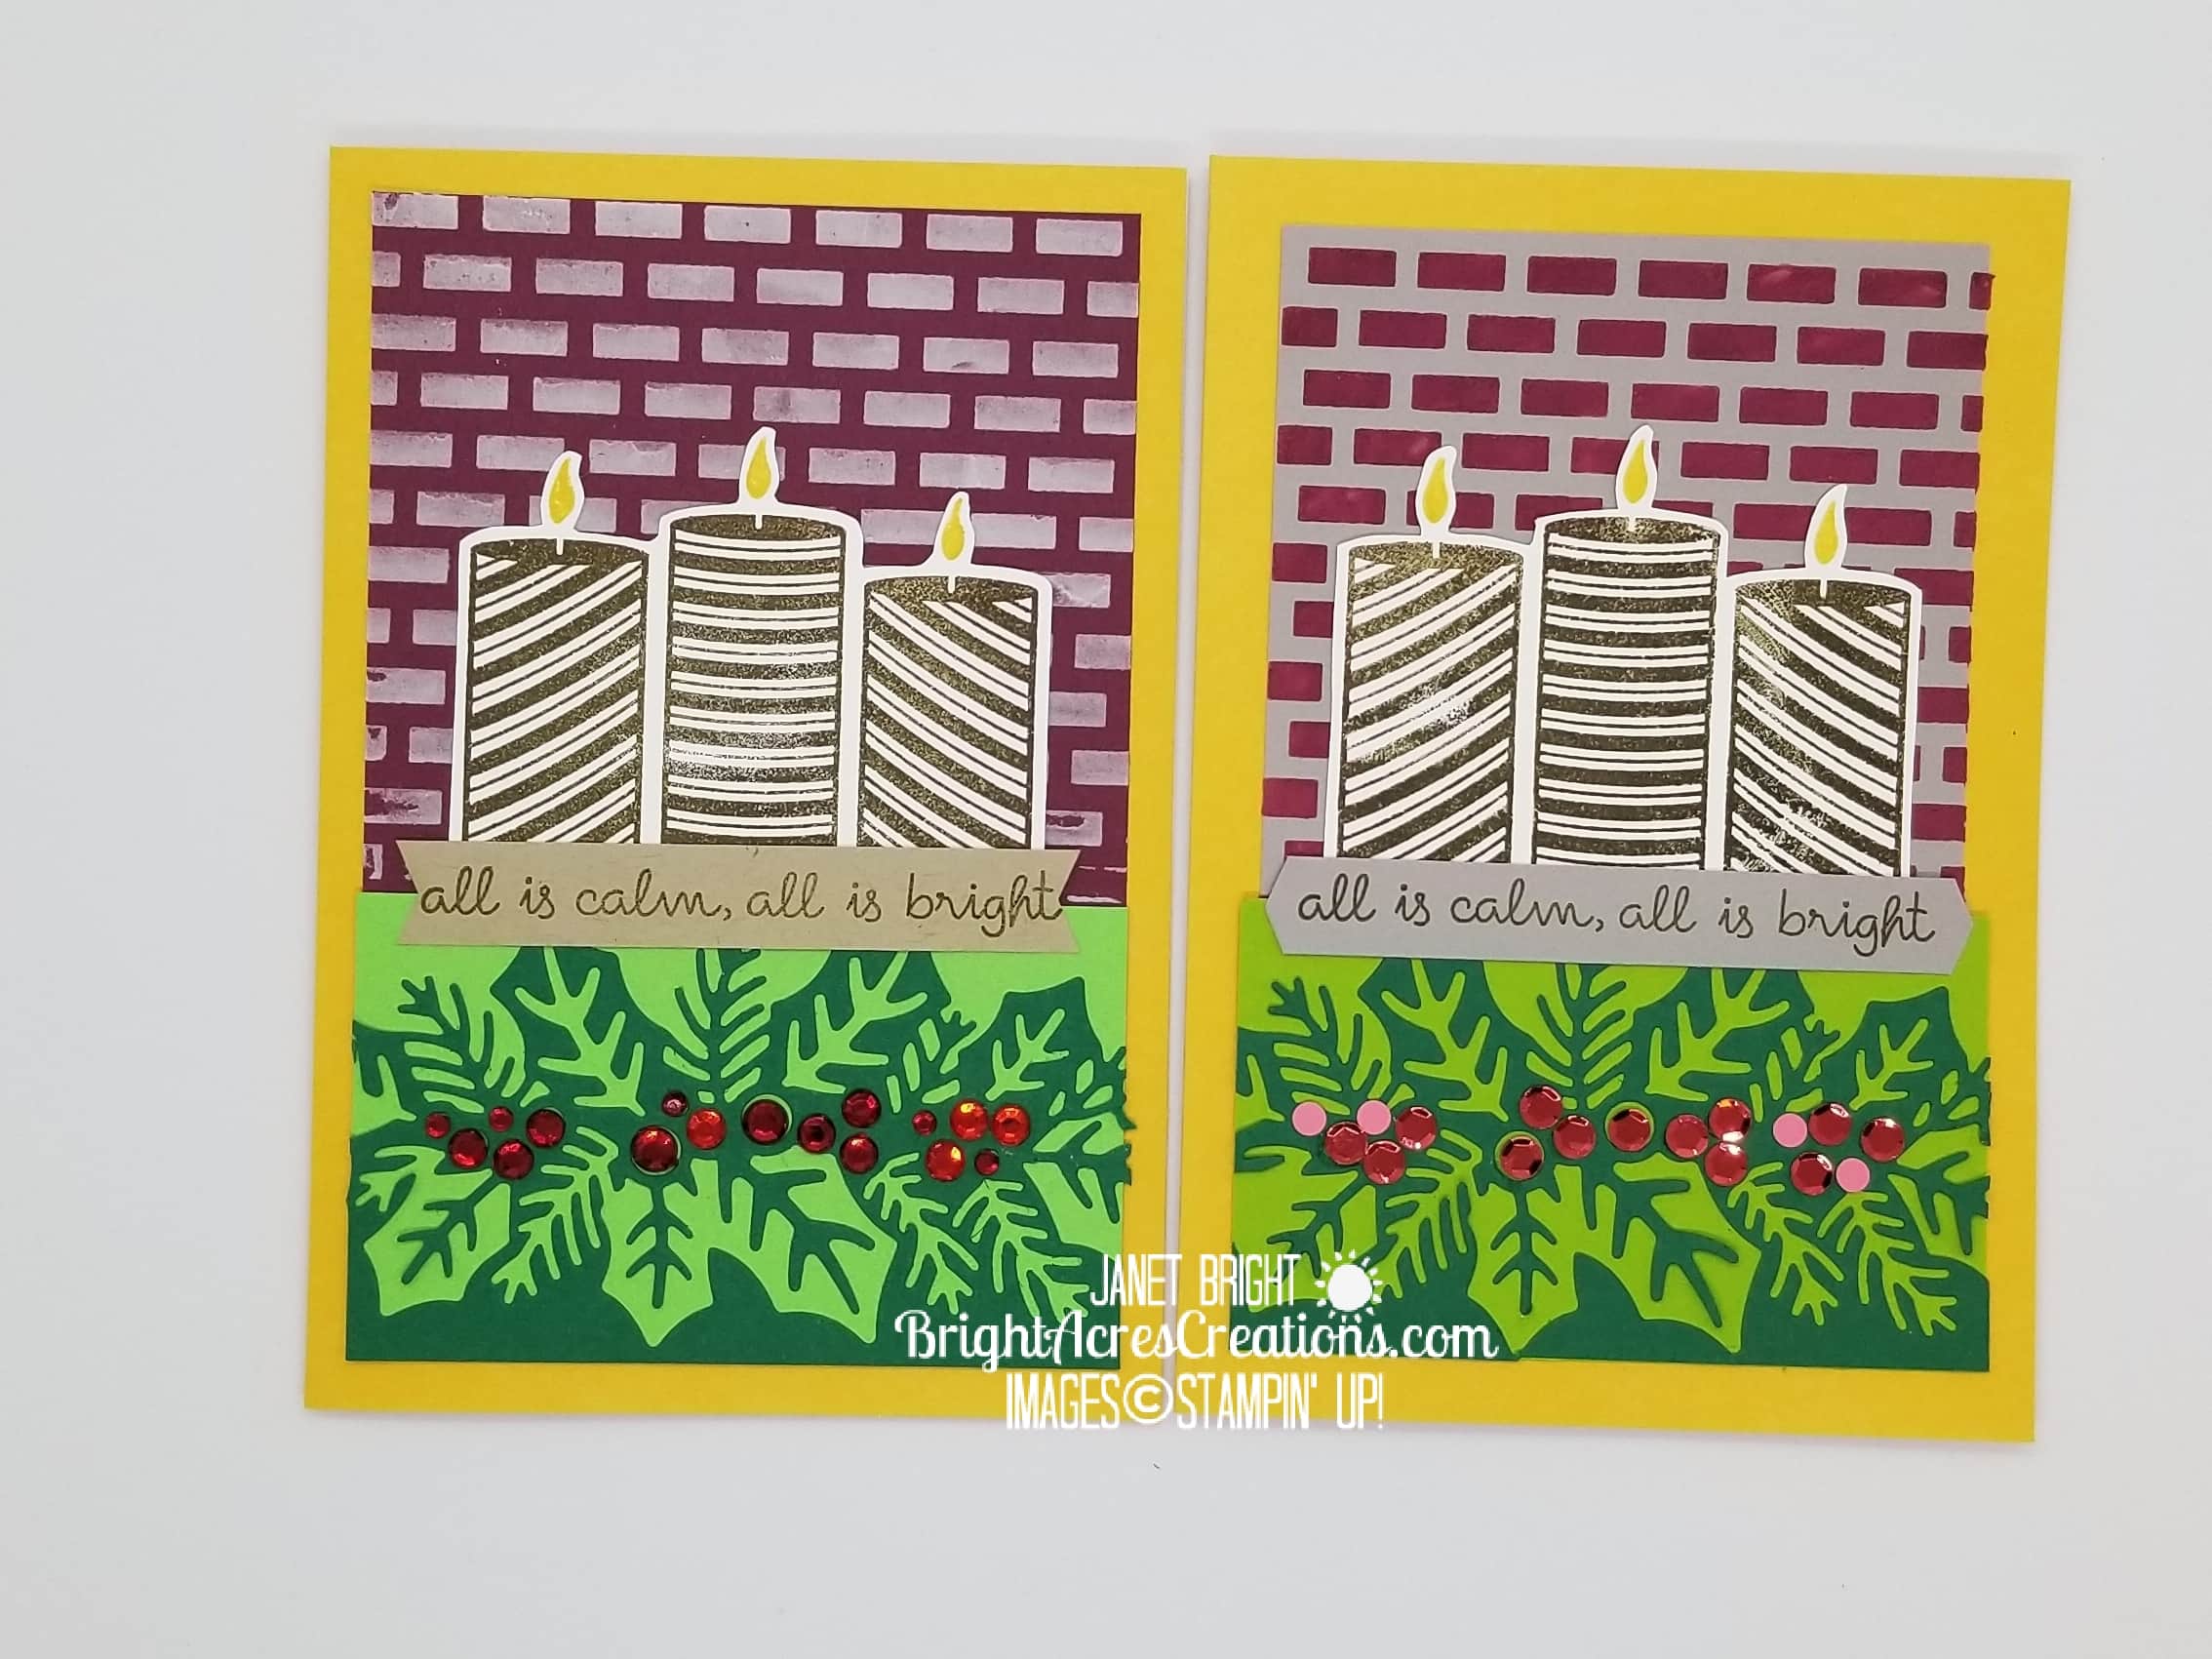
I made two different cards, one using Merry Merlot cardstock and white embossing paste.  The other I used Gray Granite cardstock and mixed some Merry Merlot ink into the embossing paste.

Simply hold the mask (stencil) in place over the cardstock.  A little bit of crafting tape or washi tape to hold it along the edges works well.

Smear the embossing paste over the mask as thick or thin as you like using a palette knife.

Lift the mask off and let the embossing paste dry (can be heat set if you’d like, but actually dries very quickly) for instant texture!  Then, simply clean your mask and tools with warm water!  A super easy way to make your own textured background.   So many possibilities!

These cards feature the Sweetest Time Bundle from the new Holiday catalog (Sweetest Time Stamp Set & Sweetest Borders Dies).

I also used the new Banners Pick-A-Punch for my sentiment tag on the front of the card.  I love the versatility of these “Pick-A-Punches”  Remember the other new one in the Annual Catalog, Lovely Labels Pick-A-Punch?  Options… I always like options and these punches deliver the options!!

Please remember that the new products I used here are not available for order until August 4…..

But, enough of all that… Let’s GET INKY!!!

Continue reading “Using Embossing Paste For The Sweetest Time”

How To Stamp An Extra Large Image PLUS NEW PAPER SHARE

Hello Friends!

I have so much news today that I don’t know where to start!  I’m going to start with pictures from a recent card-making frenzy, but I have some special announcements further down that you don’t want to miss!  Specifically, a NEW paper share of all the new Designer Series Papers in the Holiday Mini Catalog that hopefully you’ve all received by now!  If you haven’t gotten your catalog and would like one, please let me know and I’ll be sure to get one to you PRONTO!

Also, I’m going to have a few in-person classes coming up next month.  They will be small in size due to social distancing requirements, but I miss getting together with friends so decided to GO FOR IT!

Please scroll down for the full scoop on both of these announcements!

But right now, let’s get down to some inky business!

I’ve been working on thank you cards recently, as I have so much to be thankful for!

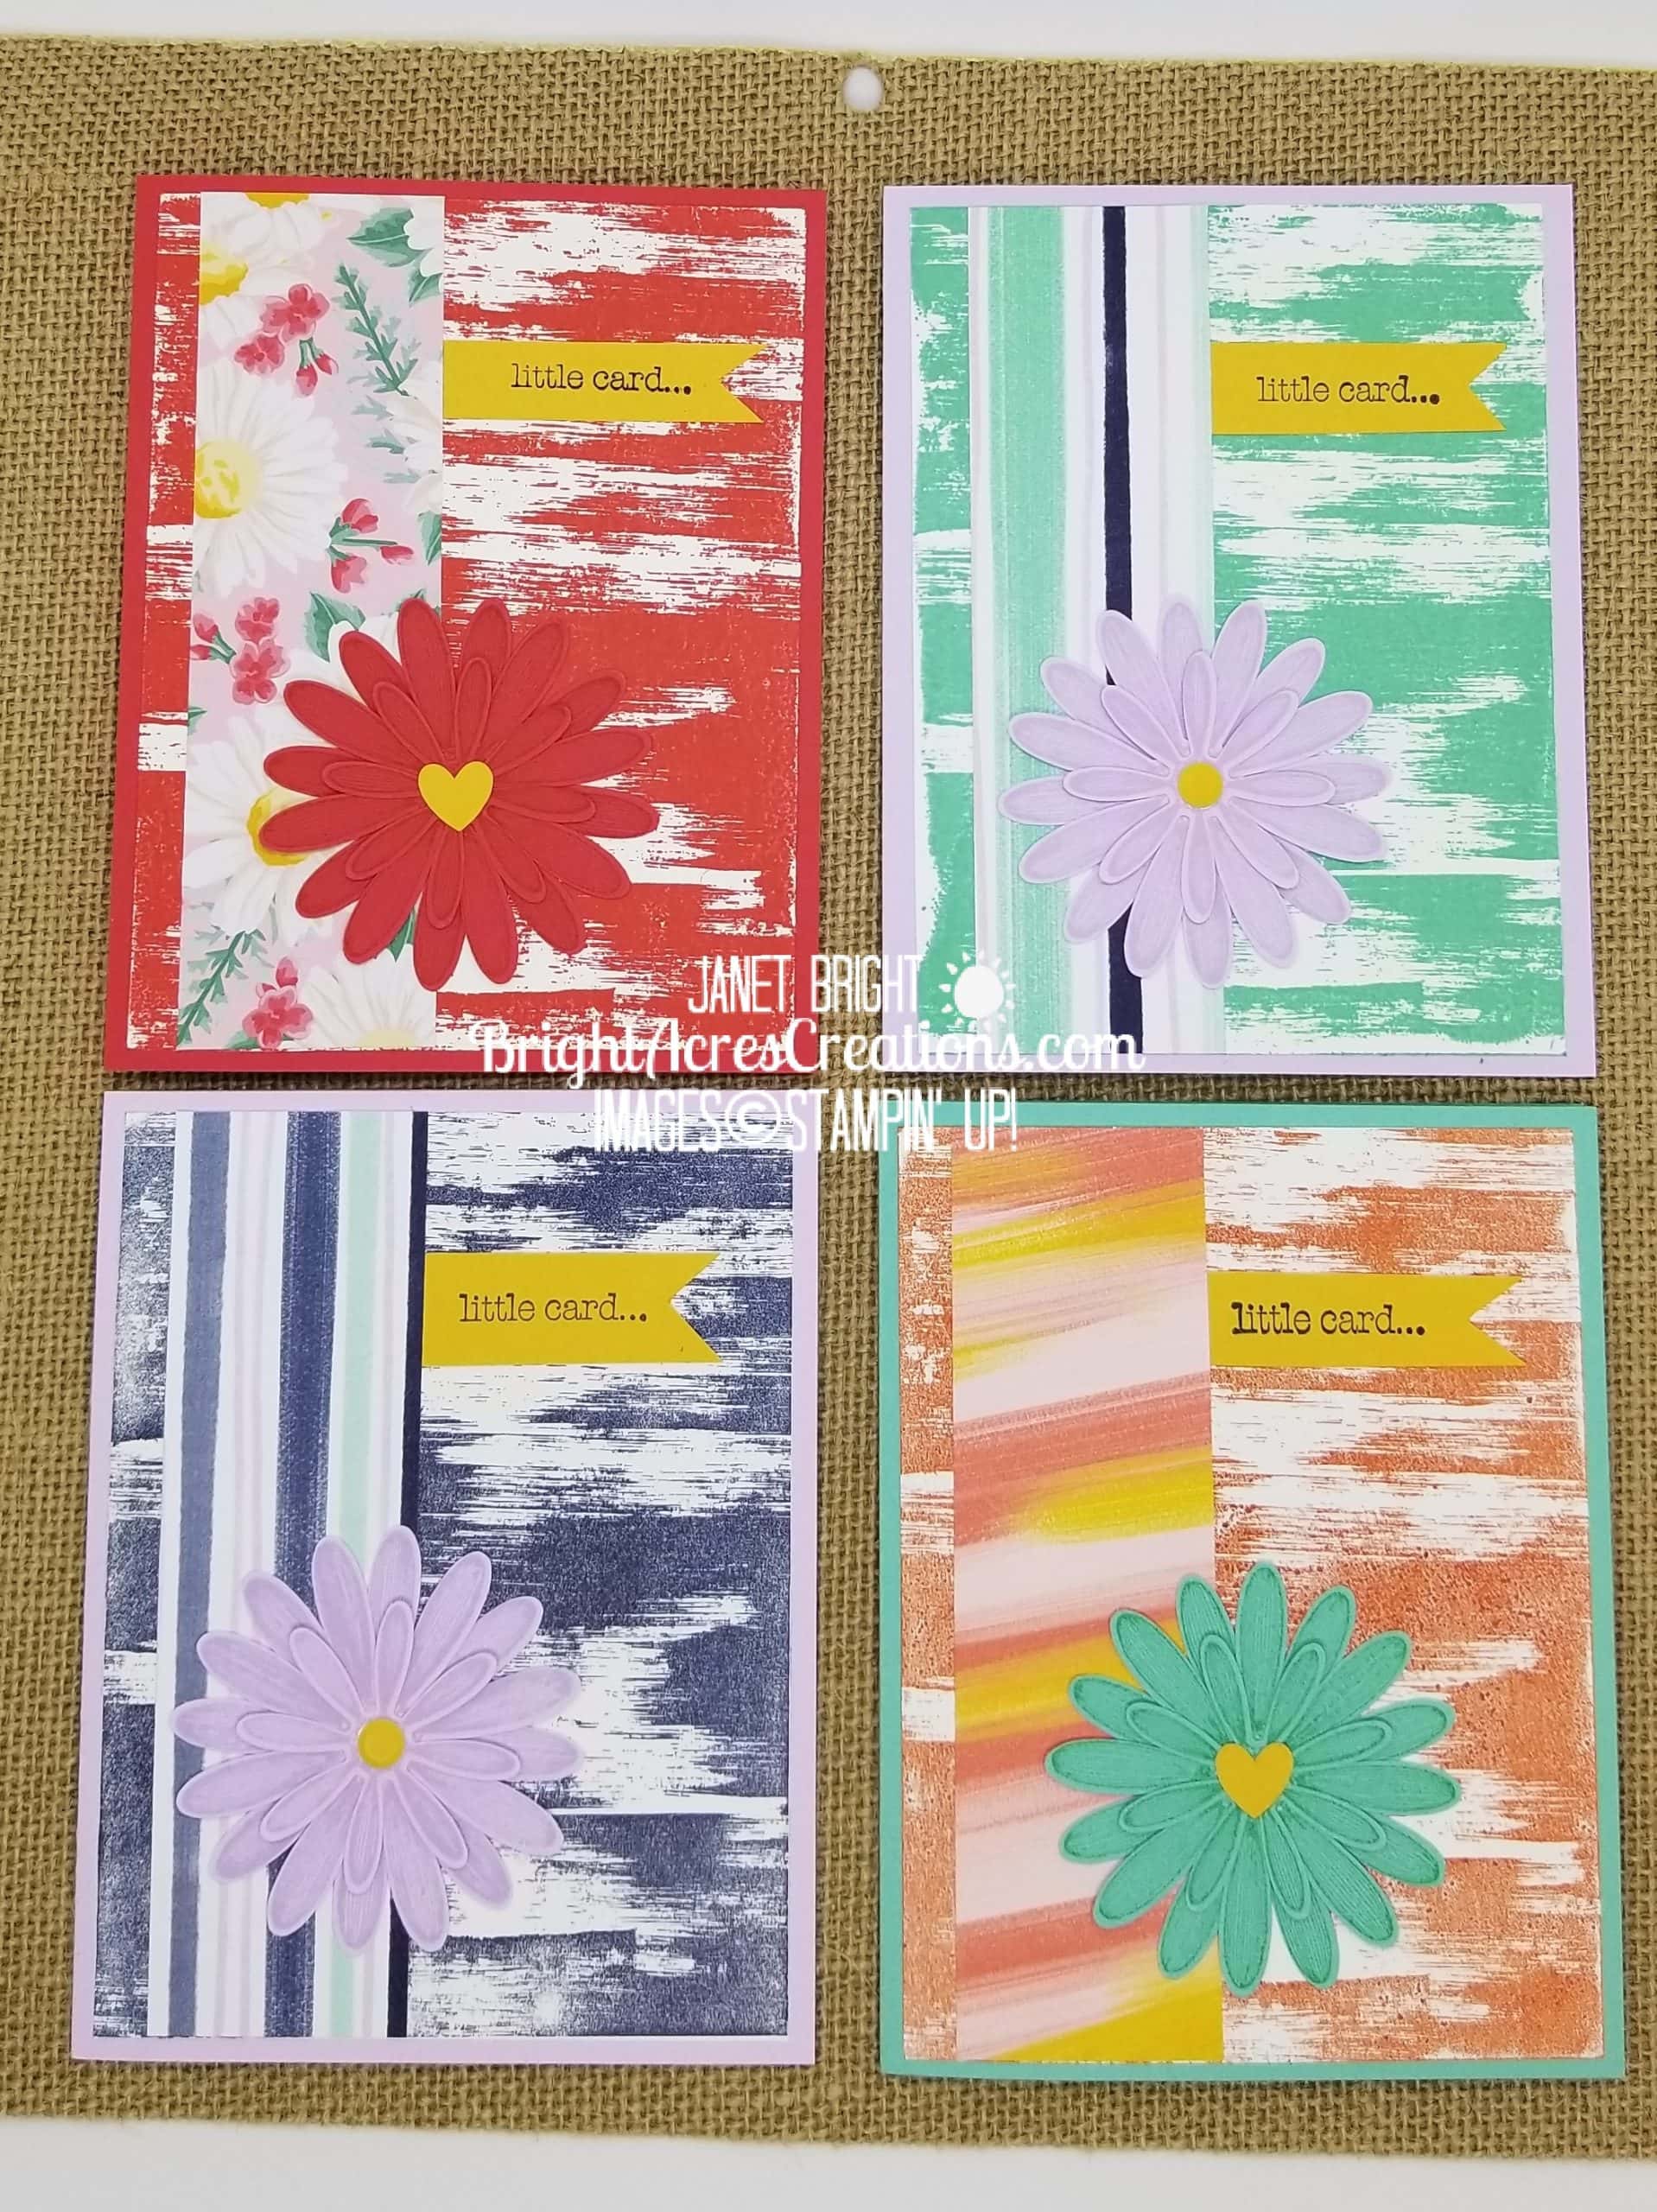
I don’t know about you, but thank you cards and birthday cards make up the bulk of my card needs and boy oh boy, do I need a lot of them this month!  In an effort to streamline those efforts, I elected to choose a single layout and repeat in different color combinations.  Here’s a few of them:

Continue reading “How To Stamp An Extra Large Image PLUS NEW PAPER SHARE”

June Paper Pumpkin Alternatives

Hello Friends,

I know.  The July Paper Pumpkin will be arriving in our mailboxes soon and I’m just getting around to my June Paper Pumpkin.  Such is life….  Better late than never though, right?

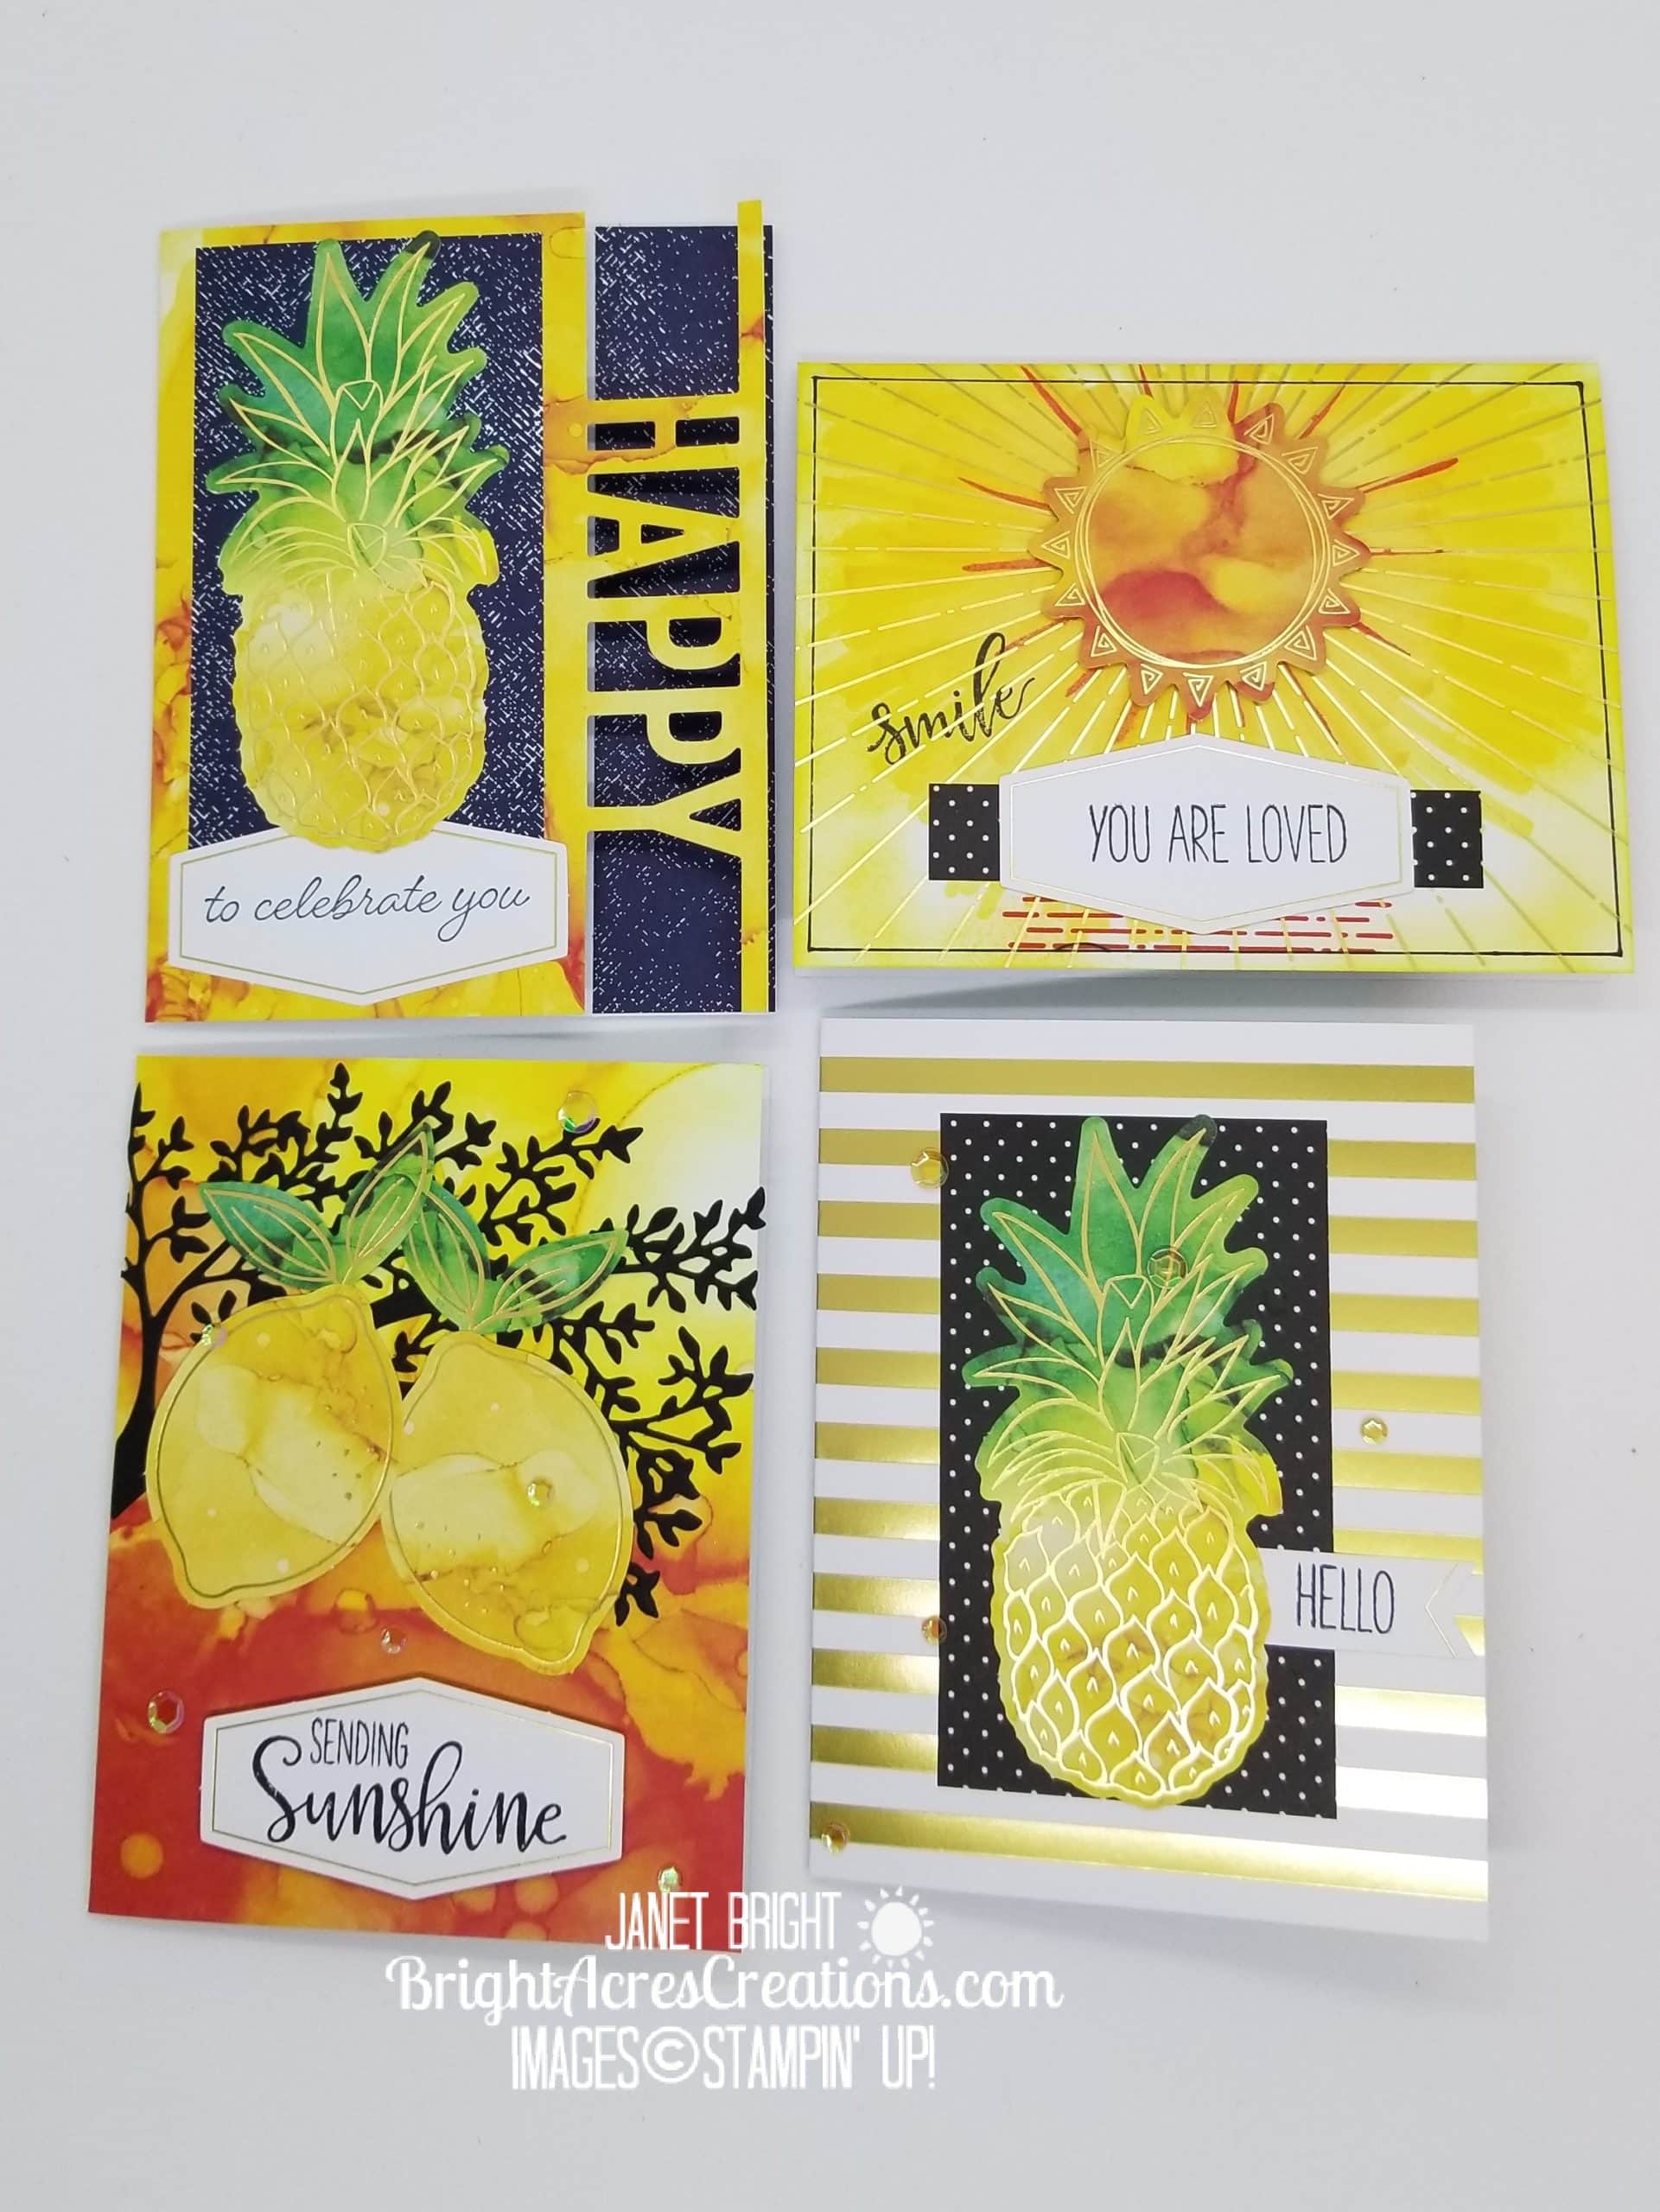
Today I sat down and made four alternatives using the contents of my “Box Of Sunshine” PP.  I love, love, love the hot colors used in this pretty yellow box.  I had so much fun with this kit!

Continue reading “June Paper Pumpkin Alternatives”

Use Your Scraps!!!

Hello Friends!

Today’s card #1 was inspired by a picture in the Stampin’ Up ’20 – ’21 Annual Catalog, page 100, using products from the Playing With Patterns Suite.  The picture in the catalog features one of the mini-Paper Pumpkin boxes that’s included in the suite, but I just really liked the bold, bright colors used and opted to mimic that picture, modifying it into a card with some little changes.

I was thrilled with the Playful Alphabet Dies in the new catalog, probably because I love words.  I know that likely sounds funny to most, but it’s true.  English classes were always my favorite subject in school from grade-school on, and spelling just came naturally to me.  I loved spelling bees and competed at a county level more than once.

And, I love, love, love different fonts.  Back in the “olden days” when the internet was new, one of the first things I stumbled upon was free fonts… oh my!  How the world just opened up and sang to me!  I don’t even want to look to see how much memory on my computer hard drive is occupied by fonts….let’s just say, I have a few to choose from when I sit down in front of my computer!

The Playful Alphabet Dies are just simple block letters, but boy do they make a statement on a card.  They pop right off the page at you, no other fancy image necessary to grab your attention!  So much fun!  This metal dies set includes multiples of the “popular” letters, making it so simple to lay out what you want to say and cut the letters all at once.

As noted in the second card below, the negative space can be used also for a whole different look which is so fun!  While Stampin’ Up didn’t ask me what I wanted, they certainly read my mind with the Playful Alphabet Dies!  A huge thank you to the Stampin’ Up design team for this one!!!

The Playful Patterns stamp set that’s bundled with the dies is a whole lotta fun also.  The background for my card base was stamped out in coordinating colors for fun patterns and the rest of the card design was based on that!

As far as the second card, it was made with leftovers from the first card, another stamped background on DSP, and a bit of ribbon!  DONE! I’ll admit it was sort of an afterthought, or I might have been more careful in lining up my letter dies for the first card.  But the way it is, gives it a bouncy, playful, “quirky” look that’s just kind of fun! Continue reading “Use Your Scraps!!!”

Assembling The Prized Peony 3D Flower

Hello Friends,

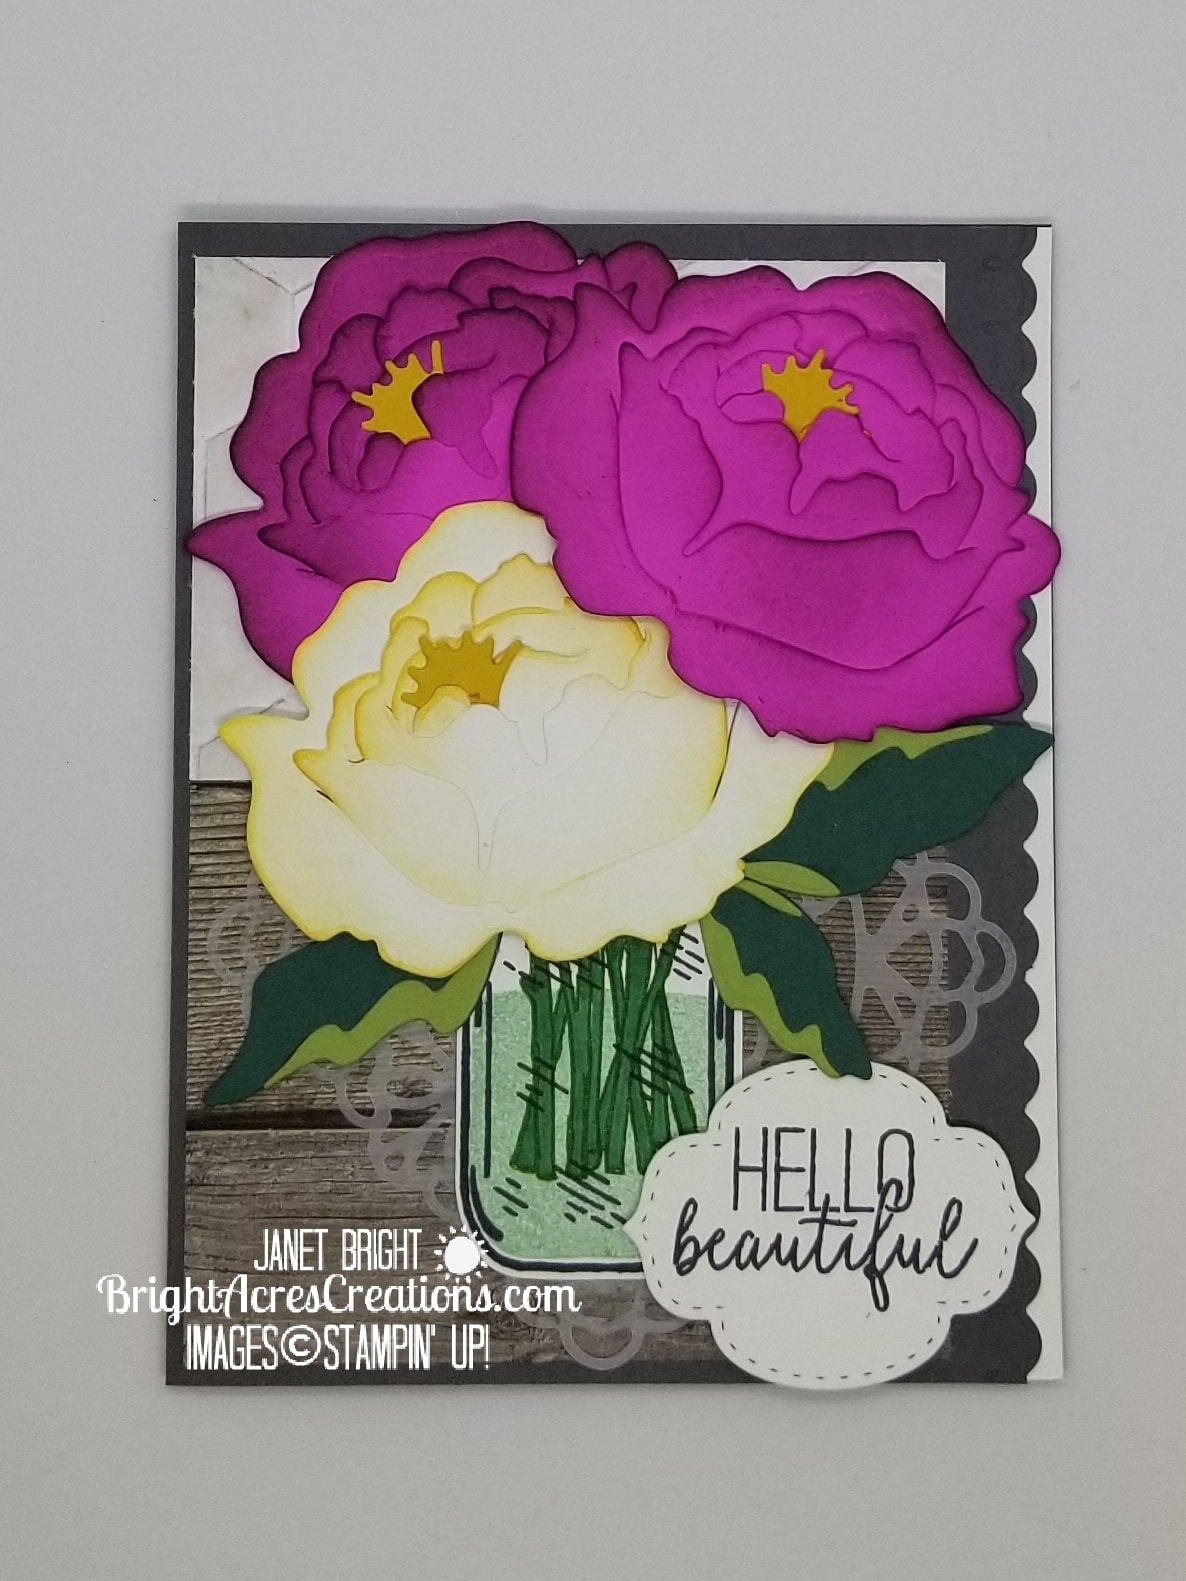
Today I broke out my Prized Peony stamp set and associated Peony Dies.  When I first opened the package of dies upon receiving them, I was a little intimidated by how many dies there are in that package (17 to be exact) and how to go about assembling the 3D Peony.  We’ve been so very busy and so it was sidelined until today.

After a little online research at Stampin’ Up, I was surprised to learn how very EASY it is to put this flower together!  And the results…. SPECTACULAR!!!

We have peonies in our flower beds (the deer do NOT eat these… YAY!!) and so I decided to copy the colors of ours.  Unfortunately, they’re done blooming this season and I didn’t get a picture of them.  They do put on a show!

I will do my best to walk you through the assembly process…. it really is SO VERY EASY!!! Continue reading “Assembling The Prized Peony 3D Flower”

Happy Birthday Blossoms

Summertime is heating up and so are the birthdays in our family!  Our family has kept the labor and delivery department at the local hospital busy during the summer months over the many years, i.e. we have a lot of summer birthdays!

The most recent birthday girl was our now 14-year-old granddaughter, Chloe!   She came into our lives when she was just 4-years-old…where, oh where, has the time gone?  She’s growing into an amazing, beautiful young lady with a heart of gold.  We certainly feel blessed to call her our granddaughter!

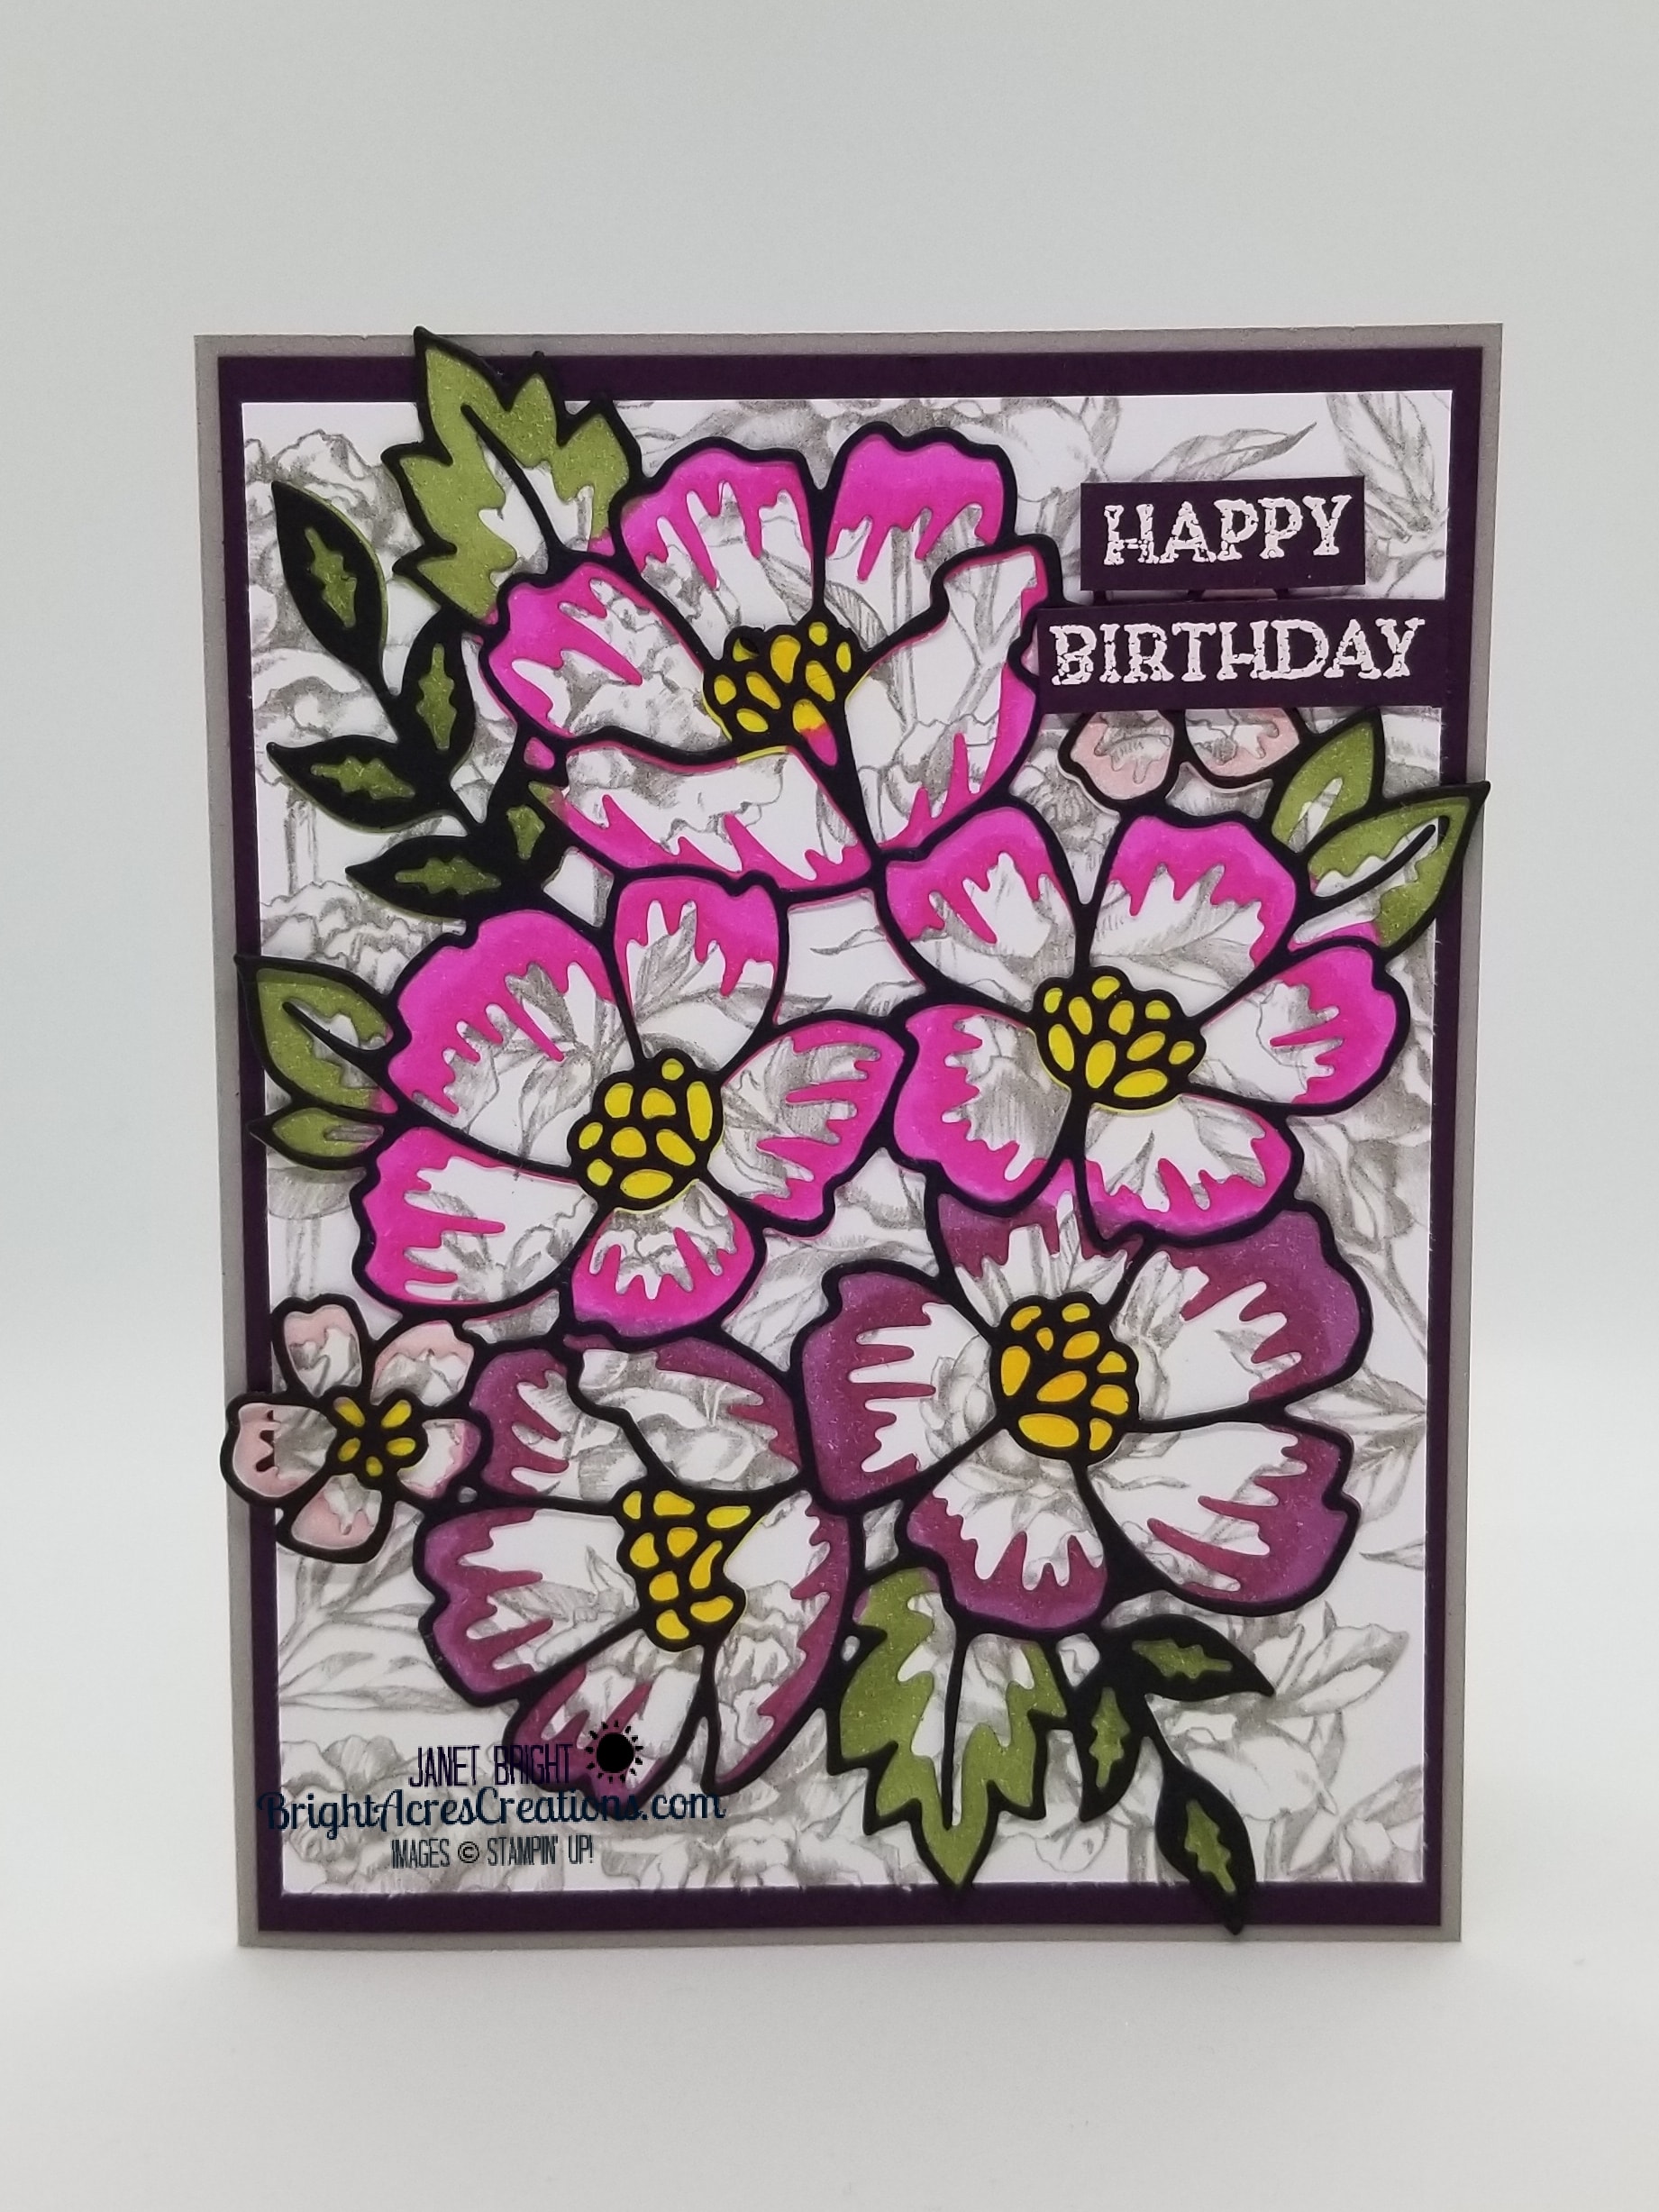
Today’s card was made for her and I chose Blossoms In Bloom, a new set from the 2020-2021 Annual Catalog. Continue reading “Happy Birthday Blossoms”