Hello Friends,
Continuing with the Christmas theme today… I can’t believe Christmas is only four months away! I’ve gotten my shopping started, but far from finished. I do have a pretty good jumpstart on cards, however! I guess if I’m going to have my Christmas shopping done by the end of this month, it’s crunch time! Amazing how time slides right by…
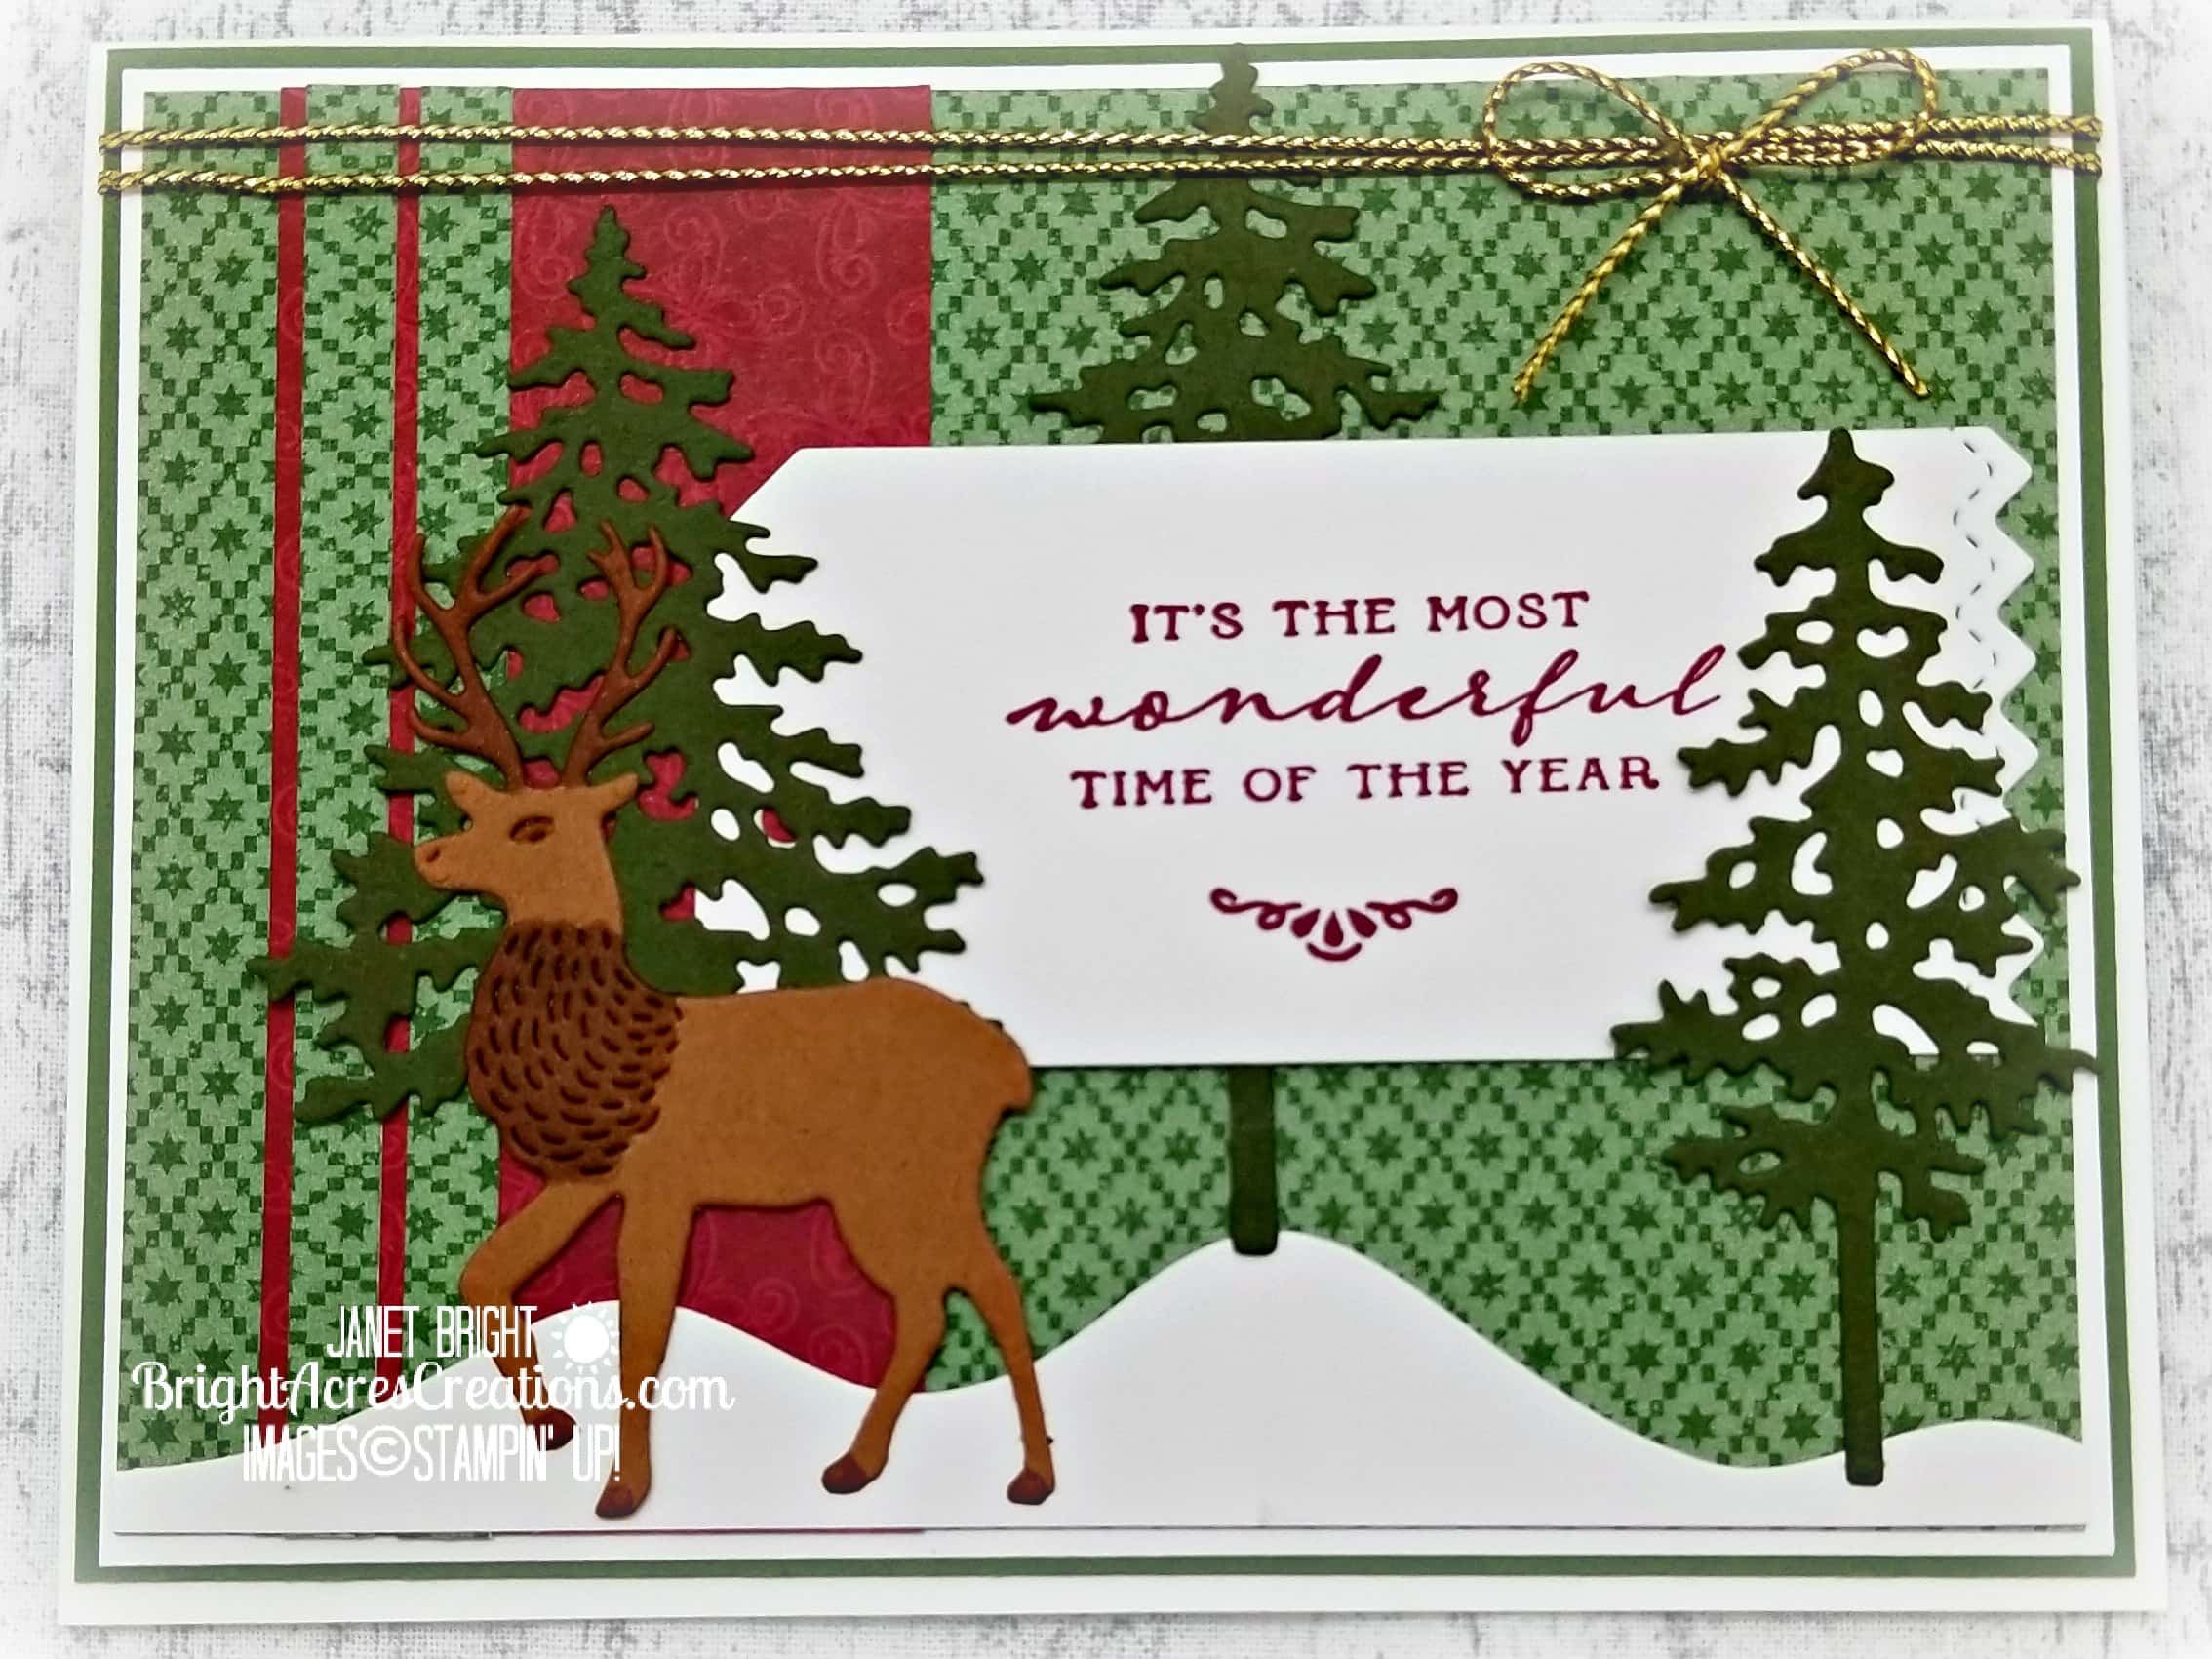
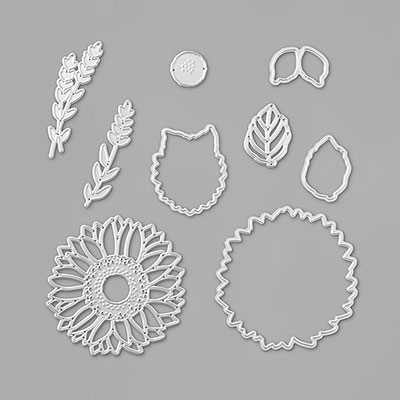
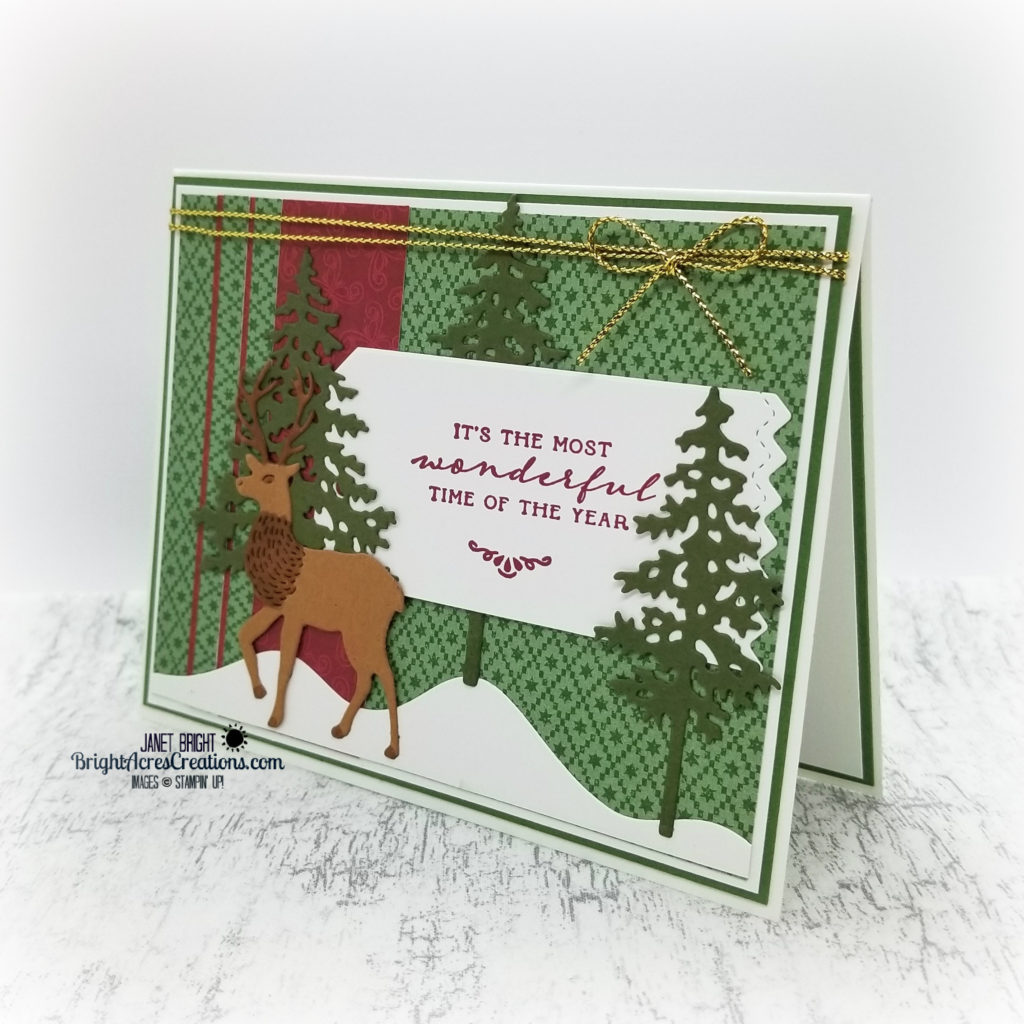
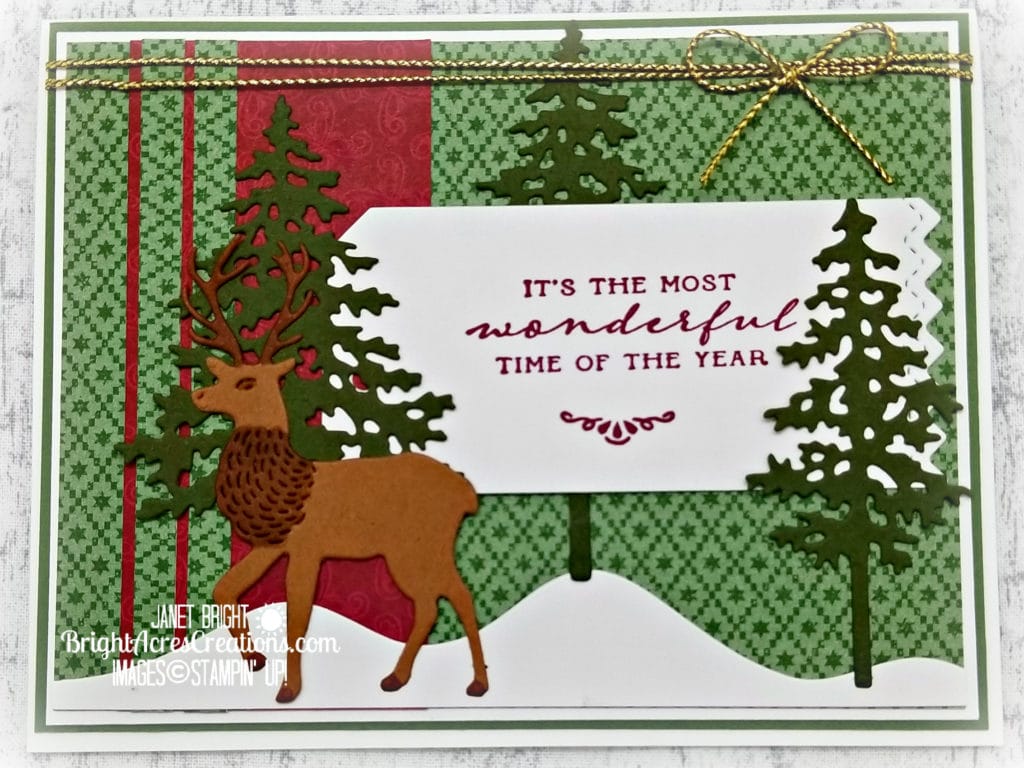
Today I’m sharing a card that I put together combining items from three different bundles from the Aug-Dec Mini Catalog (holiday catalog). That’s just what I do when I can’t decide on a single set! Hmm… let’s see how I can combine these! Anyway, this is what I came up with. As detailed below, I used North Pole Wonder Dies (deer, snow & sentiment tag), Pine Woods Dies (trees), and Wrapped In Christmas (sentiments).
I’ve been using so much Misty Moonlight and Snowflake Splendor, I decided it was time to get a little more traditional with the reds and greens.
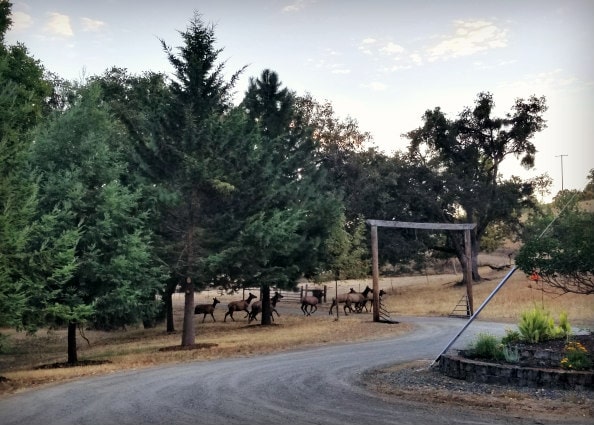
My reindeer actually looks more like an elk, as that’s what I’m used to seeing. I had to Google reindeer images to remind myself what a reindeer actually looks like, but I had already colored his chest hair darker (like an elk), whereas per Google images, a reindeer has lighter-colored chest hair. Oh well, in our neck of the woods, an elk is more appropriate! We’ve actually had to chase a dozen or so elk cows & calves out of our apple and pear trees in our yard several mornings recently. I wake up to the sound of branches snapping and elk “chirping” at each other. They’re fun to watch up close like that, but boy do they wreak havoc on the trees! Therefore, it’s up out of bed and a stroll out the door with a “get outta there ladies!”. They scatter readily, thankfully, up the hill with a leap over the fence and they’re gone until tomorrow morning! They’ve pretty well eaten up all the apples and pears already, so they’ll be on to greener pastures soon enough!
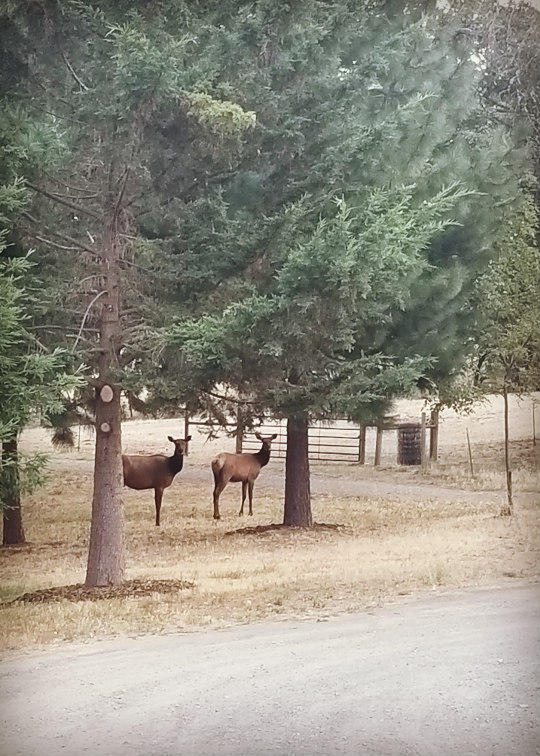
Dean managed to catch a couple pictures the other morning as they moved across the driveway and up the hill after being chased out from under the apple trees! A couple stragglers stopped to see if we really meant it, or if they could sneak back to the apples! Moments like this never get old…
It is frustrating at times, though. I love flowers and working in my flowerbeds, but then there’s this…
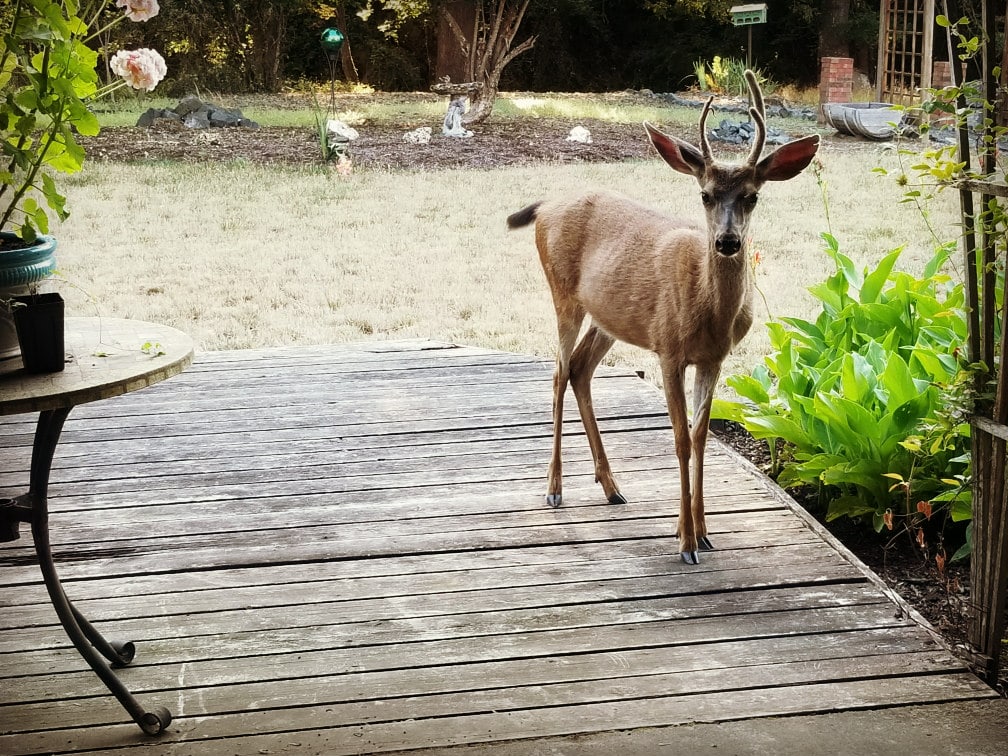
Yep, little buck just walked right up on the deck to check out my geranium. My plants don’t stand a chance! Later that evening, his big brother surveyed the scene from the hill behind our house, just waiting for me to finish watering so he could come help himself to whatever tender little morsel he chose! Dean took this photo and had to zoom in, so it’s a little fuzzy, but you can tell he’s just waiting for me to finish watering so he can come help himself!
Ahhh…. the country life! They eat my flowers and our apples, but at least they’re quiet!!!

But, back to my “elk” card! LET’S GET INKY!
Materials:
Stamp sets used:
Dies used:
- North Pole Wonder Dies (part of the Wishes & Wonder Bundle)
- Pine Woods Dies (part of the In The Pines Bundle)
Paper:
- Whisper White for cardbase (5 1/2″ x 8 1/2″ – folded at 4 1/4″); Mat 2 (5 1/4″ x 4″); sentiment tag cut with die from North Pole Wonders (2″ x 4″); snow cut with die from Pine Woods (1″ x 5 1/8″); inside sentiment panel (5 1/4″ x 4″)
- Garden Green Mats (cut 2) for base mat on front and mat on inside (5 3/8″ x 4 1/8″)
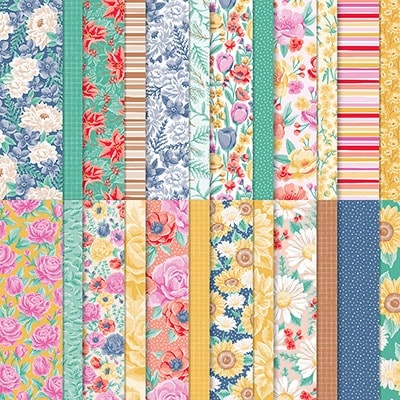
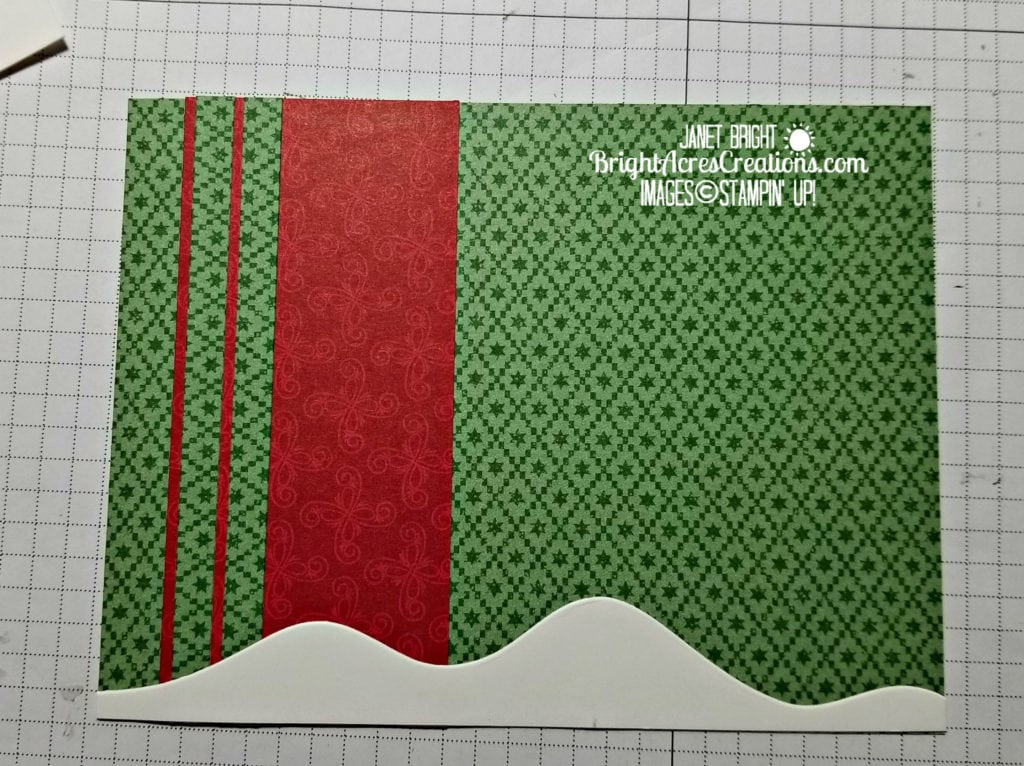
- Tis The Season DSP – green (5 1/8″ x 3 7/8″); red (1 3/4″ x 3 7/8″); two green strips (1/8″ x 3 7/8″)
- Mossy Meadow pine trees – scraps for 2 large and 1 small pine tree cut with dies from Pine Woods.
- Cinnamon Cider scrap large enough for detailed reindeer (elk) die.
Accessories:
- Gold Cord (part of Wonder Of The Season Ribbon Combo Pack) – two 6″ pieces and one 4″ piece.
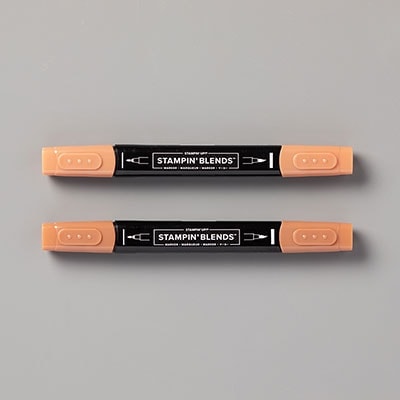
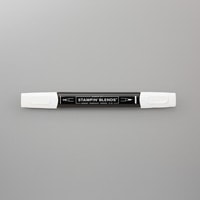
- Dark Cinnamon Cider Stampin’ Blends.
Putting it together!
- Adhere Whisper White mat to Garden Green mat.
- Adhere red DSP strip to left side of green DSP mat.
- Adhere both 1/8″ strips of green DSP to left side of red strip.
- Cut snow in Whisper White using North Pole Wonder Dies and adhere to bottom of DSP panel, clipping ends flush as needed.
- Cut tag in Whisper White using North Pole Wonder Dies and stamp with sentiment from Wrapped In Christmas, and flourish underneath, using Cherry Cobbler ink.
- Cut trees in Mossy Meadow using Pine Woods Dies – 2 large trees, 1 small.
- Cut reindeer (elk) from Cinnamon Cider CS using North Pole Wonder Dies.
- Use Dark Cinnamon Cider Stampin’ Blends to color chest hair, antlers and hooves.
- Adhere center tree – I cut the trunk of the tree off and placed the treetop at the top of the card panel, and the trunk on the snow hill. Otherwise, it’s too short and the tree has no trunk once the tag is placed.
- Adhere the tag over tree and to the right side of the card.
- Adhere the smaller tree to the right side.
- Adhere the second large tree to the left, covering the hole in the tag.
- Adhere reindeer (elk) over tree and tag. I lined the deer’s leg up over the tree trunk, as it looked funny to have the trunk sticking out from under the deer’s belly.
- Cut two pieces of gold cord 6″ long and adhere ends to back of card with tape or glue dots to make it appear you wrapped the cord around twice. (Doing it this way just saves ribbon/cord.)
- Cut a small piece of the cord, tie a small bow, and adhere with glue dot on top of cord.
- Adhere entire panel stack to front of card base.
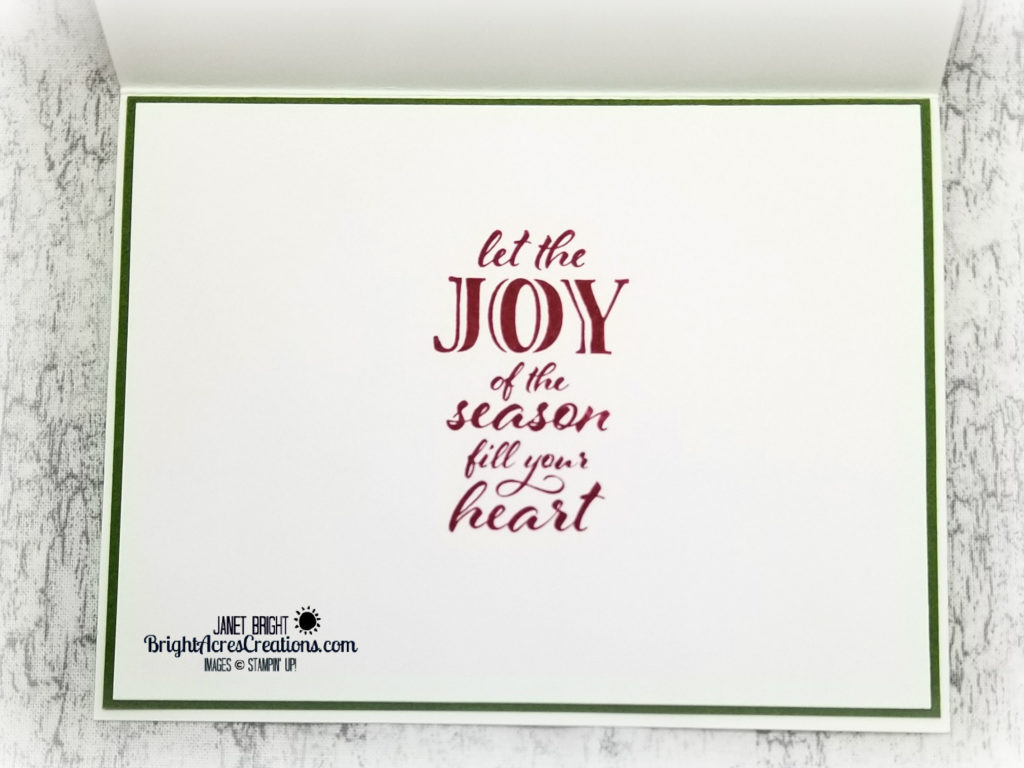
- For the inside of the card, stamp the sentiment from Wrapped In Christmas in Cherry Cobbler ink on Whisper White panel.
- Adhere sentiment panel to Garden Green mat and adhere that stack to the card base.
DONE!
I’m having so much fun hanging out in my craft room and making cards. I love Stampin’ Up! products not only because of their superior quality, but because they make it so EASY to create beautiful things with color coordination, product coordination…. etc., etc., etc.
If you’ve found yourself placing large Stampin’ Up orders and have no intention of ceasing that, I would love to chat with you about becoming a demonstrator. Many demonstrators are “hobby” demonstrators only – no classes, no blog, etc. That’s how I started my business… I wanted the demonstrator perks of a product discount, ability to order new products earlier than the general customer, and access to the Stampin’ Up community. It took changes at work, and my upline (who happens to be my sister, Krista Thomas of regalstamping.com) counseling me on the possibilities I was sitting on, to finally say okay… I’ll look at this as a business rather than a hobby; and brightacrescreations.com was born.
If you’re placing orders to average $100/month or more, we should seriously talk. I would love to build a team of friends who have the same interests as I, and seriously, no pressure to “get out there and sell, sell, sell!!!” Our creative journeys are our own, but if you’re interested in sharing your journey with like-minded friends, Stampin’ Up is a great company in which to do so. Hobby demonstrator or business-minded demonstrator… I’d love to have you on my team! If you’re interested at all… just click on that “Contact” tab up above, and I would be happy to discuss the fun and adventures, as well as business end of things!
Stampin’ Up’s Statement of the Heart is this:
“To love what we do and share what we love, As we help others enjoy creativity and worthwhile accomplishments, In this we make a difference”
In a time when this country is so polarized and politicized, finding common ground in creativity, I do think we can make a difference. Reaching out to others with beautiful cards, scrapbook pages, or whatever else, handmade and personal…who doesn’t like happy mail? And, if we’re honest, who doesn’t like to sit back and admire one’s own creativity…Wow! I made that! We can make a difference by promoting positivity. For me, that’s where I find satisfaction; i.e. I just put my heart and soul into that envelope that I just dropped in the mail…hopefully the recipient feels that! Or, I opened the world of creativity to someone new and now they can feel that same satisfaction! In this, I can make a difference…
If any of this appeals to you on any level, please reach out to me… we could make a wonderful team! Together we could definitely better our best!
Until next time, I hope you get INKY!
Janet

