Peace On Earth For The Holidays (Please?)

Hello Friends!

Today I’m taking a break from the hot temperatures and Fall cards with a mish-mash of Christmas inspired products.  Some are old, some are new, but all are current and orderable in the catalogs.  Over the past couple of posts, I’ve let you all in on the fact that I love being in the middle of a quiet forest.  With all that’s going on in this world, it’s a place to experience nothing but peace and quiet.  A place where one can just relax and breathe in the earthy, natural smells and bask in the gloriousness of God’s creation!

As I pondered the holiday season this year, I wondered if, by some chance, folks would put aside their differences and simply allow “Peace On Earth” (please?)…  Oh what a wonderful world that would be, right?

This card today was inspired by my love of forests and my prayer for God’s peace for every living soul on this earth!


LET’S GET INKY!

Materials Used:

Paper: 

  • Stampin’ Up (SU) Whisper White Cardstock for card base – 8 1/2″ x 5 1/2″; score and fold in half at 4 1/4″.
  • I chose to use a second Whisper White panel the same size as the card base front (5 1/2″ x 4 1/4″) on which to build my scene, to give the card more substance after embossing with the Evergreen Forest 3D embossing folder.  Also a scrap for the sentiment tag on card front.
  • Shaded Spruce – approximately half a sheet (8 1/2″ x 5 1/2″) to crop fur boughs from.
  • Cinnamon Cider – scrap for pinecones.
  • Early Espresso – scrap for pinecones.
  • Gold Foil Paper – scrap for stars and 1/4″ x 5 1/2″ strip.
  • For the card inside, you will need a Shaded Spruce panel 5 3/8″ x 4 1/8″, and a Whisper White panel 5 1/4″ x 4″.

Stamp Sets Used:

  • Wrapped In Christmas (front sentiment)
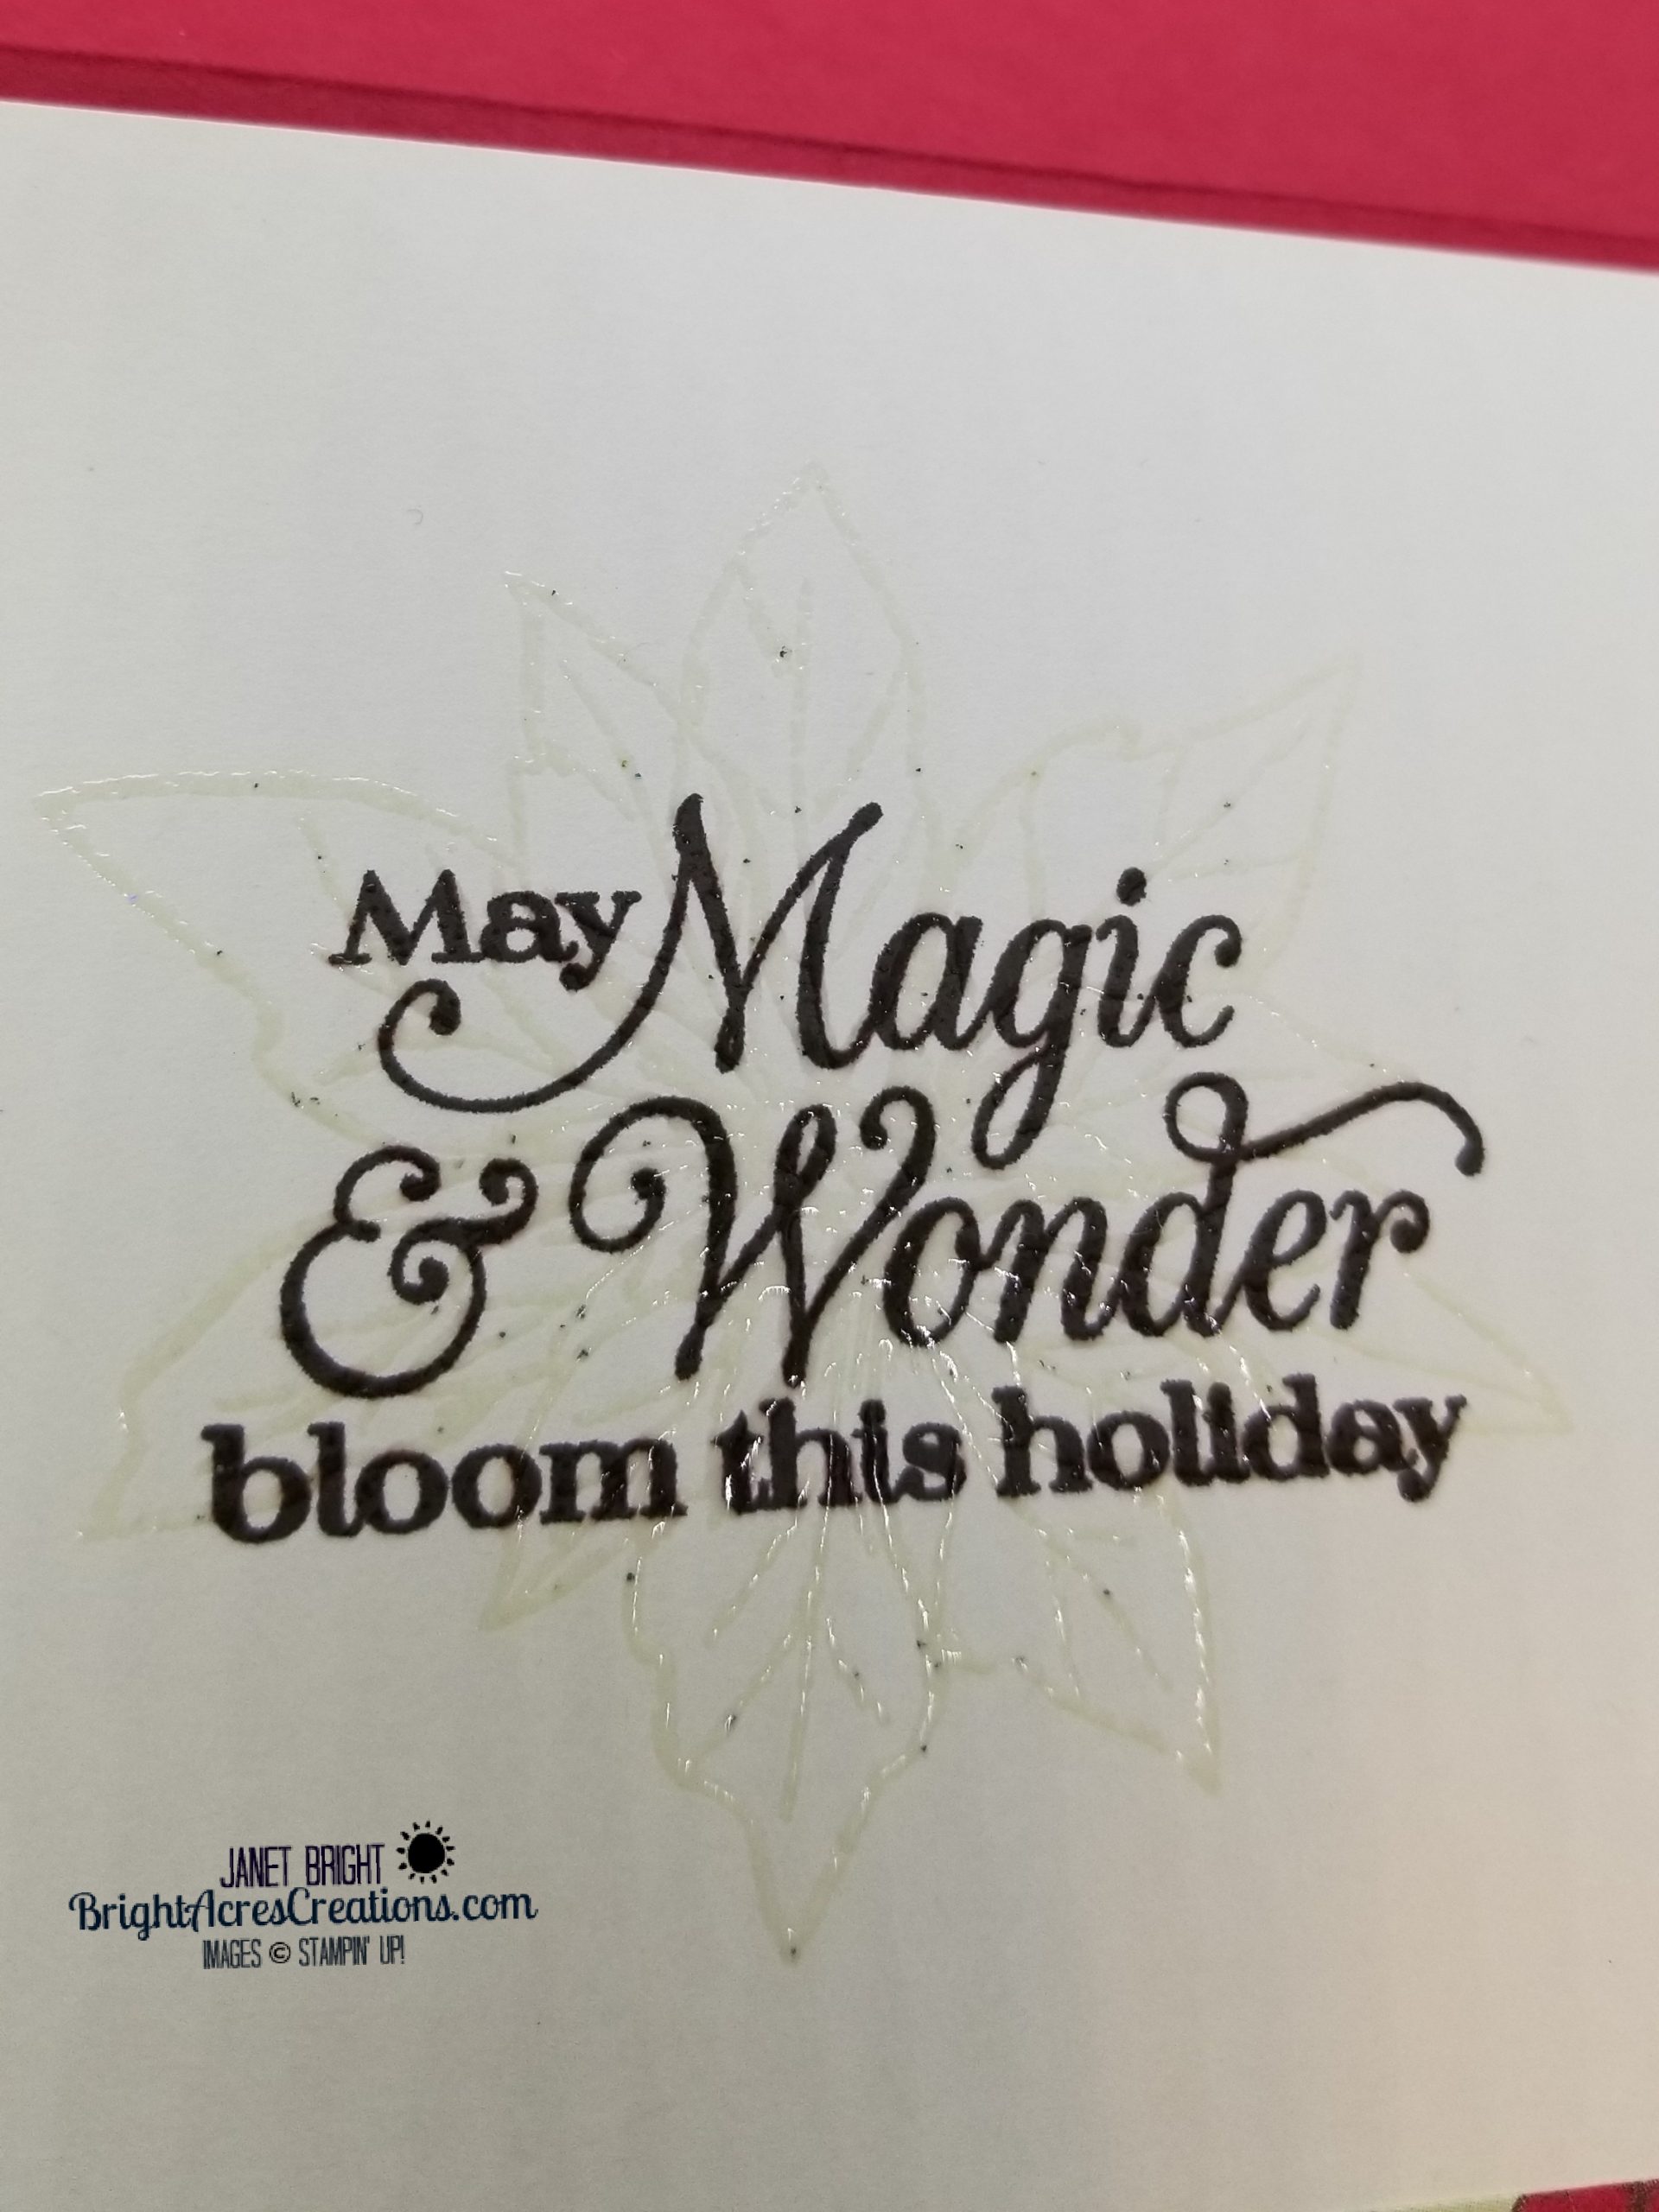
  • For Unto Us (inside sentiment)

Ink:

  • Early Espresso

Accessories:

  • Beautiful Boughs Dies
  • Stitched Stars Dies
  • Evergreen Forest 3D Embossing Folder
  • Gold cord – Wonder Of The Season Ribbon Combo
  • Real Red 3/8″ Sheer Ribbon
  • Mini Glue-dots

Putting It Together:

  1. Emboss the Whisper White 5 1/2″ x 4 1/4″ panel using the Evergreen Forest 3D embossing folder.  (If you choose to omit this panel, then emboss the front of the card base and build upon that.)
  2. Using the Beautiful Boughs Dies and Shaded Spruce CS, crop out 3 of the larger branches, and 2 of the smaller branches.
  3. Use Snips (scissors) to cut the branches apart into separate boughs.
  4. Arrange these across the top of your card panel and adhere down.
  5. Adhere the 1/4″ x 5 1/2″ strip of Gold Foil Paper across the top, over the top of the bough ends to hide them.
  6. Crop out the pinecones using the small pinecone dies in Beautiful Boughs.  The bottom layer is Cinnamon Cider, top layer is Early Espresso. (Cut 2 of each)
  7. Apply a 6 1/4″ piece of Real Red Sheer Ribbon over the top of the Gold Foil Paper, attaching the ends to the back of the panel with glue dots or tape.  (Layering over the gold foil gives a pretty sheen under the sheer ribbon)
  8. Adhere the pinecones in a “cluster” just right of center.
  9. Tie a small bow with a piece of the Real Red Sheer Ribbon and place over the top of the pinecones.
  10. Stamp the “Peace on earth” sentiment from “Wrapped In Christmas” in Early Espresso ink on a scrap of Whisper White CS.
  11. Crop the sentiment out using the tag die in the Beautiful Boughs Dies.
  12. Ink the edges of the tag with Early Espresso ink and a sponge.
  13. Apply tag to front panel.
  14. Crop three small stars and one medium sized star from Gold Foil Paper using Stitched Stars Dies.
  15. Cut 4 short pieces (approx. 2″) of the Gold Cord and using a glue dot or liquid glue, attach to the back of each star.
  16. Use Mini Glue Dots to adhere ends of cords up amongst the fir boughs.
  17. Cut 3 more pieces of the Gold Cord, approx 3 – 4″, and tie three small bows.  Trim ends as needed.
  18. Use Mini Glue Dots to adhere the bows to the tops of the strings suspending the stars. (I tucked one of the strings up under the pinecones, thus the need for only 3 bows!)
  19. Use a fine-tip glue bottle or Mini Glue Dots to adhere the stars to the card front.
  20. Adhere the 5 1/2″ x 4 1/4″ now fully embellished panel to the cardbase front.
  21. For the card inside, stamp the sentiment from “For Unto Us” in Early Espresso on the Whisper White panel.
  22. Adhere to the Shaded Spruce mat and adhere that to the cardbase inside.

Done!!

This card is a little bit labor-intensive with all of the die-cutting and glue-dotting of the strings, bows and stars, but I’m pleased with the end-result!  Let me know what you think!

And, if you’re a praying person, let’s all join in praying for peace on earth!!!

Until next time, I hope you get INKY!

Janet

Product List

Stampin Up Poinsettia Petals With Free PDF instructions

Lots Of Layers With Poinsettia Petals

Hello Friends!

I’ve been busy in my craft room playing with all of my new “toys” from the holiday mini catalog.  Today I wanted to share one of the cards I put together using the Poinsettia Place suite of products.

I love lots of layers and textures on the cards I create and this set of products delivers all of that and more!  Take a close look at the Beaded Pearls in the center of the poinsettia; they are soooo PRETTY!

Stampin Up Poinsettia Petals With Free PDF instructions

I also used Versamark ink and clear embossing powder to create a watermark effect over the inside sentiment.  It looks so pretty, though doesn’t show well in the pictures.  Give it a try and see what you think!  Just make sure your sentiment ink has dried well before over-stamping with the Versamark!

Also, as you can tell in the picture, my clear embossing powder is quite old and over the years has apparently gotten some little bits of glitter or other colored embossing powder mixed in.  This actually prompted another trip to my Stampin’ Up store (darn it!) to buy some fresh embossing powder (and a few other things), as well as a good cleaning of my embossing tray that I use!  Dean says the specks just give it a more custom, one-of-a-kind look!  He’s right about that!  It will be one-of-a-kind, as I’m going to wait for my fresh EP to arrive before making duplicates of this card!


I’m feeling pretty good right now that I’ve gotten a little jumpstart on Christmas cards and I even started my Christmas shopping the other day!  Who knows…Maybe for the first time EVER, I actually will get all of my Christmas shopping done by the end of August!  Getting it wrapped may be a different story, however!

So, what about you?  Have you had a chance to play with any of the new holiday products yet?  If you haven’t placed your order yet, I would encourage you to do so in order to get a head start on the holidays yourself!

It feels pretty good to be ahead of the game!  I can see myself now… baking, decorating, crafting, leisurely wrapping gifts with Christmas music playing in the background and actually enjoying the holidays rather than hustling to get everything done at the last minute (which is what I’ve done the past few years and is not enjoyable!)

At any rate, I hope you craft today – for the holidays or otherwise.  Take some time to slow down and enjoy the process, always remembering the reason for the season!

LET’S GET INKY!

I’ve created a PDF file with all the specific measurements and instructions for making this card which you can download and print if you’d like!  Just click below and you’re on your way to an early start on holiday prep!


Poinsettia Petals Color Block Card


If you have questions, please use the “contact” tab at the top of this page and reach out to me.  I’m always happy to help you in your crafting endeavors!

And, please let me know in the comments below if you like the downloadable PDF, or prefer all the directions written out on each post!

Until next time, here’s to hoping you get a little INKY!

Janet

Product List

Shaker card using Stampin' Up Peace & Joy Bundle

A Shaker Card The Bright Way Using Peace & Joy Bundle

Hello Friends!

I’m back today with a shaker card that I made using the Stampin’ Up Peace & Joy Bundle from the August-December 2020 Mini Catalog, from which you can start ordering TOMORROW! (August 4)

It’s been a little difficult for me to wrap my head around making Christmas cards, as it’s been so dang HOT outside!  We finally finished putting all of our hay in the barn a couple days ago and I have not been loving the heat!  I don’t like haying season to begin with; add 100-degree temperatures to it and words pop into my brain that shouldn’t be thought!

However, I’ve had a couple days to cool off and let the sore muscles recover; now it’s time to get back to my craft room!

Hopefully you’ve all had a chance to look through the new holiday catalog.  There’s so much to love between those two covers!  If you don’t have a catalog, please let me know and I’d be happy to send you one!

For those of you who know me well, you had to know that the Peace & Joy Bundle would be at the top of my shopping list!  I love my last name (Thank you, Dean!) and at Christmas-time, there’s a lot of “Merry & Bright” decorations in our home.  So, it should come as no surprise that I chose to feature the “Bright” stamp and die from that bundle.   I also purchased the “Sequins For Everything” in my holiday catalog pre-order with shaker cards in mind.  I don’t know what it is about shaker cards, but I think they bring out the kid in all of us!  What better time to send them out then at Christmas!

I’m so happy that Stampin’ Up elected to carry over the Stitched Stars Dies, which are available in the ’20-’21 Annual Catalog (pg 183).  The stars include pieces which are basic to very ornate, so you can dress them up or down to fit the look you’re after; the choice is yours!   Check them out if you’re not familiar!  The star shape can be used for so many occasions, making these dies nearly as versatile as ovals, rectangles, squares, and circles!

I also chose to use a 5 1/4″ square card base, just to “shake things up” a bit!  (5 1/2″ square envelopes can be bought on Amazon.)

So, let’s get INKY!

Continue reading “A Shaker Card The Bright Way Using Peace & Joy Bundle”

It’s Snow Wonder I’m In Love With The Holiday Catalog!

Hello Friends,

Today I’m taking a break from the summer heat (a mental timeout) with nothing but Christmas, and building snowmen with my grandkids on my mind!  I couldn’t help but grab for the Snow Wonder bundle when thinking about today’s project!  This bundle is featured on page 39 of the new Stampin’ Up August – December Mini Catalog (Holiday Catalog) and includes the “Snow Wonder” stamp set and “Snow Time Dies”

The new holiday mini catalog has so much to love about it, but I absolutely fell in love with this snowman.  “It’snow wonder”…he’s so darn cute!!!  I started playing with this set and before I knew it, I had two cards made which I’ll share with you now!

The first card features some of the new DSP(Designer Series Paper), Snowflake Splendor.  I love the cool blues featured here.

The second card was inspired by a picture in the mini catalog (page 39) which I elected to CASE (copy & selectively edit).  I love the white on kraft (Crumb Cake CS) look.  I also chose to feature paper from the new Heartwarming Hugs DSP.

Isn’t that snowman just too cute?

The sentiment tags used on both cards are included in the Snow Time Dies which coordinates with the stamp set.

LET’S GET INKY! Continue reading “It’s Snow Wonder I’m In Love With The Holiday Catalog!”

Using Embossing Paste For The Sweetest Time

Hello Friends!

I’m here today with a card made from some of my new products from the Holiday Mini Catalog (August – December, 2020 Mini Catalog).  I was recently questioned regarding embossing paste.  While I have it in my stash, I’ve used it very little.  So…what better time than now to break it out and use it again!  I was hoping to do this in video, but our satellite internet installation didn’t happen yesterday.  Unfortunately, it seems the satellite the technician was trying to reach was behind the horizon and he was unable to get a sightline on it.  We’ll keep trying, however.  Sooner or later, I WILL have faster internet!!! (I hope, I hope, I hope…)

But, back to embossing paste!

The embossing paste comes in White (matte) or Shimmery White (matte w/subtle sparkles), however, can be colored whatever color you want it to be with your Stampin’ Up re-inkers.  This is fantastic, as it then coordinates with all the other Stampin’ Up colors!

Just use a palette of some sort, i.e. a plastic margerine container lid works just fine!  Add a drop or two of ink from your re-inker, and mix with a palette knife.  You get to adjust the color darker or lighter, depending on how much ink you use!

I chose to use the brick pattern from Pattern Party Decorative Masks (oops…those masks are now retired – use Basic Pattern Decorative Masks instead!)

I made two different cards, one using Merry Merlot cardstock and white embossing paste.  The other I used Gray Granite cardstock and mixed some Merry Merlot ink into the embossing paste.

Simply hold the mask (stencil) in place over the cardstock.  A little bit of crafting tape or washi tape to hold it along the edges works well.

Smear the embossing paste over the mask as thick or thin as you like using a palette knife.

Lift the mask off and let the embossing paste dry (can be heat set if you’d like, but actually dries very quickly) for instant texture!  Then, simply clean your mask and tools with warm water!  A super easy way to make your own textured background.   So many possibilities!

These cards feature the Sweetest Time Bundle from the new Holiday catalog (Sweetest Time Stamp Set & Sweetest Borders Dies).

I also used the new Banners Pick-A-Punch for my sentiment tag on the front of the card.  I love the versatility of these “Pick-A-Punches”  Remember the other new one in the Annual Catalog, Lovely Labels Pick-A-Punch?  Options… I always like options and these punches deliver the options!!

Please remember that the new products I used here are not available for order until August 4…..

But, enough of all that… Let’s GET INKY!!!

Continue reading “Using Embossing Paste For The Sweetest Time”