Hello Friends,
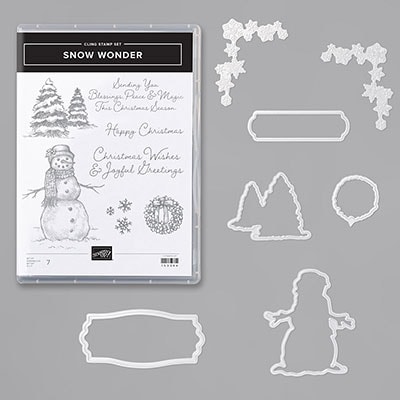
Today I’m taking a break from the summer heat (a mental timeout) with nothing but Christmas, and building snowmen with my grandkids on my mind! I couldn’t help but grab for the Snow Wonder bundle when thinking about today’s project! This bundle is featured on page 39 of the new Stampin’ Up August – December Mini Catalog (Holiday Catalog) and includes the “Snow Wonder” stamp set and “Snow Time Dies”
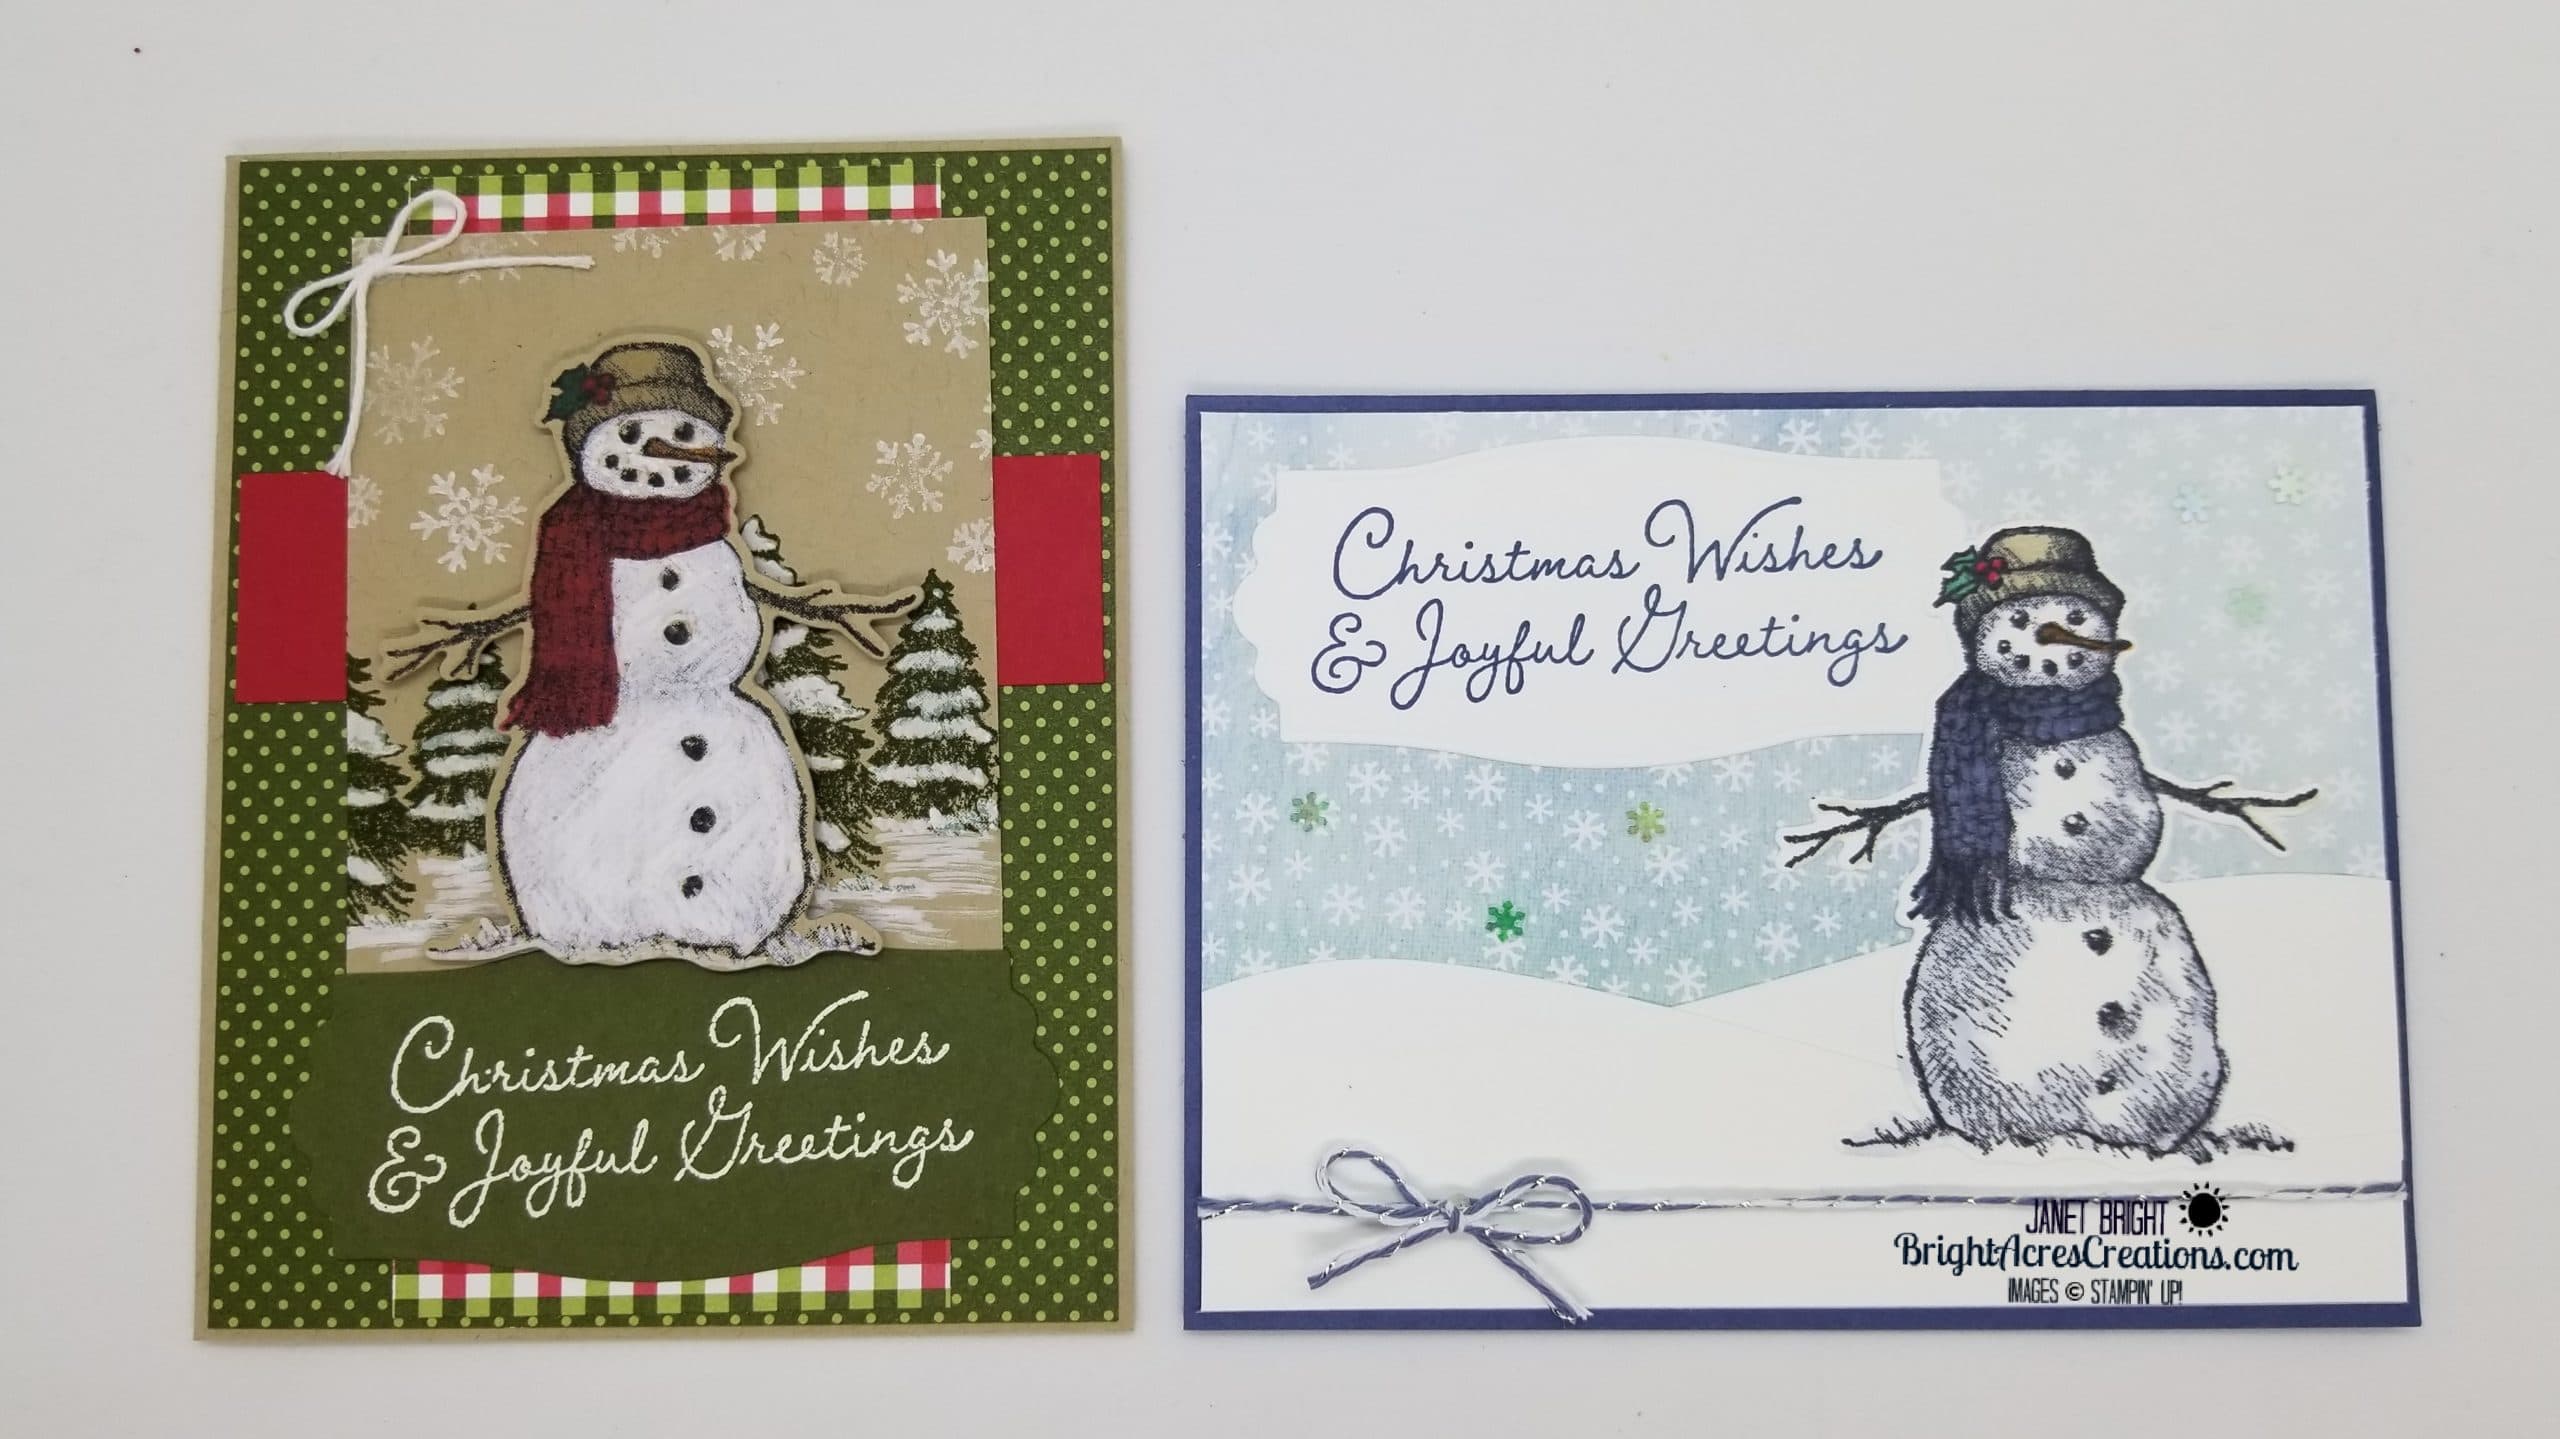
The new holiday mini catalog has so much to love about it, but I absolutely fell in love with this snowman. “It’snow wonder”…he’s so darn cute!!! I started playing with this set and before I knew it, I had two cards made which I’ll share with you now!
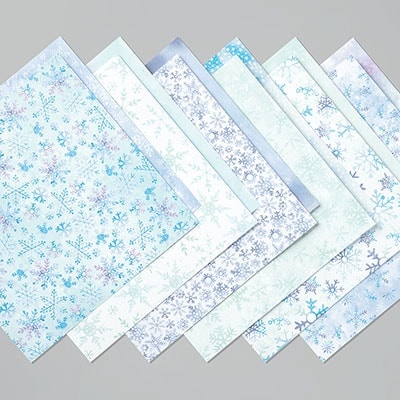
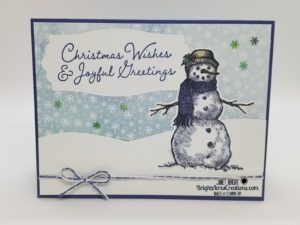
The first card features some of the new DSP(Designer Series Paper), Snowflake Splendor. I love the cool blues featured here.
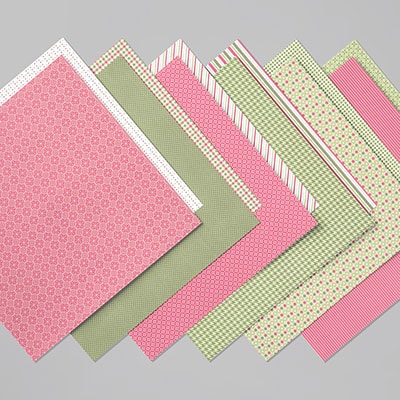
The second card was inspired by a picture in the mini catalog (page 39) which I elected to CASE (copy & selectively edit). I love the white on kraft (Crumb Cake CS) look. I also chose to feature paper from the new Heartwarming Hugs DSP.
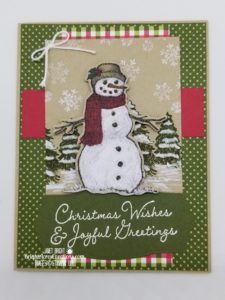
Isn’t that snowman just too cute?
The sentiment tags used on both cards are included in the Snow Time Dies which coordinates with the stamp set.
LET’S GET INKY!
Card #1:

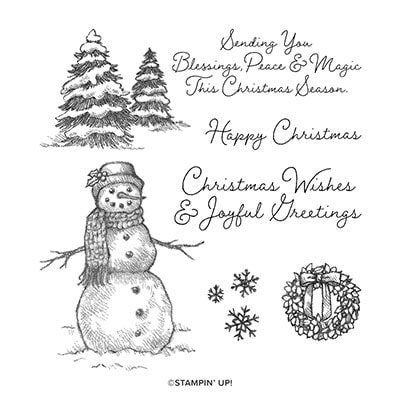
Stamps used: Snow Wonder
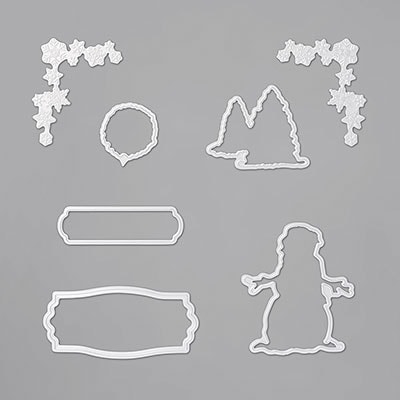
Metal Dies used: Snow Time Dies (snowman & sentiment tag); Home Together Dies (hills)
Colors and measurements:
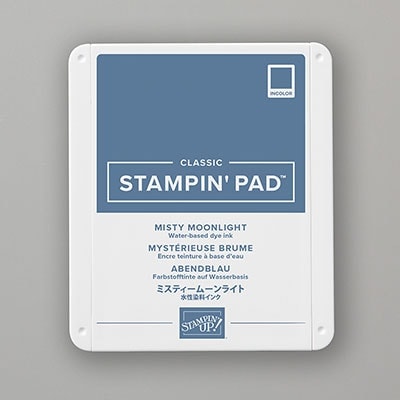
Misty Moonlight – card base – 8 1/2″ x 5 1/2″; score at 4 1/4″ and fold in half.
Snowflake Splendor DSP – 3″ x 5 3/8″ front; 1/2″ x 5 1/4″ for inside
Whisper White 2″ x 5 3/8″ (cut 2) – snow hills; 3 1/4″ x 2 3/4″ for snowman; 3 3/4″ x 2″ for sentiment tag; 5 1/4″ x 4″ for inside panel
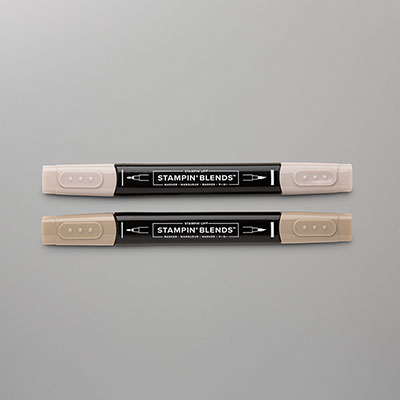
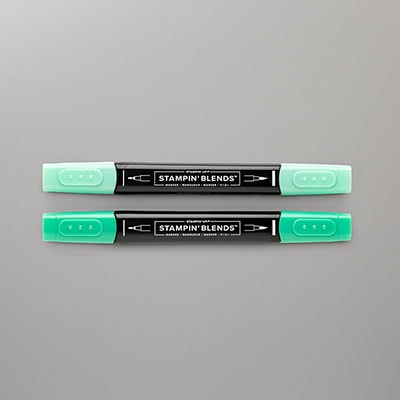
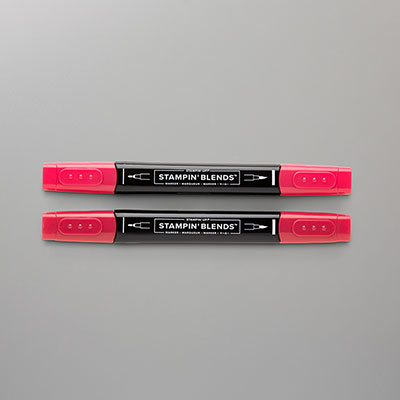
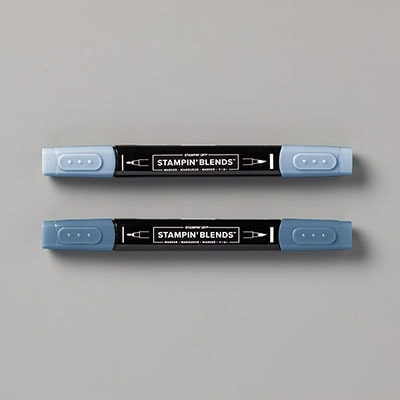
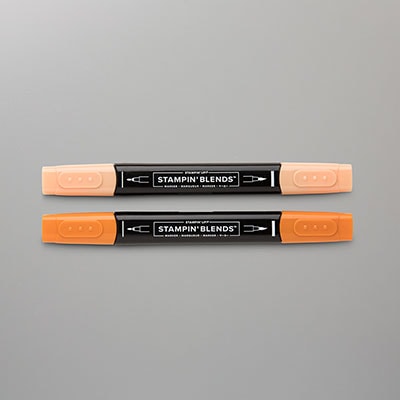
Accessories used: Misty Moonlight/Silver Baker’s Twine from Flowers For Every Season Ribbon Combo Pack; Adhesive Backed Snowflakes; Blends in Light Crumb Cake (hat & arms); Dark Shaded Spruce (holly leaves); Dark Real Red (holly berries); Dark Misty Moonlight (scarf); Light Misty Moonlight (snow shadowing); Dark Pumpkin Pie (carrot nose)
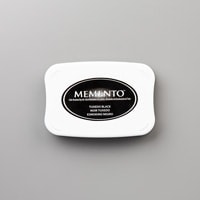
Ink used: Tuxedo Black Memento; Misty Moonlight; Balmy Blue
Put It Together:
Adhere 3″ x 5 3/8″ Snowflake DSP to top of card front
Using the hill die from Home Together Dies, cut 2. If you don’t have the dies, cut a couple swooping hills with scissors.
Turn one of the hills over and adhere to right bottom side of card front.
Layer the second hill over the first coming from the left side.
Stamp the snowman image in Black ink and color with Stampin’ Blends.
Cut him out with the associated die from Snow Time Dies.
Stamp the sentiment on Whisper White CS, using Misty Moonlight ink.
Cut the sentiment out with the larger tag die in the Snow Time Dies.
Adhere the sentiment tag to left top corner.
Adhere snowman as pictured.
Wrap a piece of the Baker’s Twine around the base of the front and tie in a bow.
Scatter some adhesive-backed snowflakes for a little bling!
For the inside of the card, apply the 1/2″ strip of DSP across the top. Stamp the sentiment in the middle in Misty Moonlight, and stamp the snowflakes in Balmy Blue.

Card #2

Stamps Used: Snow Wonder
Metal Dies: Snow Time Dies
Accessories: White embossing powder; White Baker’s Twine; White Chalk Marker; Stampin Blends in Light Crumb Cake, Dark Real Red, Dark Shaded Spruce, Dark Pumpkin Pie
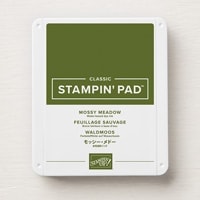
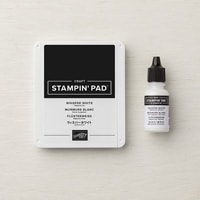
Ink Used: Tuxedo Black Memento; Whisper White; Mossy Meadow; VersaMark (with white embossing powder)
Colors and Measurements:
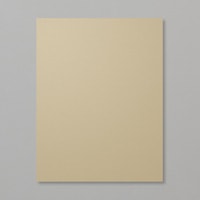
Crumb Cake CS for card base: 8 1/2″ x 5 1/2″, score and fold at 4 1/4″. Main image panel: 4″ x 3″; Snowman 3 1/4″ x 2 3/4″
Heartwarming DSP: Green dots 5 3/8″ x 4 1/8″; red/green plaid 5 1/4″ x 2 1/2″
Real Red CS: 3 7/8″ x 1″ – horizontal accent
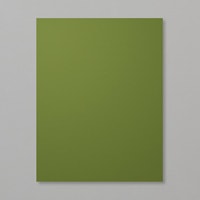
Mossy Meadow: 3 3/4″ x 2″ – sentiment tag
Whisper White: 5 1/4″ x 4″ – inside panel
Put It Together:
Adhere green dot DSP to card front
Adhere red/green plaid vertically centered on green dot DSP.
Adhere Real Red horizontal accent about 1 1/2″ down from the top of the card front.
On the Crumb Cake 4″ x 3″ panel, stamp the trees in Mossy Meadow ink about 1″ from the bottom of the panel. Color snow with White Chalk Marker.
Stamp, in Whisper White ink, random snowflakes above the trees. This is a pigment ink so takes a little longer to dry – set aside to dry, or use a heat gun to dry.
Stamp the snowman on 3 1/4″ x 2 3/4″ piece of Crumb Cake in Tuxedo Black Memento ink.
Color hat, nose, scarf with Stampin Blends. I used Dark Real Red (scarf and holly berries); Dark Shaded Spruce (holly leaves); Light Crumb Cake (hat & arms); Dark Pumpkin Pie (carrot nose).
Color snowman head and body with White Chalk Marker.
Using die from Snow Time Dies, crop snowman out.
Stamp sentiment from Snow Wonder in VersaMark ink on Mossy Meadow CS. Use white embossing powder and heat set.
Crop out with large tag die.
Adhere tree/snowflake image panel to card front approximately 3/8″ from top of card, centering side-to-side.
Adhere sentiment tag on top of image panel again about 3/8″ from bottom of card, centering side-to-side.
Use dimensionals to adhere snowman to card front, just overlapping the top of the sentiment tag a small bit.
Finally add a small bow tied out of white baker’s twine for the finishing accent.
On the inside of the card, I used a panel of Whisper White (5 1/4″ x 4″), and stamped the sentiment in Tuxedo Black Memento ink, and along the bottom edge, stamped the trees in Mossy Meadow ink.
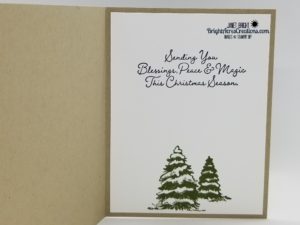
There! I’m on my way to getting my Christmas cards made and it’s still only July!
I can’t wait to make more cards using this cute little snowman, but I also can’t wait to play with the other new sets from the holiday catalog! Just 10 more days until you’re able to order from this catalog!
If you’re one of my regular customers and generally get your catalogs in the mail, and still haven’t gotten one by Monday (7/27), please let me know and I’ll pop one in the mail to you. I know with COVID, Stampin’ Up had some issues with the catalog printer and USPS getting the annual catalogs out in a timely manner. I’m not sure if that’s on repeat here or not… please let me know!
If you’re new to my blog and don’t already have a Stampin’ Up Demonstrator, I’d be honored to be yours! If you’d like catalogs, please reach out to me via the “Contact” tab at the top of the page here, and I’ll get them on their way to you as well!
Until next time, my friends, I hope you stay cool, hydrated, and get a little INKY!
Janet
P.S. Remember that the Snow Wonder stamp set and Snow Time dies, as well as the holiday DSPs used, are not available for order until August 4. If you elect to purchase these items, buying the bundled set will save you 10% versus ordering them separately.
Product List
|
|
|
|
|
|
||
|
|
||
|
|
||
|
|
||
|
|
|
|
|
|
|
