Hello Friends,
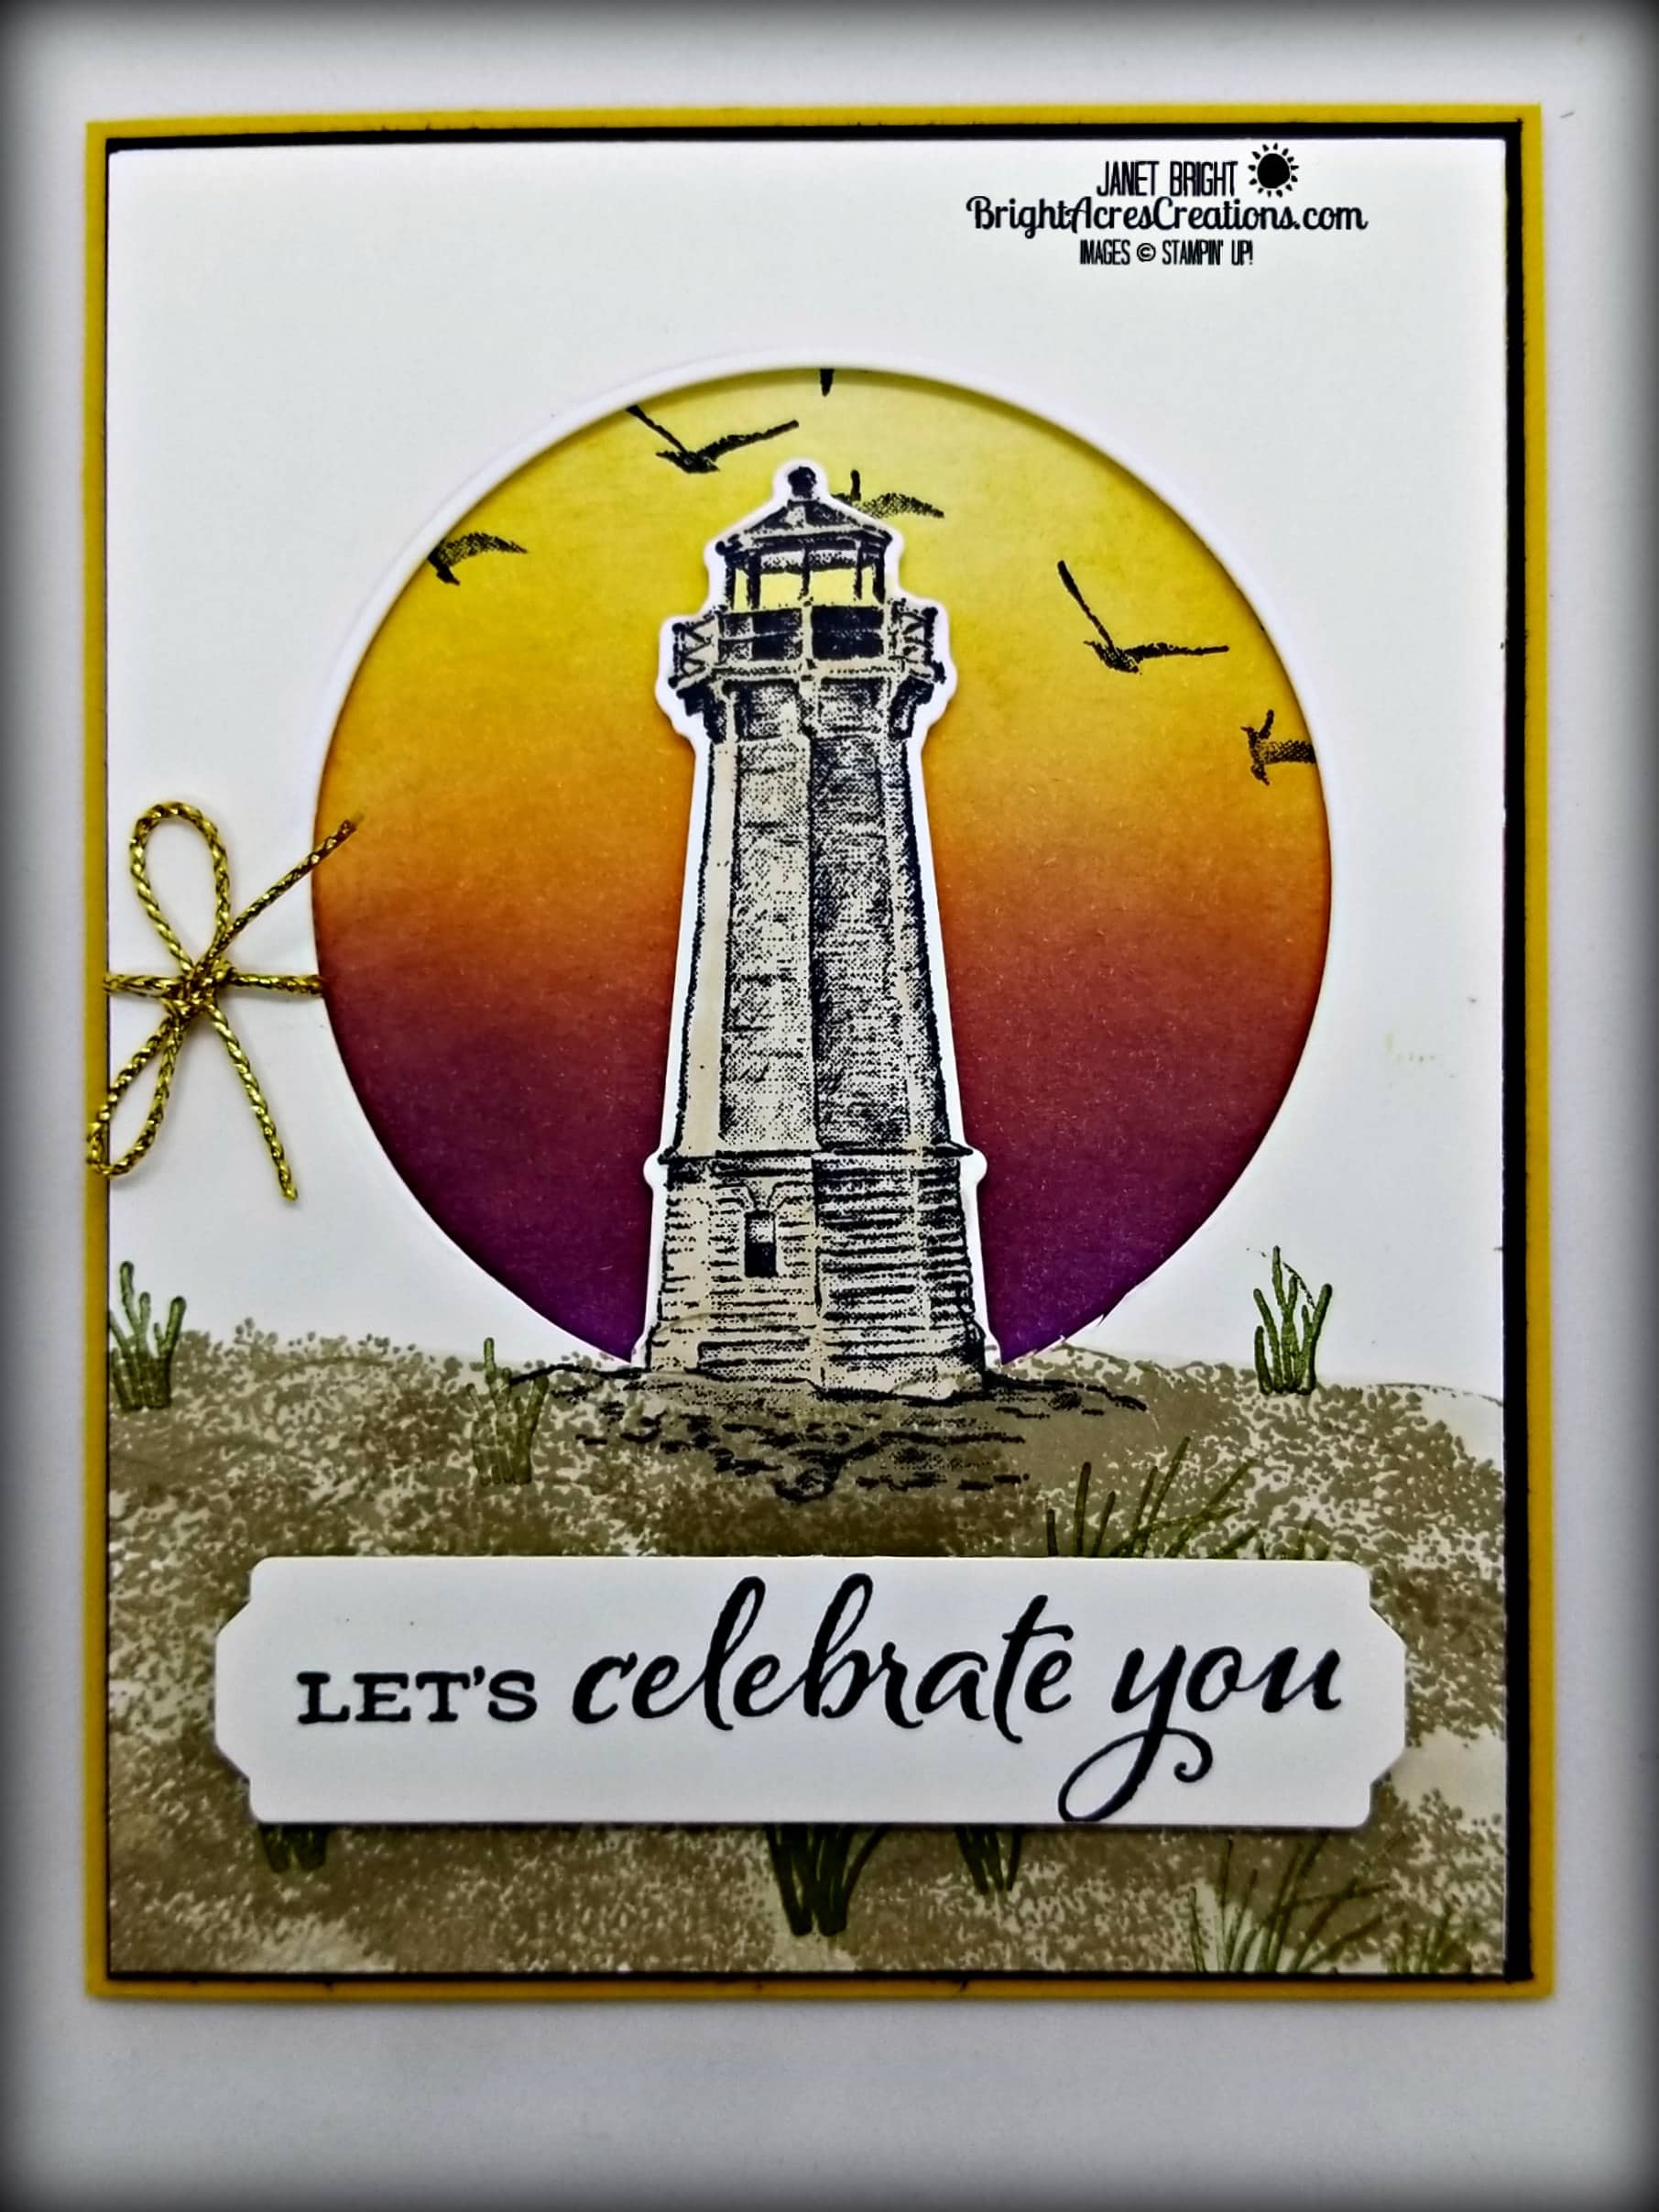
Today’s card was made in honor of my niece’s birthday. She loves lighthouses and the Christian symbolism inspired by Psalms 119:105, “Your word is a lamp unto my feet, and a light unto my path.” She’s an amazing photographer and videographer, so when she comes to visit from Texas, a trip to the coast and taking pictures of Oregon’s lighthouses is always on the list!
She had a birthday recently, and so, when it’s time to make her birthday card, what else other than a lighthouse?! Thankfully, Stampin’ Up has given us a couple of nice lighthouse images to work with over the last few years!
I’ve noticed several Christmas cards on Pinterest recently with partial die-cuts and given that “Sailing Home” has a lighthouse image and coordinating dies, I thought I’d give it a go with a lighthouse scene!
LET’S GET INKY!
Materials:
Stamp Sets Used:
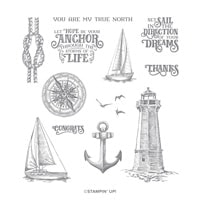
- Sailing Home
- Happiest Of Birthdays
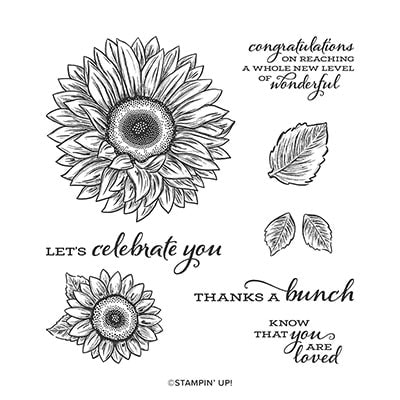
- Celebrate Sunflowers
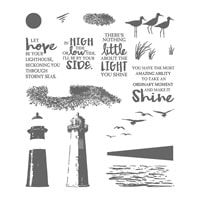
- High Tide
Metal Dies:
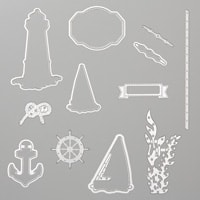
- Smooth Sailing Dies
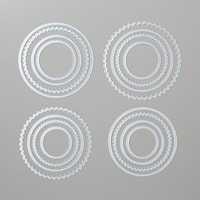
- Layering Circles Dies
Paper:
- Bumblebee – card base (8 1/2″ x 5 1/2″) fold in half for 5 1/2″ x 4 1/4″ card
- Basic Black – Mat 1 (5 3/8″ x 4 1/8″) – Cut 2 (one for outside and one for inside)
- Whisper White – Mat 2 (5 1/4″ x 4″) – Cut 3 (sunset panel outside, image panel w/cutaway outside, and sentiment panel for inside)
Ink:
- Memento Tuxedo Black
- SU Sahara Sand (sand)
- SU Mossy Meadow (grass)
- SU So Saffron, Bumblebee, Mango Melody, Gorgeous Grape, Blackberry Bliss (sunset)
Accessories:
- SU Stampin’ Blends: Light So Saffron, Ivory, Light Crumb Cake, Dark Crumb Cake
- Gold cord from Wonder Of The Season Ribbon Combo Pack
Putting It Together:
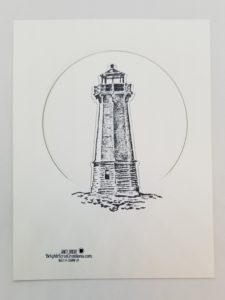
- Stamp the lighthouse image from Sailing Home onto one of the 5 1/4″ x 4″ pieces of Whisper White cardstock, in Memento Black ink. The lighthouse should be centered horizontally and down from the top edge of the cardstock about 1 1/2″.
- Place the metal die from Smooth Sailing Dies around the lighthouse and watch it very closely as you put it through your Stampin’ Cut & Emboss Machine – stop cranking it through as it reaches the bottom of the lighthouse, and before it begins to cut the “ground” around the bottom of the lighthouse. Reverse crank it back out of the machine and remove die.
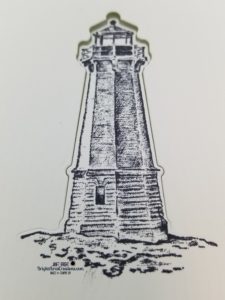
- Place the circle from Layering Circles Dies over the lighthouse to where the edges of the circle intersect with the bottom of the lighthouse as shown in the picture below.
- Again, watch closely as you put it through your Stampin’ Cut & Emboss Machine, stopping the forward motion as it meets the base of the lighthouse. As you can see in the picture, I stopped a little bit early and cut the rest of the way with my snips.
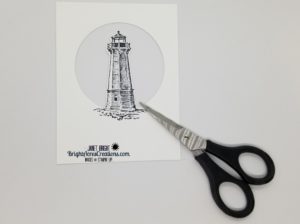
- Using the sand and grass stamps from “High Tide”, and Sahara Sand and Mossy Meadow inks respectively, create your beach scene around the base of the lighthouse, extending to the sides and bottom of the panel.
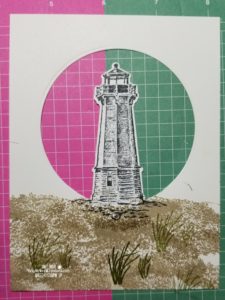
- Use the Crumb Cake Combo of Stampin’ Blends to fill in around the sand and grass, creating some shadowing.
- Color the lighthouse with the Ivory Stampin’ Blend, and the lighthouse windows with Light So Saffron Stampin’ Blend.
- Wrap a small piece of gold cord around left side of panel through circle and tie small bow.
- Lay the lighthouse panel on top of another Whisper White panel the same size (5 1/4″ x 4) and very lightly mark where your circle is with a pencil.
- Put the lighthouse panel aside and using a sponge, create the sunset on that second panel. To do so, start with the lightest color first (So Saffron) and sponge ink in a back-and-forth swiping motion down to the bottom of the penciled circle and a little beyond. Next use the Bumblebee ink, starting at the bottom of So Saffron, and sponge up about two thirds into the So Saffron allowing the color to lighten as you move up. Do the same with the Mango Melody, start at the bottom and bring the color up just into the Bumblebee. Next would be Gorgeous Grape, just up into the Mango Melody, and finish it off with just a little bit of Blackberry Bliss just at the bottom of the circle.
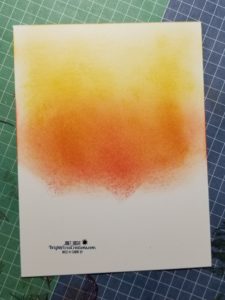
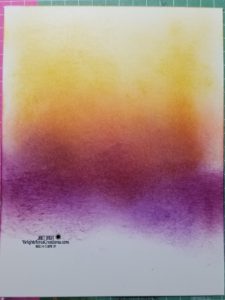
- Stamp the flying seagulls from Sailing Home in black ink across the top of the sky.
- Apply the black mat 1 to the Bumblebee cardbase front.
- Apply the sunset panel on top of the black mat.
- Use dimensionals and dimensional strips to pop up the entire image panel; make sure to put some on the back of the lighthouse to keep it popped up. Center over the sunset panel (the 2 panels are the same size) and tack down.
- Stamp the sentiment from Celebrate Sunflowers on a scrap of whisper white and crop ends with Lovely Labels Pick-A-Punch.
- Apply with dimensionals to bottom area of card.
- Stamp inside sentiment from Happiest Of Birthdays with black ink to 3rd Whisper White panel 5 1/4″ x 4″, apply to 2nd black mat, and adhere to inside of card.
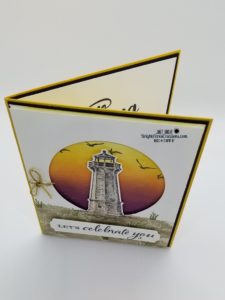
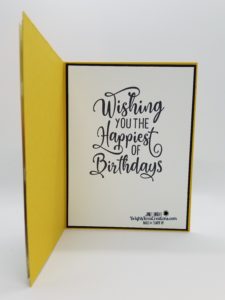
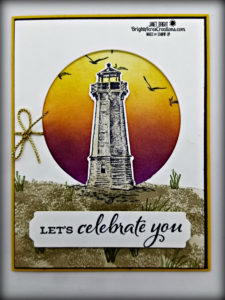
DONE!
 Just as a reminder, if you’re interested in becoming a demonstrator in any capacity, be it for the product discount, or to produce an income, Stampin’ Up is having a special promotion through the month of September. If you sign up this month, not only do you get the usual starter kit but you will also receive the “Get & Go Starter Kit”! I would absolutely love to welcome you aboard and work with you as much or as little as you wish! I’m simply not the pushy type!
However, I was a cheerleader back in the day, as well as the high-school cheerleading coach when my girls were in high school. If you want to be pushed, I’ll be your biggest cheerleader and coach to help you get what you want out of your Stampin’ Up business! Just ask either of my daughters, or any of my former cheerleaders… this momma can push you ’til you drop if you want me to! (We placed at the OSAA State Competition every year I coached – but it doesn’t come without effort!) In fact, our team motto was, “It’s good to have fun, but it’s FUN TO BE GOOD”!
It’s quite simple to sign up, just click on the tab above that says “Join Stampin’ Up” and you’ll be walked through the process. Or click on the “Contact” tab to ask me any questions or discuss what Stampin’ Up (and I) can do for you. I’m just a click away! 😉
I hope you’ve found some inspiration here today & I hope you get INKY!
Janet
All of the products I used for today’s card are listed below and each picture is a direct link to my online store. Simply click and shop!
Product List
|
|
|
|
||
|
|
|
|
|
|
|
|
||||
|
|
|
|||
|
|
|
|||
|
|

