Hello Friends!
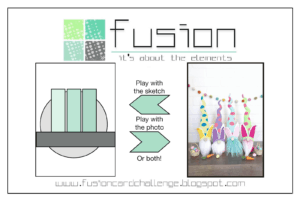
Today’s project was made for a card challenge over at Fusion with the following card sketch.
As implied in the illustration, one can choose to use the sketch, the photo, or both to inspire one’s design.
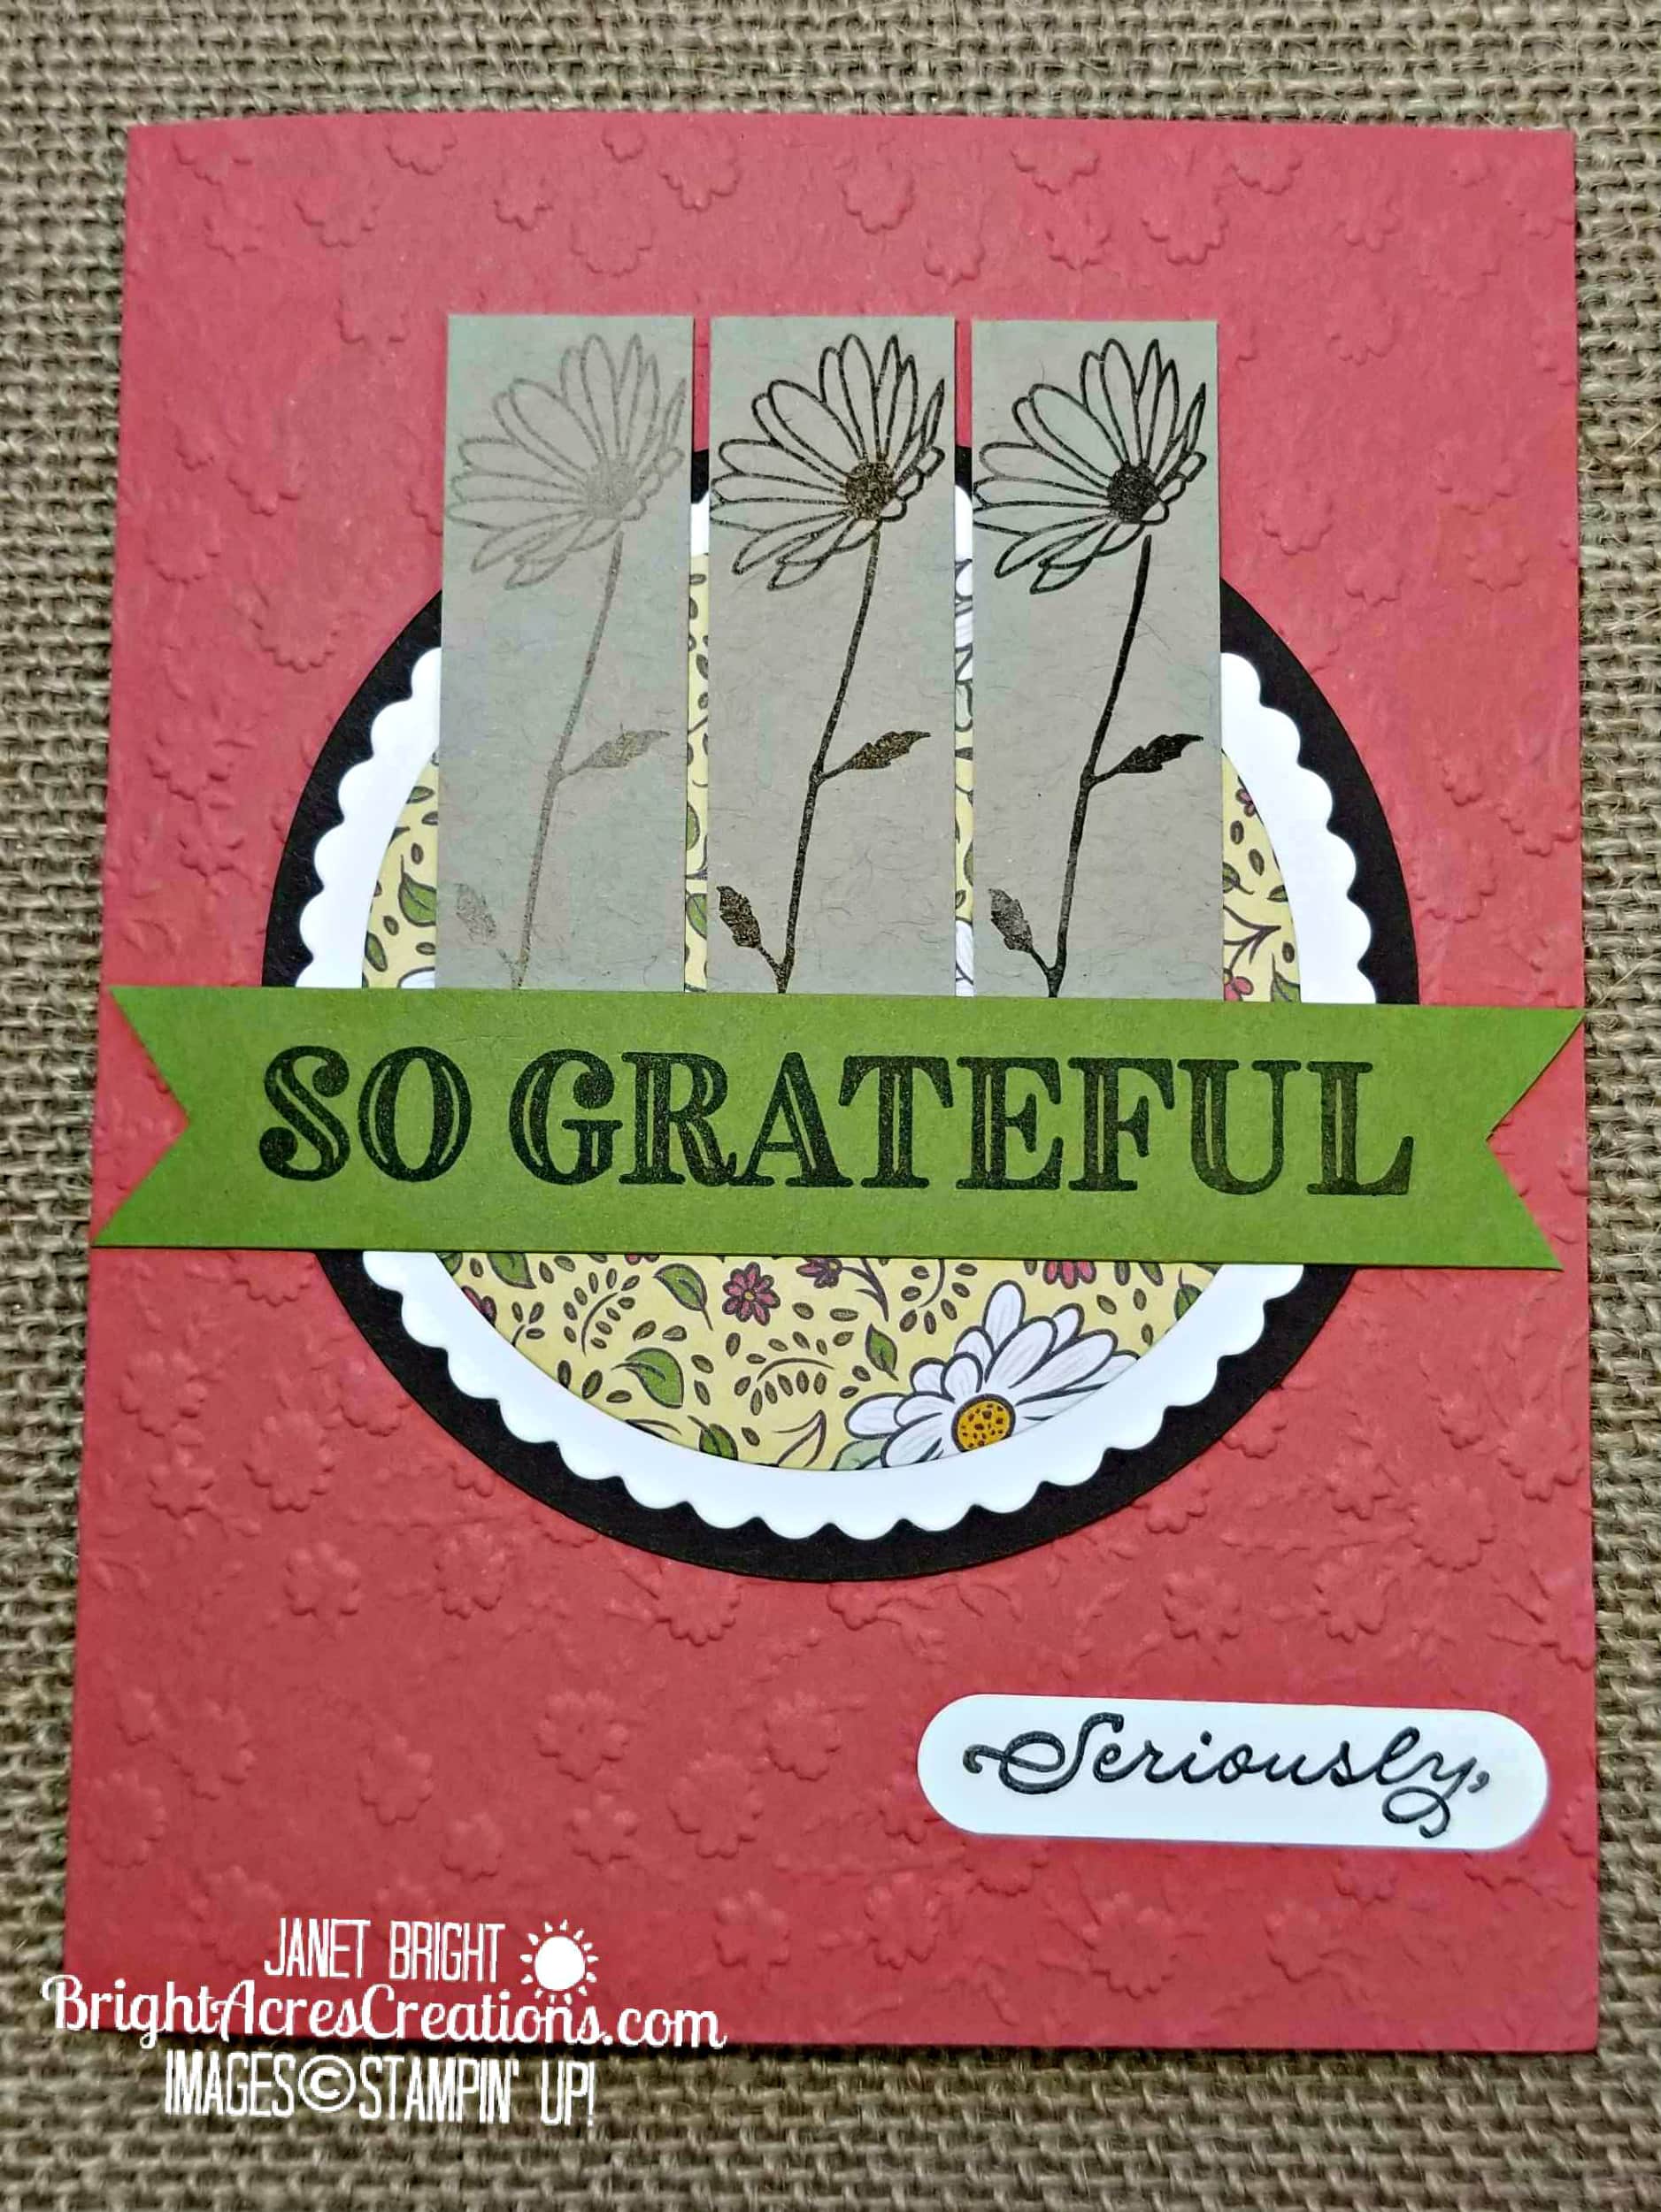
I chose to stick to the sketch for this card, incorporating elements from Stampin’ Up’s Ornate Garden suite of products. The daisy image included in the Ornate Style Stamp Set was too wide for my strips, so I chose to use the daisy image from Stampin’ Up’s Daisy Delight stamped in graduating colors to coordinate with the Ornate Garden Designer Series Paper (DSP) in the background. Given the narrow nature of the vertical strips, my Stamparatus positioner was key in getting everything just right.
Ready to get INKY?
Lets make it!
Colors and Measurements:
- Card base – Stampin’ Up! Cajun Craze CS 5 1/2″ x 8 1/2″ – score at 4 1/4″ and fold in half.
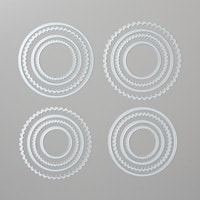
- Circle mat 1 – SU’s Early Espresso CS – cut with largest circle in Layering Circles Dies
- Circle mat 2 – SU’s Whisper White CS – cut with largest scalloped circle in Layering Circles Dies
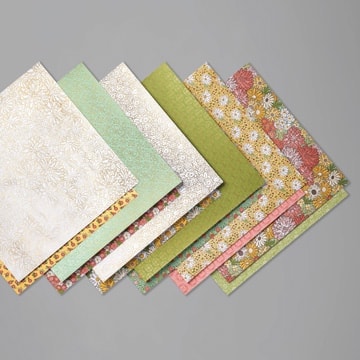
- Circle mat 3 – SU’s Ornate Garden DSP – cut with next largest circle in Layering Circles Dies
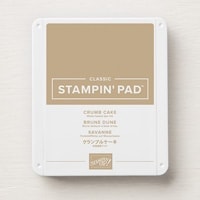
- Daisy image strips (cut 3) – SU’s Crumb Cake CS cut at 3/4″ x 2″
- Sentiment banner – SU’s Old Olive CS cut at 3/4″ x 6 1/4″ – ends trimmed with Triple Banner Punch
- Sentiment tag – SU’s Whisper White CS – I used a retired SU slot punch, but the SU Classic Label Punch would work great well. In fact, I ordered one and am awaiting its arrival now!
Directions:
Card Front: 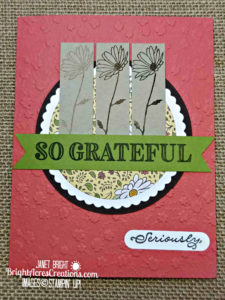
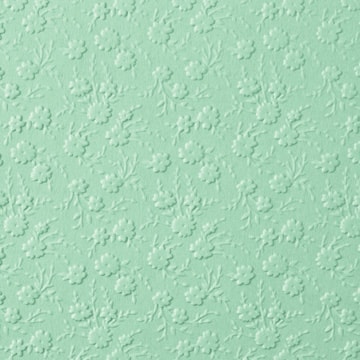
- Cut the Cajun Craze card base and run the front through the Big Shot in the Ornate Floral 3D embossing folder.
- Cut the circle layers with the Layering Circles Dies as noted above.
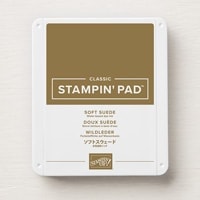
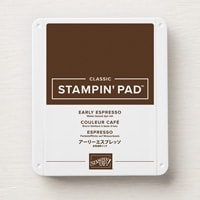
- Using your Stamparatus, position the daisy flower stamp from Daisy Delight where you want it to stamp, then ink it first with Crumb Cake; replace with second strip of Crumb Cake CS and ink up with Soft Suede; replace with third strip of Crumb Cake CS and ink up with Early Espresso.
- Repeat the process above with the stem stamp. I found if I placed both the flower and stem on the Stamparatus together, it left a little space between the flower and stem, thus the reason for doing them separately.
- Hint – since you’re starting with the lightest ink and moving to the darkest, given they’re in the same “brown” color family, it’s not necessary to clean your stamp between colors.
- Next stamp your sentiment centered on the Old Olive CS in Early Espresso.
- Use the Triple Banner Punch to trim ends.
- Adhere the Old Olive Sentiment strip to the front where you want it.
- Adhere the Crumb Cake image strips centered and evenly spaced across the top of the Old Olive sentiment strip.
- Stamp the “Seriously” stamp from Ornate Thanks on Whisper White CS, center in the Classic Label Punch and punch out.
- Attach in the lower right corner.
Card Inside: 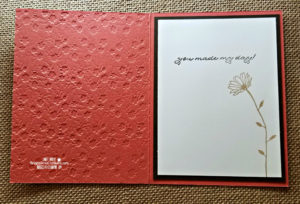
- Cut Early Espresso CS mat at 5 1/4″ x 4″
- Cut Whisper White sentiment mat at 5″ x 3 3/4″
- Stamp single daisy and stem in Crumb Cake
- Stamp sentiment “You made my day!” in Early Espresso
- Adhere layers together and adhere to inside of card.
And the card is complete!
Thank you for stopping by today. I hope you like my take on the Fusion sketch!
Until next time,
Janet
Product List
|
|
||
|
|
|
|
|
|






Great take on the sketch! So glad you were able to join us at Fusion!
Thank you Wanda! I’ll be back for some more fun challenges!