Hello Friends!
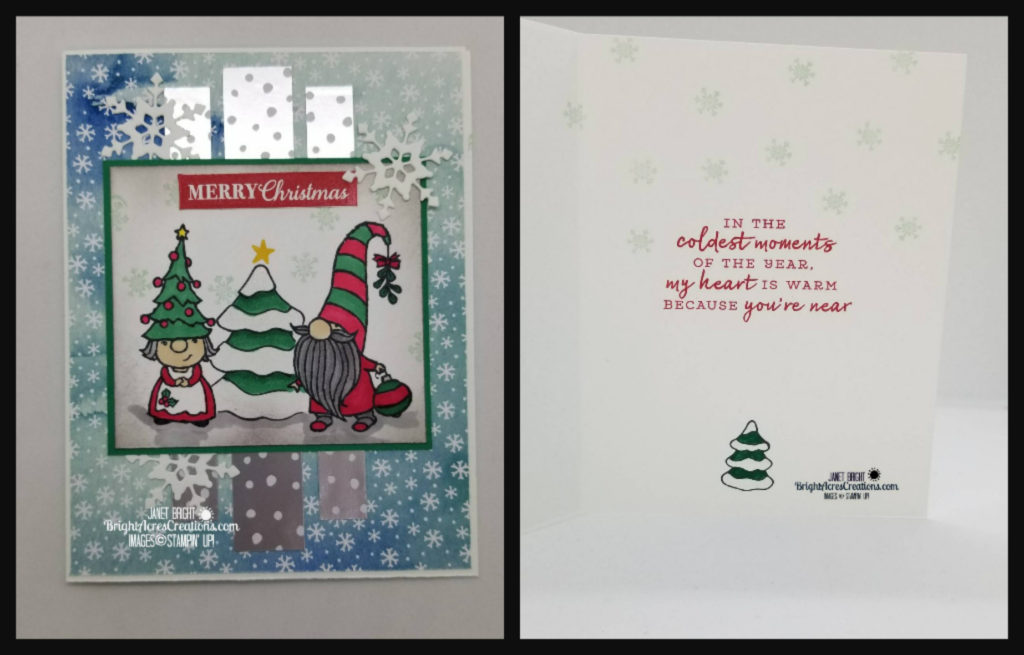
Today I sat down to create after looking at the various card challenges out there for a little bit of inspiration. The Color Throwdown Challenge ends in short order, so I set about rapidly making this card to fit their challenge, as well as the challenge from Freshly Made Sketches. Unfortunately, the FMS challenge ended at 3:00PM EST and I missed the deadline. But, this card may be found at CTD621 – I did get it done in time for that 3:00 PM PST deadline!
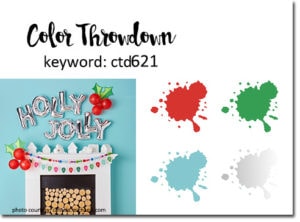
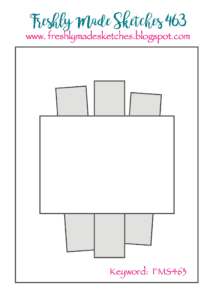
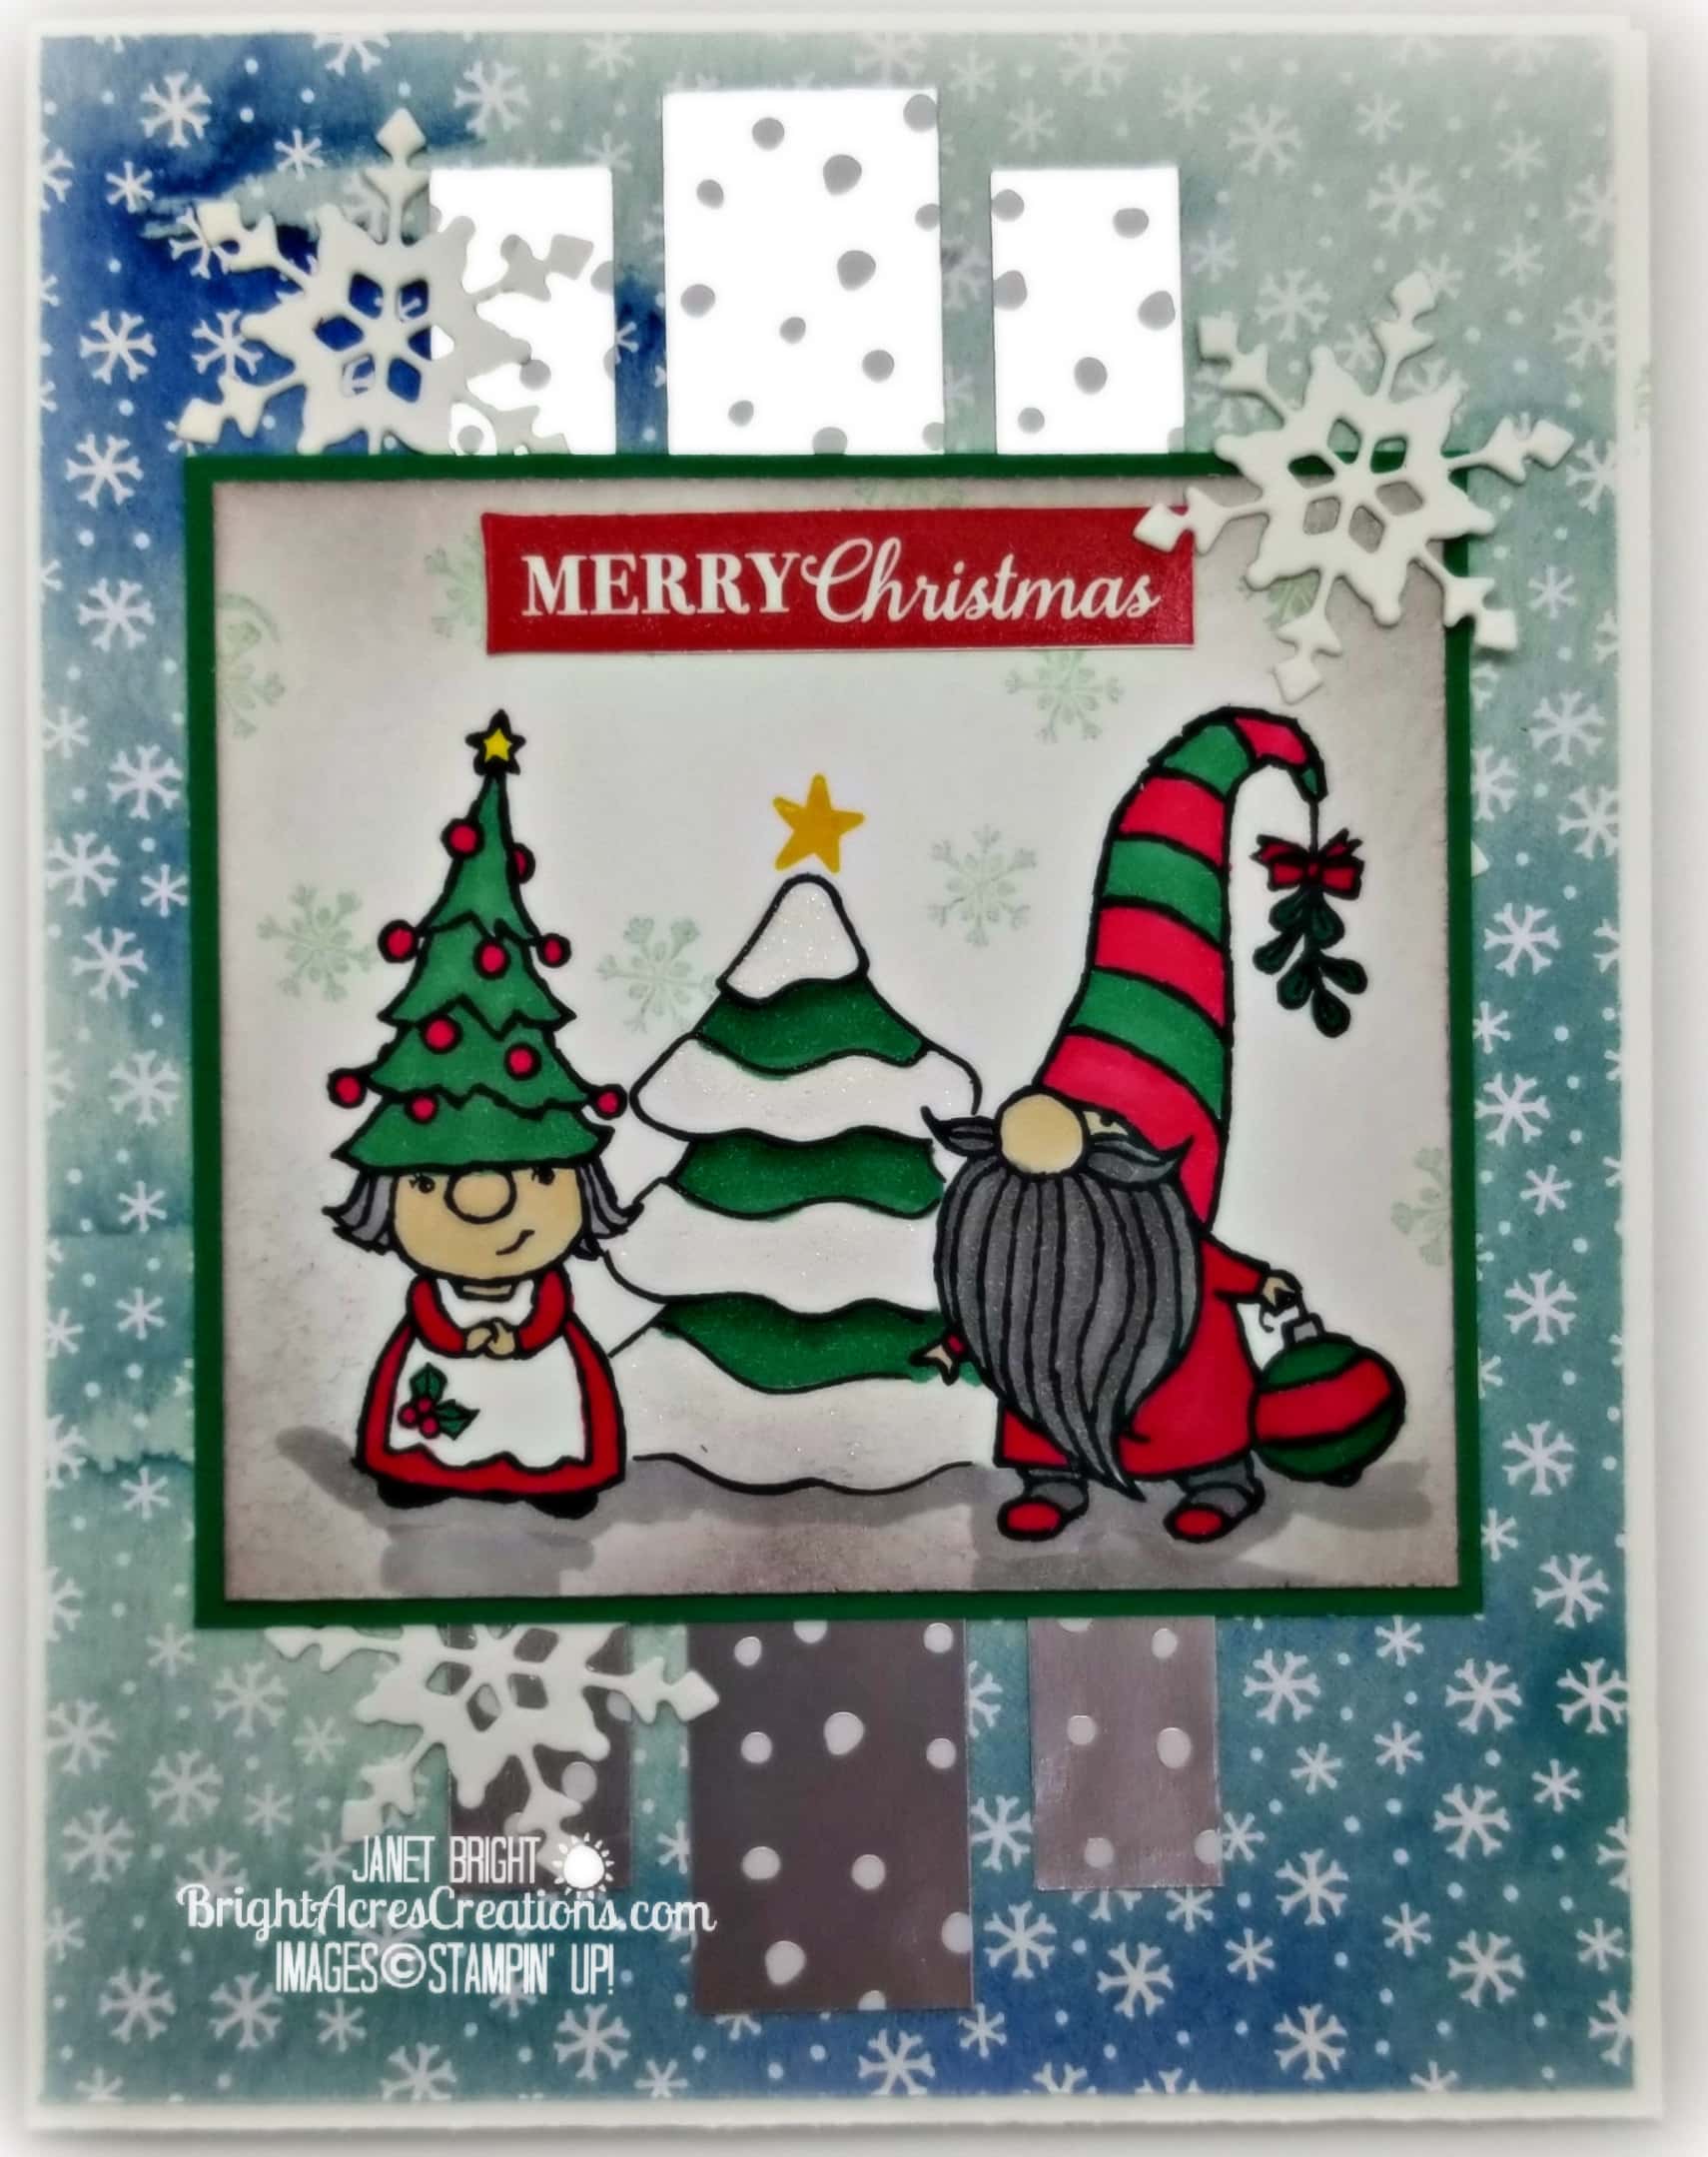
Who doesn’t love gnomes? I don’t know what it is about those gnomes, but they’re just so darn cute and surely seem to be trending right now! I should be just about done with my Christmas cards, though I haven’t counted them up yet! But, here’s one more just because!
LET’S GET INKY!
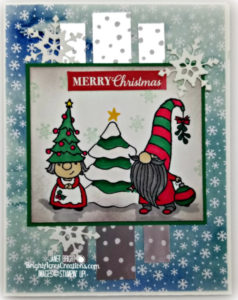
Materials:
Stamp sets used:
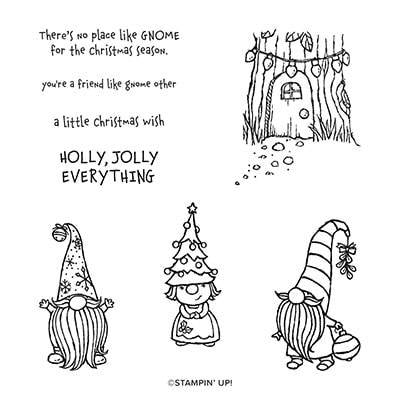
- Gnome For The Holidays
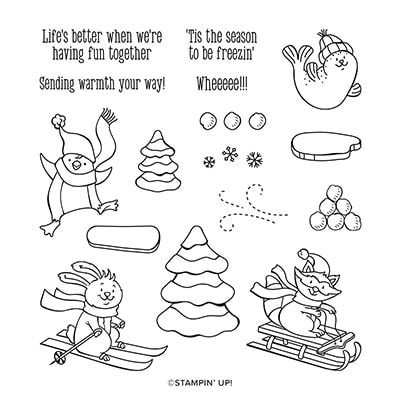
- Freezin’ Fun
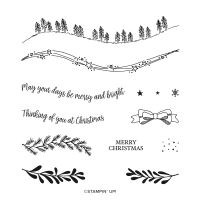
- Curvy Christmas
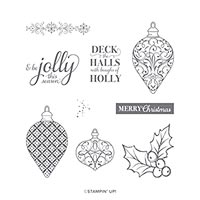
- Christmas Gleaming
Paper:
- SU Whisper White CS for card base 5 1/2″ x 8 1/2″ and image panel 3 1/4″ x 3″
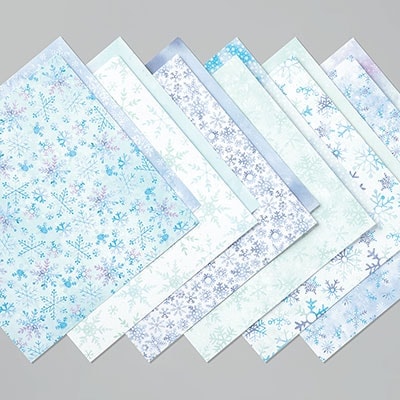
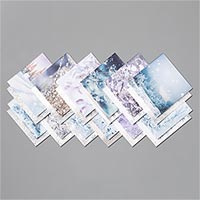
- SU Snowflake Splendor DSP (5 3/8″ x 4 1/8″)
- SU Feels Like Frost DSP (2 strips at 1/2″ x 4 1/2″, and 1 strip at 3/4″ x 5″)
- SU Shaded Spruce mat 3 3/8 x 3 1/8″
Ink:
- Memento Black
- SU Real Red
- SU Smoky Slate
- SU Pool Party
Accessories:
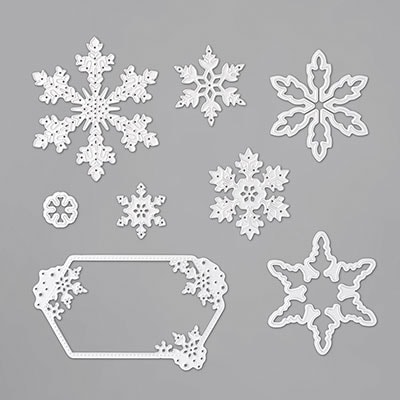
- So Many Snowflakes Dies
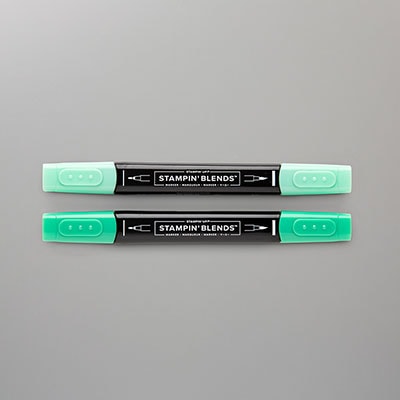
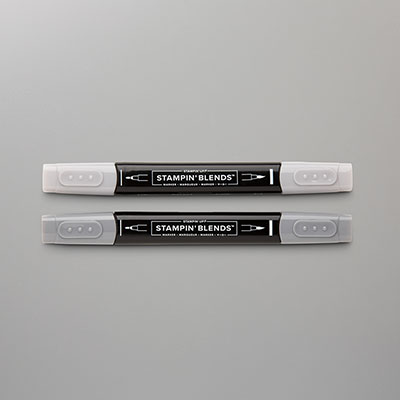
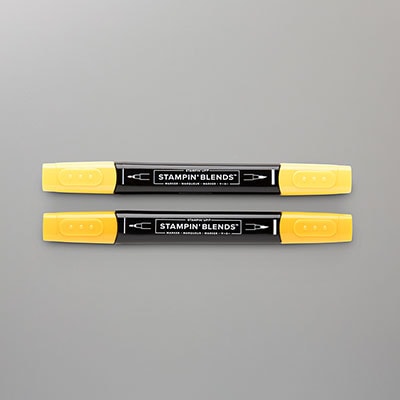
- Stampin’ Blends in Real Red, Shaded Spruce, Smoky Slate, Dark Mango Melody
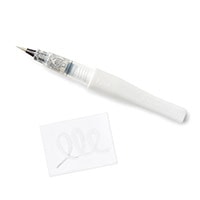
- Wink of Stella Glitter Pen.
PUTTING IT TOGETHER:
- Adhere the Snowflake Splendor DSP to the Whisper White card base.
- Center the widest and longest of the strips of Feels Like Frost DSP and adhere to card front.
- Then align the narrower strips adjacent to the wider strip, equally spaced, and adhere.
- Stamp the male and female gnomes on a scrap of cardstock and then fussy cut them out to use as masks.
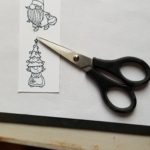
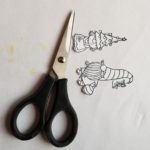
- Now stamp the gnomes on your image panel, leaving space between them for the Christmas Tree.
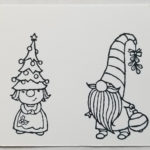
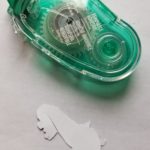
- Use removable adhesive and apply the masks over your stamped gnome images.
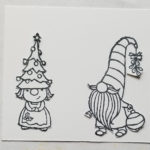
- Stamp the Christmas tree from Freezin’ Fun between the gnomes.
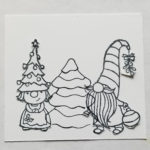
- Remove the masks and wa-la, your gnomes appear to be standing in front of the tree.
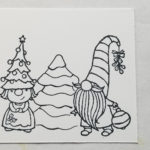
- ** Just a hint – save your masks, place them in the stamp case with the stamps in case you need to mask again sometime in the future!
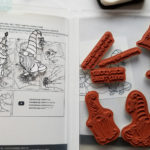
- Color gnomes and tree with Stampin’ Blends. Use a Wink of Stella to add sparkle to the snow on the tree.
- Use the larger star stamp from Curvy Christmas to apply star to the top of the tree using Bumblebee ink.
- Use the snowflake stamp from Curvy Christmas to randomly stamp snowflakes about the scene, using Pool Party ink.
- Stamp the “Merry Christmas” sentiment from Christmas Gleaming stamp set, in Real Red ink, and then fussy cut out.
- Adhere the sentiment to the center top of the image panel.
- Sponge Smoky Slate ink about the edges for a little bit of a vignette effect.
- Adhere the image panel to the Shaded Spruce CS mat.
- Use the So Many Snowflakes dies to crop three snowflakes out of Whisper White CS.
- Adhere two of the snowflakes to the left(ish) side of the card front.
- Adhere the image panel to center front of card.
- Adhere the third snowflake over the right top of the image panel.
- For the inside, I used Real Red Ink to stamp the sentiment from Snowflake Wishes; Pool Party ink to randomly stamp the snowflake from Curvy Christmas; and black ink to stamp the smaller tree from Freezin’ Fun. The tree was then colored with Shaded Spruce Stampin’ Blends, and the “snow” with Wink of Stella.
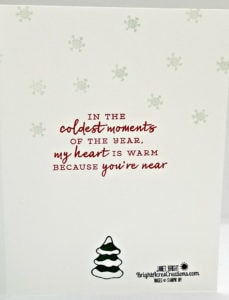
DONE!
Have a fantastic day – now go get INKY!
Janet
Product List
|
|
|||
|
|
|
||
|
|
|||
|
|
|||
|
|

Super cute, Janet – love how you colored these gnomes, and your masking guide is brilliant! Thanks so much for playing at SUO!
Thank you, Heather!
I love the gnomes paired with that sweet little Christmas tree. Such a cute card! Thanks for joining us at SUO Challenges.
Thank you, Renee!