Hello Friends!
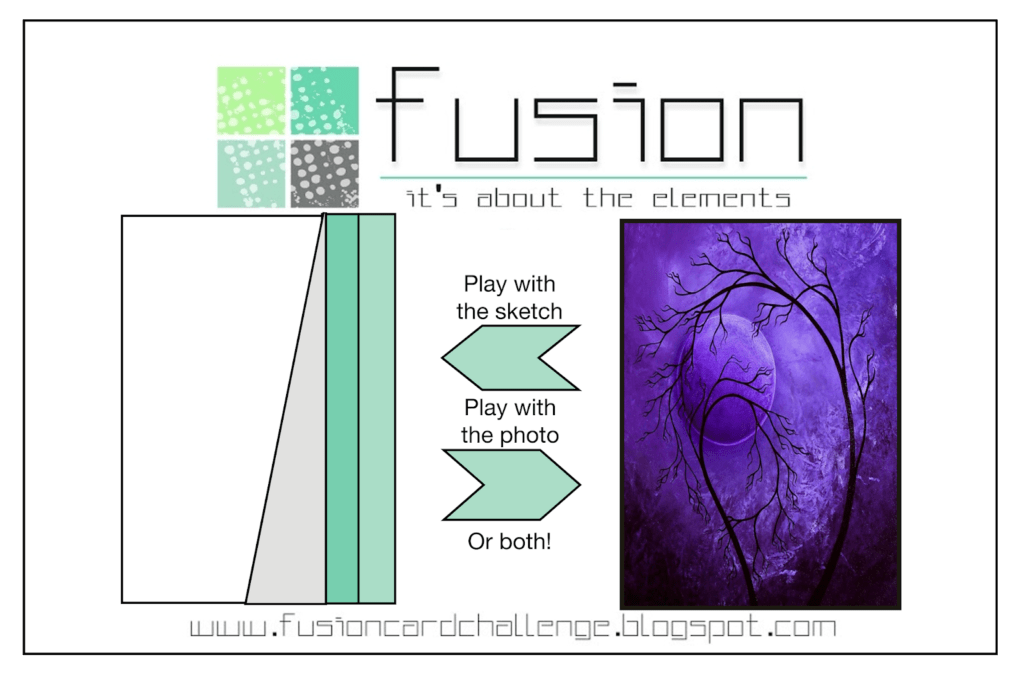
I’m back with a quick card for the Fusion Card Challenge “Purple Night”.
This challenge is as below. One can use just the sketch for inspiration, just the picture, or both. I decided to go big or go home and went with both.
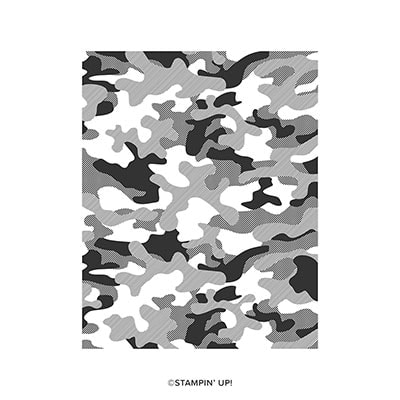
I bought the Camouflage background stamp several months ago, but had yet to use it. I decided it would be great for making a “spooky” purple background. I actually used three different stamp sets to achieve my final result.
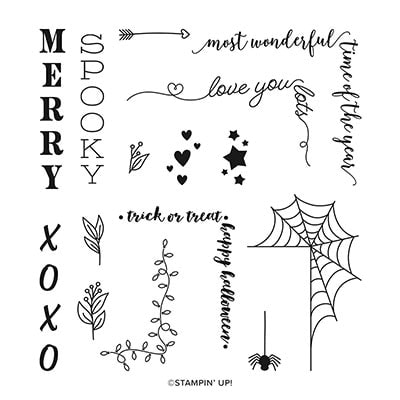
I don’t think of the tree stamp in “Life Is Beautiful” as spooky, but given that it’s photopolymer, it’s easy to bend the stamp around a bit to give it more insidious look. And, of course, Festive Corners filled in for the rest of the “spooky” look!
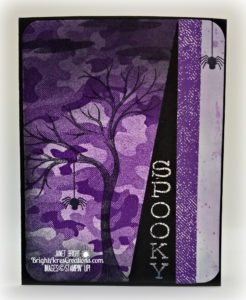
LET’S GET INKY!
Materials:
Stamp sets:
- Camouflage
- Life Is Beautiful
- Festive Corners
Paper:
- Basic Black for card base (5 1/2 x 8 1/2″ – score and fold at 4 1/4″)
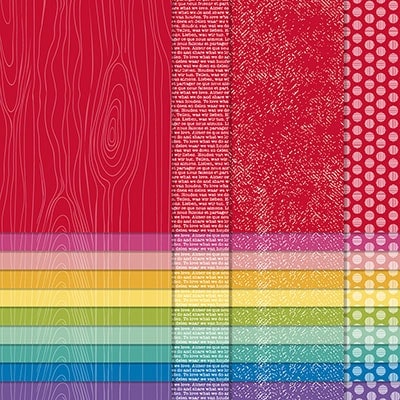
- Brights 6×6 DSP in Gorgeous Grape (1/2″ x 5 3/8″)
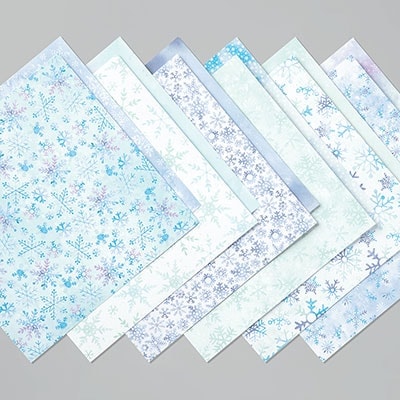
- Snowflake Splendor (1/2″ x 5 3/8″)
- Whisper White (5 3/8″x 4 1/8″ – image panel)
- Basic Black 1″ x 5 3/8″, cut in half corner-to-corner to create triangle
Ink:
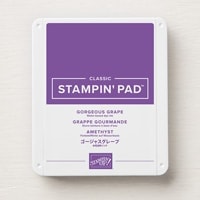
- Gorgeous Grape
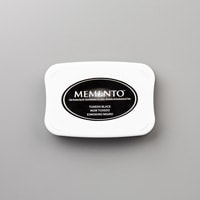
- Tuxedo Black Memento
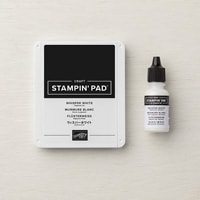
- Whisper White Craft Ink
Accessories:
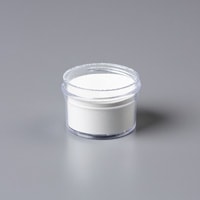
- White embossing powder
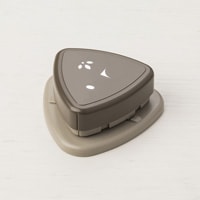
- Detailed Trio Punch
PUTTING IT TOGETHER:
- Ink Camouflage stamp in Gorgeous Grape ink and stamp onto Whisper White image panel.
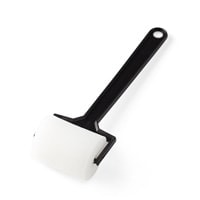
- Use a sponge brayer and Gorgeous Grape ink to fill in the white spaces of the Camouflage.
- Use a sponge brayer and Black ink, heavily at the top of the panel, lightening as you proceed downward.
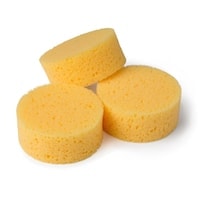
- Use a sponge to ink the edges of the panel all the way around.
- Adhere the two 1/2″ strips to the right edge of the panel, and then the black triangle butted up against them.
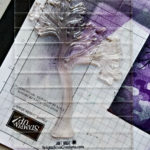
- Bend the tree stamp from Life Is Beautiful on your acrylic block so that it fits into the space left on the Camouflage panel and stamp with black ink.
- Use the Detailed Trio Punch to curve the corners of the panel.
- Add the spider image from Festive Corners, one hanging from the tree branch, and one from the top of the upper right corner on the DSP.
- Stamp “SPOOKY”, from Festive Corners, in Whisper White Craft ink and sprinkle white embossing powder over, tapping excess off.
- Use heat tool to set the embossing powder.
- Adhere the image panel onto the Basic Black card base.
DONE!
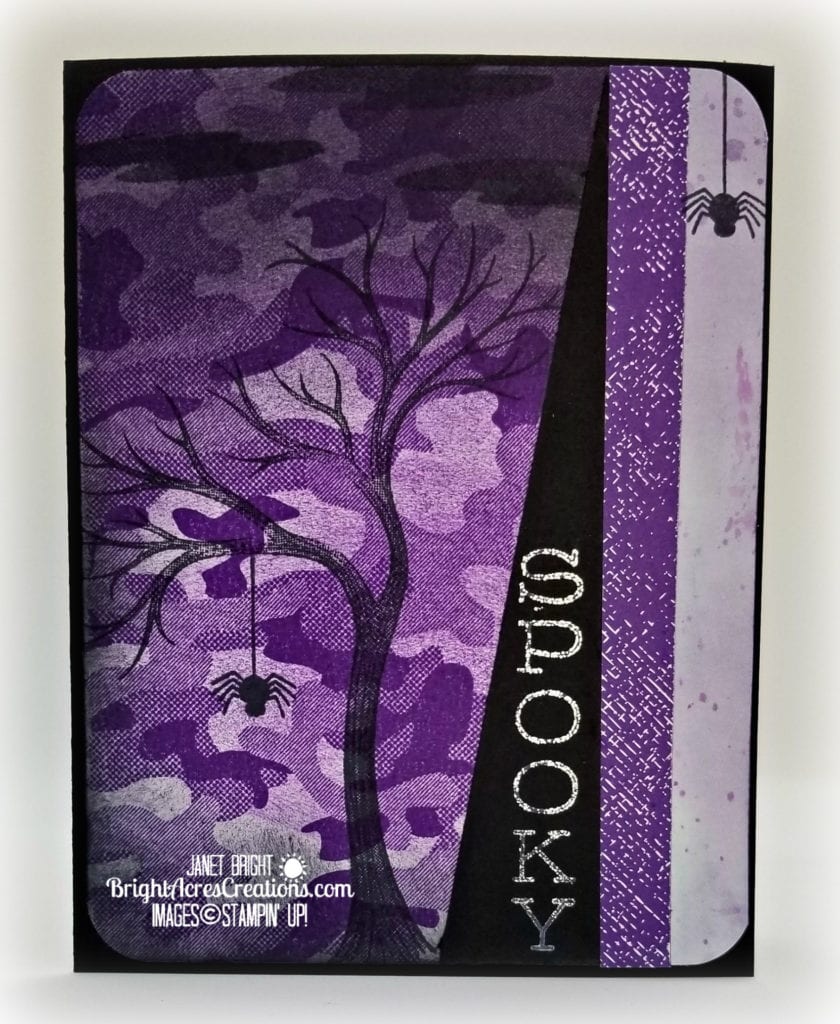
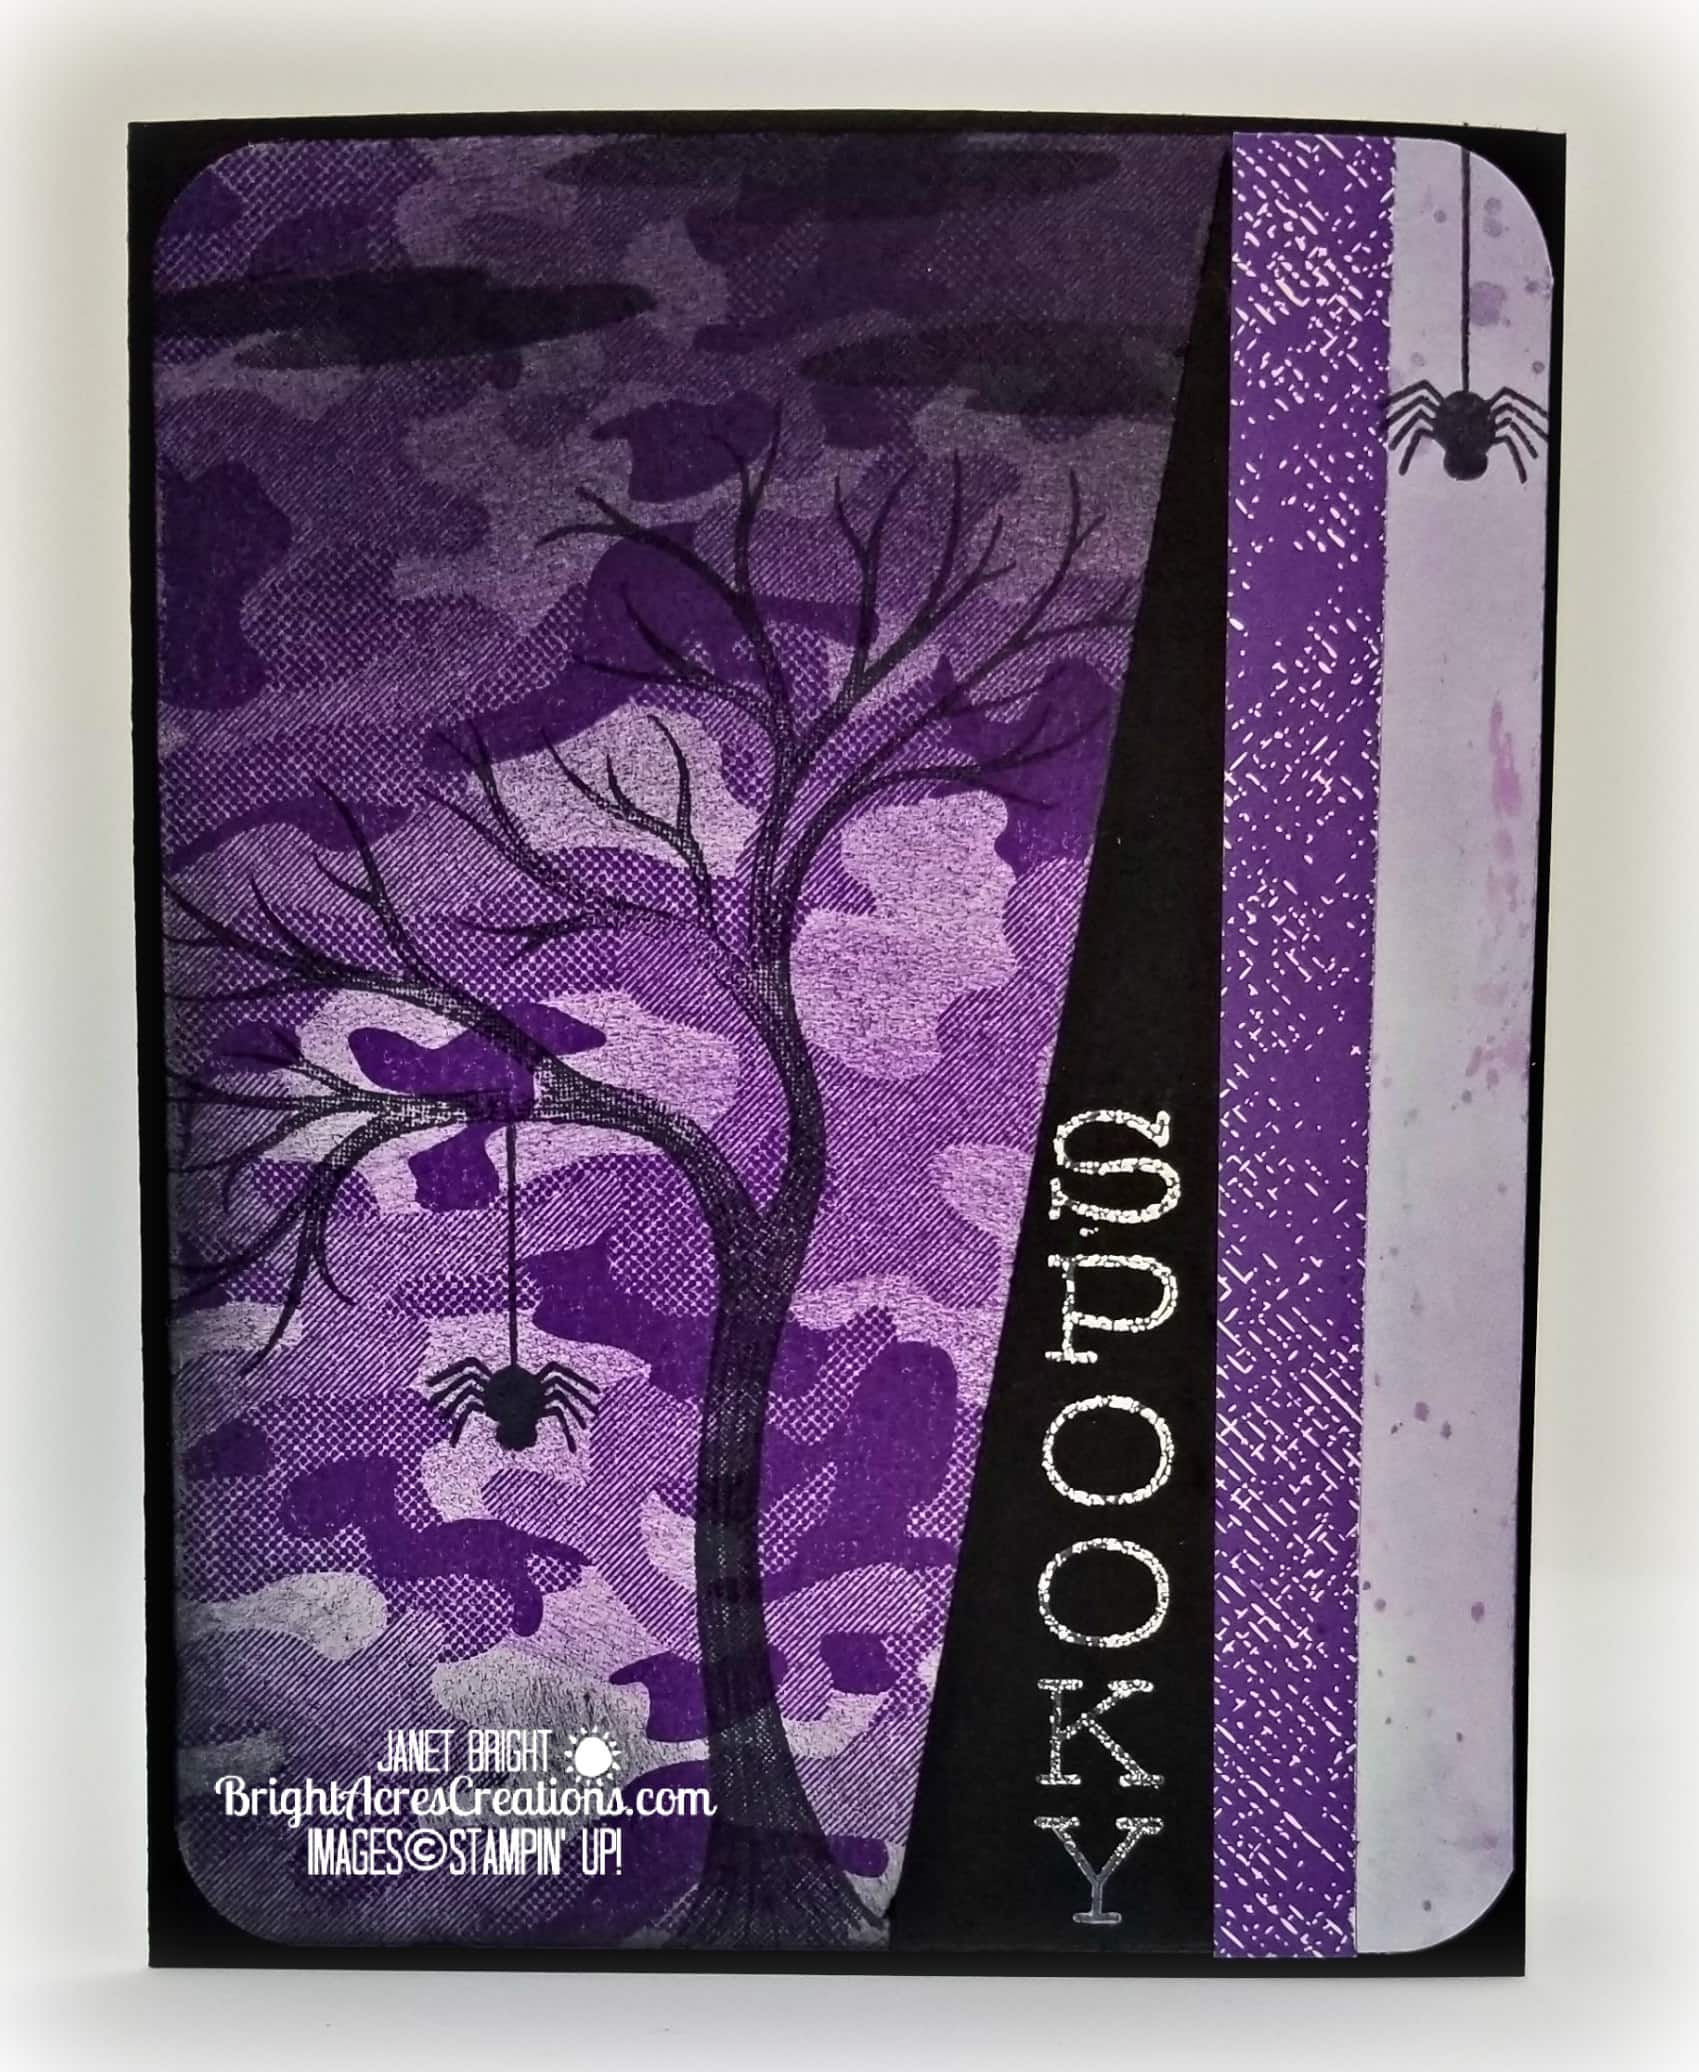
A quick and easy card just in time for Halloween!
It’s time to get your Halloween cards in the mail for a spooky little surprise for your loved ones!
 Don’t forget that the Stampin’ Up DSP sale ends on 10/31/20! If you want to stock up, now’s the time to do it! Click here to go to my Stampin’ Up online store where you can click on “Sales & Specials” and find all the beautiful DSP that’s on sale at 15% off NOW!
Until next time, my friends, I hope you get INKY!
Janet
Product List
|
|
||||
|
|
||||
|
|
|
|
|
|



Love this!
Thank you, Linda!