Hello Friends!
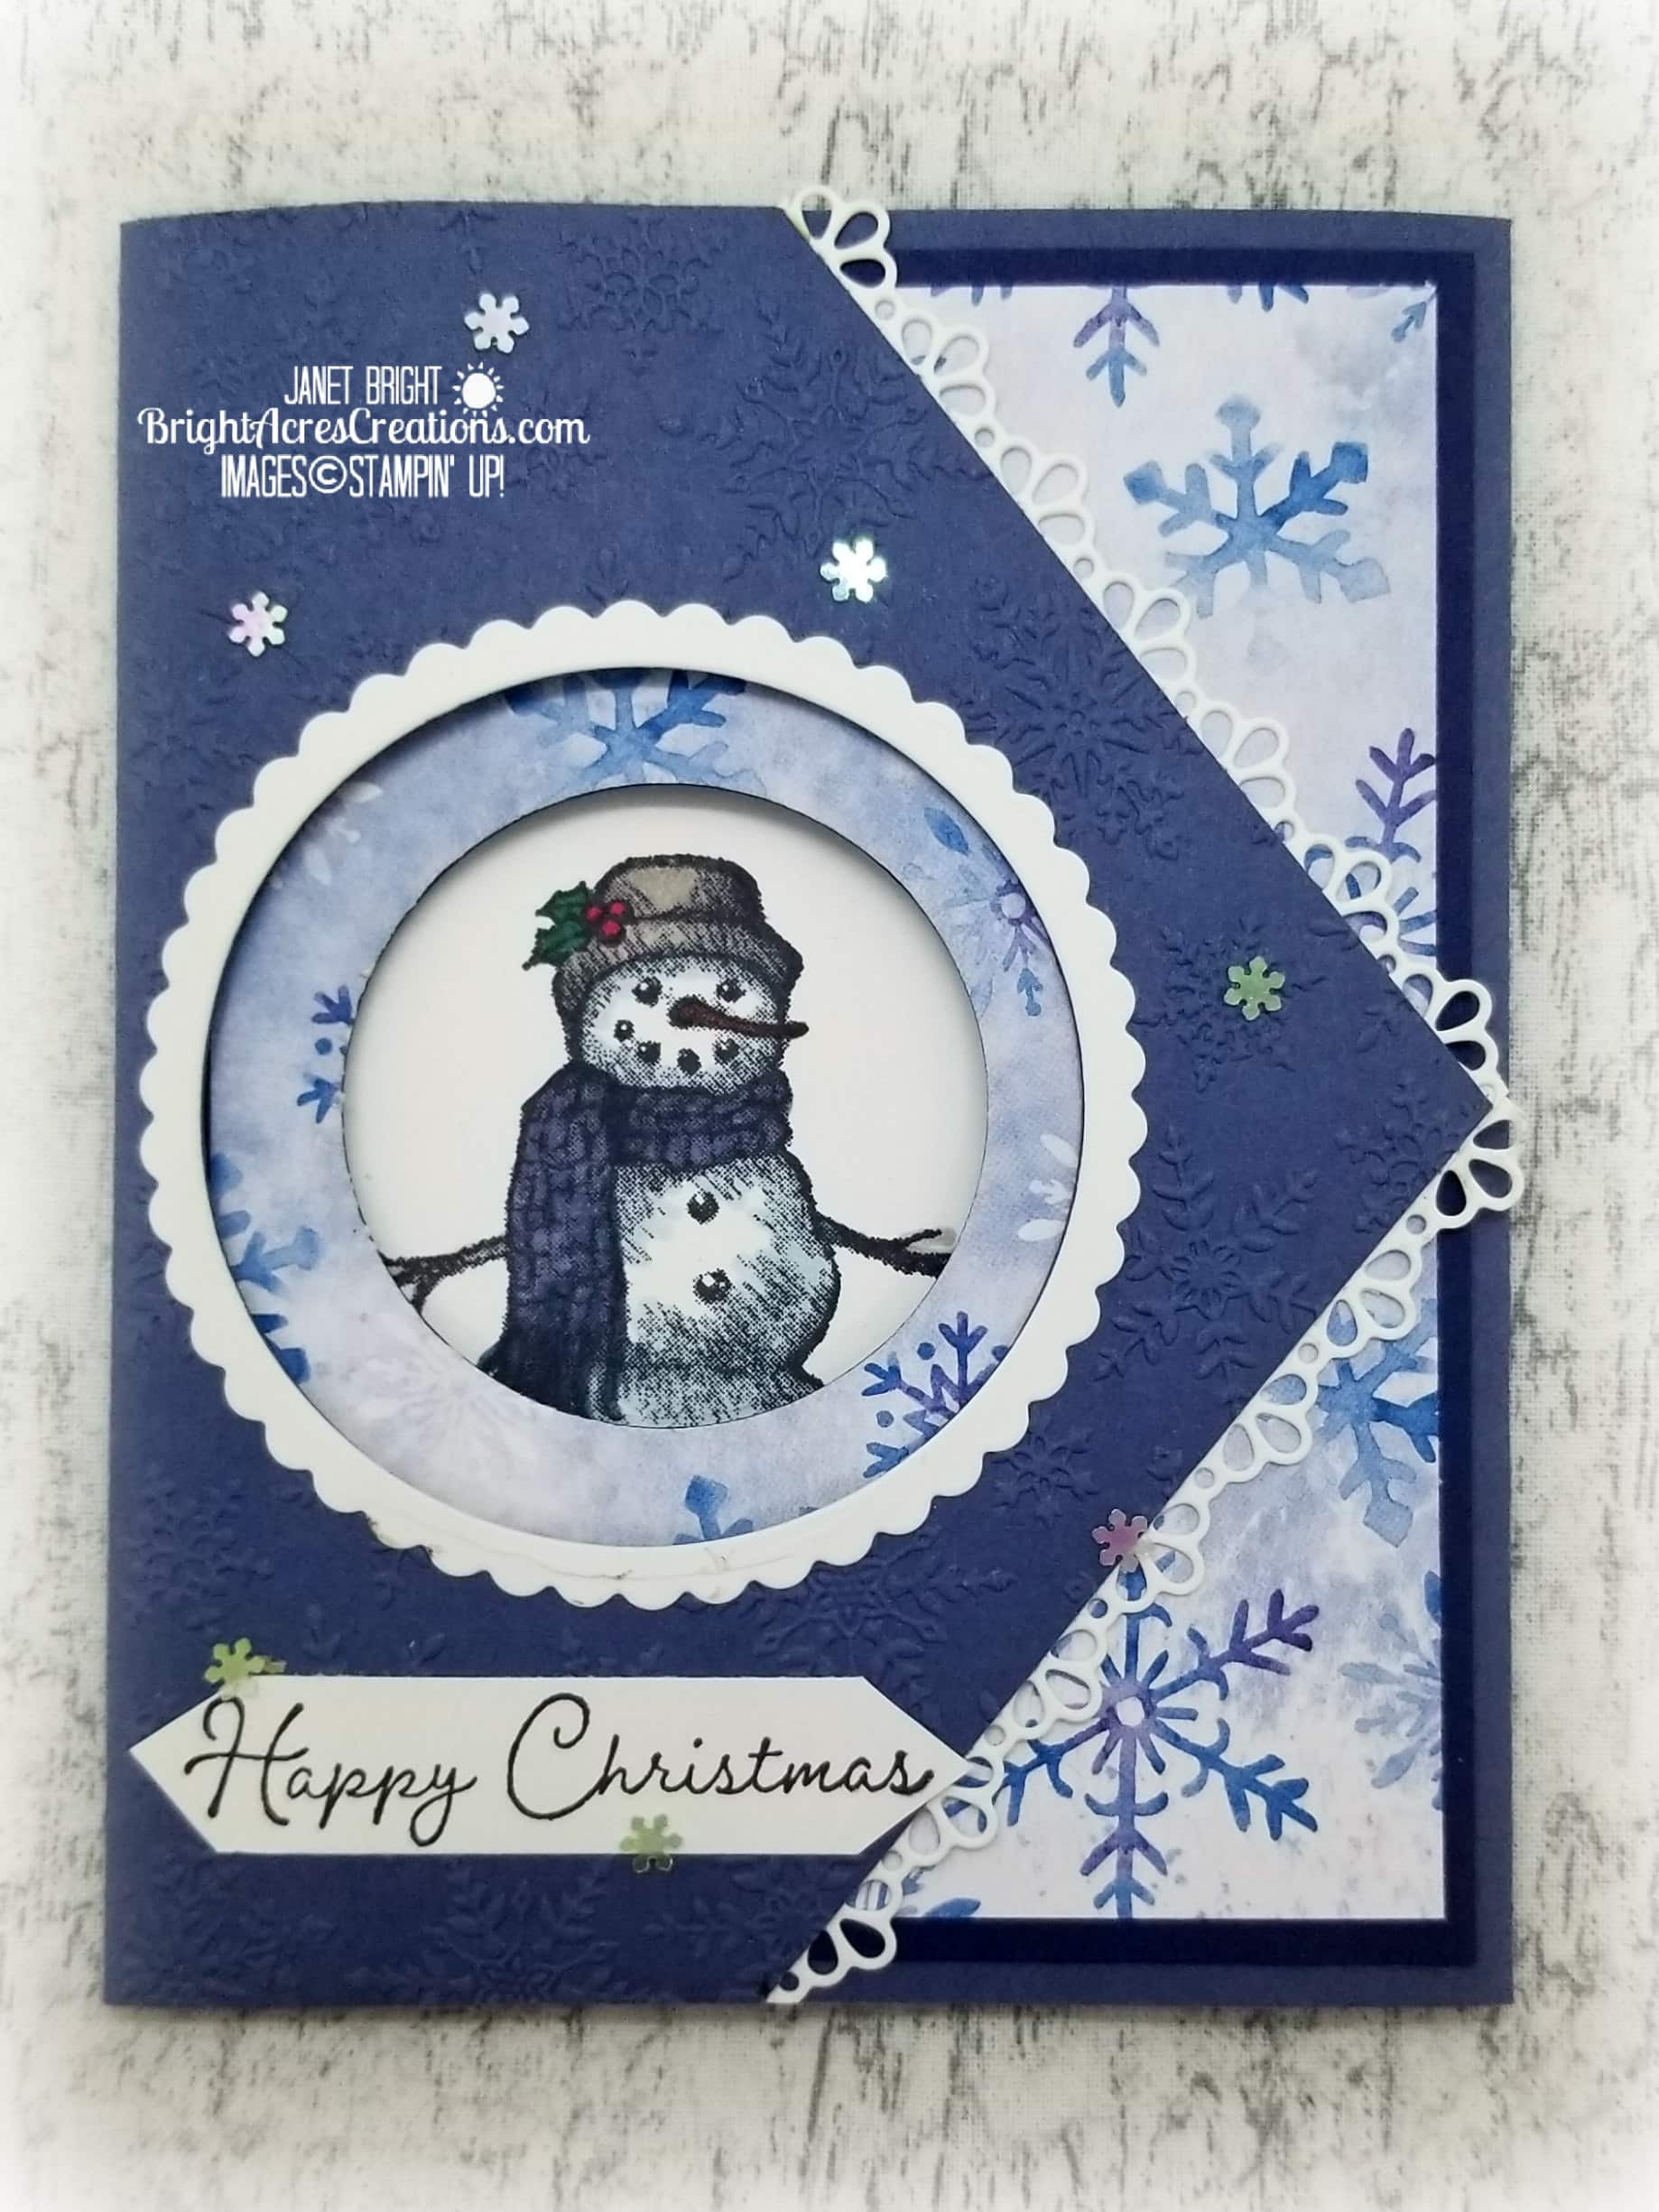
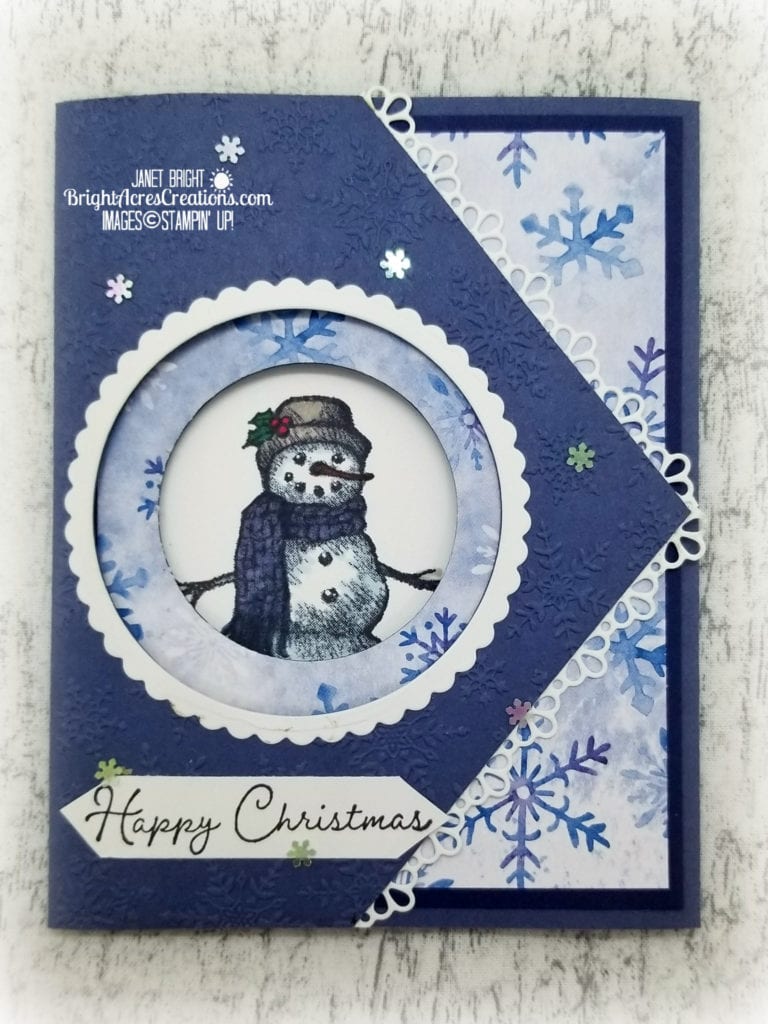
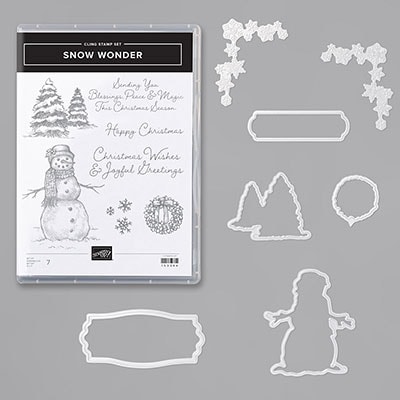
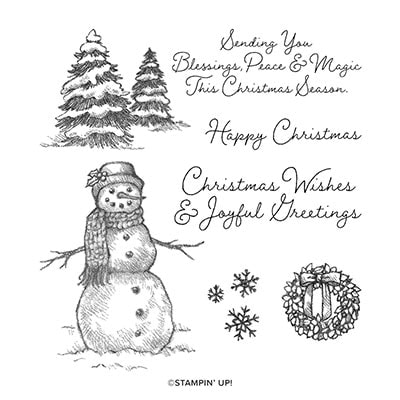
Today I will be showing you how to make a tri-fold peek-a-boo card featuring Snow Wonder from the Stampin’ Up August-December Mini Catalog (otherwise known as the holiday catalog)! I am so in love with this little snowman! He has so much personality and seemed like a perfect fit to peek through our little window.
Before we get started, however, I would like to thank Susan Levasseur of WOWNolaCreations.com for sharing this fancy fold on her blogsite some time ago. I saw it there first and have CASE’d it several times since! I think this is my favorite fancy fold ever! So, a huge thank you to Susan! I actually shop for and buy stamps that will work specifically with this fold I like it so much!
I’ve put together a video below to walk you through step-by-step how to make this card. I’m still new at making these videos and for whatever reason, it rattles me just a little bit knowing I’m being recorded! I guess you could say I’m camera-shy (always have been)! One definitely learns one’s nervous habits quickly through this process! I’ll keep working on it, however, and be a pro in short order! (hopefully!!!)
I’ve also included a written tutorial that you can refer to.
So, with no further ado, LET’S GET INKY!
Materials:
Paper:
- Misty Moonlight cardstock (CS) for card base – 5 1/2 x 8 1/2 inches; score at 4 1/4 inches and fold in half.
- Misty Moonlight CS for “flap” – 5 x 5 1/2 inches.
- Night of Navy CS for mat under DSP – 5 1/4 x 4 inches.
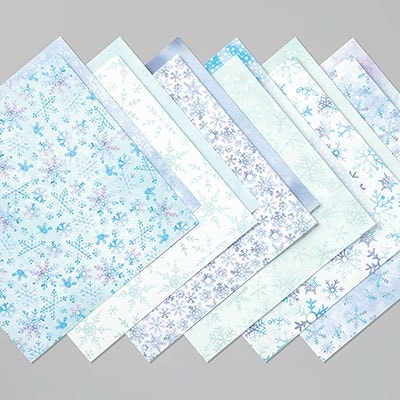
- Snowflake Splendor DSP 5 x 3 3/4 inches.
- Whisper White for inside panel 5 1/4 x 4 inches; for “lace trim” on triangular piece (2) 1/2 x 5 1/2 inches; for scallop trim around circle 3 1/2 x 3 1/2 inches; for front tag 1/2 x 2 3/4 inches.
Stamps:
- Snow Wonder
Ink:
- Tuxedo Black Memento
Accessories:
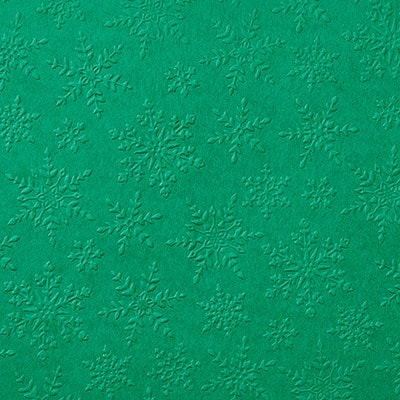
- Winter Snow Embossing Folder
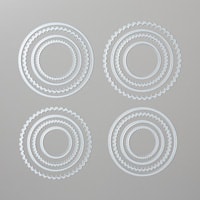
- Layering Circles Dies (largest scalloped and 2nd largest circle)
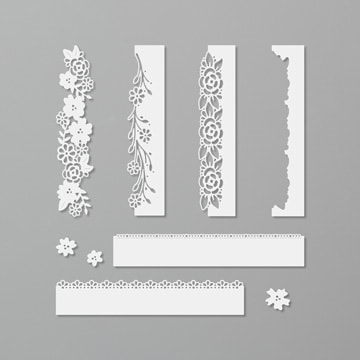
- Ornate Borders Dies
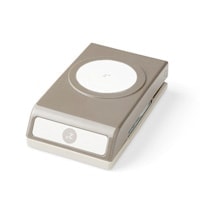
- 2″ circle punch
- Adhesive-backed snowflakes
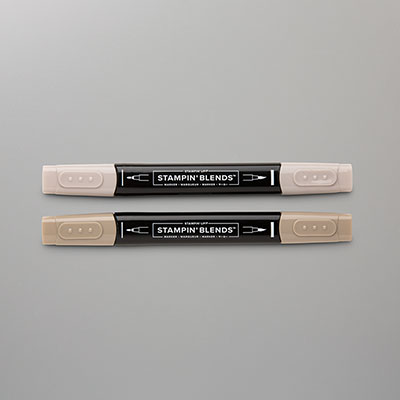
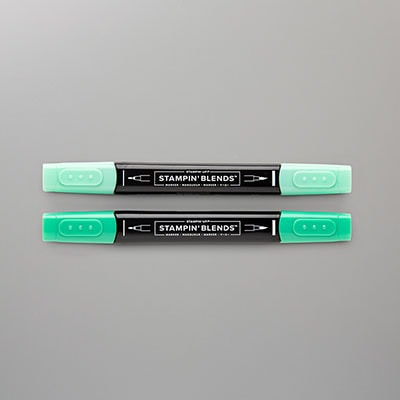
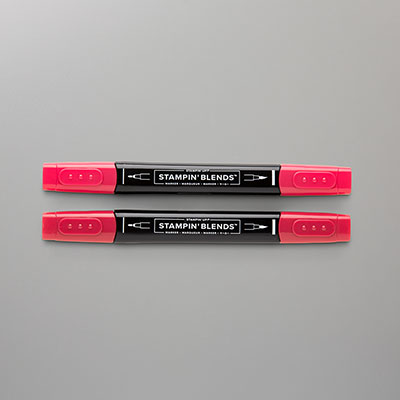
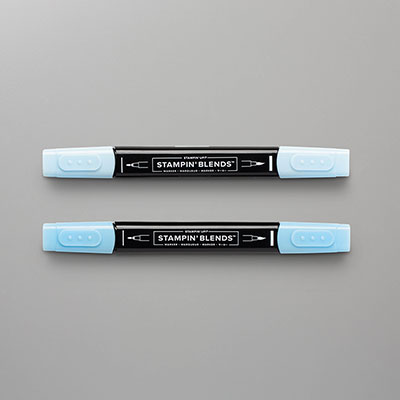
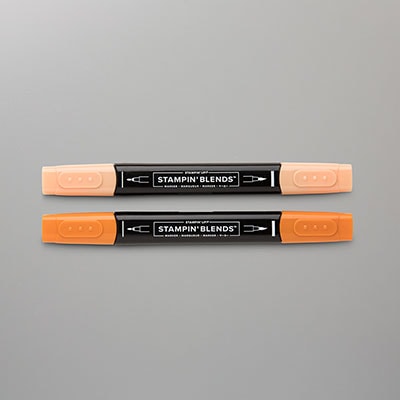
- Stampin’ Blends: Crumb Cake Combo, Misty Moonlight Combo, Light Balmy Blue, Dark Real Red, Dark Shaded Spruce
PUTTING IT TOGETHER!
- Fold cardbase in half and set aside.
- Adhere the DSP to the Night of Navy mat and set aside to dry.
- Using the 5 1/2 x 5 inch piece of Misty Moonlight, score the 5 1/2 -inch side at 3/4″.
- On the non-scored sides of that piece of cardstock, measure to 2 3/4″ and mark lightly with pencil.
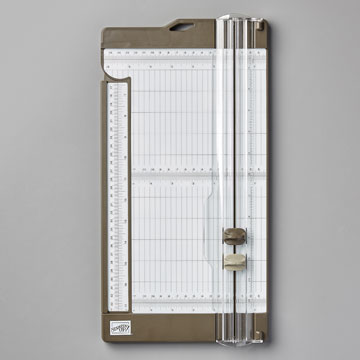
- Use a paper trimmer to connect the pencil dots, to create the triangular flap.
- Use the 2nd largest (plain) circle from Layering Circles Dies, and cut the hole in the center of the “flap”.
- Emboss the flap using the Winter Snow Embossing Folder.
- Use the largest scalloped circle die and the 2nd largest plain circle die from Layering Circles Dies to cut the scalloped “ring” to go around the hole on the front of the card flap. Adhere this ring to flap front around hole.
- Using the border die from Ornate Borders Dies, cut two strips of “lace” for the triangle edges of the flap. Adhere to edges and trim off excess.
- Now bring in your card base… THE CREASE WILL BE ON THE RIGHT FOR THIS CARD (it opens backwards).
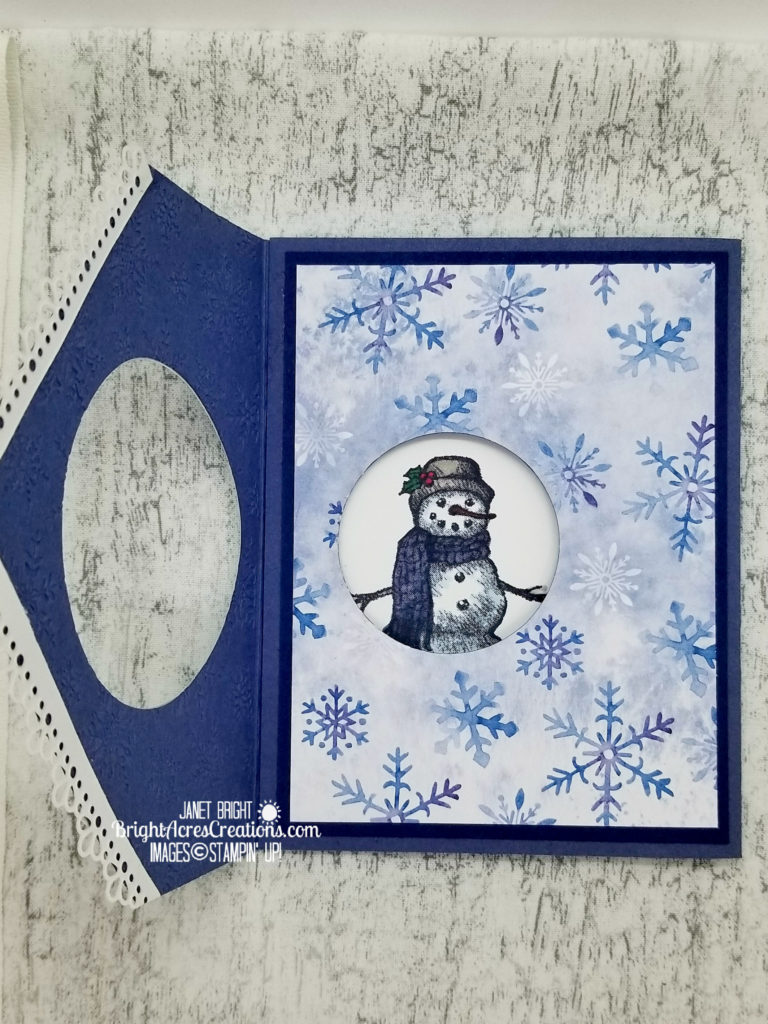
- Crease the flap on your score line and insert the card base with open side into the crease of the flap. (Remember – your card base will be backwards from usual, i.e. open side on left/crease on right). Make sure the top and bottom of both flap and card base are even.
- Punch a circle from a Post-It note using the 2″ circle punch, making sure the adhesive edge of the Post-It note is on the punched circle (so it will stay in place).
- Lay the punched circle in the center of the hole on the flap (will be on the front of the card base) to guide where the hole needs to be punched for the “peek-a-boo” hole.
- Remove the flap piece and place the card front, with the Post-It Note circle attached, in the 2″ punch with the Post-It Note circle aligned with the punch and punch your hole.
- Now when you lay the flap back over the card base, your holes should center up.
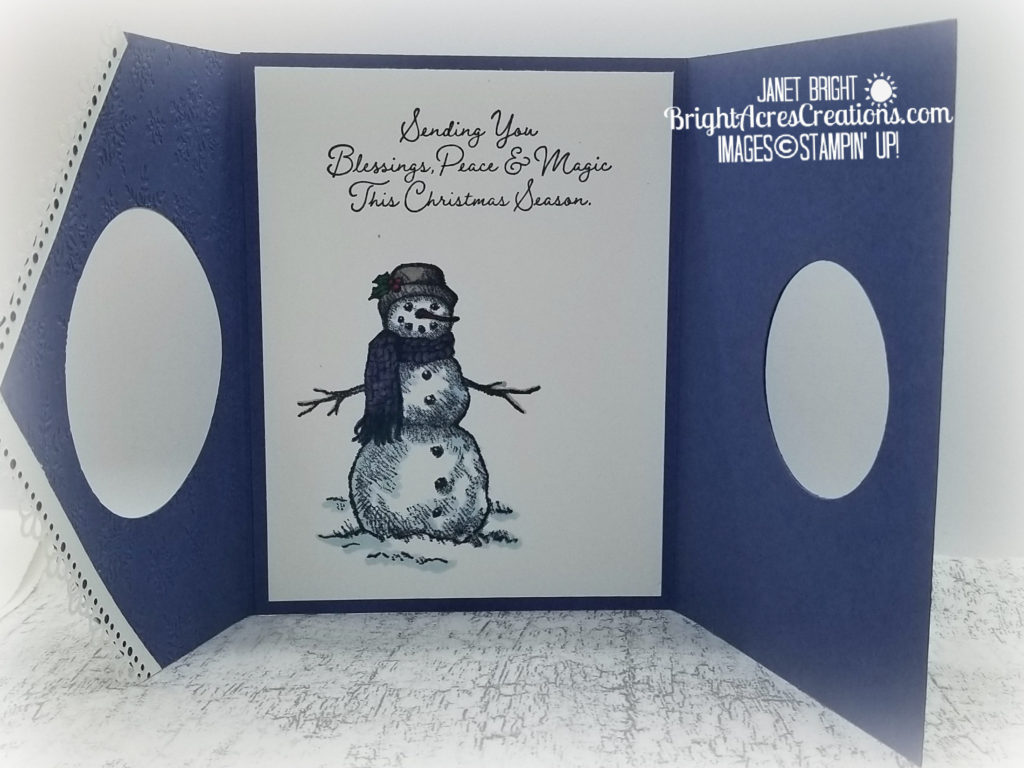
- Place the Whisper White inside panel in the card base with even borders (where it will be glued down, but don’t glue it yet!), close the card and lightly trace the circle onto the white panel with a pencil. (This marks where to stamp your snowman!)
- Remove the Whisper White inside panel and stamp the snowman from Snow Wonder with his head close to the top of the pencil-lined circle. Stamp the sentiment above the snowman. Color with markers as desired.
- Now lay the DSP with Night of Navy mat (that you glued earlier) on the card base front. Hold it in place and carefully open the card keeping the DSP stack in place. Lay the 2″ circle Post-It Note in the center of the circle again, lift the cardbase off, and punch the hole in the DSP stack.
- Adhere the DSP mat to the card front, lining up the holes.
- Adhere the inside (white w/snowman) panel to the card base.
- Apply some adhesive to the straight edge of the flap (behind the score line) and apply to the back of the card so that the flap folds over the open edges of the card base.
- Stamp the front sentiment on the small piece of Whisper White and hand trim the ends into a banner.
- Apply to front of card with dimensionals.
- Scatter some Adhesive-backed snowflakes on front.
DONE!
I’ve got so many other ideas for this “Snow Wonder” snowman that I can’t wait to put some of them together to share with all of you! I will, however, try to intersperse them with other products as well! I feel like a kid in a candy store right now! I ordered so much from the holiday catalog, I don’t know where to start! (Terrible problem to have, right?!)
Please don’t hesitate to reach out to me if you have comments or questions! Just click the “contact” tab at the top of this page and I’ll be happy to get back to you as soon as I can!
Until next time, I hope you get INKY!
Janet
Product List
|
|
|
|
|
|
|
|
|
|||
|
|
||||
|
|
|
|||
|
|

Loved making this with you in your class Janet. Good job!
Thank you, Krista! As noted above, one of my favorites! And, thank you for coming to my class – lots of fun!
Do you have any class kits left with this card? I Love it!!!
Hi Michelle! I do have 2 kits leftover. As they are, they are just the “raw” pieces of cardstock/DSP cut to size. Do you have dies, punch, etc. to complete, or are you looking for them to be pre-cropped?