Hello Friends!
I hope you’re all surviving our heatwave the last few days! Whew it’s been HOT and it’s not even August yet! It is approaching rather quickly though, and that means YAY! You can soon order the new products from the holiday mini catalog, otherwise known as the August-December, 2020 Mini Catalog. So many fun sets in that catalog, and the paper… yes, you know I have a thing for pretty paper… it’s gorgeous! A little bit of Christmas in July! Maybe thinking about Christmas will make it seem cooler outside?
When I’m looking at my stamp sets trying to decide what to put on my blog for y’all, it’s like eenie-meenie-miney-mo! I have so much from the 20-21 Annual Catalog which still feels new to me (it’s only been out for 3 months), and products which I haven’t even used yet. And now I have a large assortment of new products from the holiday catalog… oh my! What a dilemma to be in right???
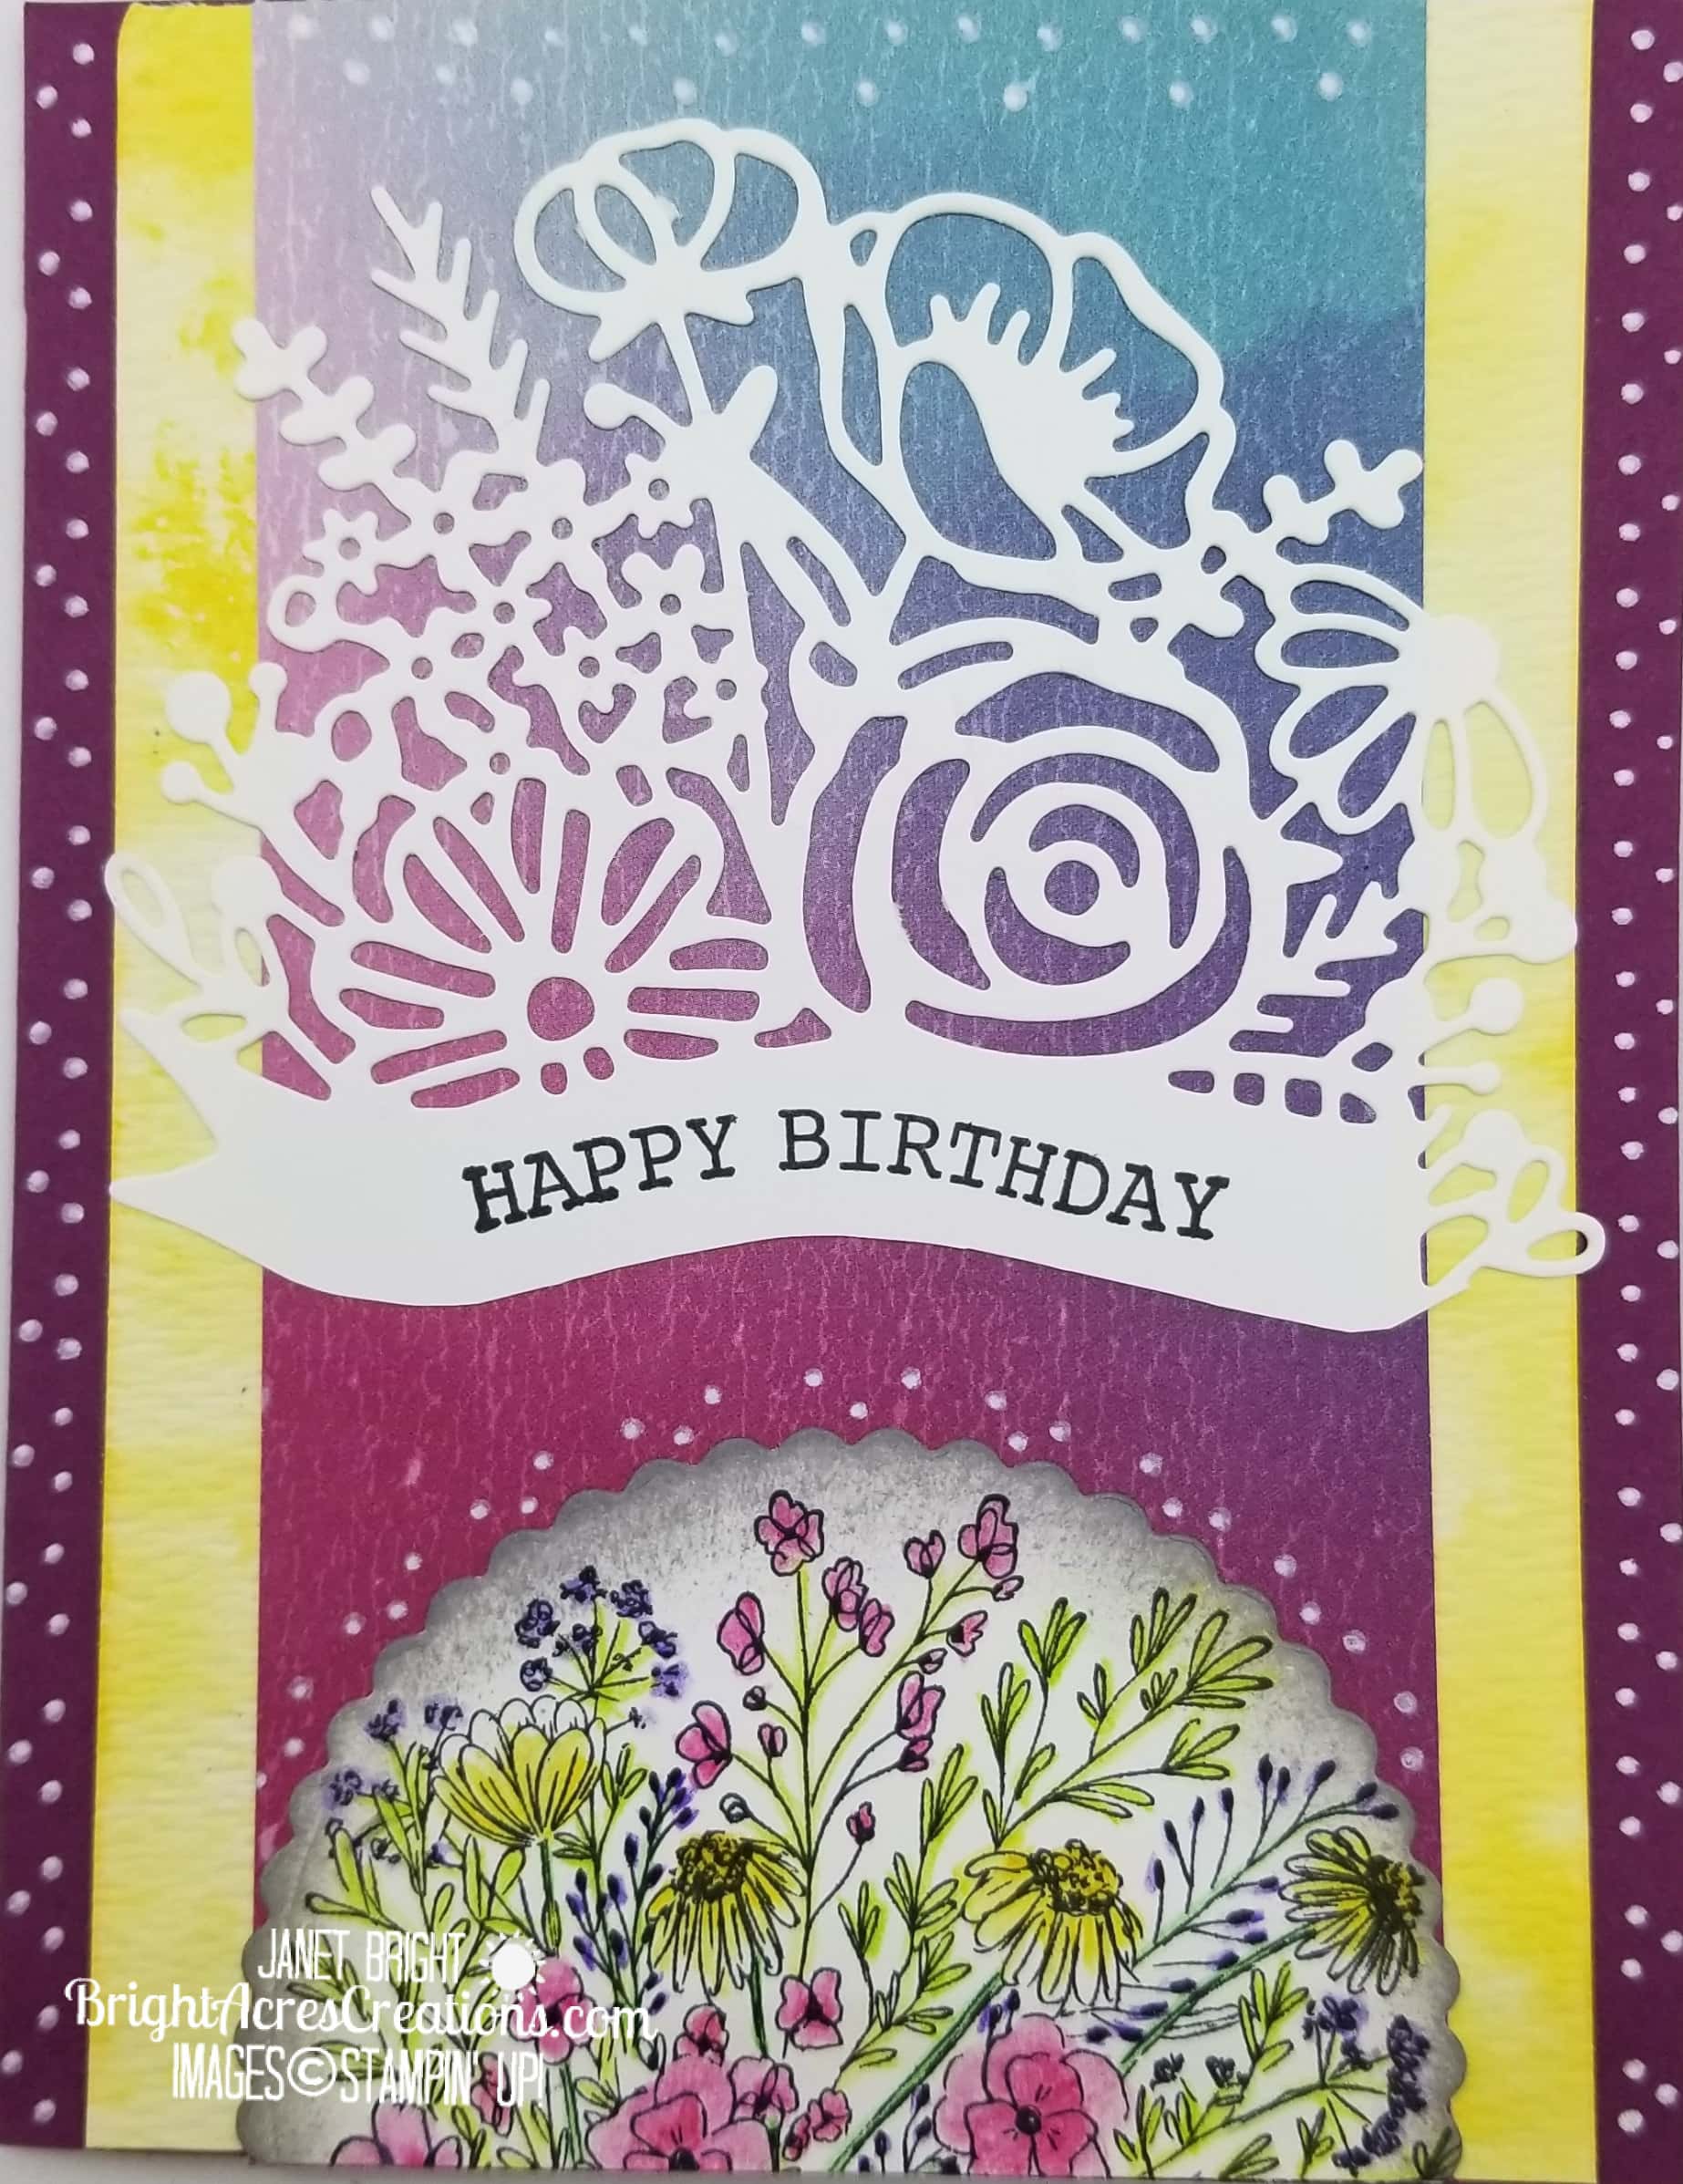
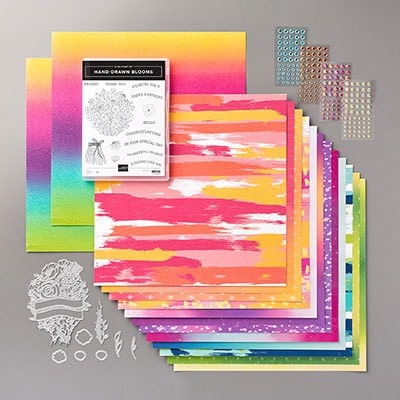
Given that it is still July and I still have birthdays coming up, today I opted to go with products from the annual catalog that I haven’t played with yet! I selected the Artistry Blooms Suite of products.
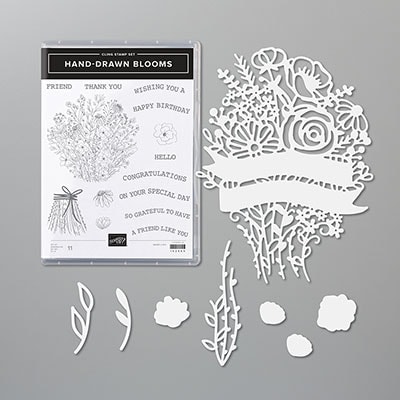
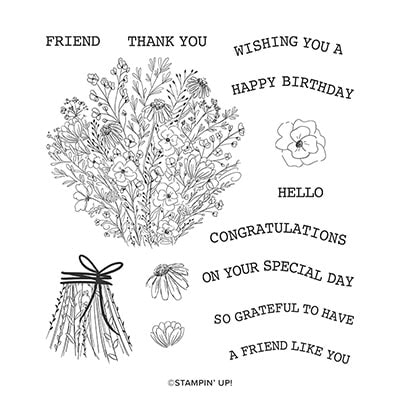
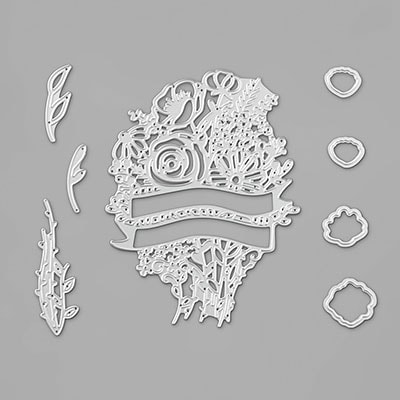
I’ve seen lots of beautiful cards on Pinterest featuring these products but I wanted something completely unique. Mostly what I’ve seen featured is the Banner Blooms Dies which are so gorgeous! But the stamp set, Hand-Drawn Blooms, is gorgeous as well and I wanted to incorporate the two together. I’ll admit that I struggled with this card a little bit. I tried several different things and hmmm…. nope, it just wasn’t coming together the way I wanted.
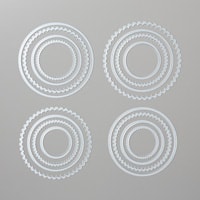
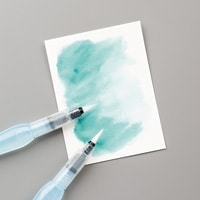
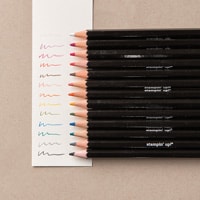
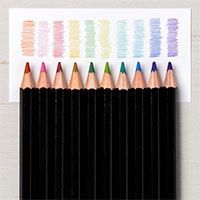
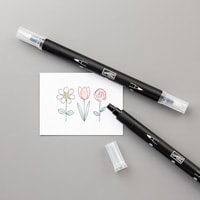
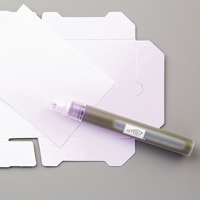
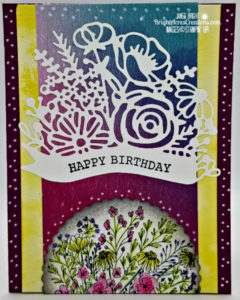
I wanted to carry a watercolor look throughout my design and used watercolor pencils and blender pens for the stamped image, cropped it down with the largest scalloped circle from Layering Circles Dies. I had also cut the Banner Blooms large die out of Whisper White CS. Somewhere in my brain last night, I could see the stamped image peeking out from under the large flower/banner die, but it looked better in my brain than it did on my card! I wanted to “marry” those two and make them work on the same card. I almost scrapped the whole thing altogether. I’d gotten a late start and finally decided to just go to bed and see if I could make it work in the morning!
Well, sometimes that’s all it takes. This morning when I awoke, I took another look at what I had going on and it was very clear what it needed… scissors and custom watercolor paper!
With all abandon aside, I proceeded to cut my die-cuts into smaller pieces and let them complement each other rather than compete with each other.
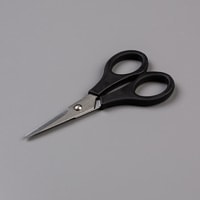
I chose to use only the top half of the Banner Blooms die-cut flowers, trimming the bottom of the banner smooth with my scissors. The “Happy Birthday” stamp is part of the Hand-Drawn Blooms set and is made to fit perfectly on the banner. I only inked the Happy Birthday, lower half of it, as it’s a two-line stamp meant to fit the double banner of the whole die.
I then cut my scalloped circle with the stamped image at about the two-thirds point and inked the edges with Basic Gray ink to give it a vignette look, mounting it to the bottom edge of the card, allowing the Banner Blooms die-cut to swoop over the top of it.
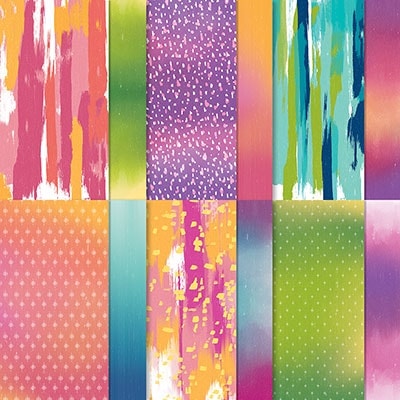
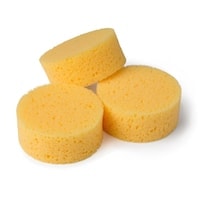
Last night I’d tried a piece of Daffodil Delight cardstock which was embossed using the Ornate Floral embossing folder for my mat under the Artistry Blooms DSP, however, it just looked too hard against the softness of the DSP. So, this morning I used a piece of watercolor paper, wet it down a little bit with a spritzer filled with Daffodil Delight colored water (use a couple drops of my ink refill). It still didn’t have the look I wanted, so I took a wadded up piece of plastic wrap (yep, like you use in the kitchen), and my Daffodil Delight ink pad, and “sponged” some ink onto the wet watercolor paper. That looked pretty good, but still not quite what I wanted. A few swipes of the edge of the ink pad directly to the paper and we were getting closer! To quiet the bold strokes from the direct pad-to-paper effect, I again spritzed it with the Daffodil-Delight colored water.
Ta-Da!!! That’s what I wanted!
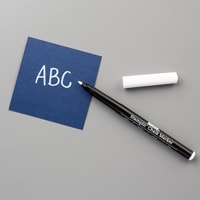
The card still needed something though, so I added some hand-drawn white dots with my white Stampin’ chalk marker.
So, why am I telling you all this when I could just simply tell you the final steps of what I did and leave it at that? Because I know I’m not alone when it comes to, “it’s not turning out like I want it to”. Sometimes if you step away for a while, when you come back to it, you see it with fresh eyes and new ideas of how to make it all work.
This card actually turned out quite different than what I had originally set out to do, but with persistent tweaking and trying various things, I eventually reached a result which I was very pleased with!
You know what they say… If at first you don’t succeed, try cutting up your die-cuts! …Or something like that 🙂
I’ll admit that I’ve started cards and trashed them because they just weren’t coming together as I had envisioned, but most of the time, one can play with various elements and finally achieve acceptable results! It helps to start with a plan, but sometimes we have to be flexible enough to alter the plan and just work with it!
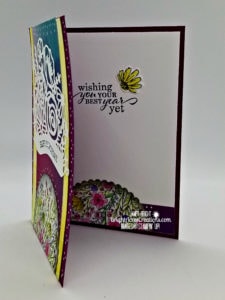
For the inside of the card, I simply added a piece of the same DSP to the bottom of my Whisper White panel and applied the other, smaller half of my stamped scalloped circle over the top. The sentiment comes from Best Year, also new in the ’20-’21 Annual Catalog. I added the small flower die-cut, also from Hand-Drawn Blooms, for accent.

 Just a quick reminder that Stampin’ Up Bonus Days are still going on until August 3! For every $50 of product you buy now, you get a $5 coupon you can redeem August 4-31… just in time for the Holiday Catalog! So if you still have things on your wish list from the Annual Catalog, now’s a good time to order and earn bonus $$$ for holiday products from the new catalog!
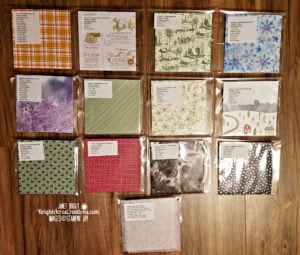
 I also have a couple of Paper Share Packs still available from the new Holiday Catalog! These will include a 6″ x 6″ sheet of every piece of DSP in the new catalog, including the specialty papers (foil, glimmer, glitter, velvet, etc.) 197 pieces in total. Each DSP set will be packaged separately and labeled. The specialty papers will be packaged together and labeled as well. The cost is $70 shipped. If you’re interested, please let me know via the “Contact” tab at the top of this page!
I will send out Paypal invoices to those who have confirmed with me next week, and plan to mail the Paper Share Packs the first week of August.
 Finally, I have a few spots left in my August classes, so sign up now if you’d like to get together and have fun getting inky!!!
Cost is $10/person or free with a $40 same-day order.
The class schedule and availability is as follows:
August 8 (Saturday) 10:00am – 12:00pm (FULL)
August 12 (Wednesday) 6:00pm – 8:00pm (2 spots open)
August 22 (Saturday) 10:00am – 12:00pm (3 spots open)
August 26 (Wednesday) 6:00pm – 8:00pm (2 spots open)
Stay cool and hydrated out there!! Though frankly, it’s too hot to be “out there”, so stay inside and get a little INKY!!!
Until next time,
Janet
Product List
|
|
||
|
|
|
|
|
|
|
|
|
|
|
|
|
|
||
|
|
|
|
