Hello Friends!
I’m here today with a card made from some of my new products from the Holiday Mini Catalog (August – December, 2020 Mini Catalog). I was recently questioned regarding embossing paste. While I have it in my stash, I’ve used it very little. So…what better time than now to break it out and use it again! I was hoping to do this in video, but our satellite internet installation didn’t happen yesterday. Unfortunately, it seems the satellite the technician was trying to reach was behind the horizon and he was unable to get a sightline on it. We’ll keep trying, however. Sooner or later, I WILL have faster internet!!! (I hope, I hope, I hope…)
But, back to embossing paste!
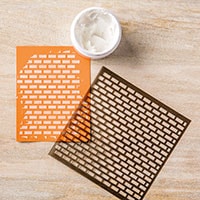
The embossing paste comes in White (matte) or Shimmery White (matte w/subtle sparkles), however, can be colored whatever color you want it to be with your Stampin’ Up re-inkers. This is fantastic, as it then coordinates with all the other Stampin’ Up colors!
Just use a palette of some sort, i.e. a plastic margerine container lid works just fine! Add a drop or two of ink from your re-inker, and mix with a palette knife. You get to adjust the color darker or lighter, depending on how much ink you use!
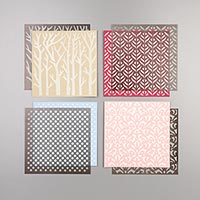
I chose to use the brick pattern from Pattern Party Decorative Masks (oops…those masks are now retired – use Basic Pattern Decorative Masks instead!)
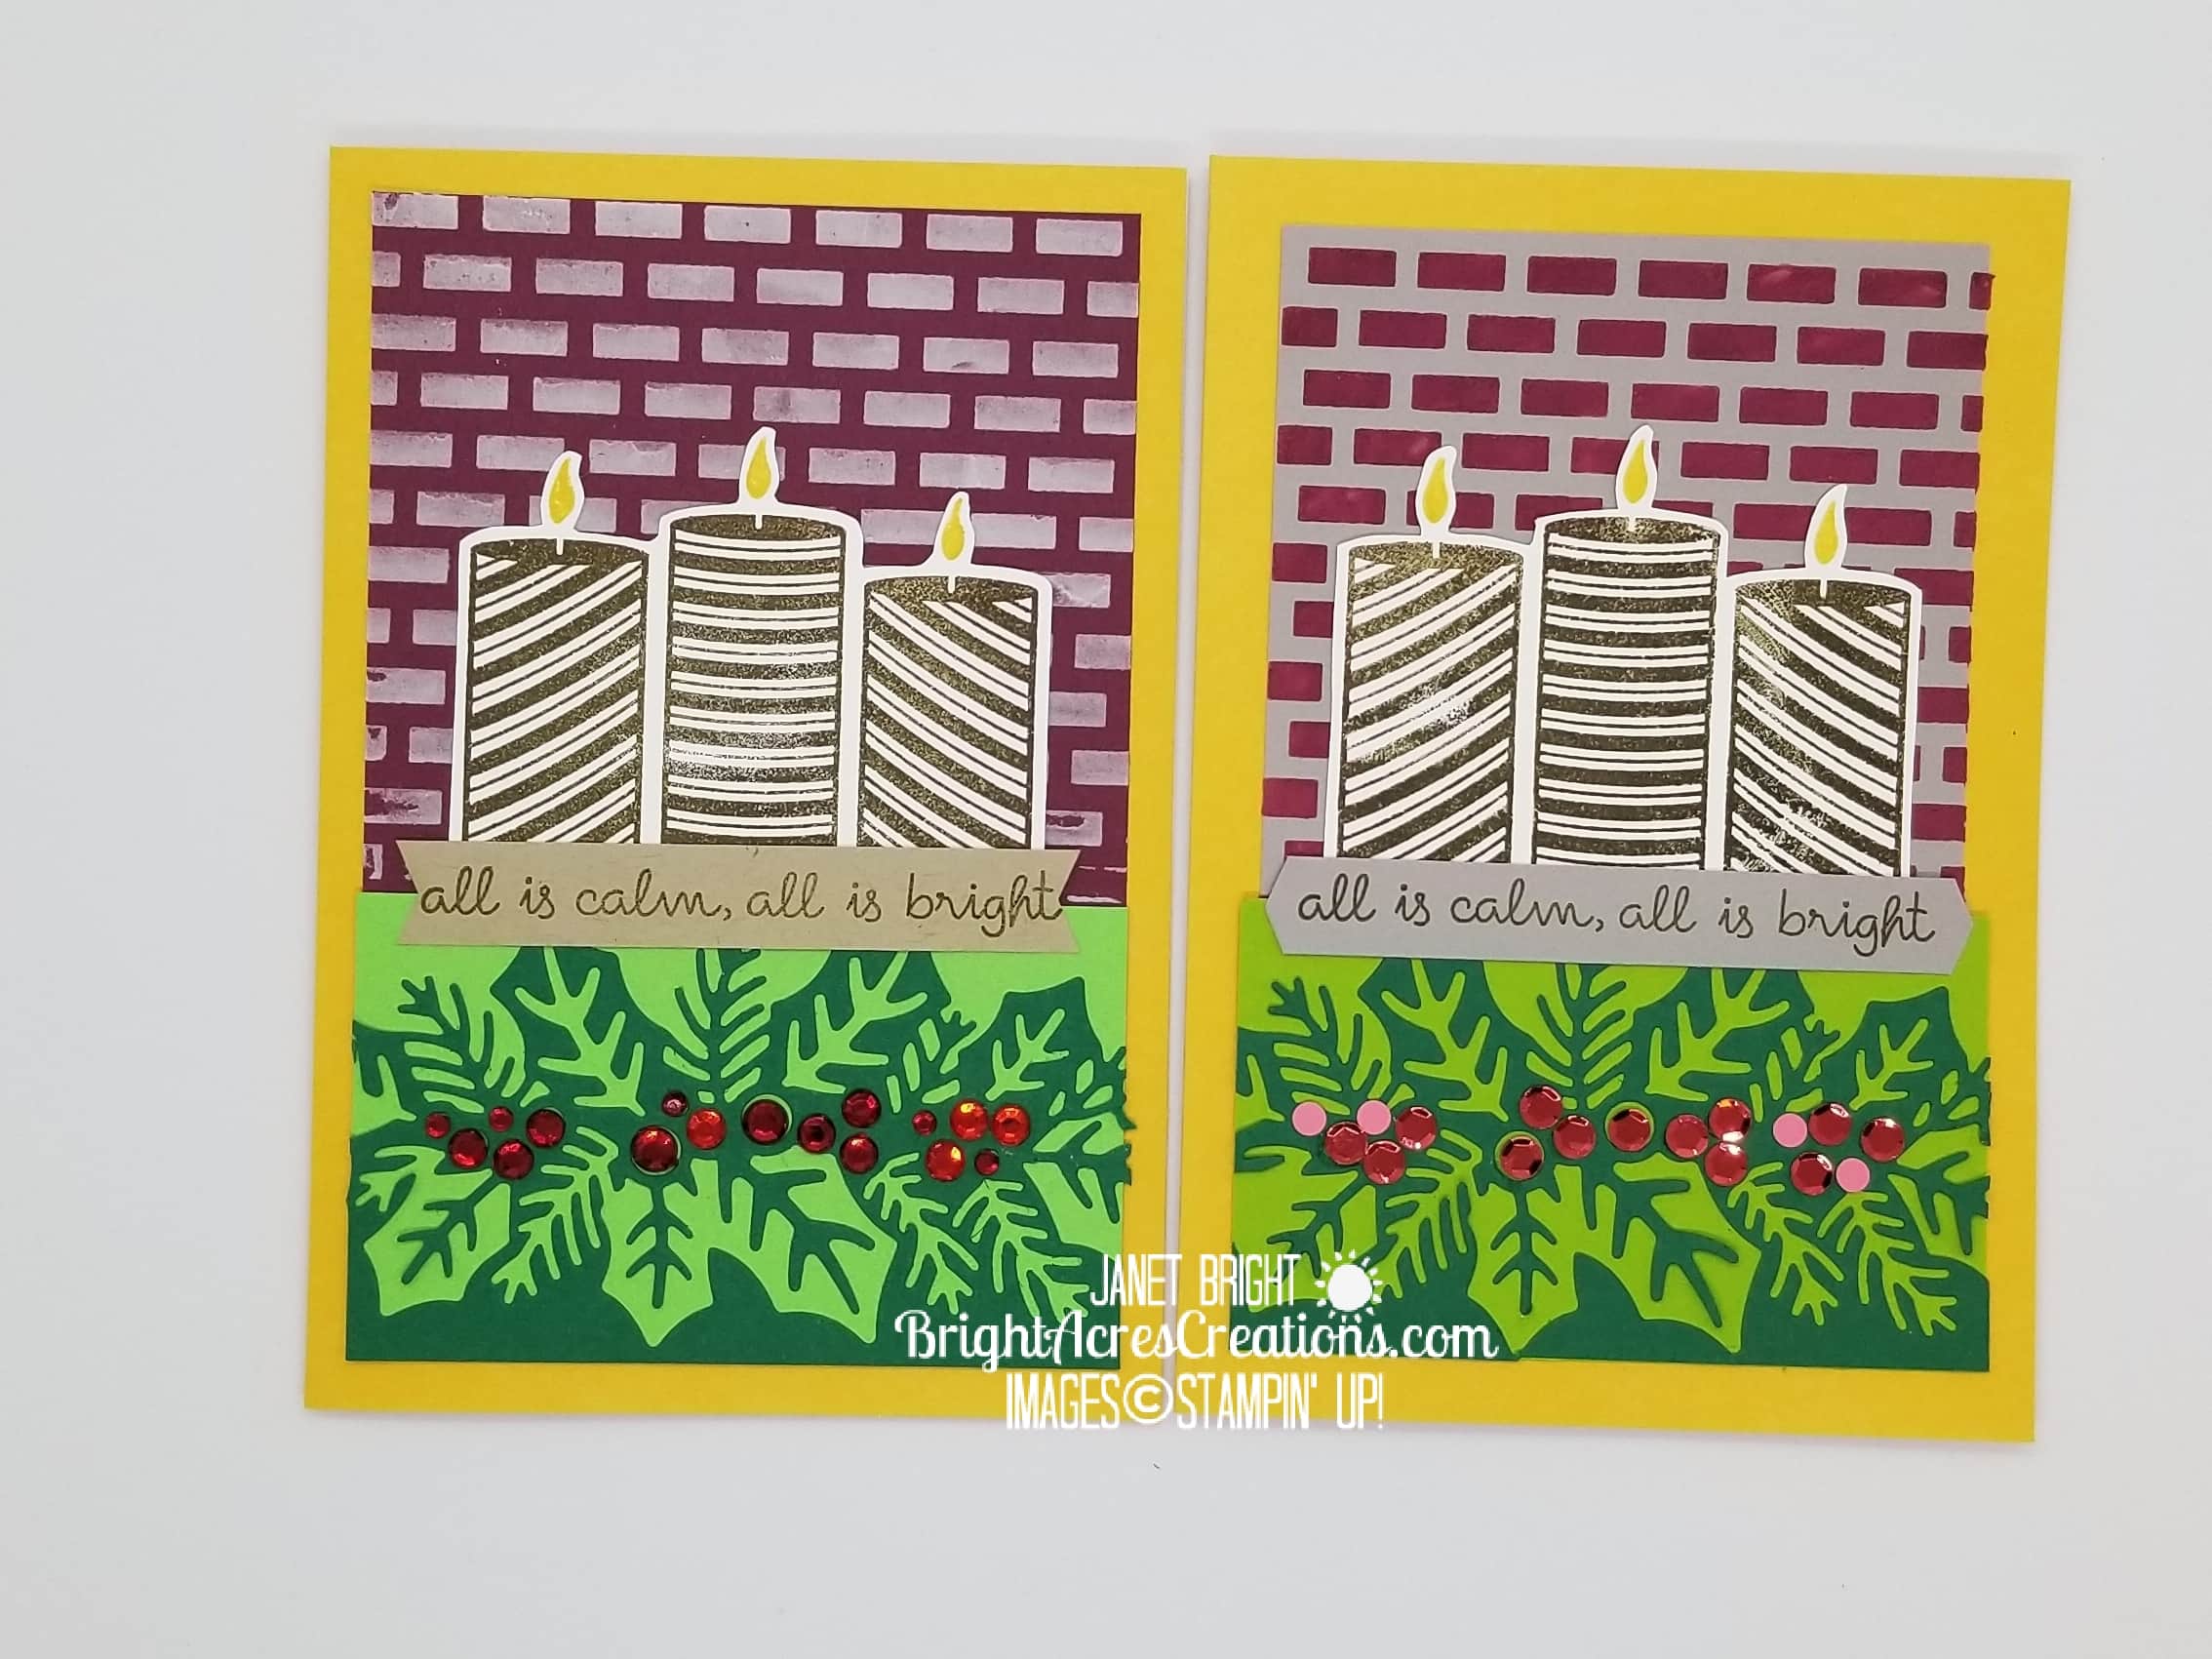
I made two different cards, one using Merry Merlot cardstock and white embossing paste. The other I used Gray Granite cardstock and mixed some Merry Merlot ink into the embossing paste.
Simply hold the mask (stencil) in place over the cardstock. A little bit of crafting tape or washi tape to hold it along the edges works well.
Smear the embossing paste over the mask as thick or thin as you like using a palette knife.
Lift the mask off and let the embossing paste dry (can be heat set if you’d like, but actually dries very quickly) for instant texture! Then, simply clean your mask and tools with warm water! A super easy way to make your own textured background. So many possibilities!
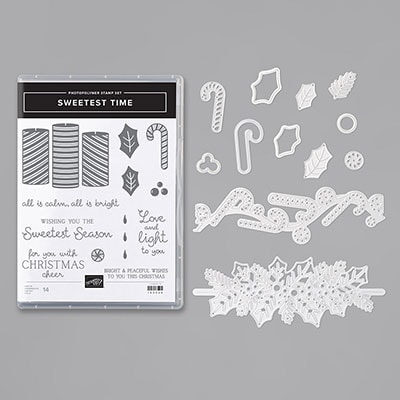
These cards feature the Sweetest Time Bundle from the new Holiday catalog (Sweetest Time Stamp Set & Sweetest Borders Dies).
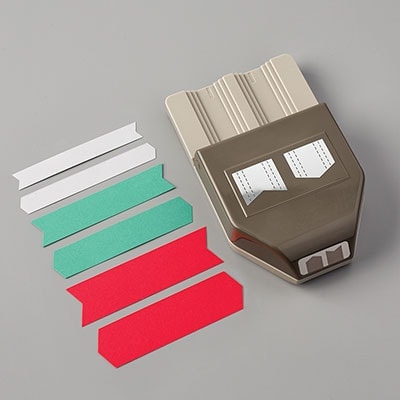
I also used the new Banners Pick-A-Punch for my sentiment tag on the front of the card. I love the versatility of these “Pick-A-Punches” Remember the other new one in the Annual Catalog, Lovely Labels Pick-A-Punch? Options… I always like options and these punches deliver the options!!
Please remember that the new products I used here are not available for order until August 4…..
But, enough of all that… Let’s GET INKY!!!
Colors and Dimensions:
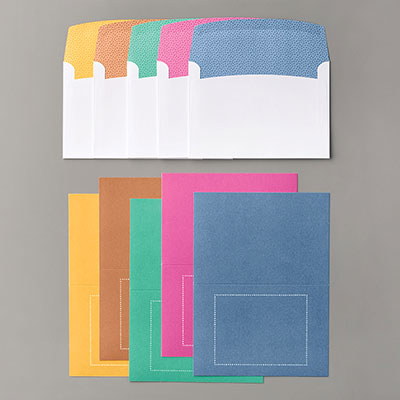
I chose to use the Flowers For Every Season Memories & More Cards & Envelopes in Bumblebee for my card base. This makes a 4 1/4″ x 6 1/4″ folded card.
Card #1 I used Merry Merlot cardstock cut at 3 3/4″ x 3 1/2″ for my brick pattern embossing paste panel, using the White embossing paste.
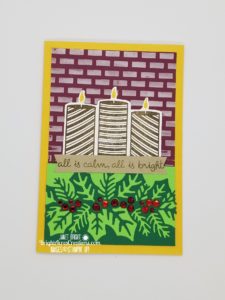
Card #2 I used Gray Granite cardstock cut at 3 3/4″ x 3 1/2″ and colored the embossing paste with a couple drops of Merry Merlot ink.
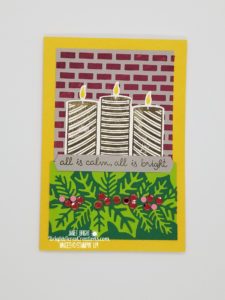
The rest of the colors and dimensions are the same.
Shaded Spruce: 3 3/4″ x 2 1/4″
Granny Apple Green: 3 3/4″ x 2 1/4″
Crumb Cake: 1/2″ x 3 3/4″ for sentiment strip
Whisper White: 2 3/4″ x 3 1/4″
Directions:
Apply embossing paste to cardstock panel over plastic mask; remove mask and let dry.
Center the holly & fir die from Sweetest Borders Dies on the Shaded Spruce cardstock and run through a Cut & Emboss machine.
Lay the die-cut piece over the Granny Apple Green cardstock and adhere in place.
Stamp the candle stamp from Sweetest Time stamp set in Soft Suede ink on Whisper White CS, followed by the flame above each candle in Bumblebee ink.
Using scissors, fussy cut the candles from the cardstock.
Adhere the embossing paste panel to the card front, butting up the green die-cut piece below it.
Adhere the candles.
Stamp sentiment from Sweetest Times on Crumb Cake CS strip and use Banner Pick-a-Punch to trim both ends.
Apply sentiment strip over seam.
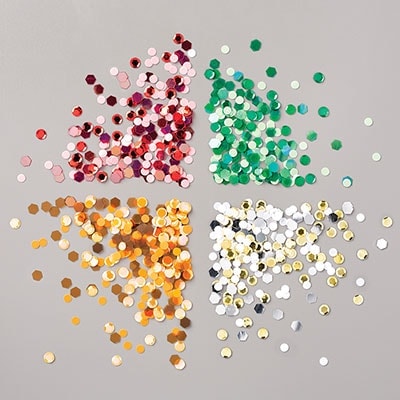
Embellish with red gems or sequins for holly berries.
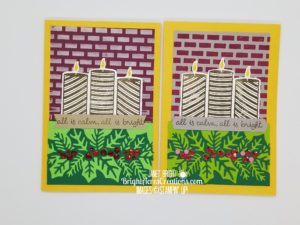
I haven’t decided which embossed panel I like better… Merry Merlot bricks and Gray Granite mortar, or white bricks and Merry Merlot mortar. It’s hard to tell in the photos, but I used red gems on the white brick card, and sequins for the berries on the red brick card. For mailing purposes, the sequins probably work better, as the gems will cause you to add additional postage.
Hard to believe I’m thinking Christmas cards already! I’ve sworn for years now that I’ll have all of my Christmas shopping done by the end of August… hasn’t happened yet! I guess I should get busy and see if I can make it happen this year! (NOT!)
But, I will get my Christmas cards made early this year so that I’m not lining up at the post office at the last minute!
I hope you get INKY today!
Until next time,
Janet
Product List
|
|
|
|
|
|
|
|
|
|
|
|
|
|
