Summertime is heating up and so are the birthdays in our family! Our family has kept the labor and delivery department at the local hospital busy during the summer months over the many years, i.e. we have a lot of summer birthdays!
The most recent birthday girl was our now 14-year-old granddaughter, Chloe! She came into our lives when she was just 4-years-old…where, oh where, has the time gone? She’s growing into an amazing, beautiful young lady with a heart of gold. We certainly feel blessed to call her our granddaughter!

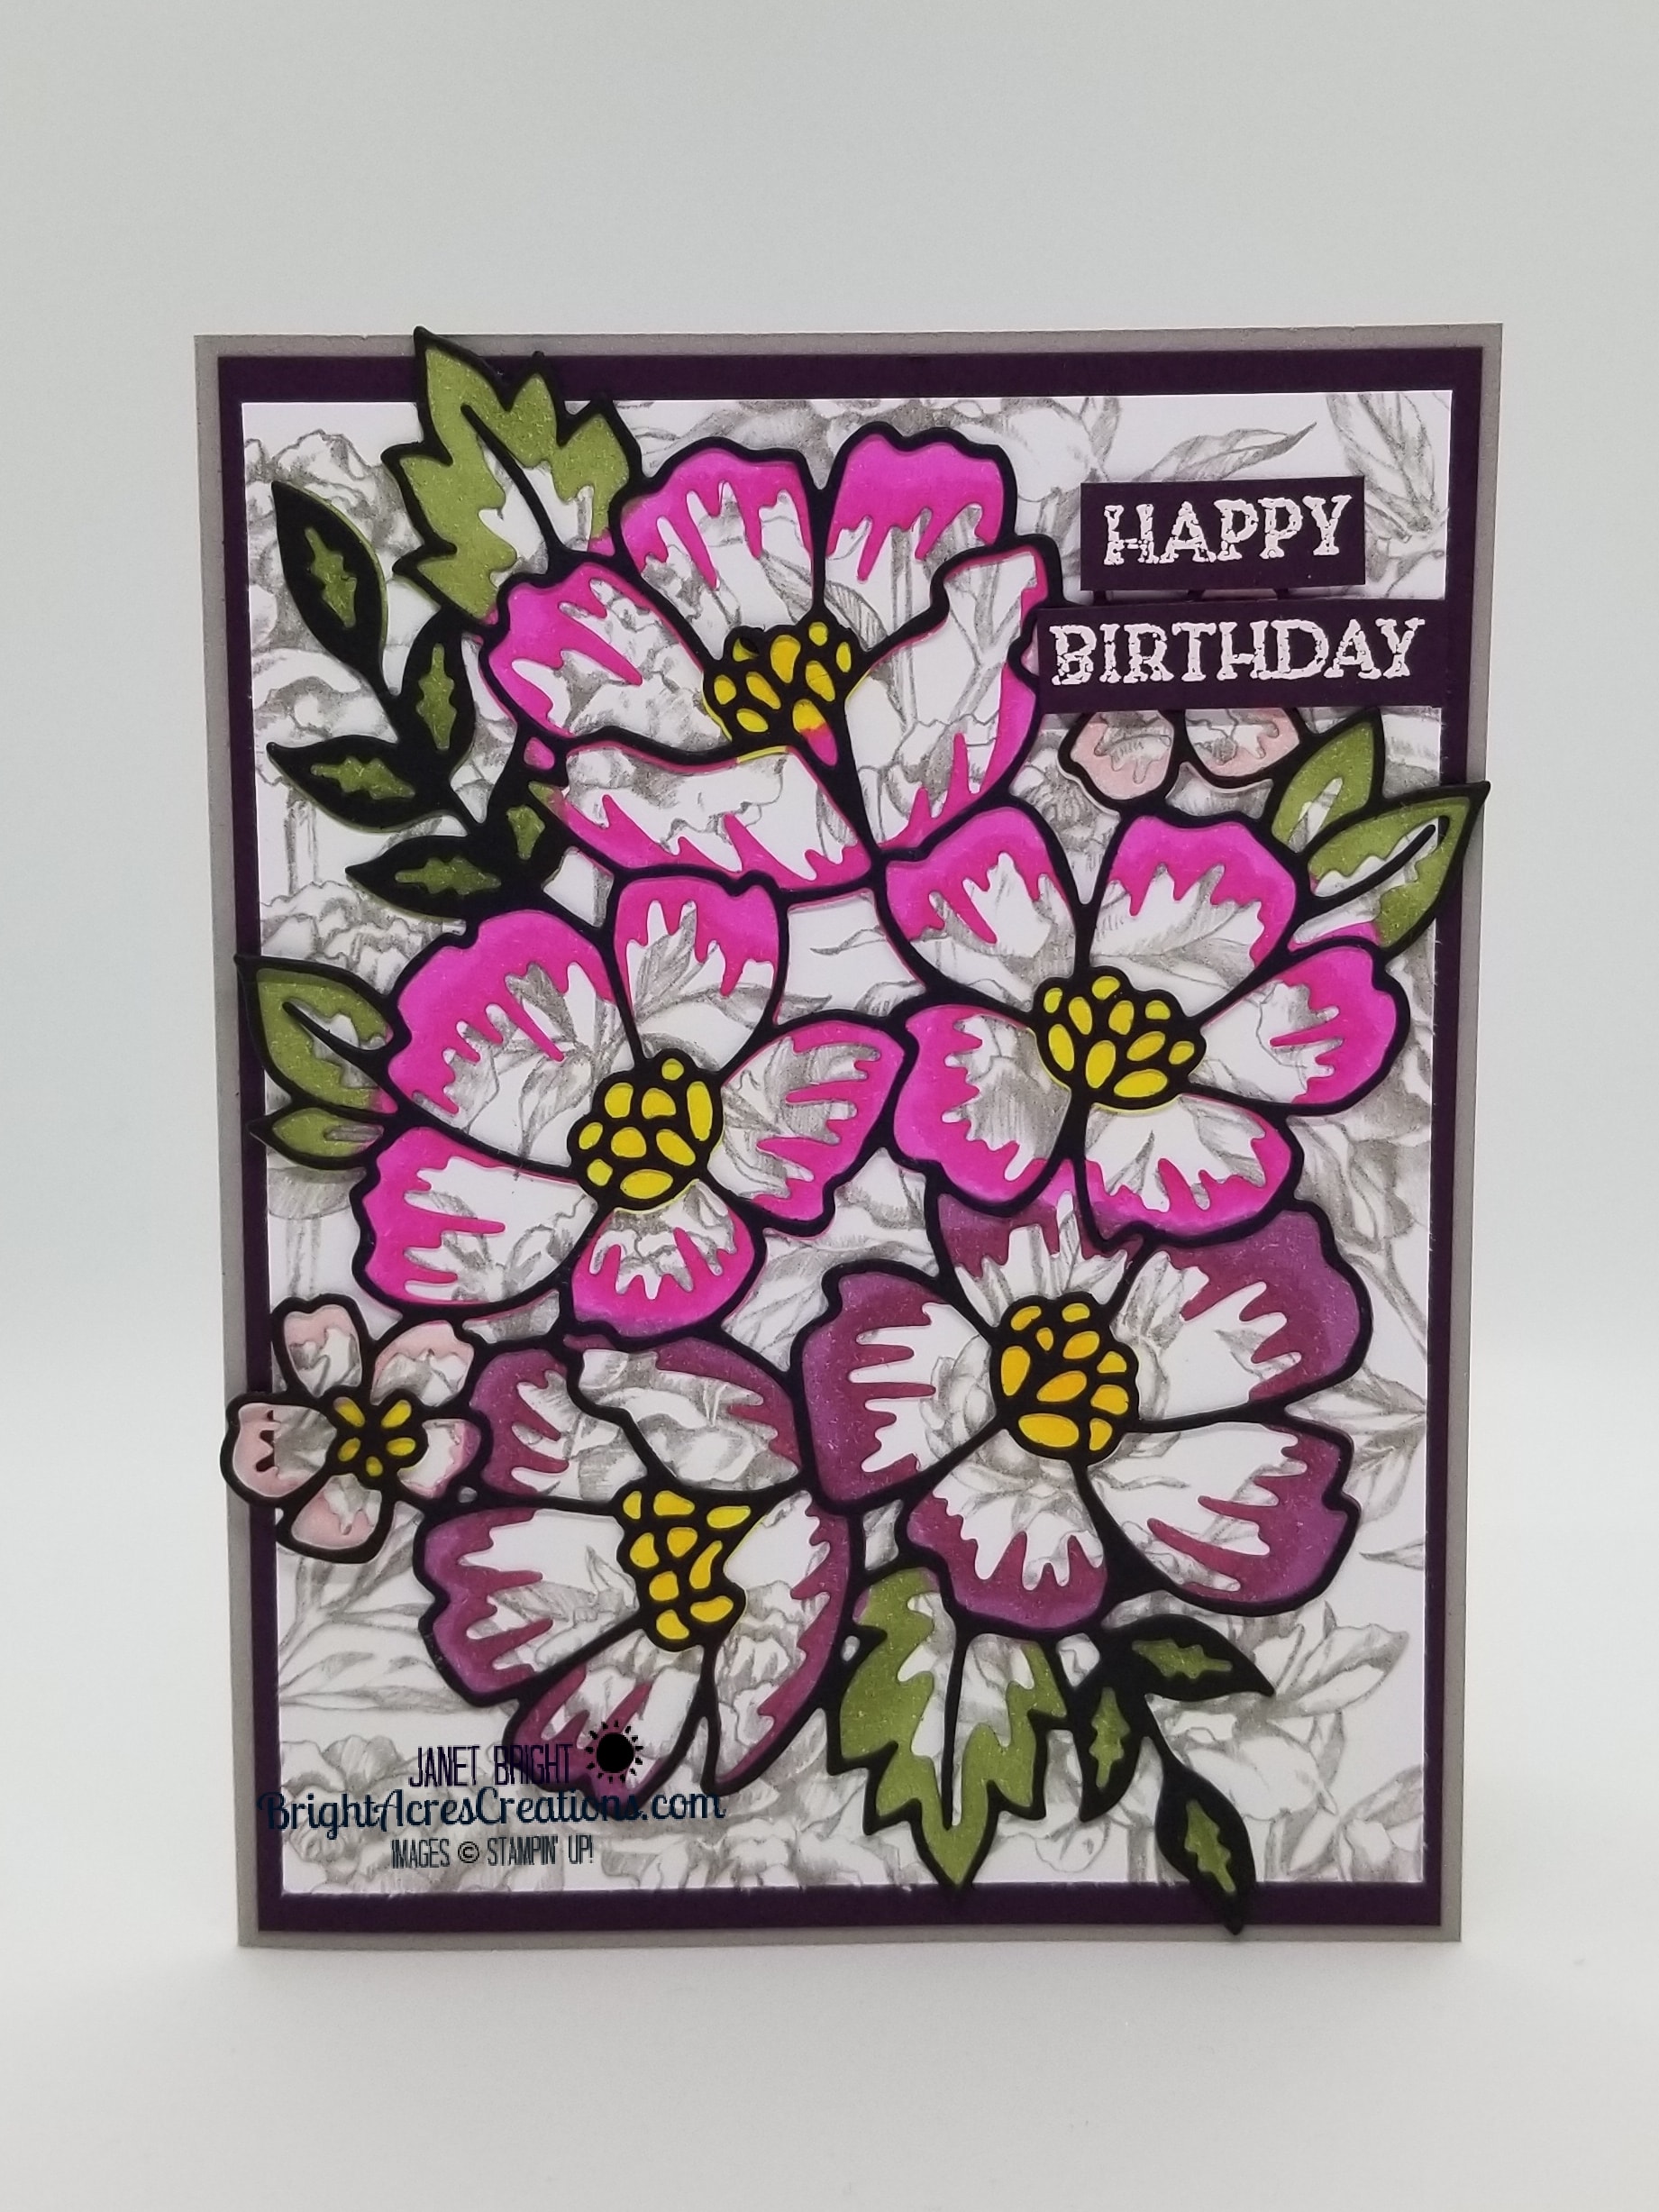
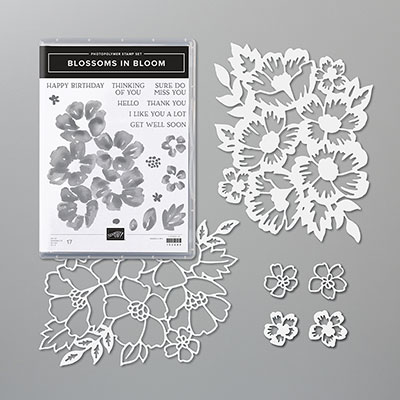
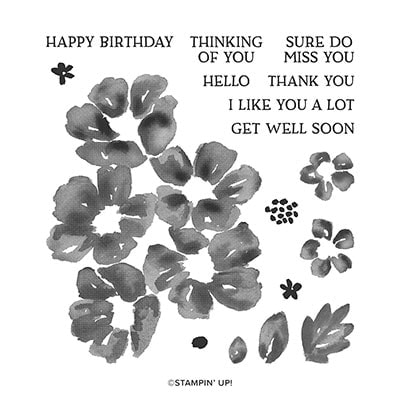
Today’s card was made for her and I chose Blossoms In Bloom, a new set from the 2020-2021 Annual Catalog.
Before I get to the details, however, just a few announcements!
- July starts Bonus Days at Stampin’ Up! What does this mean? This means that for every $50 you spend in July, you earn a $5 coupon that can be spent in August! The new mini-holiday catalog goes live on August 4! So, order what you’re dying to have from the new Annual Catalog, and save up those $5 coupons to use on the new holiday products or whatever else you want!
- The new Stampin’ Cut & Emboss Machine shown on page 170 of the Annual Catalog will finally be available to order on September 1! The Mini Stampin’ Cut & Emboss Machine is still stuck in pandemic limbo and will release at a later date, still unannounced!
- I have just ONE Paper Share Kit still available! This includes a whopping 304 pieces of paper (DSP and SU premium CS) for just $50 (local pickup) or add $8 to have it shipped! See my post from June 6 for all the glorious details, but this is one you don’t want to miss out on!!! If you’re interested, click on the “Contact” tab above and let me know…it’ll go quickly, so don’t hesitate!
- I’m going to be starting some classes in August. Further details will be coming soon so stay tuned!!!
- July’s Paper Pumpkin titled “Summer Nights” features fireworks and ferris wheels. The contents of this PP kit contains supplies for nine postcards and coordinating envelopes, plus nine die-cut tealight bags. In order to receive this kit, you must subscribe to Paper Pumpkin by July 10.
- To subscribe click on the picture below:
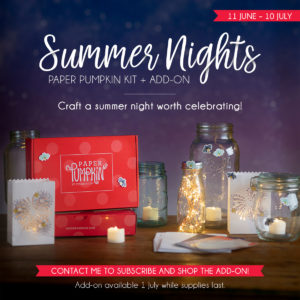
There’s an add-on available for this kit, for separate purchase of $10, to expand the Summer Nights Kit with more traditional cardmaking. They tell us that between the leftover kit components and the add-on, there should be enough supplies for at least another 20 additional Summer Nights cards! The add-on is available now while supplies last!
To order the add-on, go to my Stampin’ Up store: https://www.stampinup.com/ecweb/default.aspx?dbwsdemoid=2192616
Once there, on the left side of the screen you’ll see a menu with “Paper Pumpkin Summer Nights Add-On”. Simply place in your cart and check out! You’ll have loads more cards on their way!
Now… on to today’s project!!!
LET’S GET INKY!
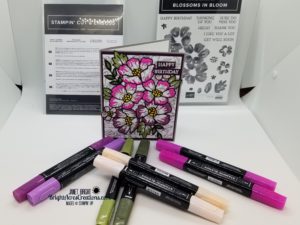
Colors and Measurements:
- Gray Granite Cardstock cut at 8 1/2″ x 5 1/2″, score and fold at 4 1/4″ for card base.
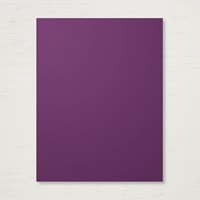
- Blackberry Bliss (Mat 1) cut at 5 1/4″ x 4″
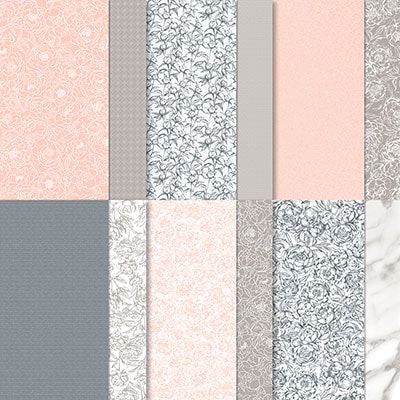
- Peony Garden DSP (Mat 2) cut at 5″ x 3 3/4″
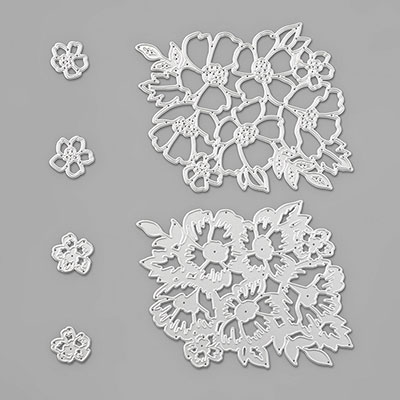
- Basic Black large enough for the flower outline die from the coordinating die set Many Layered Blossoms Dies ( 5 1/2″ x 4 1/4″)
- Whisper White Cardstock also large enough for Many Layered Blossoms Dies base die (5 1/2″ x 4 1/4″)
Let’s Do It!
- Adhere Mat 1 (Blackberry Bliss) and Mat 2 (DSP) to the Gray Granite card base.
- Using the Whisper White cardstock, run the heavier main-image die through a cut & embossing machine.
- Just FYI…. the Stampin’ Cut & Emboss Machines shown on page 170 of the ’20-’21 Annual Catalog will be available to order on September 1! I personally can’t wait to order mine, as my Big Shot is so well used it’s just about “shot”! These new Stampin’ Cut & Emboss Machines also fold up for a smaller footprint when not in use! Yay!! I’m patiently waiting….
- Next run the outline die through on the Basic Black cardstock.
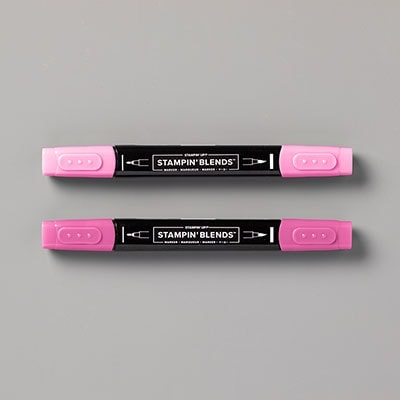
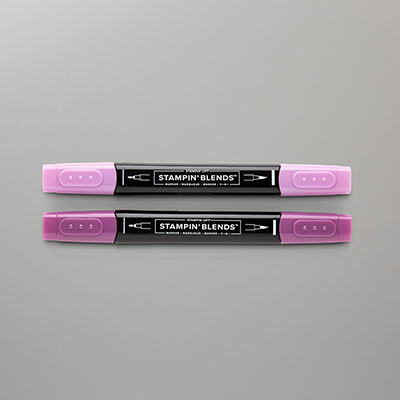
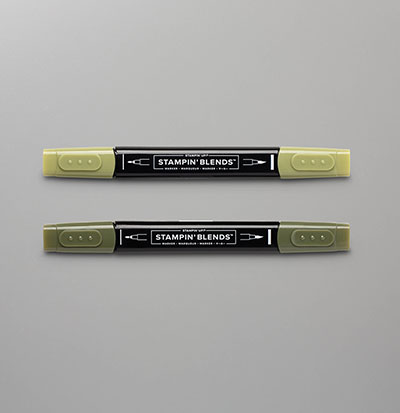
- I used Stampin’ Blends Combos in Magenta Madness, Blackberry Bliss, Petal Pink, and Mossy Meadow to color the white die cut.
- Adhere the black outline cropped image to the colored cropped image using a fine tip glue, or use a dot runner adhesive with silicone mat.
- Adhere to the card front over the DSP mat.
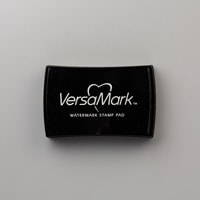
- Next, stamp the Happy Birthday sentiment in VersaMark ink on Blackberry Bliss cardstock.
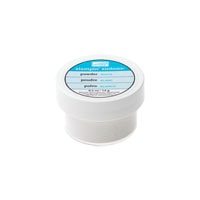
- Sprinkle White Stampin’ Emboss Powder over the VersaMark ink, tapping off the excess.
- Hint – use a basket-style coffee filter to catch the excess embossing powder to make it easier to pour back into the powder container.
- Now use your heat tool to melt the embossing powder.
- Cut the sentiment apart and adhere to card front in upper right corner.
- Finish it off with a white panel on the inside with sentiment of your choice!
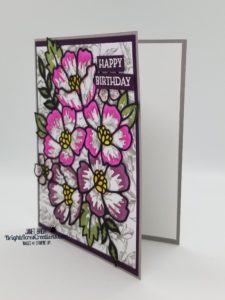
- I love the subtlety of the DSP peeking through the flowers!
I hope you make time to get a little INKY today!
Product List
|
|
|
|
|
|
||
|
|
||
|
|
|
|
|
|
|
|
|
|
